synthvoice

[ITP: Designing Your Voice] Inter-FACE?!

Idea

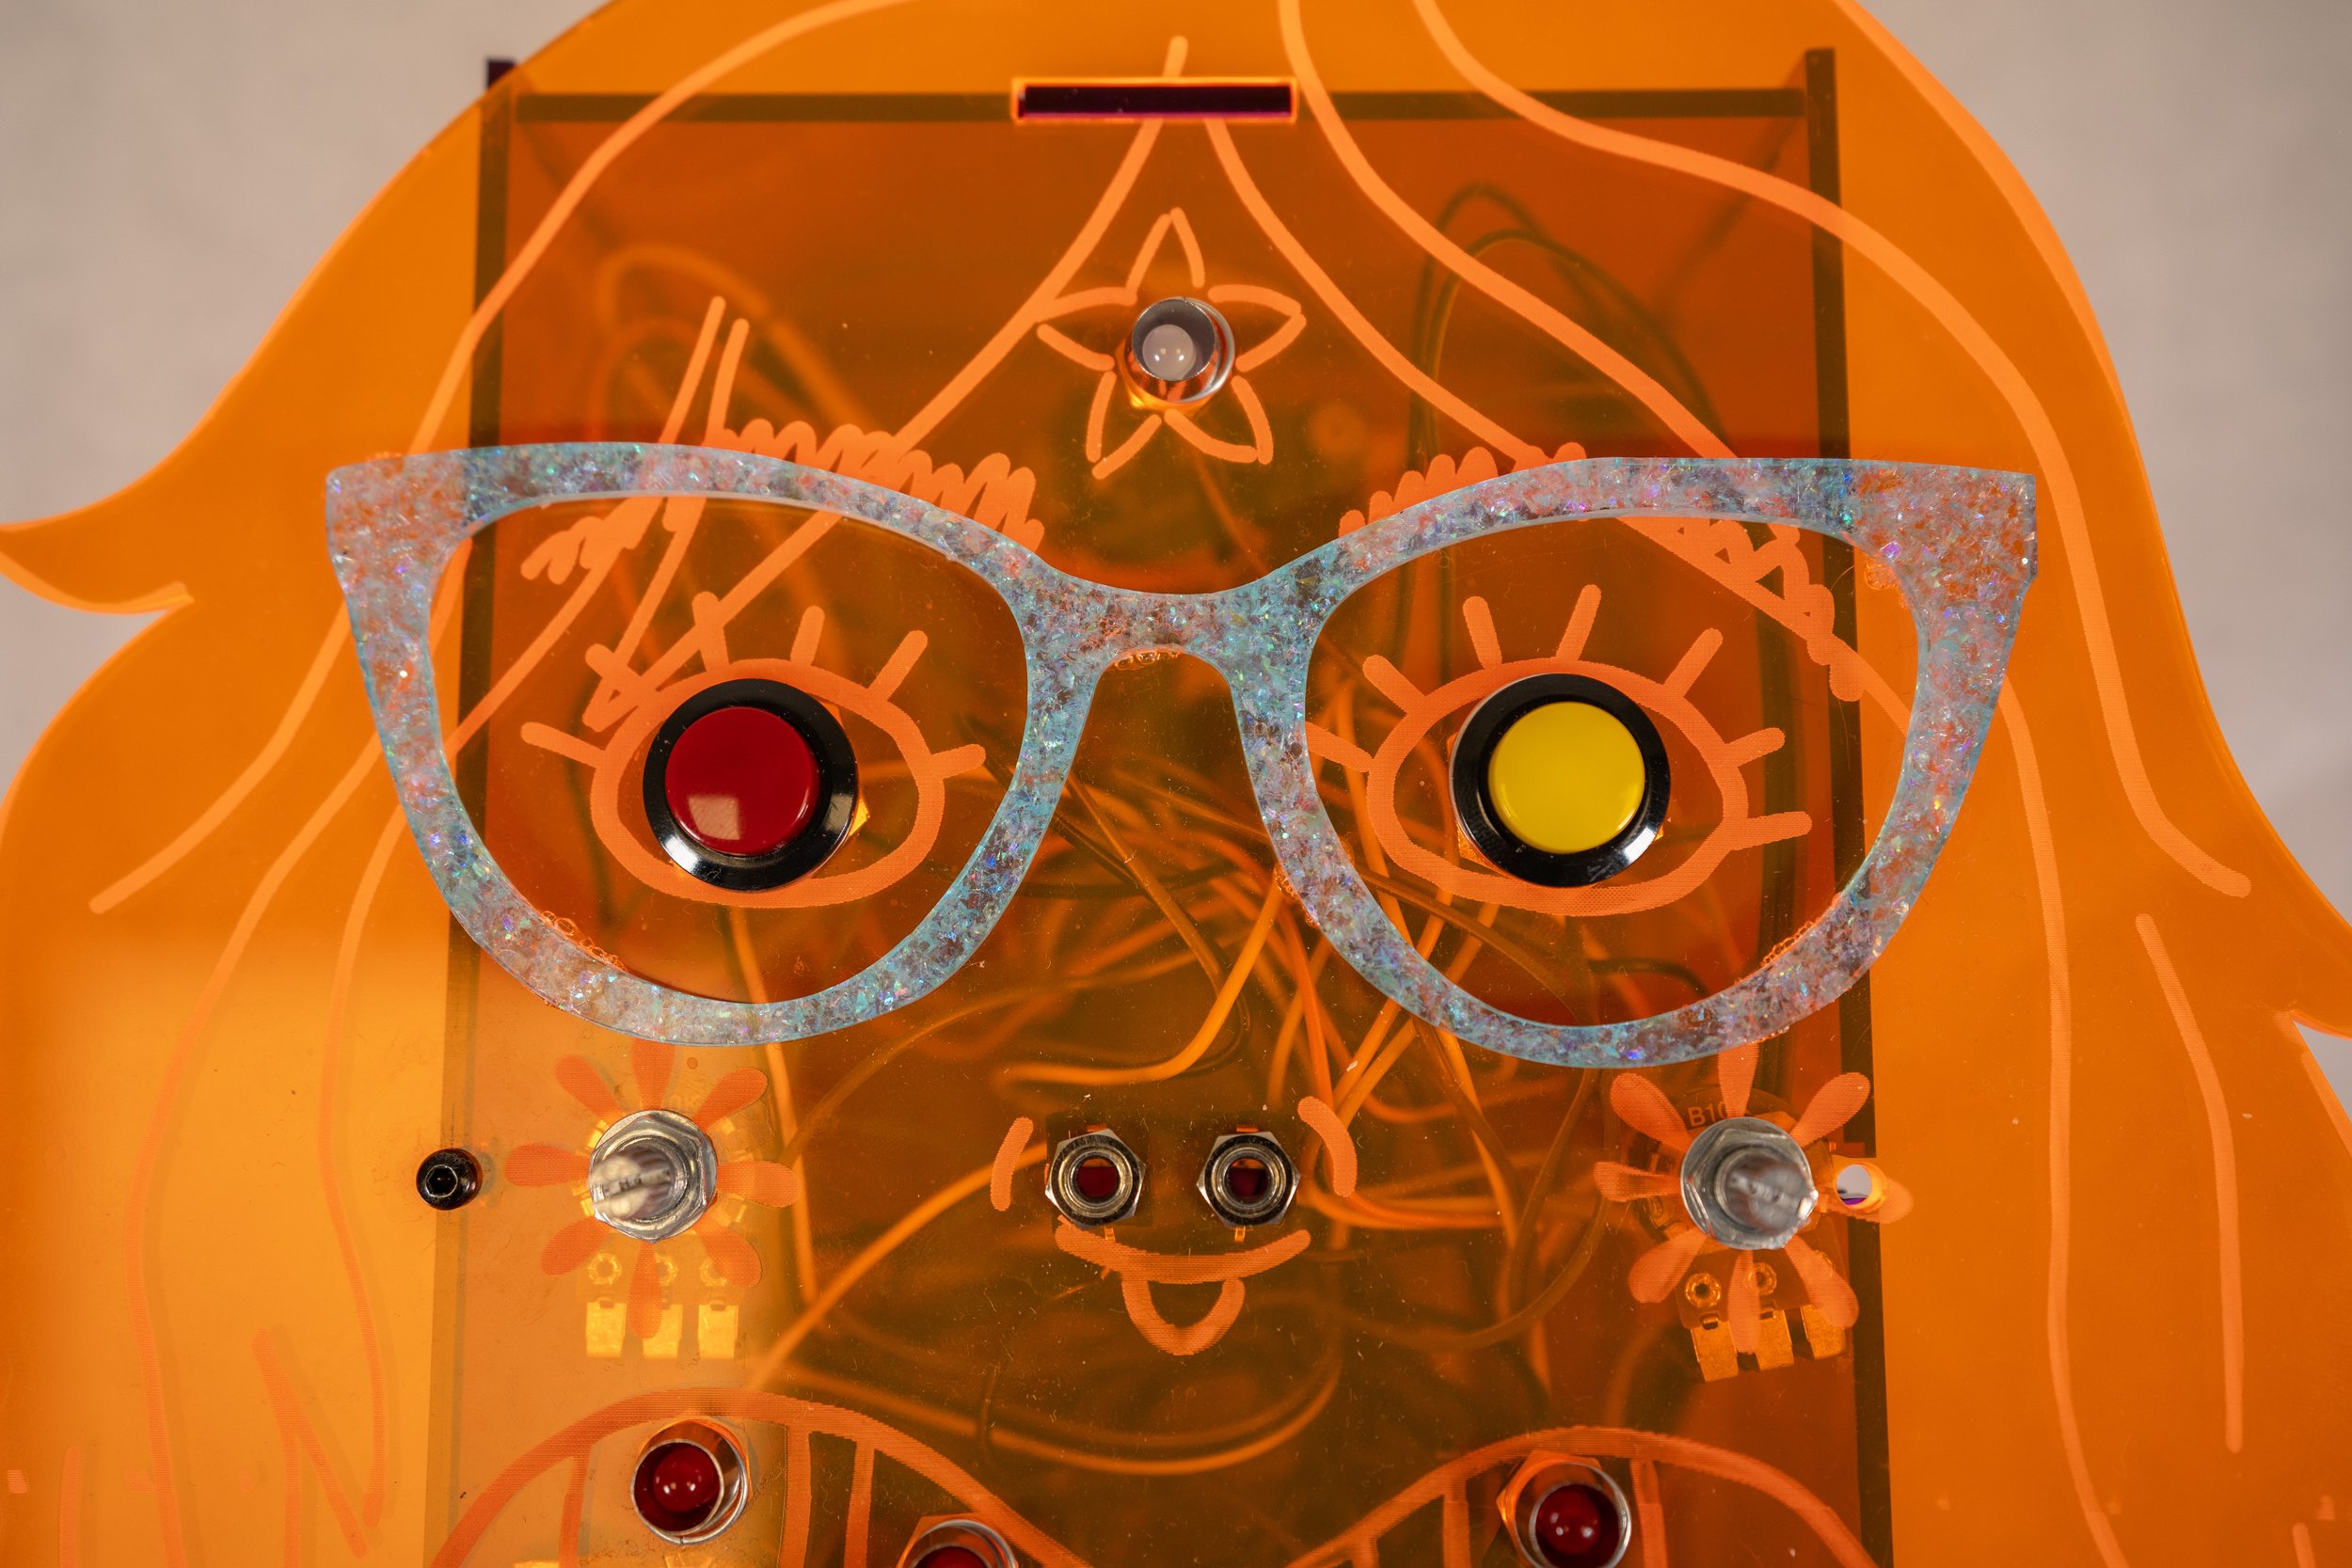
For my synth final I wanted to make something that could be a part of my thesis, my Body of Work. My thesis is a series of sculptures that depict my body parts. I developed this idea of creating an “interFACE” synth. I wanted to create a sequencer that would play back body sounds and kind of looked like my face.

Sketch

Here are some crazy sketches I did over the course of the last couple of weeks to brain storm what my synth might look like and what it could do.

Recording Body Samples

The first step was recording samples. My buddy Josh lent me his lil mic and I recorded some weird “body sounds” using my phone. This was kind of quick, and funny, and raw trying to figure out what parts of me made the most interesting sounds.

Josh’s wireless microphone

Sample notes

I then trimmed up the samples and converted the .mp4 files to .wav on my computer. I did this using the Apple Music app (RIP iTunes). Be sure to set the import settings to WAV encoder and then click “File” —> “Convert” —> “Create WAV Version”. The .wav version of the file shows up in the Library which can then be moved to whatever folder you want.

File conversion in Apple Music

File conversion in Apple Music

Then I used the wav2sketch package to convert all my .wav samples into C++ files which can be stored directly on the Teensy’s memory! Playing samples back from the Teensy’s on-board memory is lower latency than playing back from the SD card reader. It is really crucial that the .wav files are at 44100 Hz and 16 or 8-bits for conversion. More instructions can be found in Jesse’s slides.

Later on I realized that these samples weren’t at the same volume. I tried messing around with gain values in my code to amplify selected samples but I didn’t get the effect I was looking for. I downloaded Audacity which is a free and open-source audio tool and used the “loudness normalization” effect to get the samples all the same volume.

Breadboard Prototype

So my first goal is making an eight step sequencer where at each step the player can choose what body sample is being played. I started by making a four step sequencer using with Jesse’s code as a starting point (and: Teensy 4.1, Audio Shield, a variety of potentiometers, buttons, and LEDs from the shop). Once that was working, I wrote a sketch to map all the body samples to the resistance of the potentiometer. I applied that to my four step sequencer code, then expanded to eight steps, and then added step indicator LEDs. Lastly, I modified my code to add two more potentiometers for volume and speed control. You can find find my test sketches and final code on my Github repo.

This is where my circuit started

Big mess

Current circuit

I also hoped to be able to plug my face into my brain. After talking with Jesse, I learned I could blink a pin on the Arduino controlling the brain and use that as a control voltage (CV) signal to progress the sequencer. I added this functionality to my brain and synth code. Below is some video and photo proof!

Me building my synth right after returning from OHS24

Important system diagrams

InterFACE schematic

PJRC Audio Tool output

Casting my life away

So I have this dream of making custom knobs for the potentiometers from what are called “life casts” from my own body. This is pretty tricky because I have no prior experience with casting. Originally I had planned on making some casts of my face but casting all those orifices can prove to be problematic. So I decided to try out casting my finger tips first.

After many discussions with my favorite shop manager Phil, we came up with a plan to create an alginate cast first, then plaster positives, then making a silicone negative, and finally on to a resin positive knob. Below are my accounts of the first two stages of casting. This is the alginate I ordered and I mixed 1 cup of water with 3/4 cup of alginate.

1. Alginate mixture starts out pink and turns grey after stirring. It’s ready for molding.

2. Molding my finger tips.

3. Finished alginate mold.

This is the plaster I ordered. I mixed 1/3 cup of water with 1/2 a cup of plaster.

4. Mix up plaster of paris.

5. De-mold.

6. Plaster fingies!!

The next steps to make resin knobs would be to use the plaster positives to create a reusable silicone negative to cast the resin knobs, but that’s a project for future Priyanka.

Enclosure Building

Now that I had basically the electrical “skeleton” of my synth built, I could focus on creating the enclosure. I did all of this after presenting our final for the class and my graduate thesis because I desperately wanted to show this project at the ITP Spring Show… idk why I am like this. Between thesis presentations, I got lots of advice from Ian in the shop (man, do I love that guy) and we came up with this plan to make my completed synth a reality. At some point I even got kicked out of the shop because we needed to break down the floor to get ready for the show (ah, the good old days) so I completed soldering my synth together in my Bed-Stuy bedroom.

Parts

Adafruit order for synth

This is my shopping list from Adafruit. Along with these parts I used a Teensy 4.1 and PJRC Audio Shield. I also used a full-size proto board and a whole bunch of female jumper wires which I picked up from my local Microcenter. I REALLY recommend these potentiometers I got, they click to an off position which is just so satisfying. However, these buttons I do not recommend, their push leaves much to be desired…

Below is the step-by-step process I took to create my enclosure using the Epilog laser cutter. If you are following along, these files were created in Adobe Illustrator and all my design files live in my Github repo.

1. Grab your calipers! Test cut on cardboard to make sure holes fit the components.

2. Drew a cartoon of myself and added in all the holes for the components of my synth.

3. Cardboard test cut of top face plate.

4. Double-checking component holes in acrylic scrap material. Want to make sure all the panel mounting works as expected.

5. Testing out a t-slot joint that Ian put me on to.

6. Another t-slot joint test, this time with the actual slot

7. Cardboard test for the whole box (double-checking t-slots).

8. Complete cardboard prototype.

9. A quick run to Canal Plastics!

10. Face cut! Except the engraving gave up towards the bottom of the face?

11. Taking this to my bedroom! This was all I could find for helping hands in my room.

12. Solder mess!

There are some issues with the final build:

  • Ideally, this would be a system where you could pop the top off, unplug, replace components easily.

  • Some of the panel mount components were secured from the top of the panel, others from the bottom.

  • Some of the connections needed to be soldered directly to the protoboard, so the top can’t be completely removed without ripping some of the circuitry out.

  • I used a lot of female jumpers as a plug/unplug interface. This is not a great permanent solution as these connections are not always the most secure.

  • RGB LED? What is it doing? Can you use too many analog pins?

Final Product

Here are some highlights from the ITP Spring Show.

And this summer, I was my own doc lab and took my own video documentation!

Next Steps

  • Need to recut face plate so that it can close properly. Parts near the box edges are in the way

  • New button eyes? I do not like how they feel

  • Need to figure out what is going on with RBG LED —> should this become an on/off switch?

  • Fix wiring (and label!) so that the top faceplate is removable

  • Screw circuit board into enclosure somehow

  • Other things that can be done with step sequencer modules?!?!?

  • Experiment with future modules: lo boob oscillator and ADSR envelope generator modules

  • Resin knobs….

Resources

⭐️⭐️interFACE Github repo⭐️⭐️

Jesse’s lecture with wav2sketch

Audacity Loudness Normalization tutorial

PJRC Audio Tool

Materials

Teensy 4.1

PJRC Audio Shield

Alginate Life Casting

Plaster of Paris

[ITP: Designing Your Voice] Final Project Planning

Final Project To-do list (or ideas)

Since starting this class (and hoping to make something for my thesis) I had this idea of creating an interface synth, in the shape of my face. I’m thinking about sounds that the body makes or life-casting some of my body parts to use in the interface (damn you nipple knobs!!). I’ve got lots of ideas rattling around in my brain so here’s a list:

Initial sketch

  • Gather samples of body

  • Make (?) knobs —> life casting

  • Gate sequencer vs. pitch sequencers —> learn about that

  • Plug face into brain?!!?!

Some inspo: Brendan Byrne’s Theseus Synth

You can never have too many VCA’s

After some office hours with Jesse trying to iron out my final project, he pointed me in the direction of this video. These are my notes:

  • VCAs allow us to inject animation into our patches

    • Let us change the volume of signals over time

    • Change the “volume” of control voltages (CVs)

  • Use a VCA to build things:

    • Compressor, side-chain a kick (?), AM synthesis

    • Intermediary to modulate modulators

  • Moog DFAM

  • VCA’s can have character, not always clean

  • Input, output, control voltage (controls how loud)

  • VCAs to create voices, filters out sub-base mud, closes voice down

  • AM synthesis - plug another oscillator into CV control, oscillators kind of combine

  • Using a sequencer to change the volume of another pitch sequencer output

  • Static vs. animated

External DAC Oscillator

Michelle, Jess, and I worked together to get the PT8211 external digital to analog converter (DAC) working. We used a Teensy, DAC, and Jesse’s audio out Arduino code which outputs a sine wave and changes the frequency based on the position of the potentiometer.

[ITP: Designing Your Synth Voice] Ornament and Crime

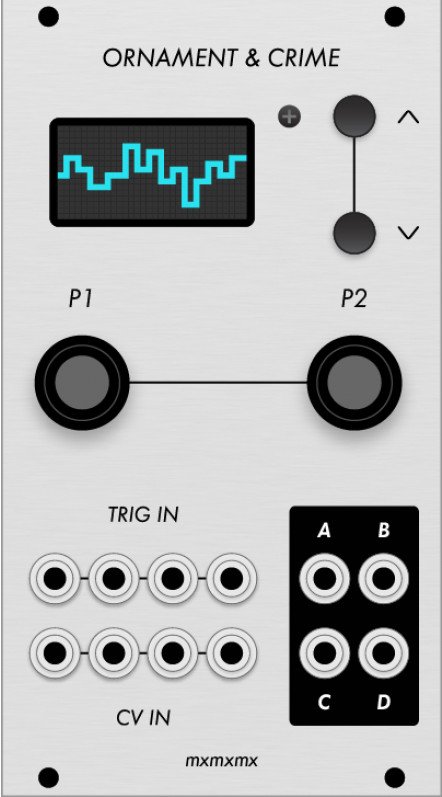
ornament & crime, o_C

  • Eurorack module running off of a Teensy 3.2

    • Basically a DAC breakout board with OLED display

    • It’s a “polymorphic CV generator”

      • Polymorphic = something that has multiple forms (?)

  • 4 precision CV outputs, 4 CV inputs

  • This is a post-capitalist, open source project

  • Comes with 10 different apps

    • Digital ASR (analog shift register) called “copier machine”

    • 4 channel pitch quantizer

    • Wave table quad LFO

    • Quad VC envelope generator

    • Etc, etc, etc

Control Voltage (CV) refresher

I watched these two weird videos from the Moog Foundation about CV. Here are my key takeaways:

  • “Voltage control just acts as a means of control that’s just like a hand on a knob”

  • Simple electrical automation to cause changes over time using voltage

  • reverb and shimmer

Teensy Examples

TB303 Acid Button Press

Button 0 triggers an envelope and plays a random note in a hard coded scale. Button 1 cycles through the different wave types. Button 2 changes the octave of the notes. A15 is the filter attack time, A16 is the filter resonance, A17 is the envelope release time

TB303 Acid Generator

The gui output is the same as the example above. This sketch plays continuous tones to the Teensy’s audio output, a random note from a hard coded scale. The tempo of the playback can be changed by adjusting the potentiometer on A14. A15 affects the filter attack time. The knob on A16 affects the filter resonance. A17 affects the envelope release time.

To the right is the serial monitor output which prints the current MIDI value and its corresponding frequency.

Random Gate Generator

This sketch is basically just the blink sketch but on a random interval. This can be used to trigger external microcontrollers or hardware.

A gate is a signal type that is passed around inside a modular synthesizer. It jumps to a high level when a new note is supposed to start and stays “on” for the notes duration.

Resources

https://ornament-and-cri.me/

Ornament & Crime tutorial/review

What is polymorphism?

O & C on PJRC

O & C quantizer tutorial

O & C chord generation tutorial

CV from Moog Foundation 1

CV from Moog Foundation 2

Week 6 Teensy Examples

Gate definition

[ITP: Designing Your Synth Voice] I've Burntout!

Lol I’m so done, but remember this?!

I recently found this slide from Jesse’s earlier lectures and I think I should keep on referring to it! It’s so hard to understand what kind of stuff will go into the final modules we’re supposed to create for this class but this visual makes it more digestible. Maybe I will make a synth with all of that stuff in it?!

Week 5 Teensy Examples

wav2Sketch

wav2Sketch is a library that converts wav files into data arrays that can be played from on-board memory. This example triggers a different wav file to be played when one of the four buttons is pressed.

This is what my teensy setup is looking like these days!

Basic sampler

This example works the same as the previous one except that the wav files played are uploaded to an SD card and installed into the audio shield.

C Major seventh

Alriiiiight, below is what the gui output looks like, but I’m having a hard time understanding how the code works. The voice1Setup() functions are all called in the sketch's setup() function, so they are only executed once. I can see that the function is assigning a note (frequency) from the c major scale to a waveform but I have no idea what the potentiometers are doing in that case. So buttons 0, 1, 2, and 3 are playing 0, 2, 4, and 6 of the c major scale. The last button, 4, changes the octave of the scale.

Midi C major seventh

The gui for this example looks exactly the same as the example above. Here, instead of using specific frequencies for the notes, we are using midi to define the notes of the scale (and the midi to frequency library). I don’t think the fifth button (button 4) does anything. Nothing seems to change when I turn the knobs either.

I think the purpose of modulating the waveform and putting it through an LFO is what gives the notes that dreamy, vibe-y, echo-y bedroom pop sound.

Memory Usage

This example is playing a pink noise + sine wave note repeatedly. I have no idea what the Fast Fourier Transform is doing. The sketch prints out the memory usage of the various stages of the code. It can help to determine if you need to allocate more or less onboard memory to run a sketch. Sending “s” over serial slows the speed of the sketch and “f” makes it go faster.

Jesse’s VCV Rack Demo

I went through Jesse’s VCV Rack demo and this is the patch I ended up with (lol the same one he showed). I really found following along with this video to be super helpful in my understanding of patching. Below I collected some of my notes.

  • MIDI = messaging protocol which can contain information about pitch, trigger, velocity, etc

  • VCO = voltage controlled oscillator

  • VCA = voltage controlled amplifier —> signal intensity

  • CV = control voltage to modulate a signal

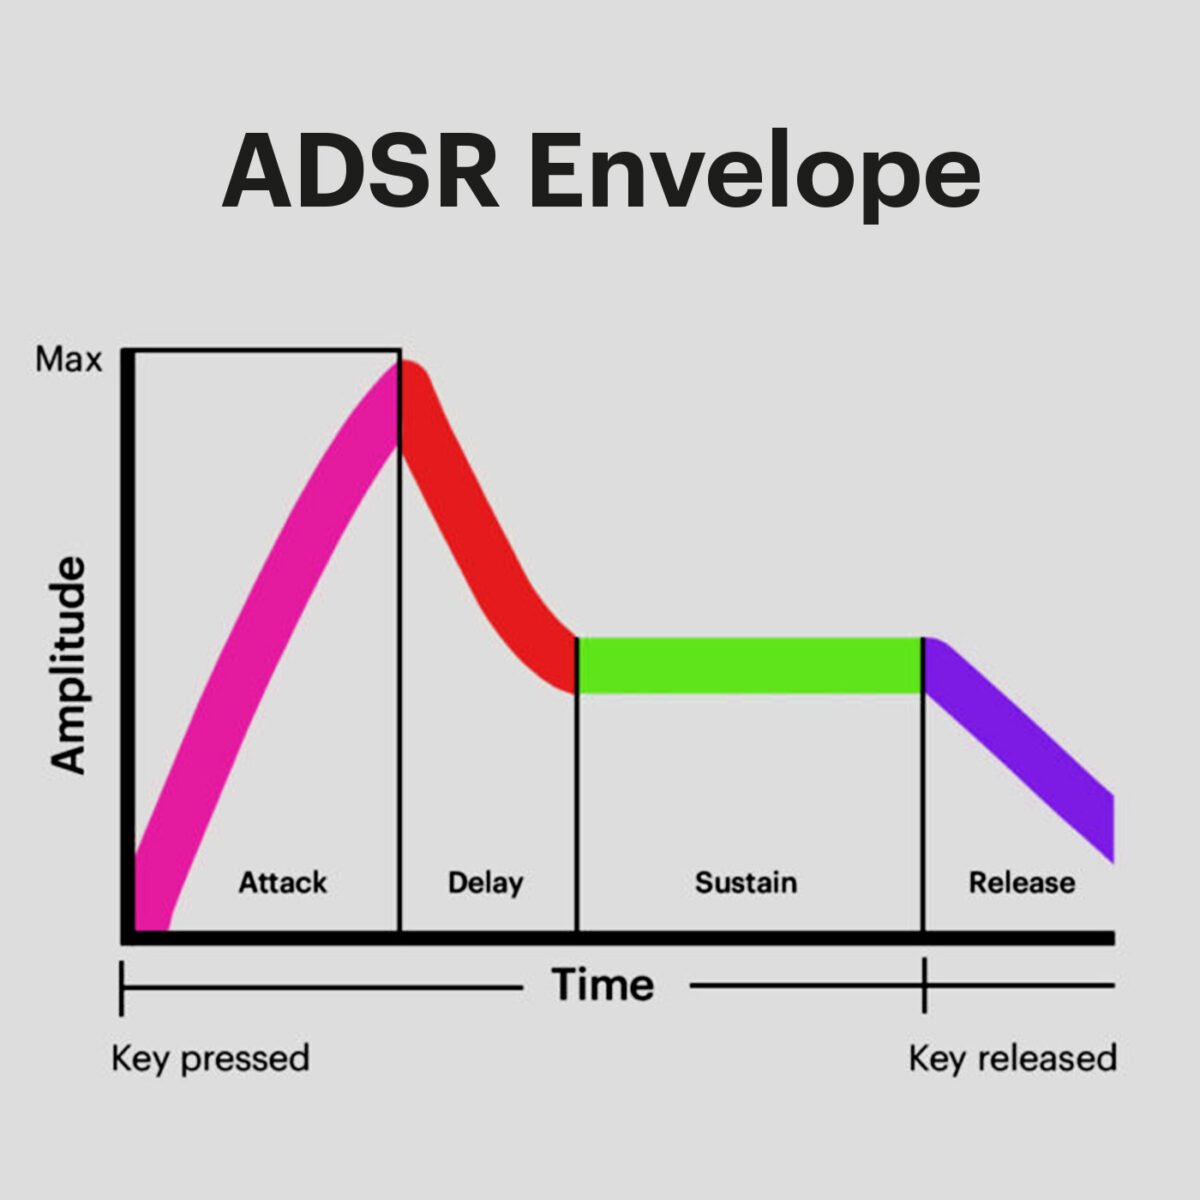
  • ADSR = attack, decay, sustain, release in terms of an envelope

  • Gate output —> gate input?

  • V/OCT connection gives different pitches (voltages) for the MIDI keys/notes

  • VCF = voltage controlled filter (low pass, high pass, band pass), adjustable frequency cut off

  • Quantizer = mapping frequencies being played to the nearest active value of the quantizer

Assignment

I would really love to make an arpeggiator! Gonna ask Jesse for some help!

Resources

Jesse’s week 5 examples

PJRC Audio Gui Tool

Jesse’s VCV Rack demo

[ITP: Designing Your Synth Voice] Group Work??! Yuck

In class examples

Here were some VCV rack examples we did in class 02/12/24. These might be helpful for future Priyanka (or anyone else).

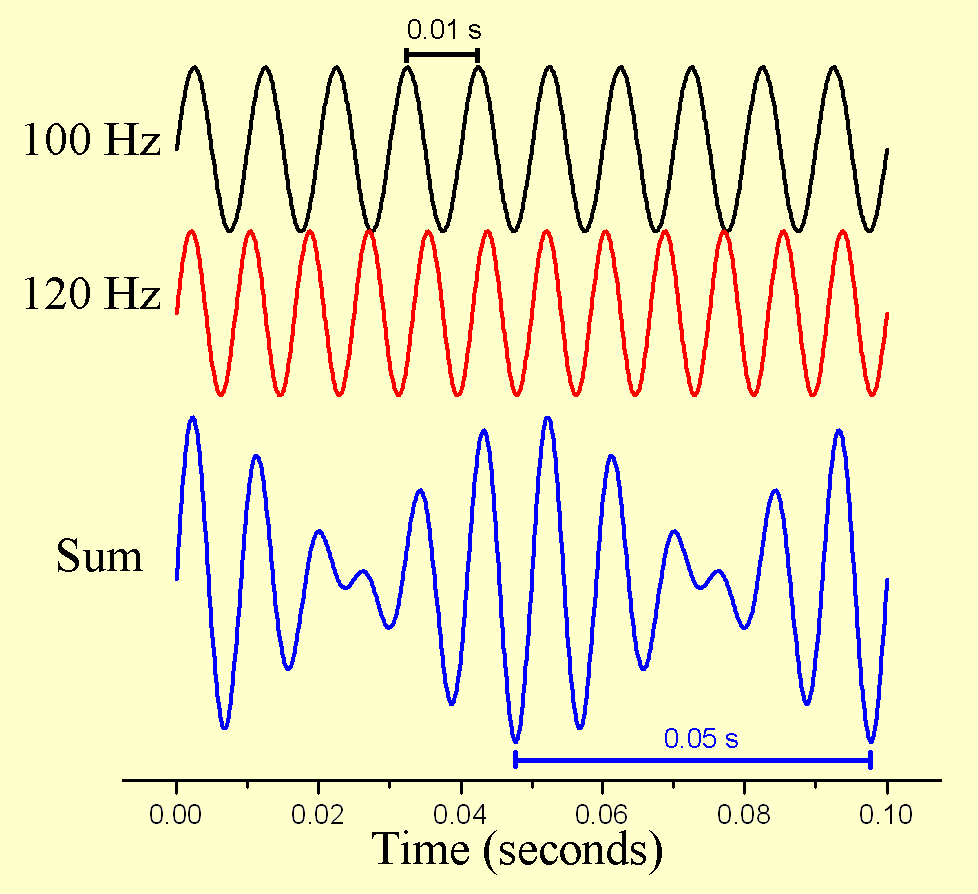
Amplitude oscillation

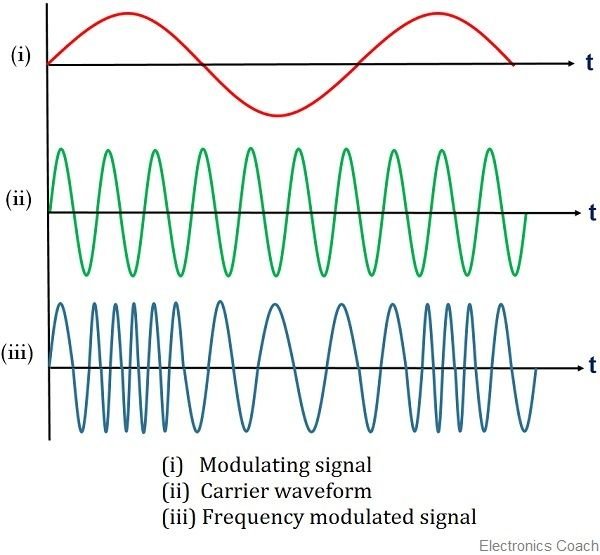
Frequency oscillation

Envelopes —> ADSR

Sequencer

Quantizer

Also in class we learned about line inputs and outputs. Line level is a standard used typically with gear that has the ability to adjust the volume/gain, such as a mixer or amplifier. It’s approximately 1.75V which is not enough to power headphones. The Teensy audio shield has mono left and right channel outputs.

Assignment

Hi Jesse. This week I organized the Stupid Hackathon and mentally I am here… everybody shut up on this floor. Everybody shut up in this department.

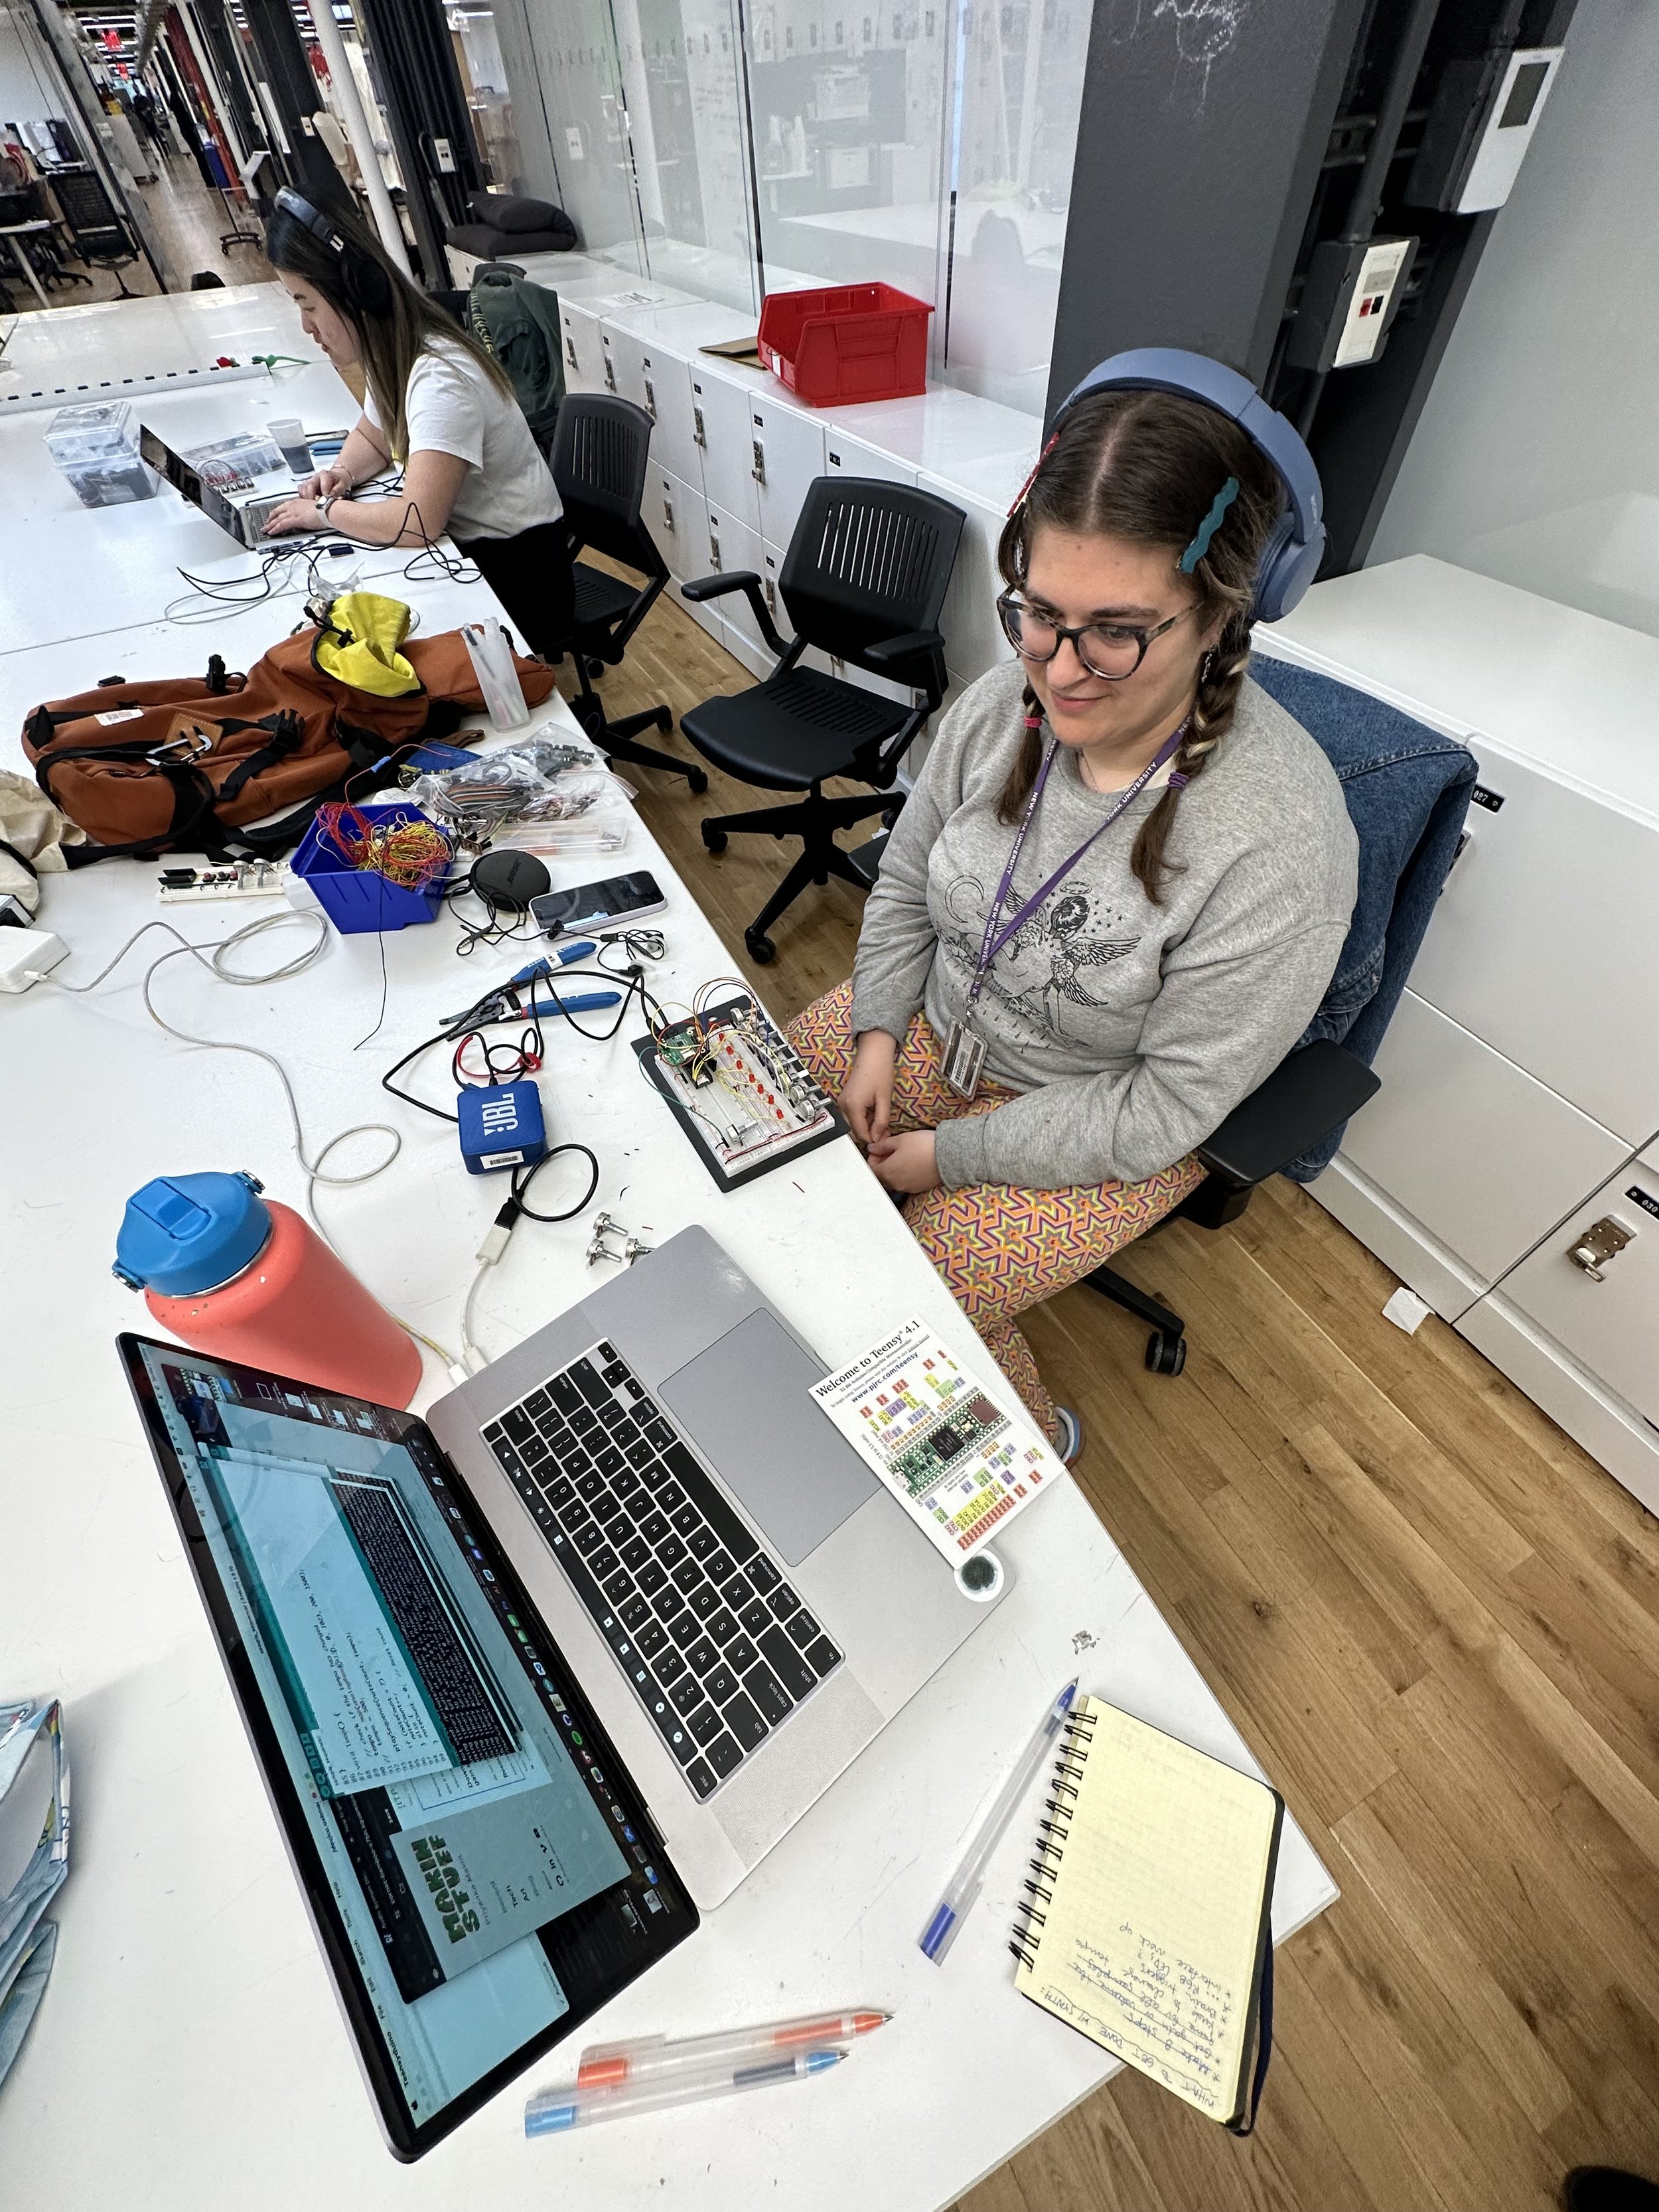
This week I got a new breadboard and a Teensy 4.1 because I realized I would quickly run out of IO pins on the 4.0. A big task for me was soldering all the headers for my new Teensy and getting my buttons and potentiometers set up again.


This was a two week assignment to use the line in/line out pins to patch into another person’s synth setup. I was on a three person team with Tres and Q. This was kind of a brain-breaking practice because I had an untested, brand new setup and I think Tres was having some hardware issues.

We started with the pass through example, which seemed to work for me and Tres. Then we tried to get all three synths working together. Here’s some documentation of us jamming together. Tres’s line out was connected to my line in and my line out was going into Q’s line in. I’m not really sure what’s going on here. Tres has some LFO and modulation going on. I tried getting the reverb example going. Q also had something going on in their setup but the best part was the drum they had setup on the button (you can hear it at the beginning of the clip). Overall, no idea whats going on…


Code Examples, audio pass through

Wav player

Delay module

Bitcrusher module

Filter module

Envelope module

I’m also really curious about building a sequencer at some point, I think. I watched some videos and saw people’s really cool synths they’re making. I’ve linked some inspo’s below for future reference.

Resources

Everybody shut up in this world

Jesse’s week 4 examples

David Wieland’s sequencer module

Praj’s Portable synth documentation (comprehensive)

Praj building his synth (with Teensy)

Brendan Byrne’s Theseus

[ITP: Designing Your Synth Voice] Synth Club and Envelopes

IDM Synth Club with Luke Dubois

Do not miss an opportunity to check out the IDM Audio Lab. Go there!

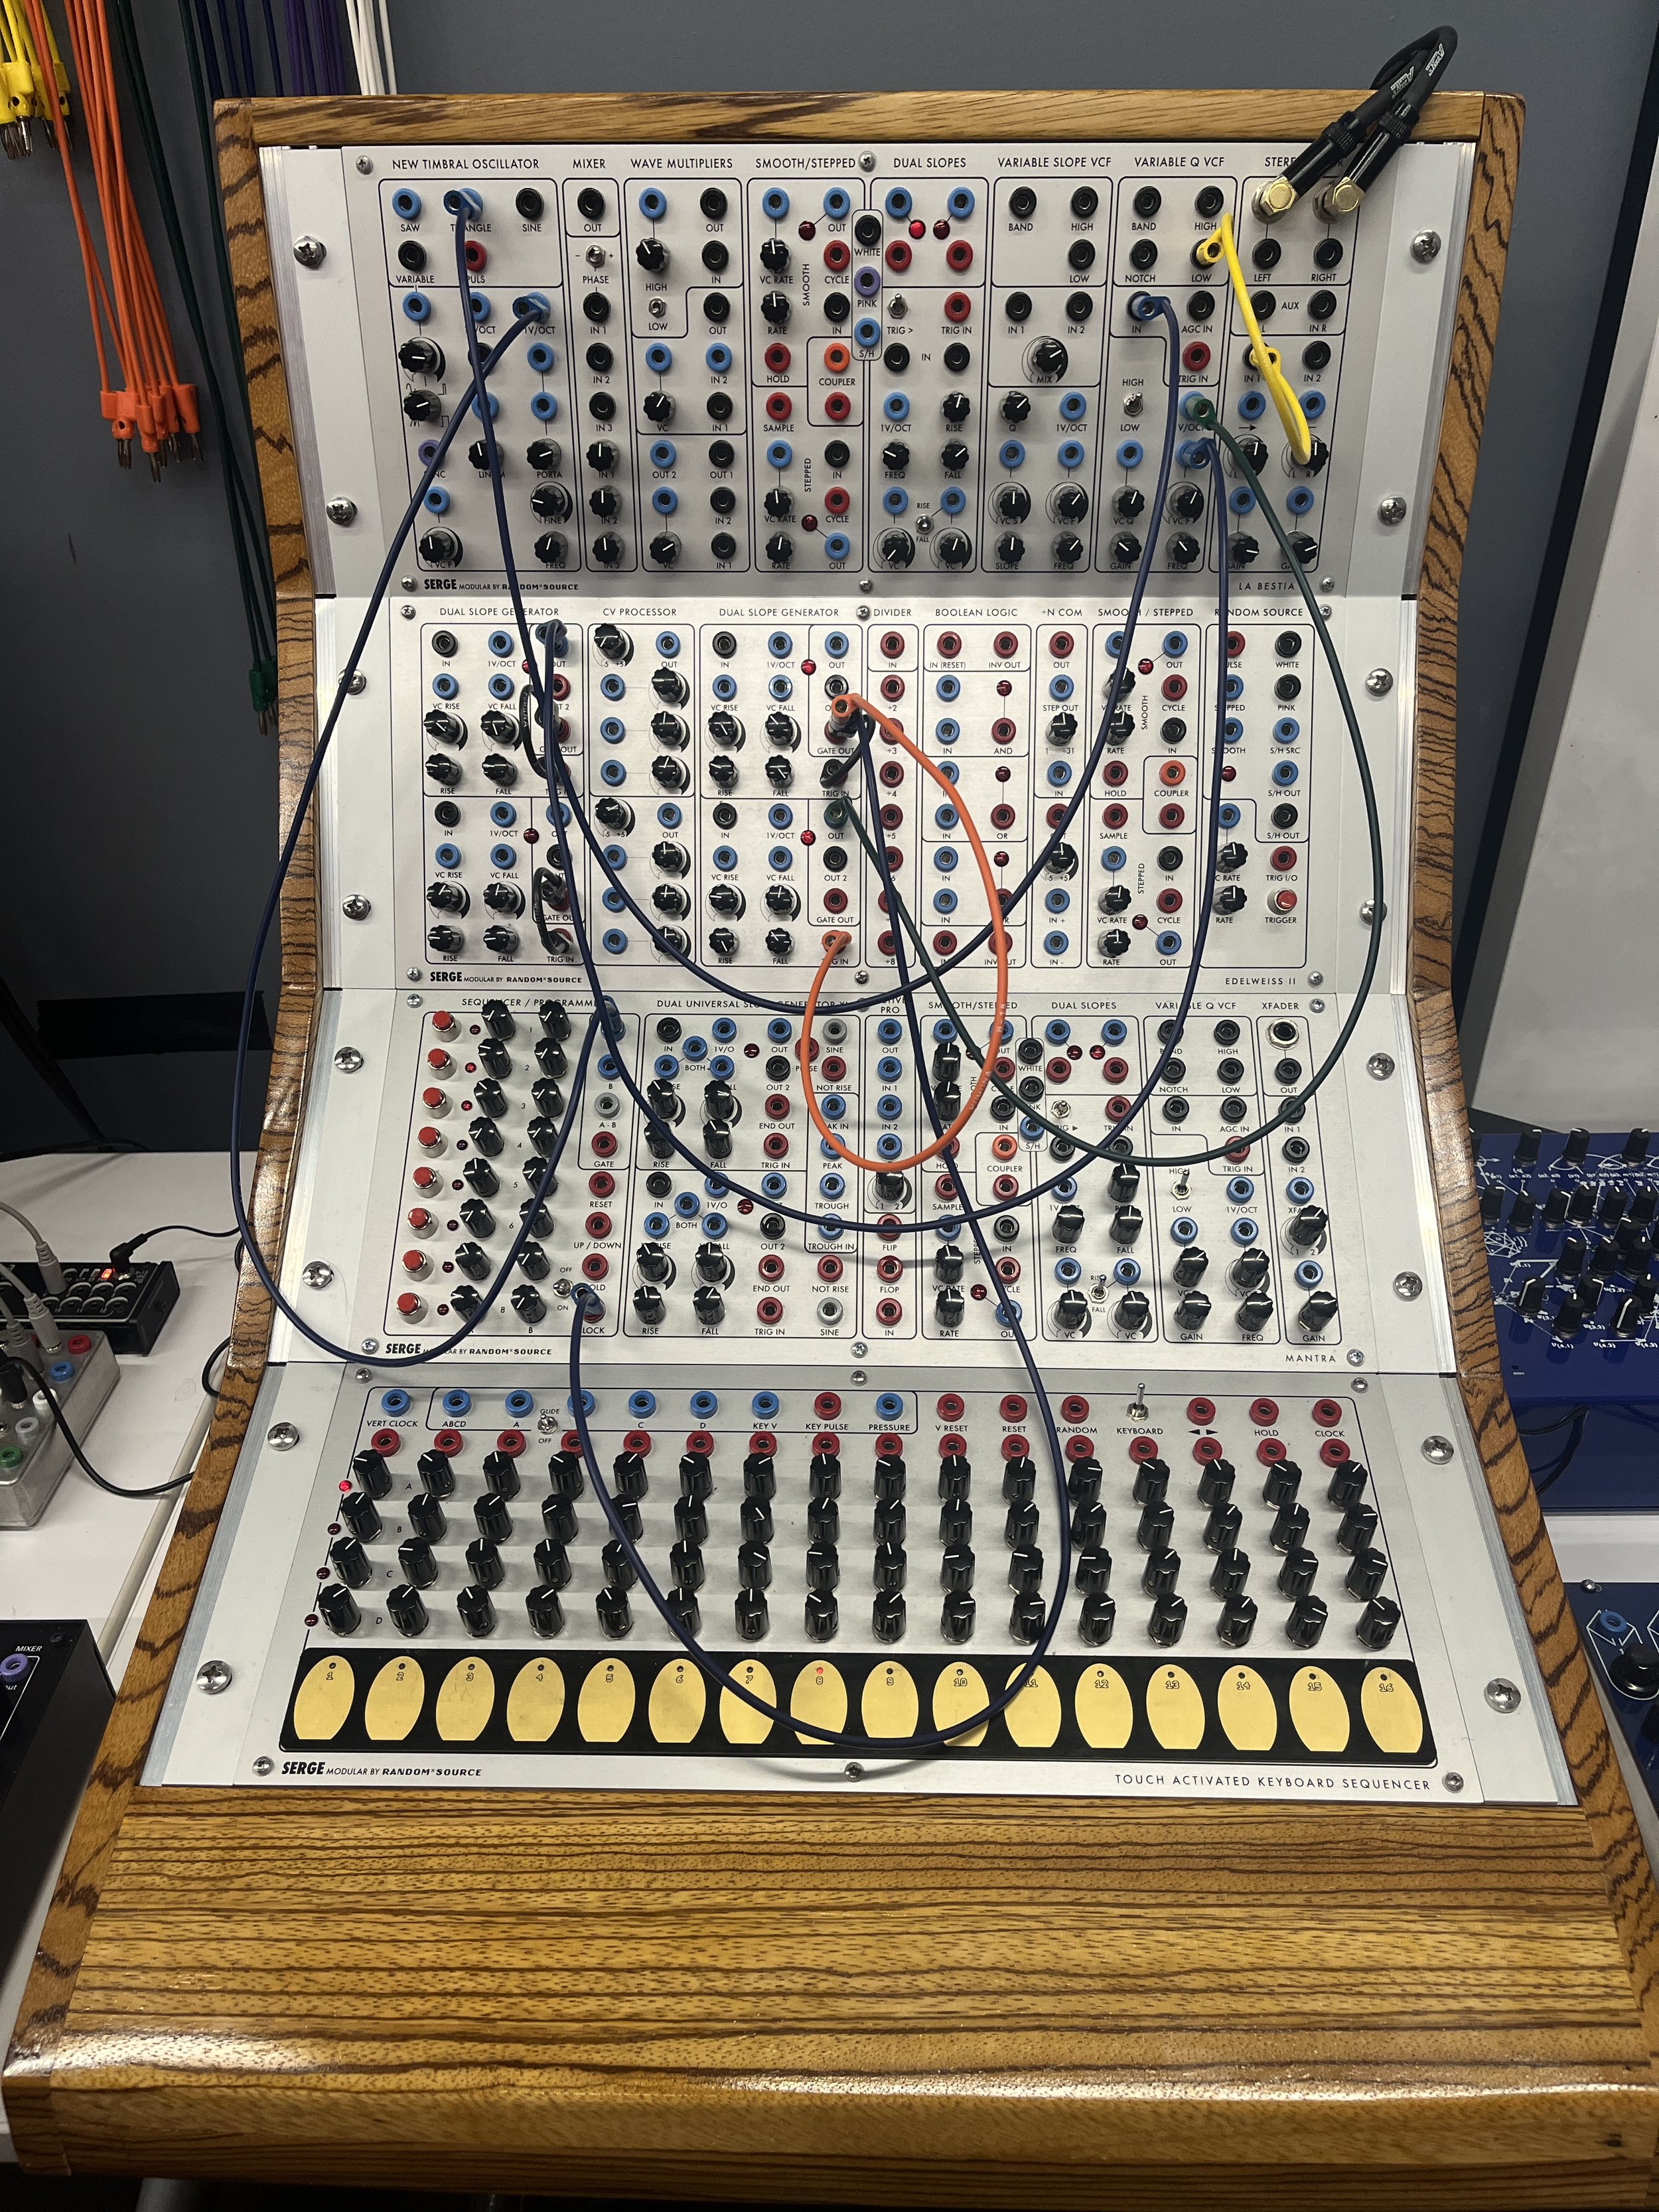
The lab is open to everyone and the people involved there are very knowledgeable. I went with Tres and we still don’t know enough about synths to get any sounds/beats working on the Serge modular synth we had some fun messing around with synthesizers that are non-modular (the ones with piano keys!). They provide super thorough documentation on how to use the synths on their website.

VCV Rack

I downloaded and played with VCV Rack a bit. I don’t really know what I am doing yet but it is fun to see how turning the knobs and changing up the patches changes the sound output. It will be good to use this to prototype different patches.

Envelopes, VCA, LFO

I’m not getting audio out of my headphones anymore when they’re connected to my teensy so I wasn’t able to complete this homework yet.

I have, however, been thinking about what my completed synthesizer might look like. I’m hoping to make an interFACE as part of my thesis which is about self-portraiture, sculpture, interface, and embodiment! Here’s a CRAZY scribble on some things I’m thinking about:


[Update 03/08] Examples from Class

This code comes from Jesse’s GitHub repo. I’m finding it helpful to go through the examples and see if I can understand what’s going on in synth land…

Envelope with harmonics

One button triggers the envelope (or the playing of a note) and another button cycles through different wave types (sine, pulse, triangle, sawtooth, and square). When you press the trigger button, four waveforms play all at once, one octave apart, creating harmonics. Four potentiometers control the attack, decay, sustain, and release of each note.

Envelope with harmonics and filter with LFO🤯

The two buttons have the same function in this example. One button triggers the envelope but there’s a continuous signal playing simultaneously —? don’t really know whats going on in this one

It is at this point that I had a 1.5 hr office hour with Jesse because I had some weirdness with my circuit and turns out I do not know how to wire up a button!!!!🤬

Now that I think this hardware and sketch is working as it should, I can confirm that the two buttons and the potentiometers have the same functions as the earlier example but the potentiometer on A17 adjusts the frequency of the LFO. As I increase the LFO frequency it increases the speed and the number of wobbles I heard on the audio output.


Noise Envelope

This example plays a series of noise envelopes. Each button calls a function that shapes the noise into a hi hat, swell, click pop, or keyboard key sound. A potentiometer adjusts the amplitude of the envelopes.

FM Voice LFO Modulation

This example actually only uses one button. The potentiometer on A14 adjusts the frequency of of waveform 1. Potentiometer A15 adjusts the amplitude. The potentiometer on A16 adjusts the frequency and A17 adjusts the amplitude of waveform 2. From what I can understand, waveform 1 is the modulator frequency for frequency modulation of waveform 2.

FM Voice LFO and Envelope Modulation

I am not actually sure what this example does but it sounds cool. When I press button 0, it plays a note which kinda sounds like a laser gun sound effect. Turning potentiometer A17 seems to make the note longer and A14 seems to change something with the pitch. From looking at the code, I don’t think A15 does anything.

Code LFO

A low frequency oscillator is inaudible and modulates signals to slowly alter parameters over time. Button 0 triggers the envelope and button 1 changes the shape of the wave. This code generates a sine wave LFO (attack) and the potentiometers control the decay, sustain, and release of the envelope.

[ITP: Designing Your Synth Voice] Baby's First Synth

For this week’s homework, I set up my Teensy 4.0 and the Audio Shield using the Audio Workshop tutorial from PJRC as a starting point. Here’s how my hardware is hooked up for now:

While I’m just getting started with analog synthesis, I thought I would just go through the examples shown in class.

Waveform

This example just lets you adjust the frequency of waveform output by turning a potentiometer. The i2s block is included in basically all applications of the Audio Library because it transmits 16-bit stereo audio to the shield.


Waveform with button cycle

This example is the same as the last one but you can cycle through different shape for the sound wave (sine, square, triangle, pulse, sawtooth) using a button press. Same flow diagram as the previous example.


Harmonics

Again a button controls the shape of the signal. The sketch plays a waveform and signals one and two octaves below. Potentiometers control the gain of the three waves. The mixer block combines up to four audio signals together.

Mixer software block


Harmonics with filter

In this example, the button does its thing. The first two potentiometers control the gain of a base frequency and its harmonic (base frequency / 2). The third potentiometer changes the cutoff frequency of a low pass filer.


Detuning

In this example, the first potentiometer controls the base frequency. A second potentiometer controls the detuned frequency. I’m pretty sure when these two waves are played at the same time it creates beats.


Detuning with filter

Same detuning strategy as above but the third potentiometer controls the cut off frequency of a high pass filter.

I ended up skipping the last example from the class Github because it required SD card playback. Don’t have one of those yet. One weird thing I did encounter is that the headphone jack on the Audio Shield is a little bit iffy. Like my headphones need to be plugged in at just the right depth to heard any audio, bumping it could affect the output…

References

Class 2 Github repo

PJRC Audio Workshop Tutorial

[ITP: Designing Your Synthetic Voice] Cringe Comfort

I used to have a much stronger relationship with my music taste. My taste in music used to mean so much to me and was a big part of my identity in high school. I mostly listened to emo, rock, alternative, bla bla in my formative years. I used to rip and burn all my friends CD’s and go to concerts. I took pride in being a snob haha. Music was such a big part of my life, I had played classical piano for years, violin in my high school orchestra, and even picked up guitar for a bit. Here I am playing a song at my senior recital.
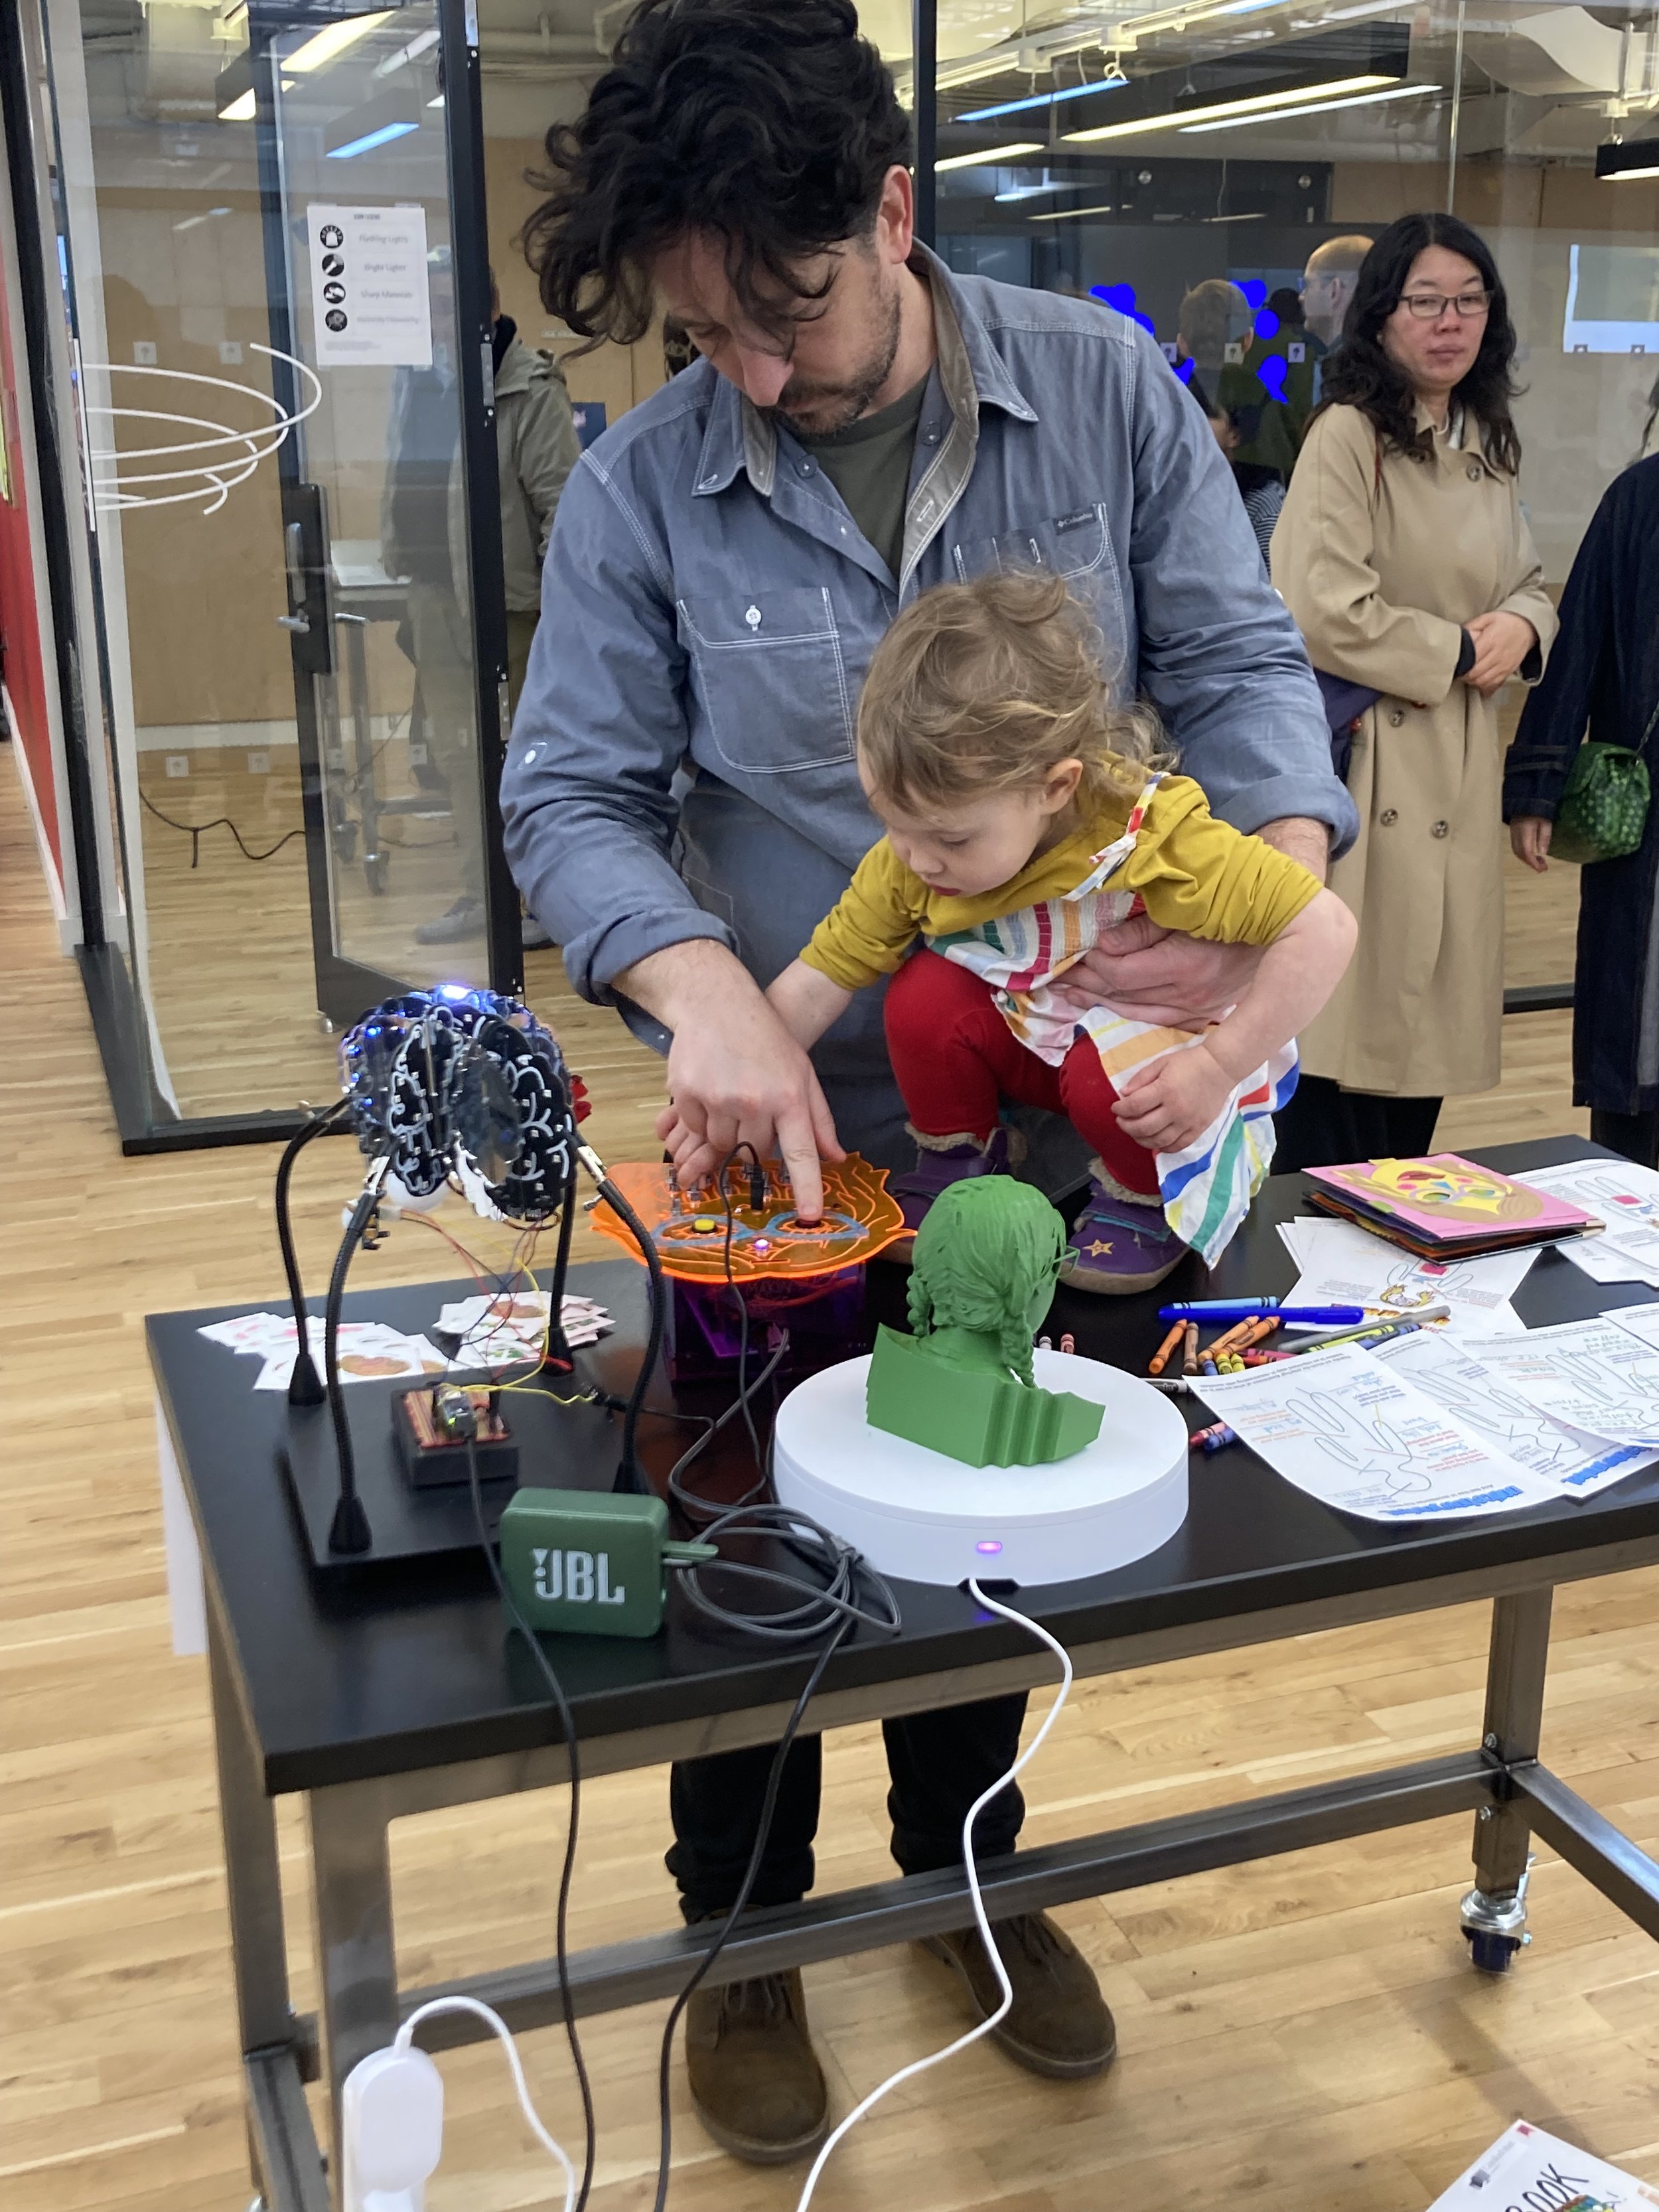
It got too exhausting trying to keep up with all the more informed music-people so these days I’m a really casual listener, maybe even too casual. I’ve lost track of my own tastes and preferences. I’ll basically listen to whatever Spotify tells me I like.

Voice of the past

Usually I prefer music played by a band with traditional instruments, a lot of like indie, folk, and R&B, but I started to think a bit about my relationship with electronic music. I listened to some albums that I still really like that have some electronic components and tried to identify what I liked about them. Here are some era’s of past-Priyanka music taste:

Height of 2012 indie hipster cringe core

It wasn’t cringe at the time, but I sometimes do looking back on what I loved. Cringe isn’t always bad, I think it’s something to lean into! Listening to this music made me into the person I am today. We’re talking Washed Out, Passion Pit, The Postal Service, Crystal Castles, Grimes, MGMT, Kishi Bashi …

One of my favorite albums from that era is Merriweather Post Pavilion by Animal Collective.

What I like about it: floaty, mushy, reverb, airy, sparkly, punchy, vocals, what’s he saying?!, kinda feels like you’re outside, daylight, rhythm


80’s alternative synth pop? art pop? dream pop?

Think Talking Heads, Kate Bush, and Cocteau Twins. Honestly, I’m so music illiterate, I’m not really sure if these truly fall under this genre. I feel like I can hear electronic components in this music sometimes, but are they even using any synths? Maybe!

Brotherhood by New Order

What I like about it: dark, crisp, fast, dynamic, sharp, moody, gloomy, whiny


90s House: World Clique, Deee-Lite

I guess I don’t really listen to any other 90s house but I had a phase where I listened to this album a lot.

What I like about it: punchy, beat, bass line, simple lyrics, simple melody, dance, fast, fun, repetitive, catchy, funky, organ, hard yet moments of softness, samples


<3 Mort Garson’s Plantasia <3

Real analog synth, right?! His artist profile pic on Spotify shows him sitting in front of one, so it better be!

What I like about it: whimsical, magical, can visualize a plant growing, triumphant, melodic, rhythmic, charming, uplifting, can focus on other things while listening but interesting enough to focus on the music as well


Makin my own electronic music

I also just remembered that I took a music technology class in my undergrad. We learned to work with DAW’s like Logic Pro and Ableton and I think I even messed around with the SuperCollider programming language. I uploaded some of my weird experiments to this SoundCloud profile.