Ok, these are the vibessss
I always wanted a cartoon sidekick like Lizzie McGuire
Also, my dear friend Lita shared another artistic reference that I think is super relevant to this project: Milford Graves, A Mind-Body Deal… will look into this in more depth in the future. When there’s more time…
Finishing up Womb
No words, just pictures.
Big mess!
Arduino Nano 33 IoT documentation
Oh okay, here are some words! One of the things I was desperately trying to accomplish with my washing machine was to use only one power supply. The motor runs on 24V and the LEDs need 5V and the max input voltage to the Arduino VIN pin is 21V. I monkeyed with the LM317 voltage regulator to step down the 24V to something the Arduino could handle. Bianca shared this super handy website to calculate the resistors needed to step down using the LM317. The voltage regulator got hot, but I was getting the expected voltage out and was able to power my Arduino Nano 33 IoT. However, the LEDs were not lighting up and I only measured ~2.5V out of the 5V pin. Turns out the Arduino can’t generate 5V if it is being powered externally.🤦🏽♀️
So, the current setup has two power supplies coming out of the washing machine but a future project would be to use another voltage regulator to create a 5V rail and only use the 24V power supply to run the whole system.
Installation Design
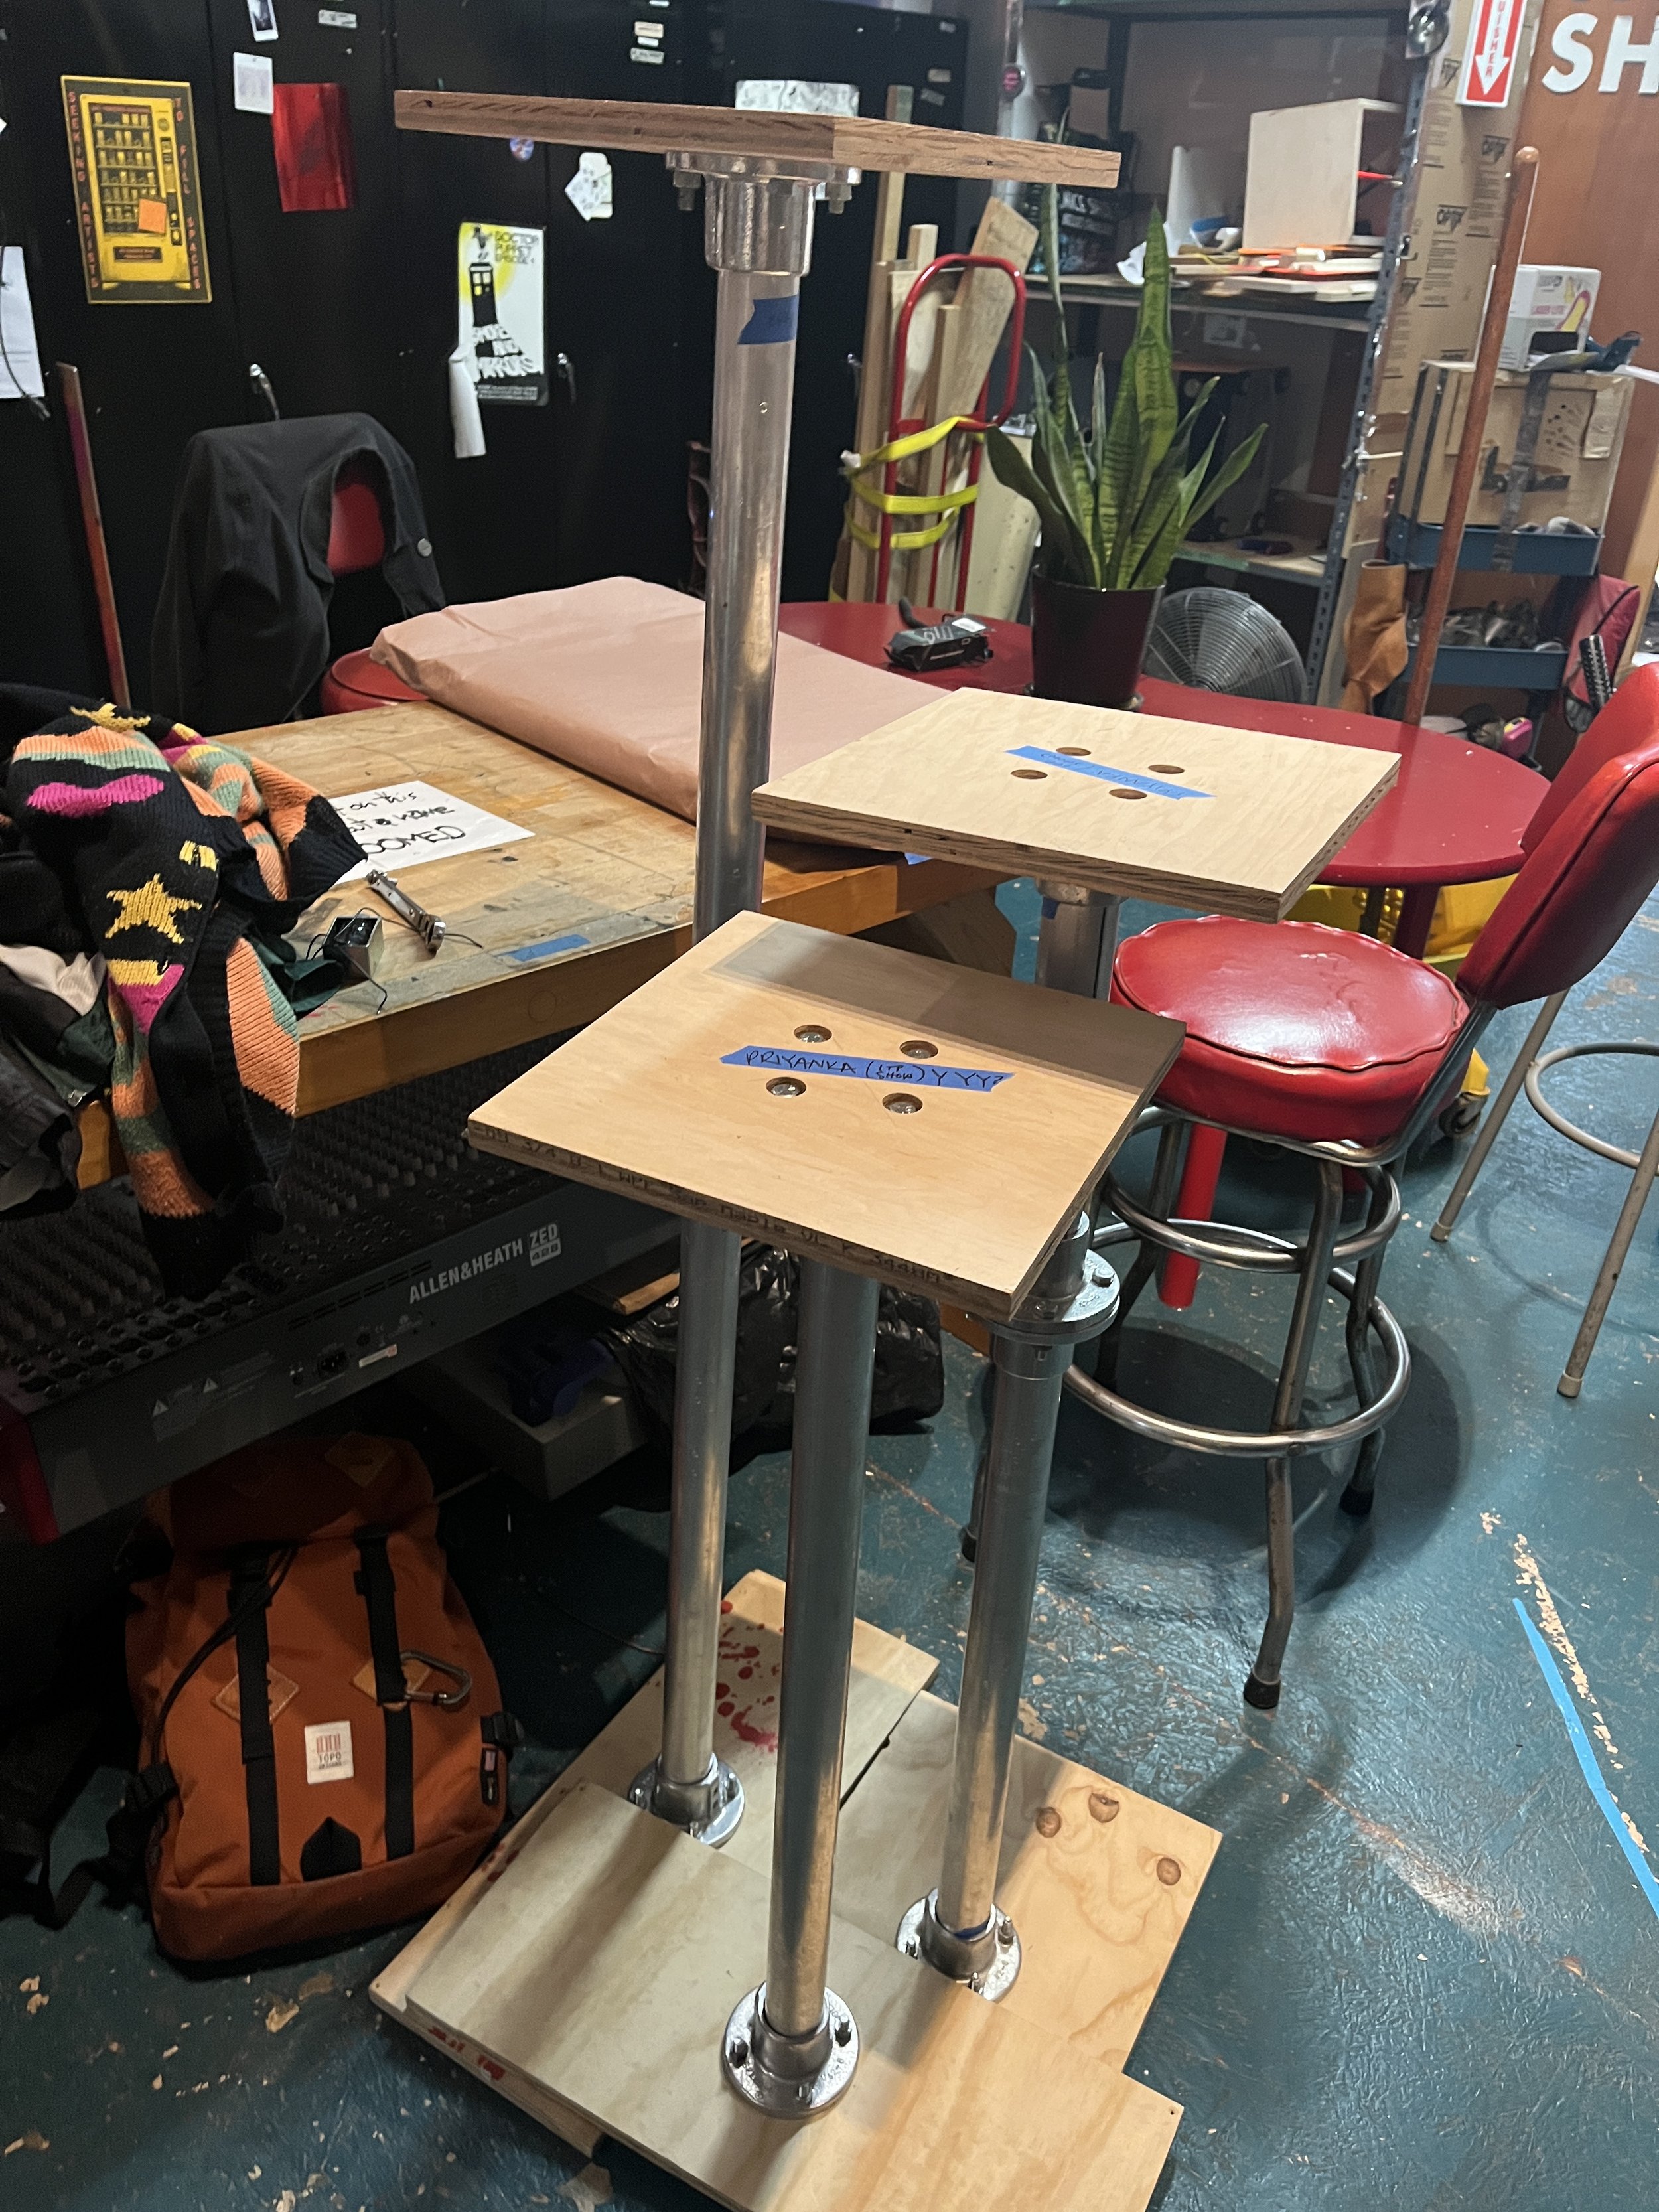
Something I was really unsure about was how all the artifacts would come together into one art piece or installation. I really didn’t want to just put all my stuff on a table for people to look at… it is supposed to resemble a body afterall. With my time and budget being what it was, I decided to go with something that was suggested to me in the alumni feedback sessions: put all the sculptures on uniform pedestals or columns.
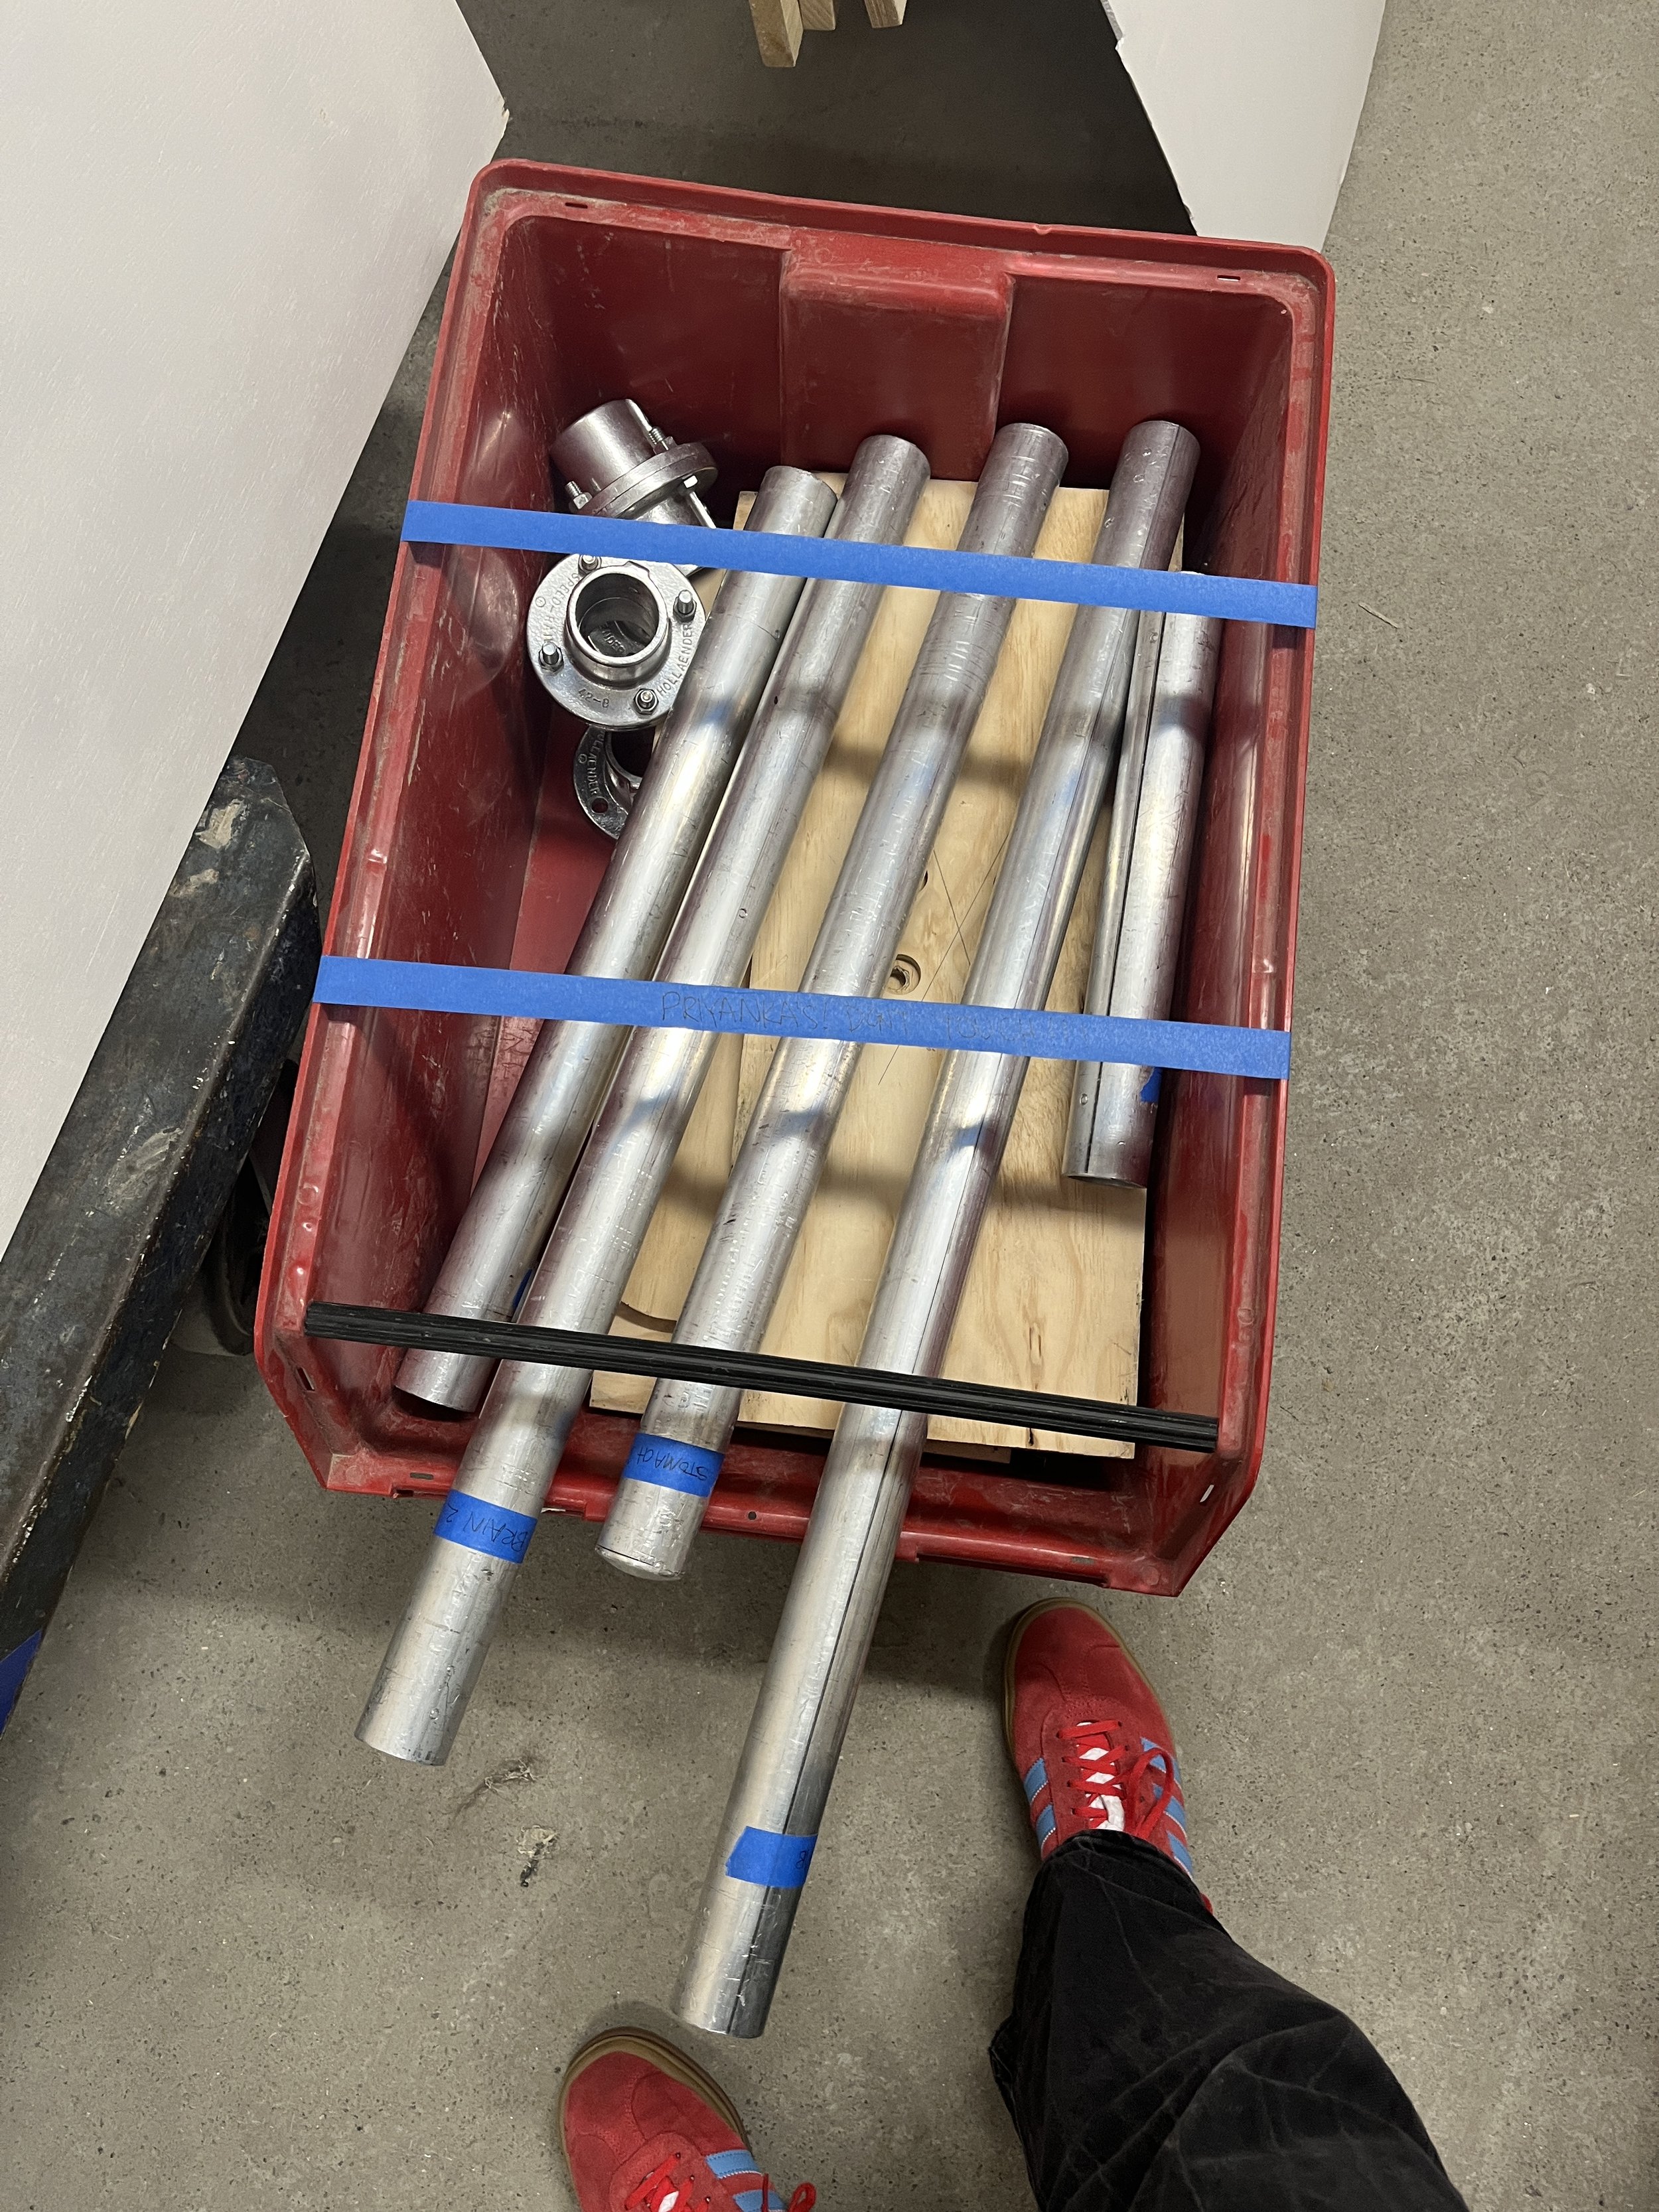
Originally I had hoped I would be able to create cardboard stands for all my sculptures that would be in the shape of legs. However, based on some office hours I had with Ian in the shop it became apparent that the cardboard might not be able to hold up the heavier sculptures. I opted to use our department’s speed rail and I sifted through the random length pipes to make three pedestals that were at Priyanka brain, stomach, and womb height.
Handout
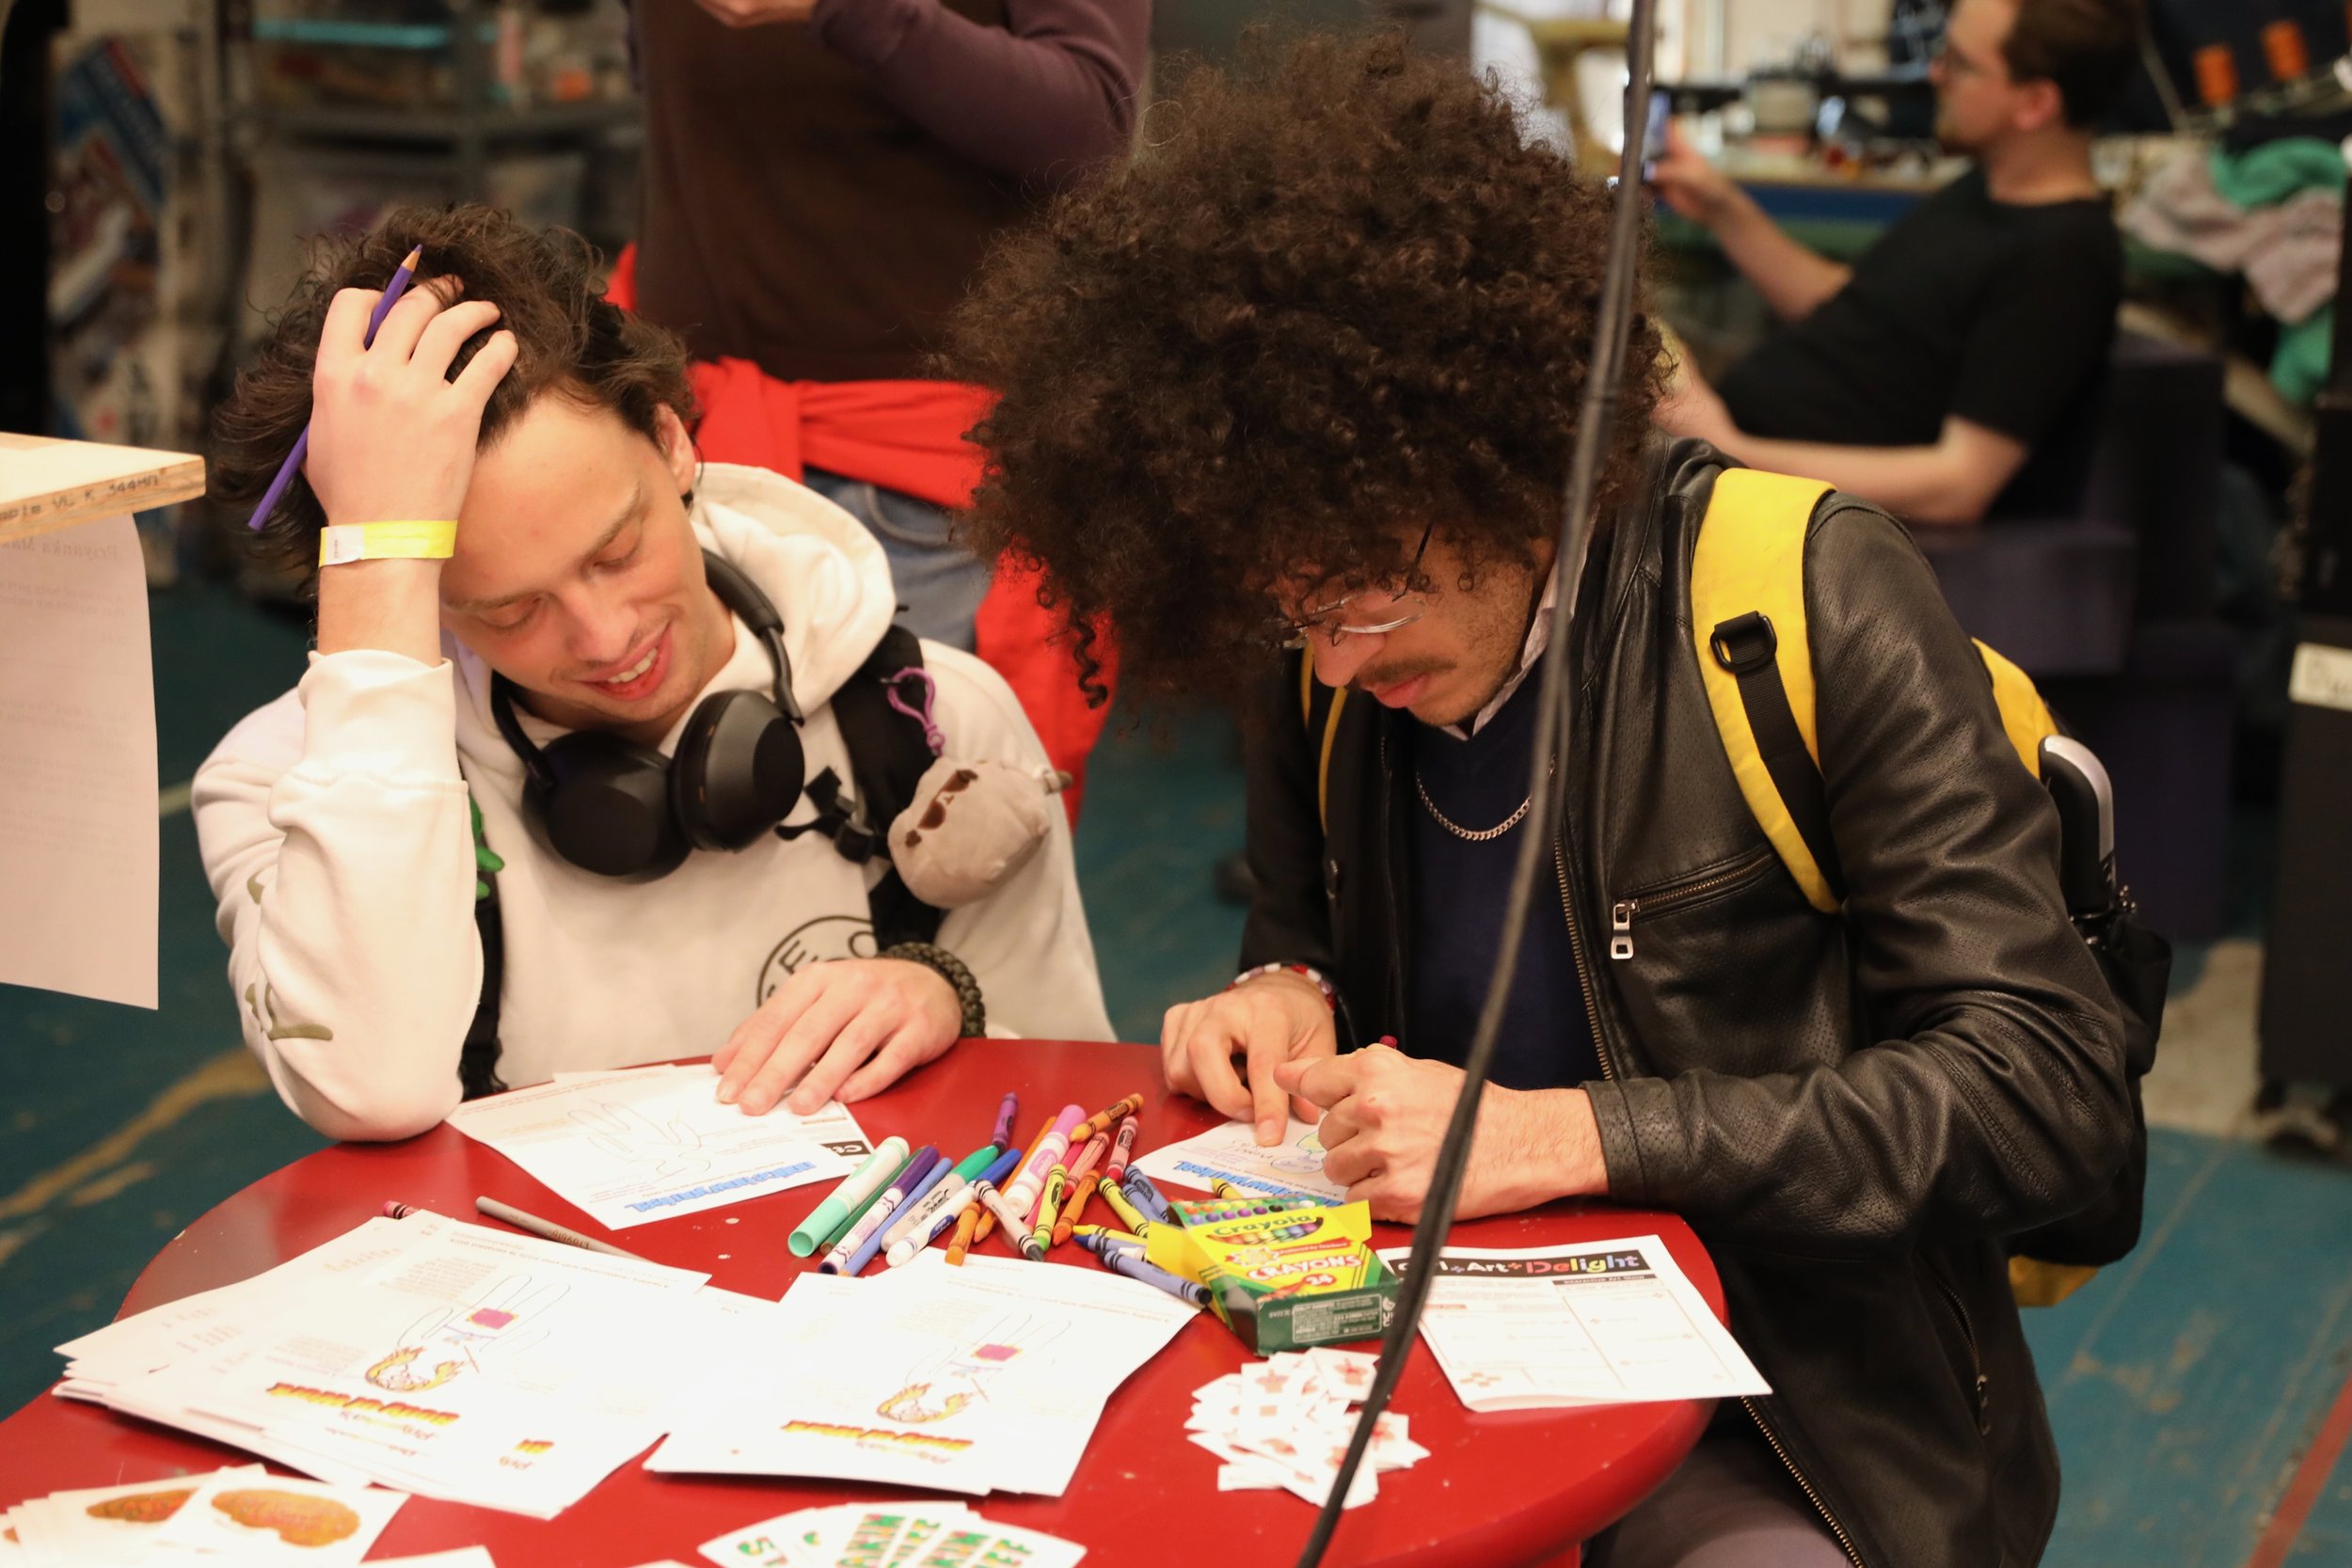
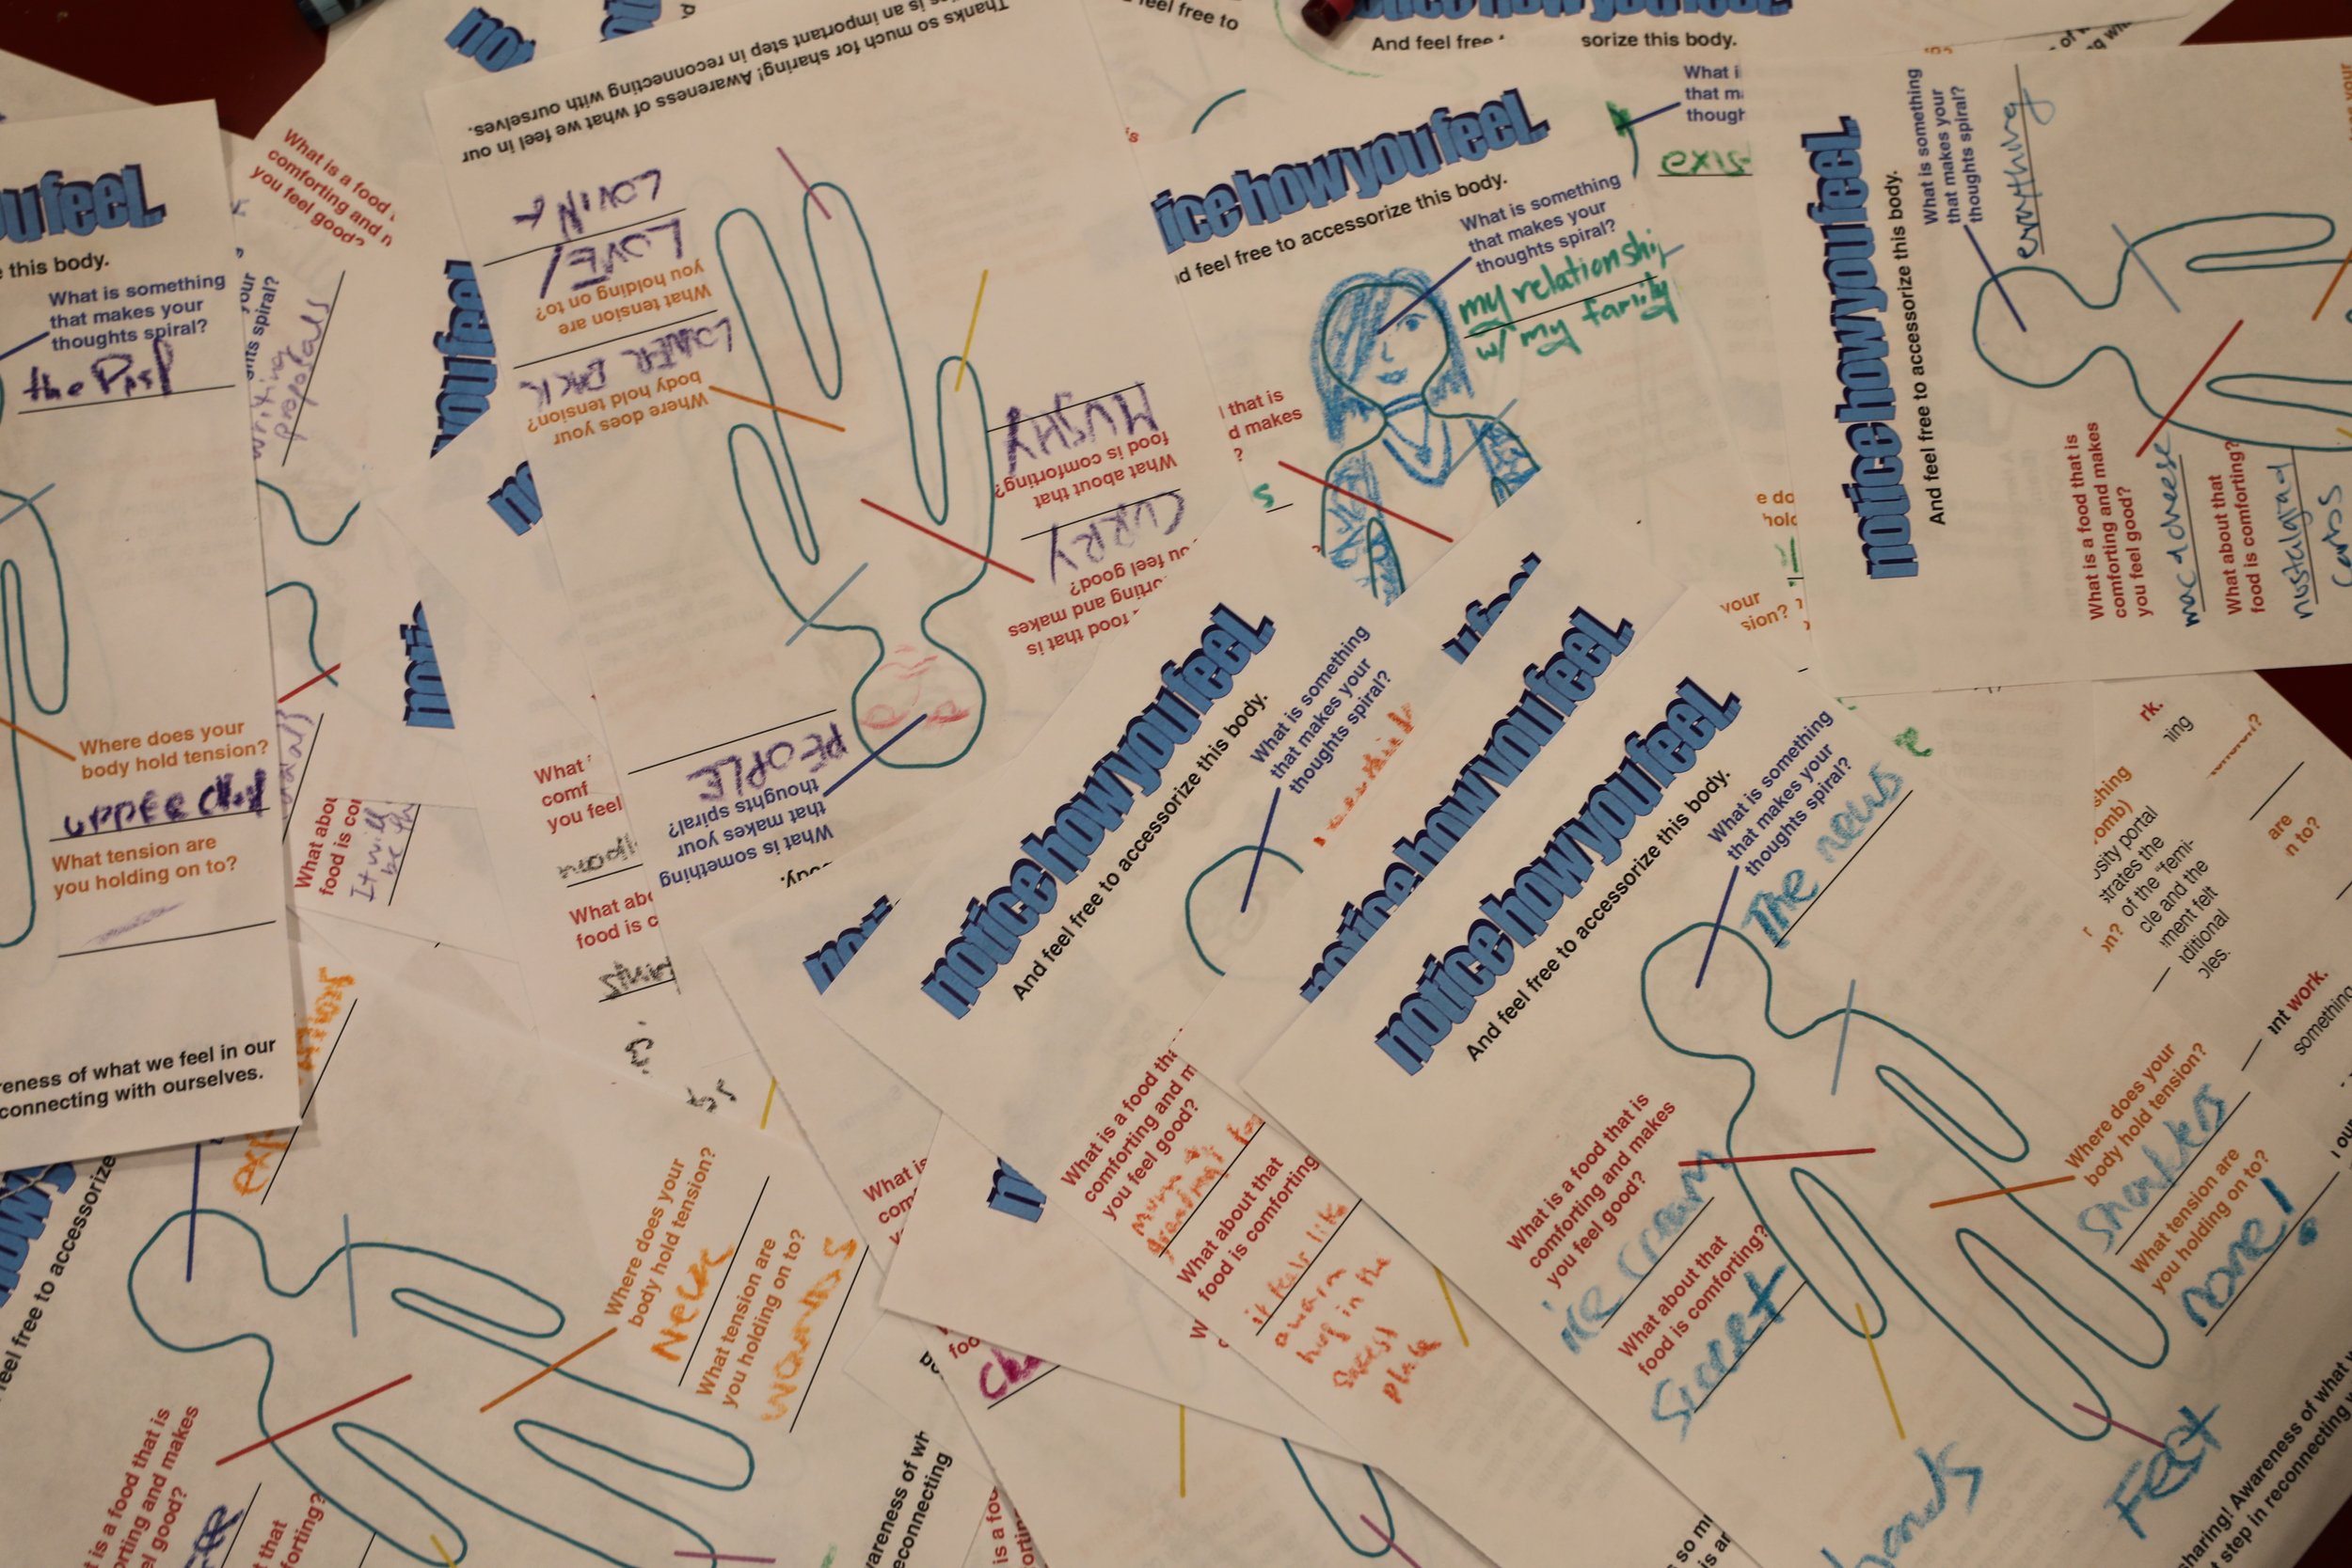
Because there are multiple parts to my thesis and the work I’m presenting is really personal to me, I decided to create a little handout to give viewers some context for my work. I wanted to invite the viewer to check in with themselves and I offered them a guided body-scan meditation based on what I learned in making my “embodiments”.
I placed these handouts with a box of crayons on a table next to my sculptures and I got surprisingly many responses! I collected all the responses in this google spread sheet and I’ve scanned some special ones. Not sure what this data means or adds to my project yet…
3D scan and print head
My buddy Kay told me that they just got their face scanned at NYU’s LaGuardia Studio and got the majority of the cost covered by grant money we have at ITP, and that it might be something relevant to my project as well. So I took their idea and ran with it. Laguardia is such a great resource to ITP students and they were really quick with post-processing and sending the files.
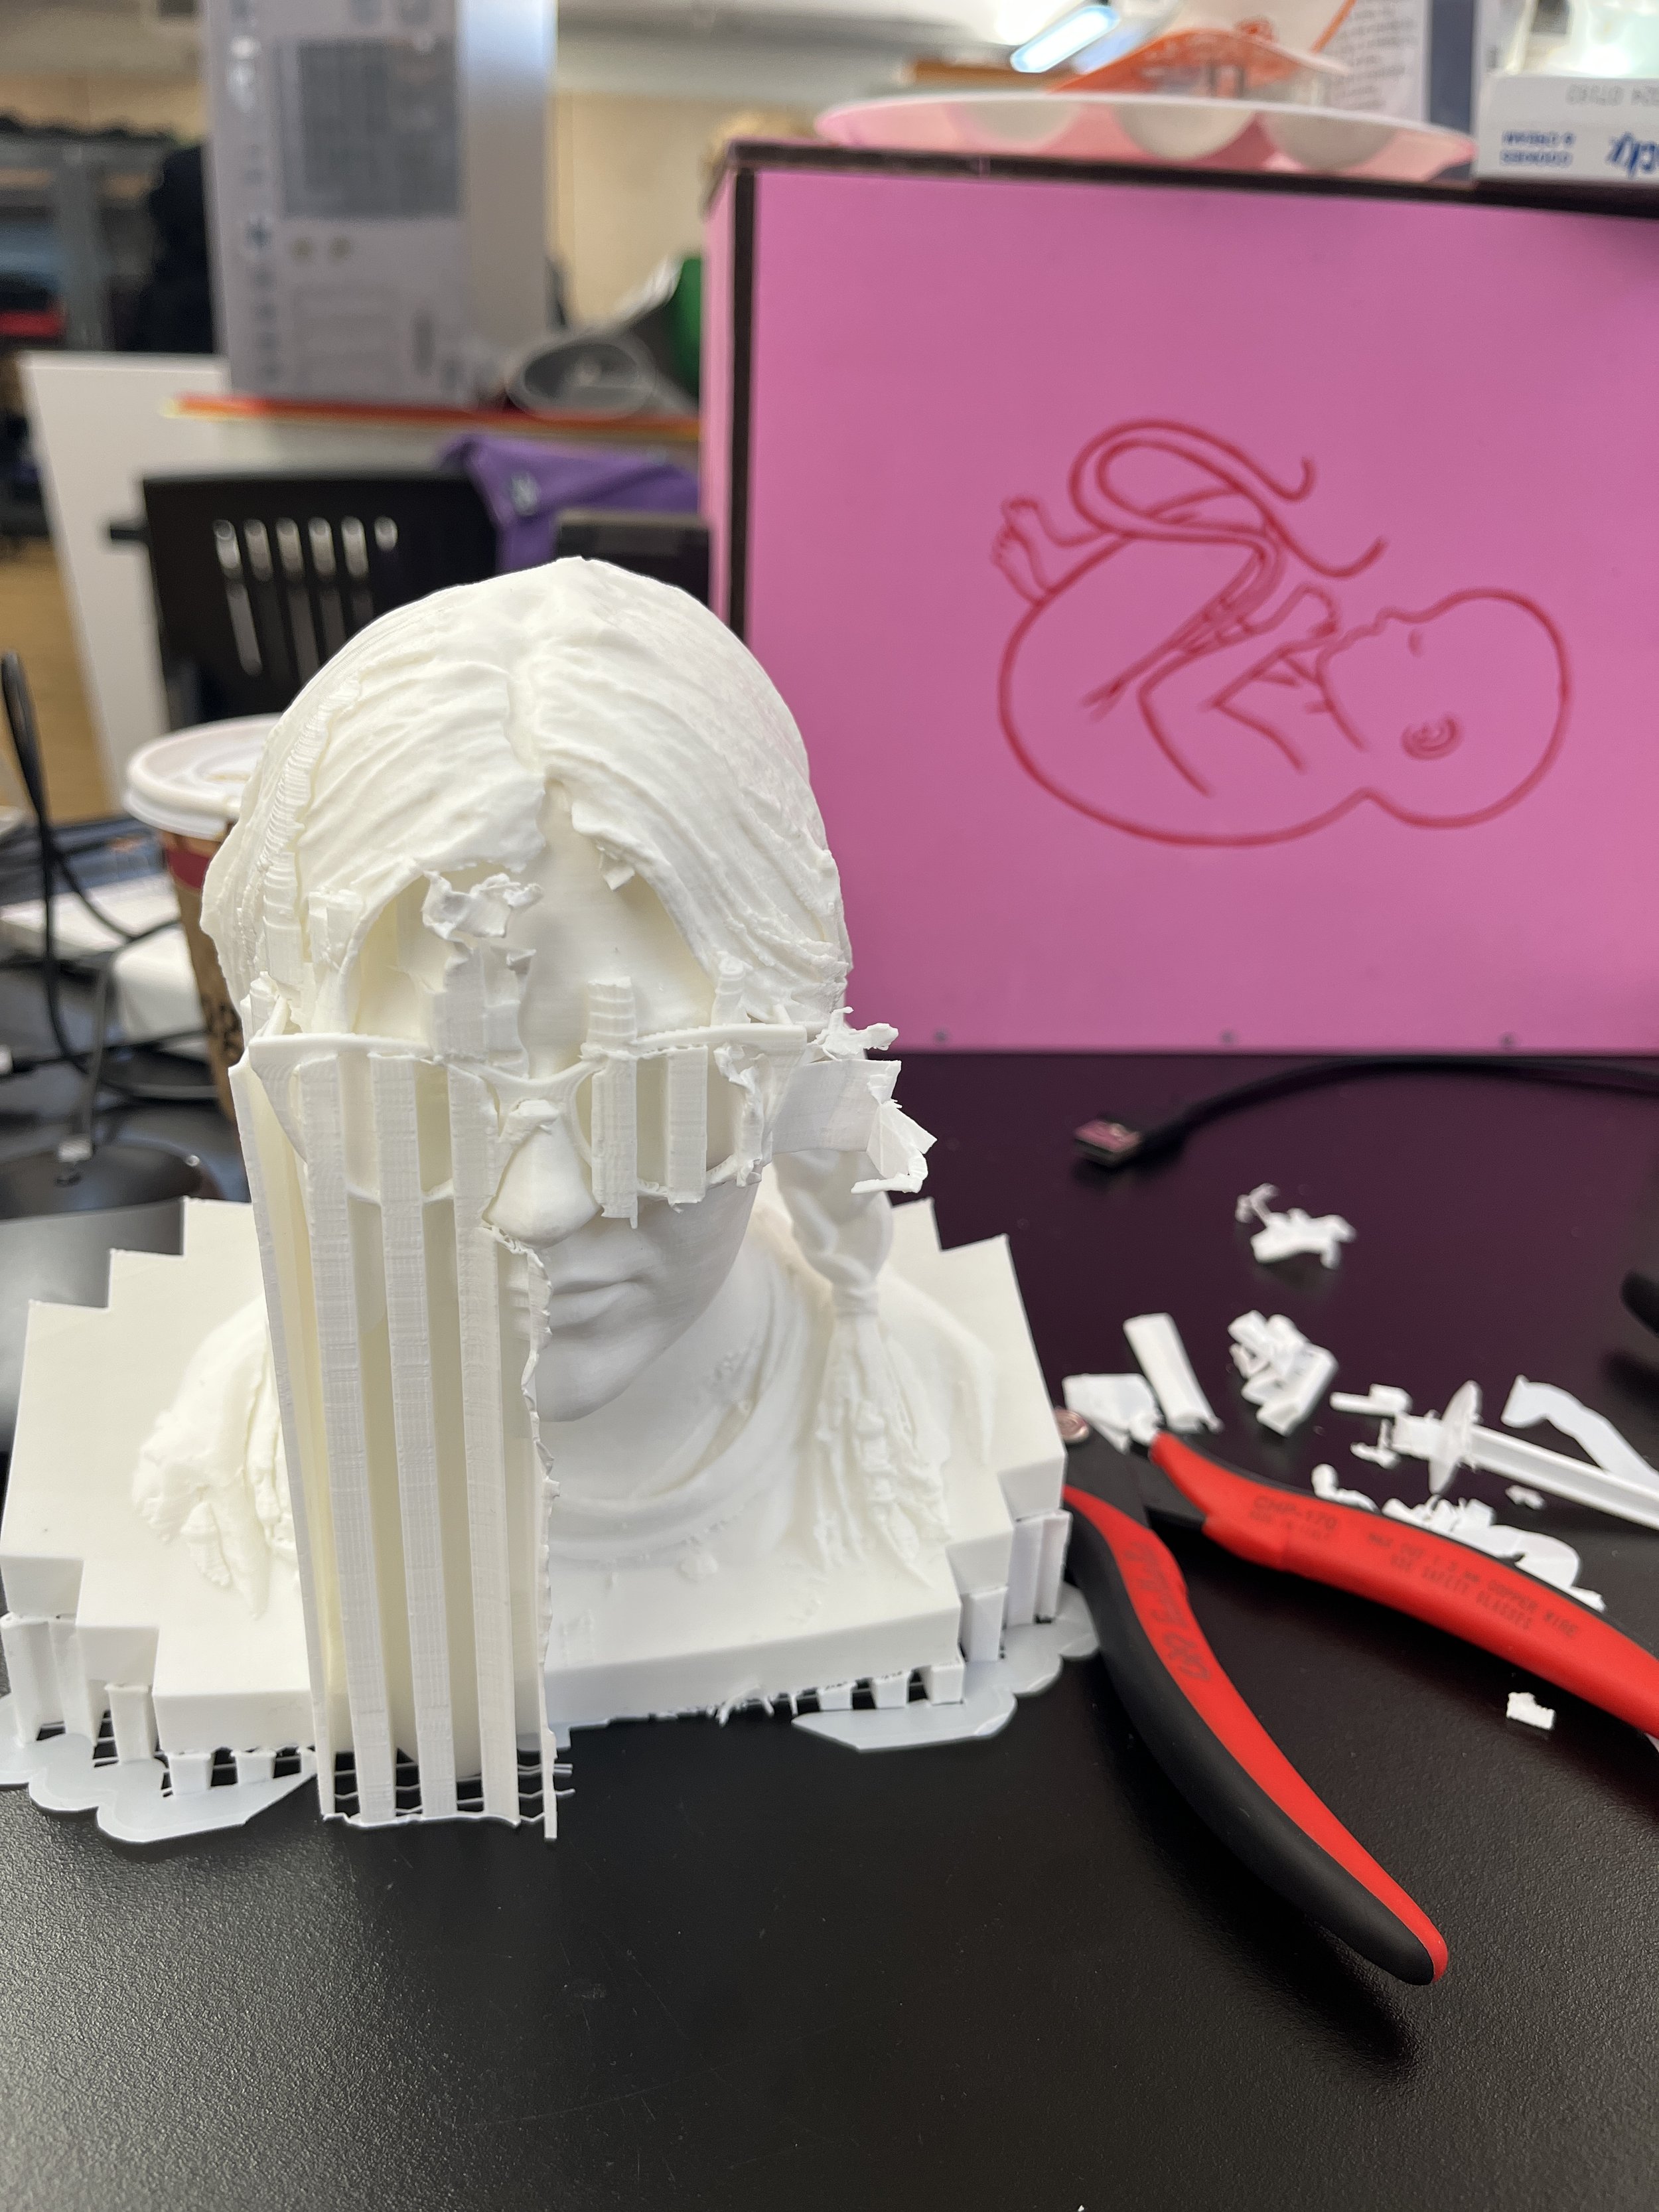
I was able to bribe my buddy Mat with a milkshake to help me get the scan ready to 3D print. He helped me get the super large file into Blender and simplify the mesh. To get a good scan, I had to remove my glasses and some of my jewelry but those are really important to the Priyanka-aesthetic. Mat modeled my glasses for me and helped me add the finishing touches of a septum ring and base.
Before printing, we dialed in some settings in Cura, specifically the nozzle speed and layer height which both affect the quality (and time) of the final print. My 5 inch head took 1 day and 5 hours to print … on the big special printer! <3
modelling glasses in Fusion
close up
support material in Cura
Ok, those 3D printer lovers never tell you how much work it can be to remove the print supports! I thought they would just fall away easily. Nope! It took a lot of force, care, time, and cutters+pliers to remove them. The only issue I really ran into is that the glasses ended up being really thin and they were super delicate. I broke them a few times, but it was nothing that some super glue couldn’t fix.
Projected head
So my last little gimmick I wanted to make was my projected head, bopping around on the floor. You know, like how logos are sometimes illuminated on the floor when you open the door of a luxury car? I also wanted to join all the projection cool kids. But you know what this means, right? I needed to revisit the infamous Hypercinema Cornell Box…
I made a new Unity project and plopped my head scan (.obj) in there. I also found the old assets from Gabe’s class to get a box. I mostly followed this tutorial to write the script to get my head bouncing around. To get this animation made, it honestly was a bunch of googling and youtube tutorials, the helpful ones I’ve linked below. To get the head to look like it was bouncing around in emptiness, I turned off the skybox under the camera settings and changed the background color to black. Once the physics of the “game” was all sorted out and the scene looked right, I just built the Unity project which makes it really easy to run.
C + A + D show
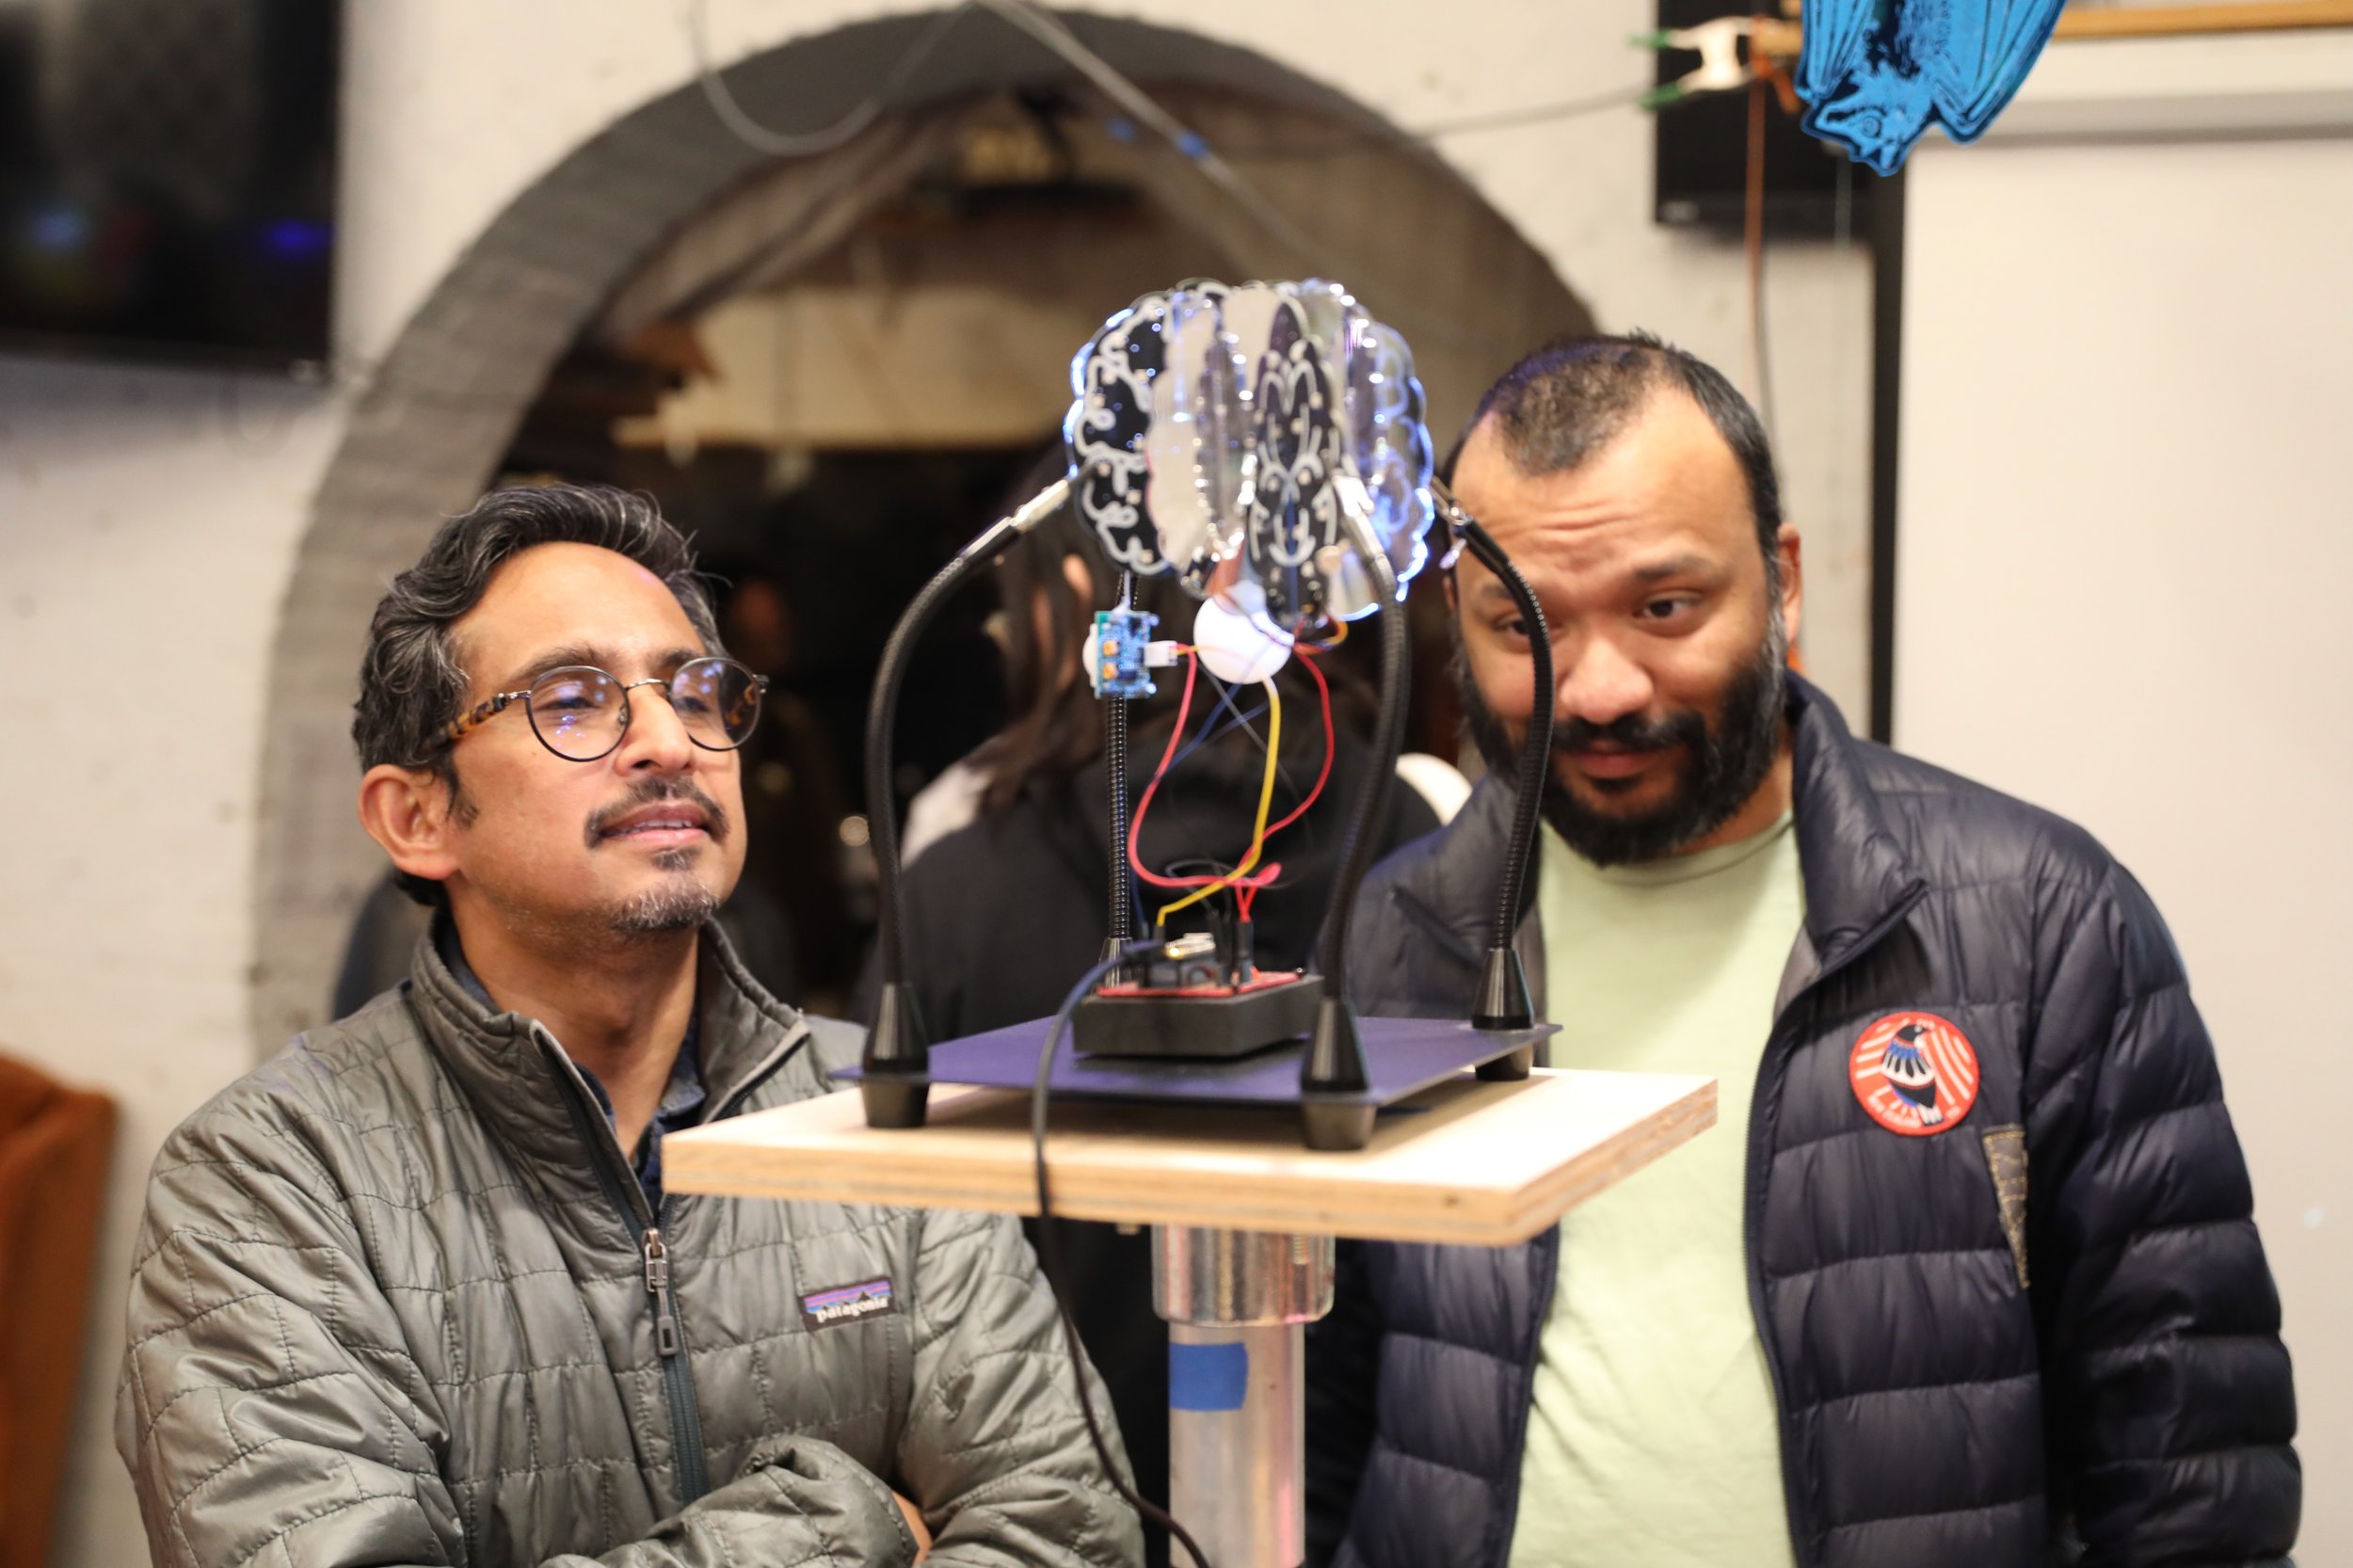
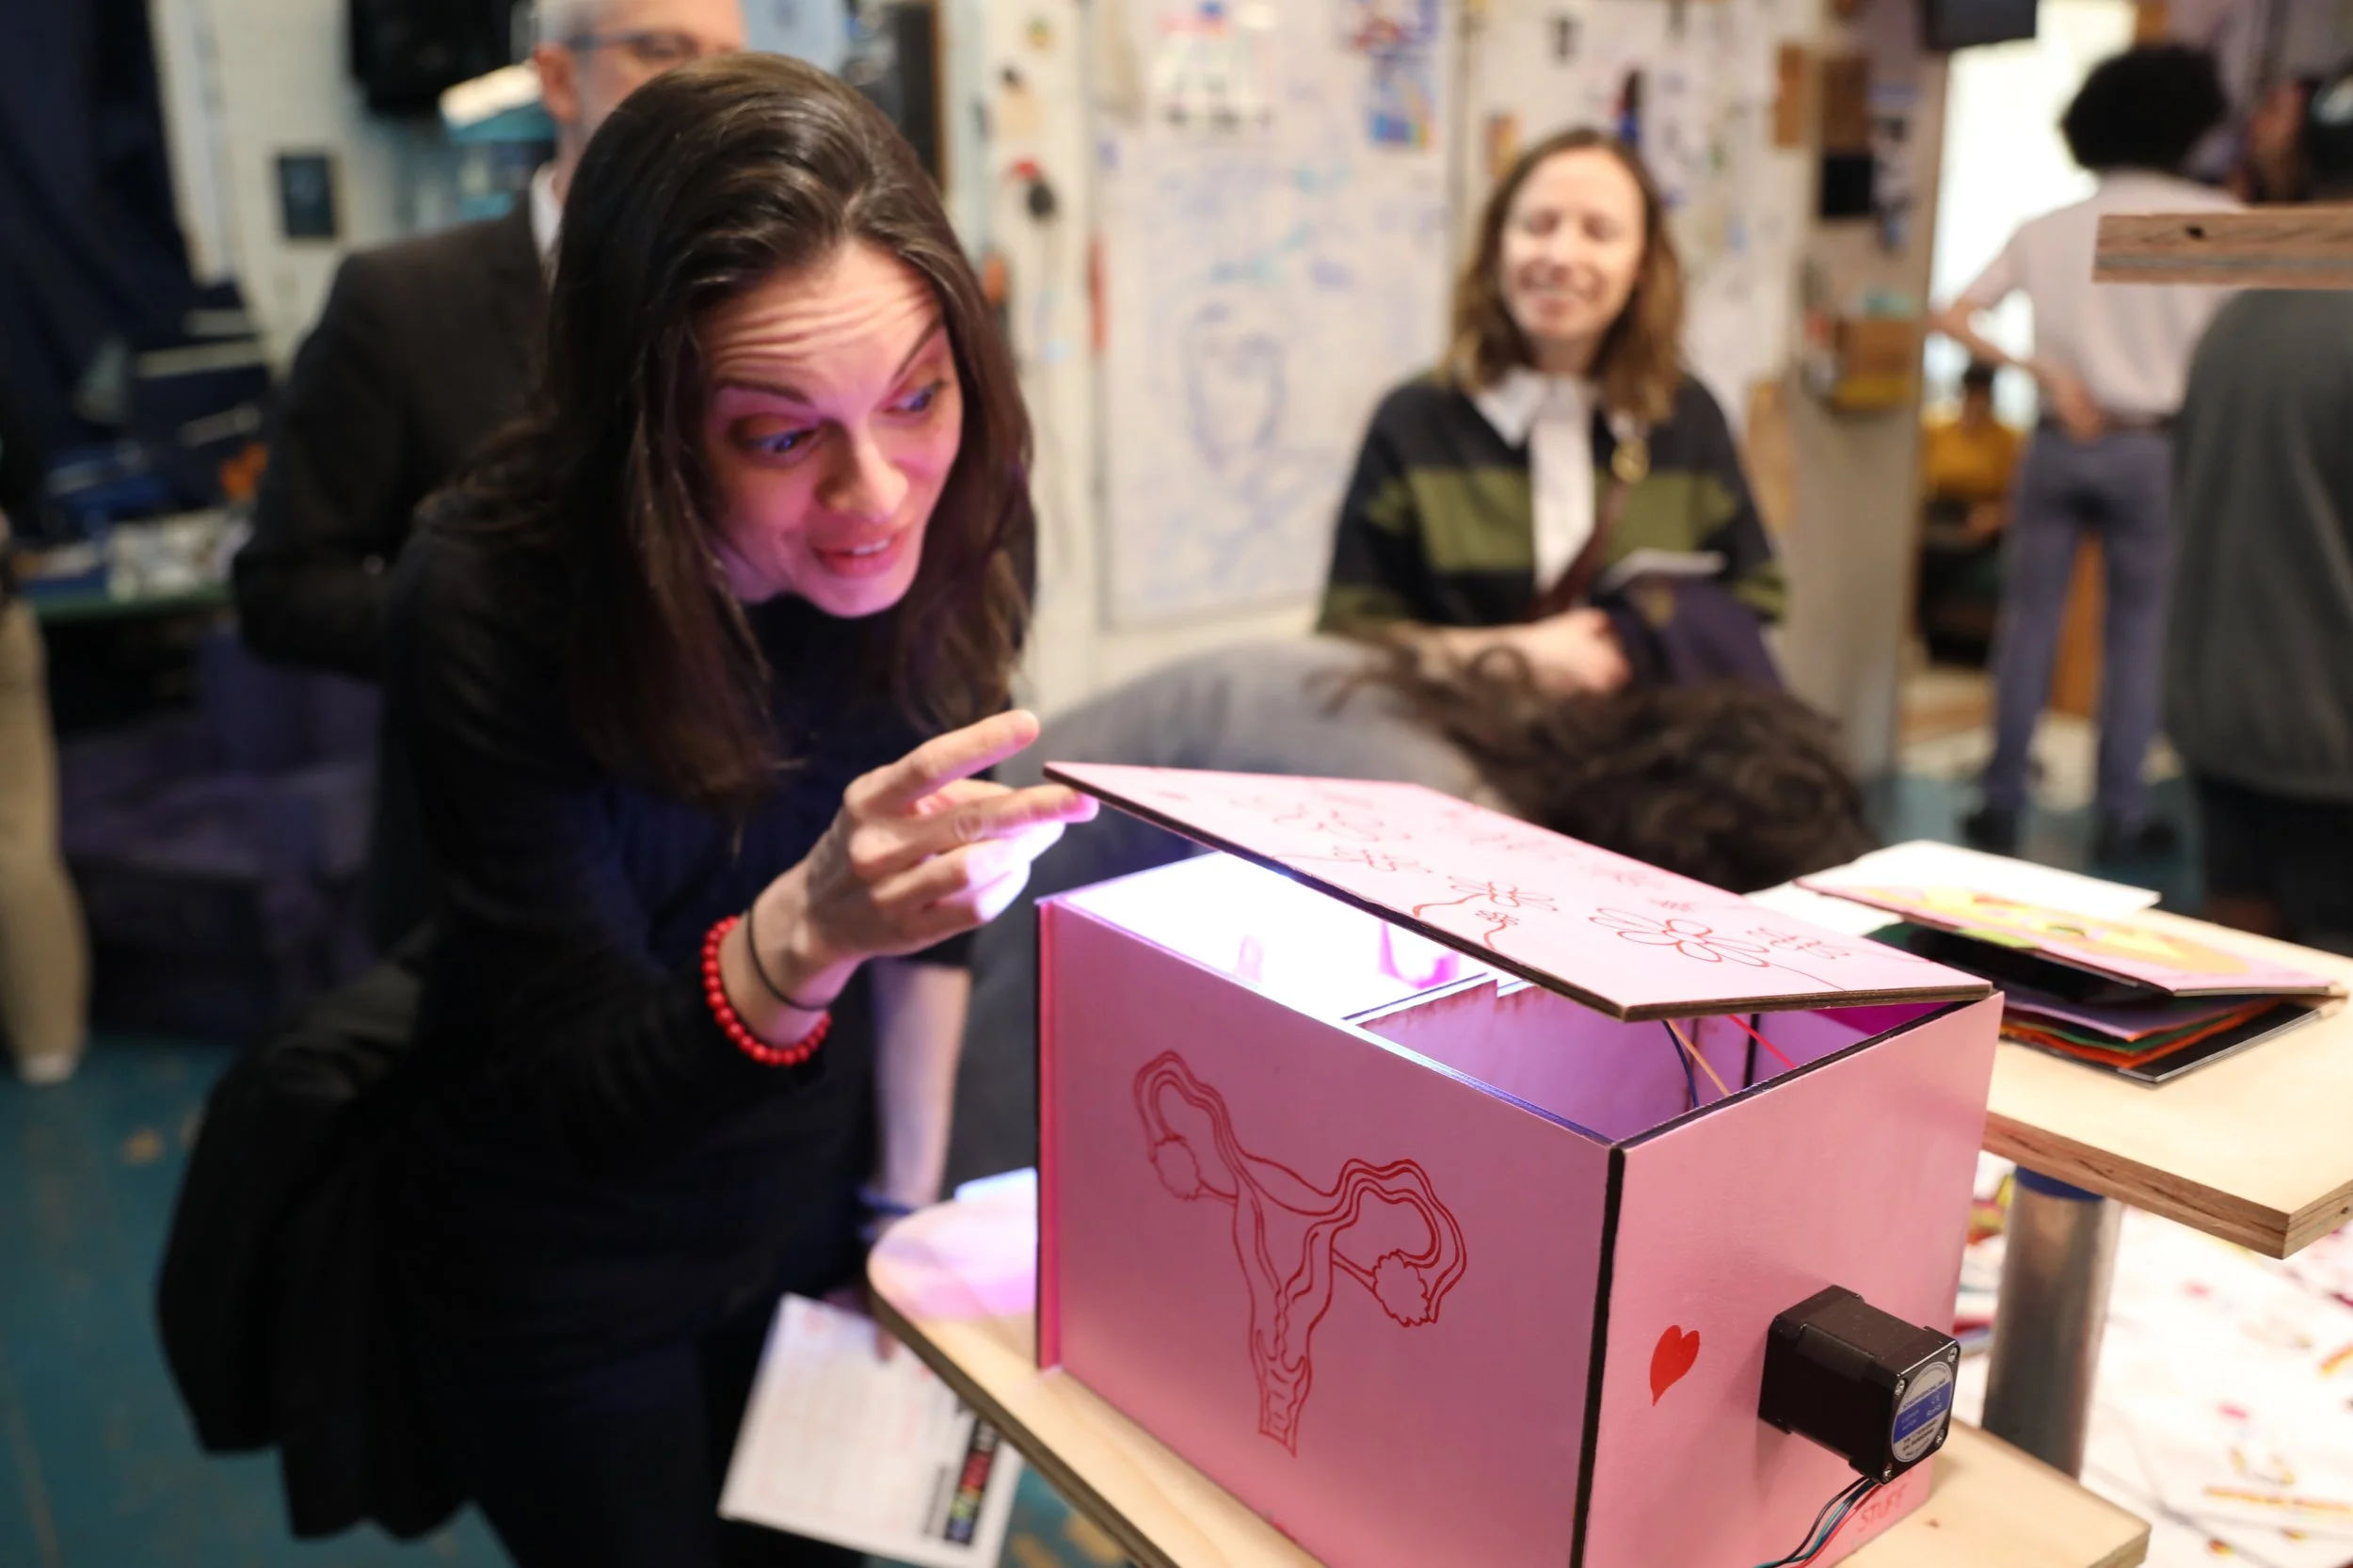
I am feeling so lucky, and admittedly SO burnt out, but our group thesis art show @ NYC Resistor was A HUGE SUCCESS! I got my project all done, install and show time went without a hitch, and I got really great feedback and participation with my thesis! I plan on writing a more comprehensive blog post about how we organized this art show and how it went for our group in the future, but in the mean time here are some of my favorite photos taken by Hank during the show.


