Idea
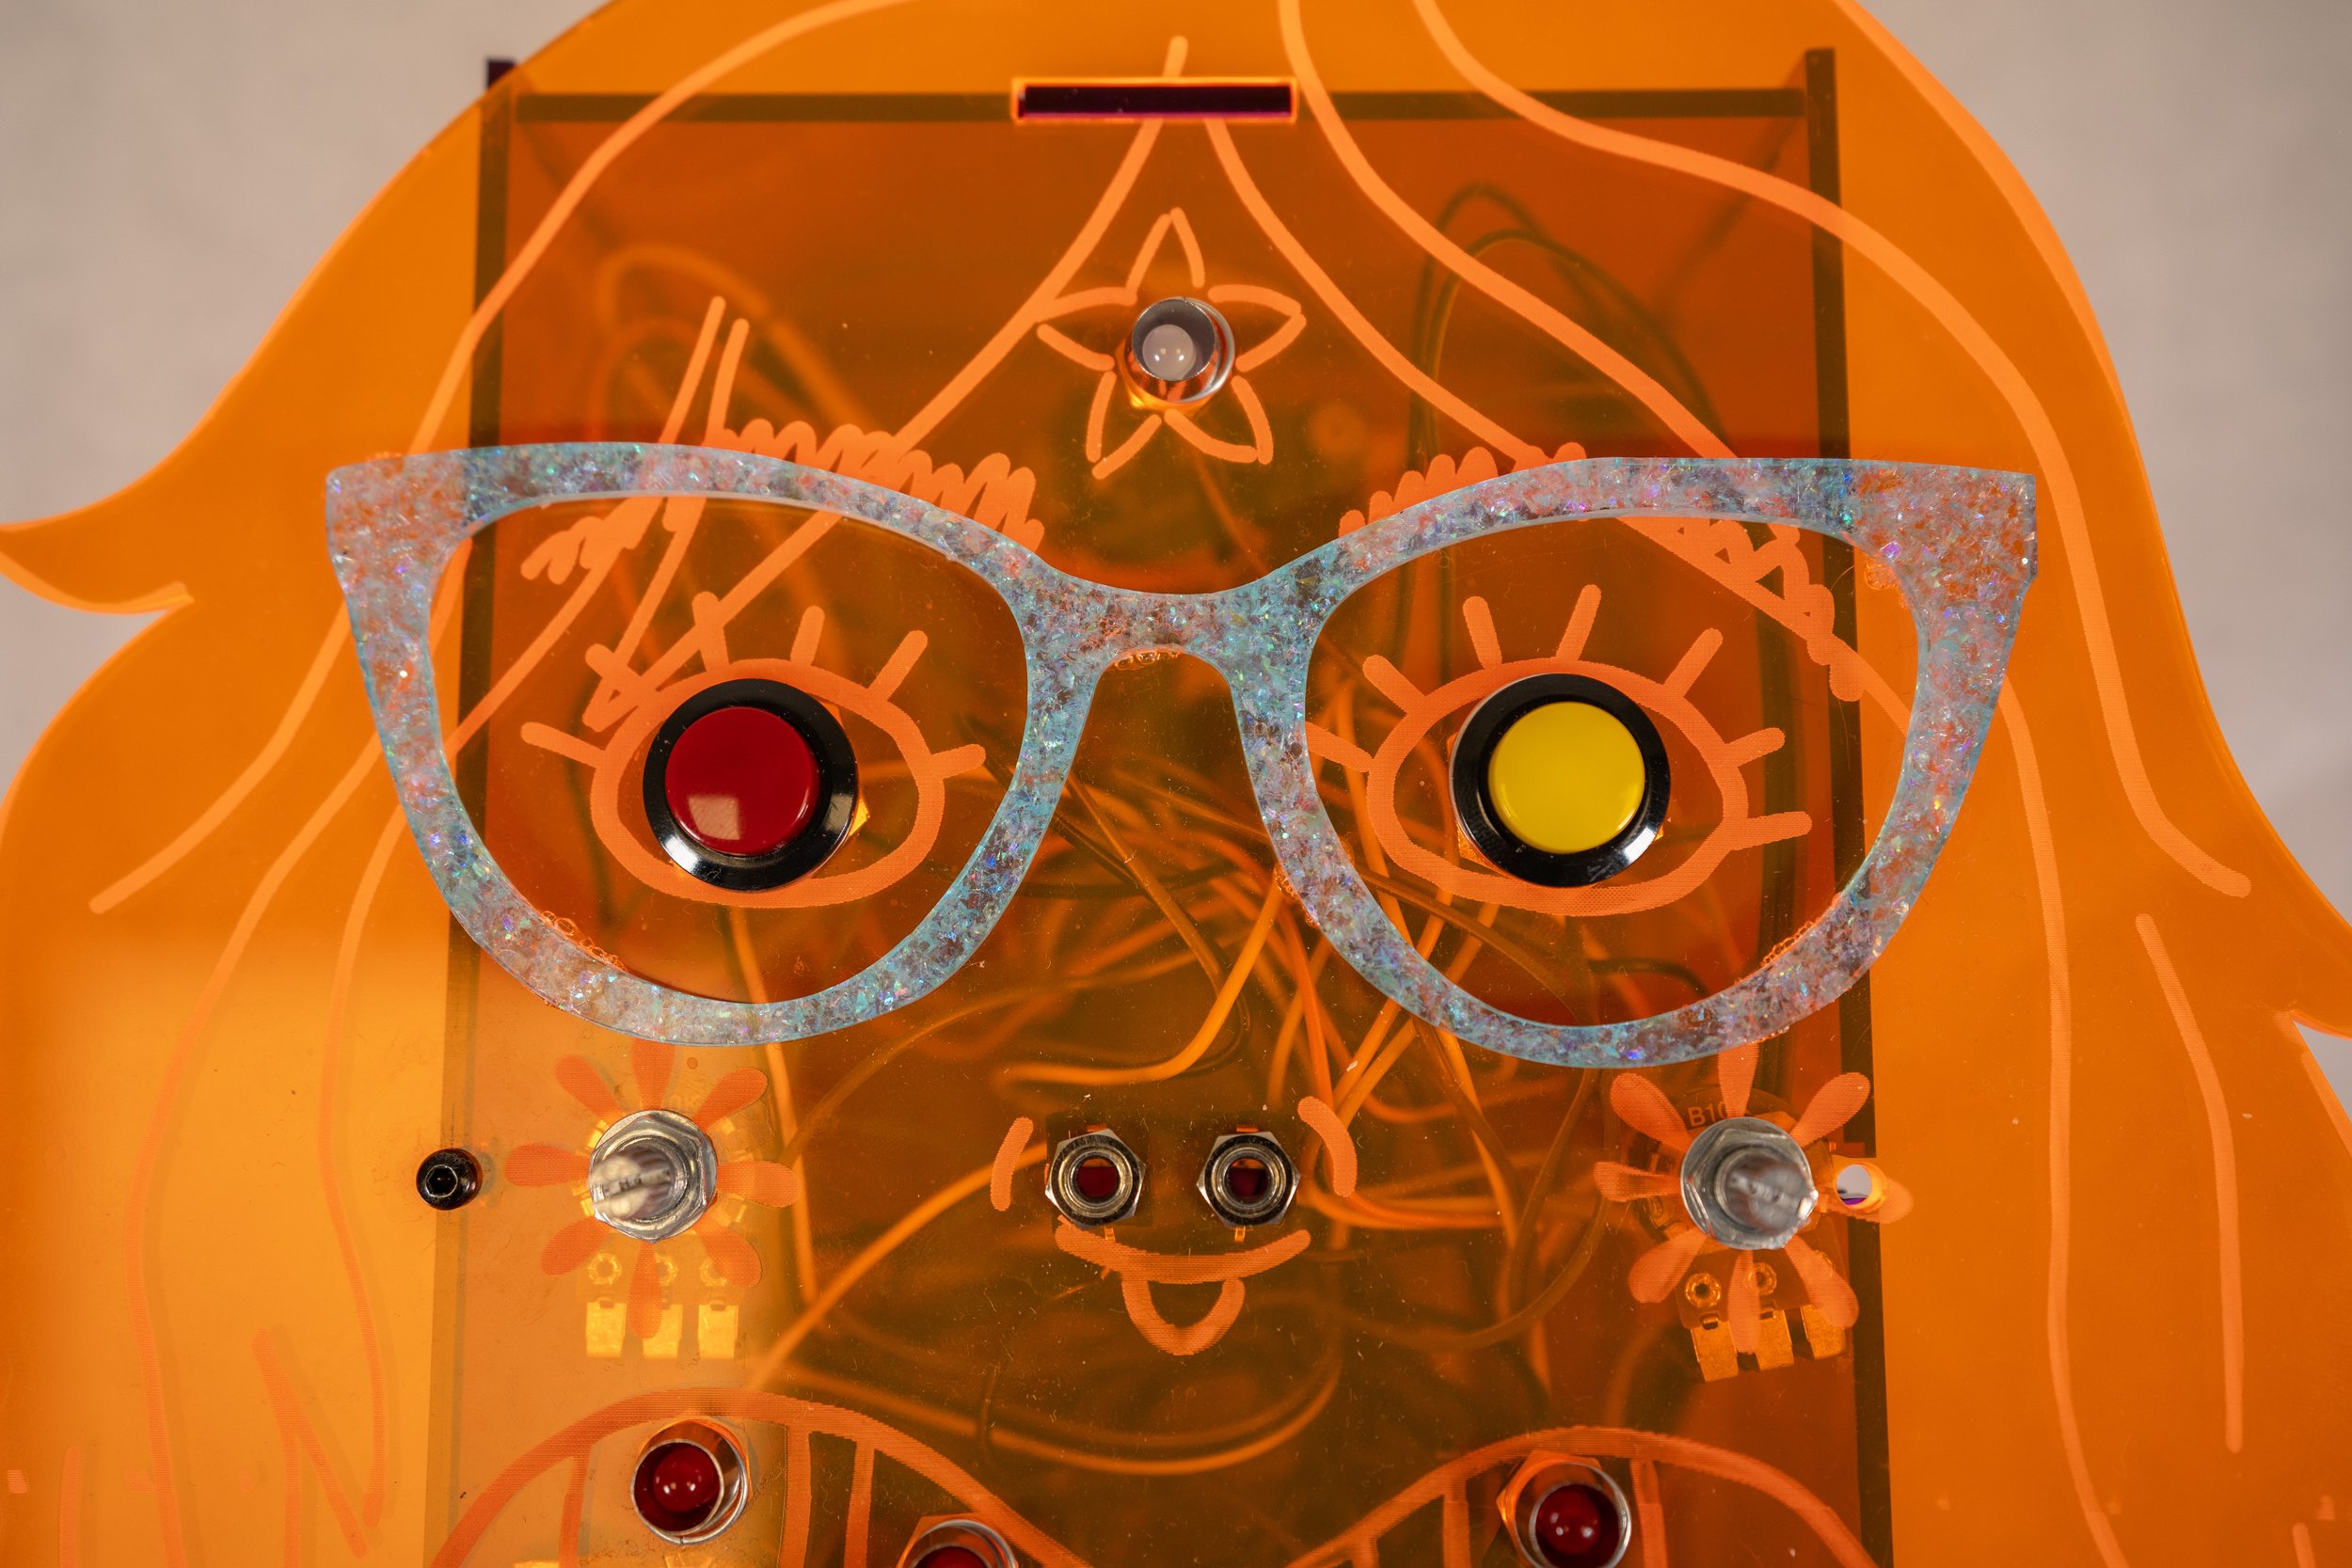
For my synth final I wanted to make something that could be a part of my thesis, my Body of Work. My thesis is a series of sculptures that depict my body parts. I developed this idea of creating an “interFACE” synth. I wanted to create a sequencer that would play back body sounds and kind of looked like my face.
Sketch
Here are some crazy sketches I did over the course of the last couple of weeks to brain storm what my synth might look like and what it could do.
Recording Body Samples
The first step was recording samples. My buddy Josh lent me his lil mic and I recorded some weird “body sounds” using my phone. This was kind of quick, and funny, and raw trying to figure out what parts of me made the most interesting sounds.
Josh’s wireless microphone
Sample notes
I then trimmed up the samples and converted the .mp4 files to .wav on my computer. I did this using the Apple Music app (RIP iTunes). Be sure to set the import settings to WAV encoder and then click “File” —> “Convert” —> “Create WAV Version”. The .wav version of the file shows up in the Library which can then be moved to whatever folder you want.
File conversion in Apple Music
File conversion in Apple Music
Then I used the wav2sketch package to convert all my .wav samples into C++ files which can be stored directly on the Teensy’s memory! Playing samples back from the Teensy’s on-board memory is lower latency than playing back from the SD card reader. It is really crucial that the .wav files are at 44100 Hz and 16 or 8-bits for conversion. More instructions can be found in Jesse’s slides.
Later on I realized that these samples weren’t at the same volume. I tried messing around with gain values in my code to amplify selected samples but I didn’t get the effect I was looking for. I downloaded Audacity which is a free and open-source audio tool and used the “loudness normalization” effect to get the samples all the same volume.
Breadboard Prototype
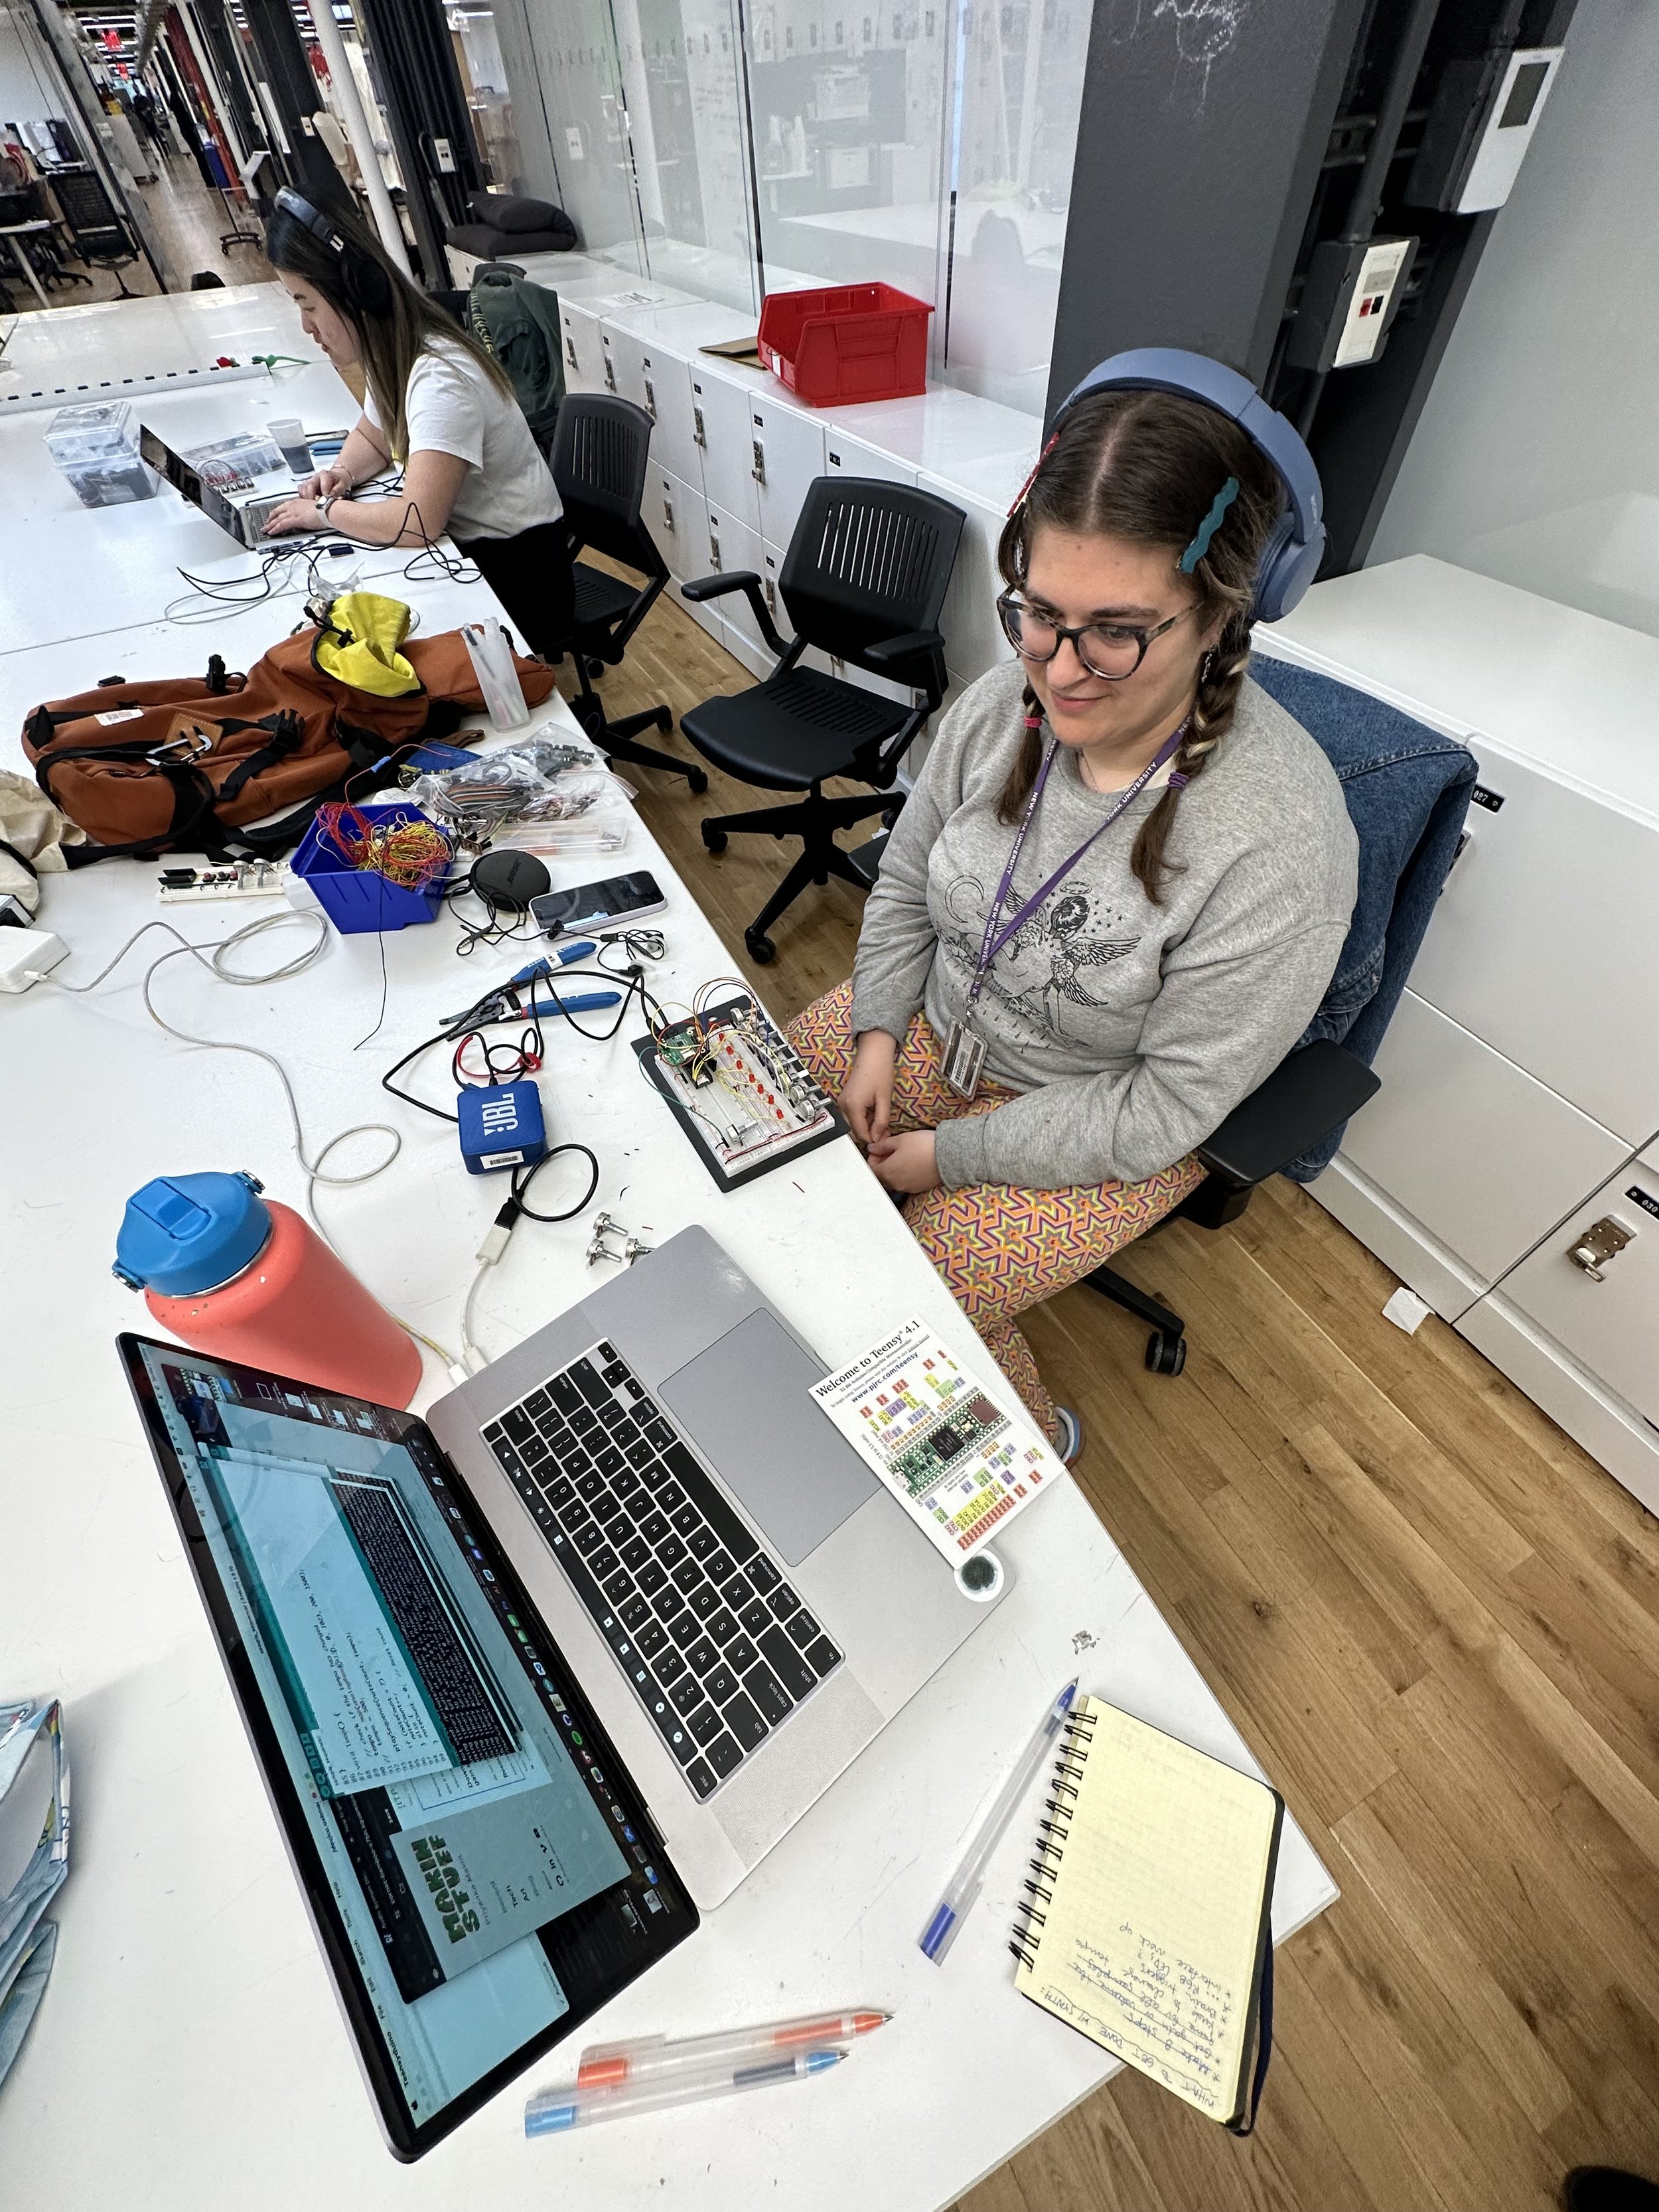
So my first goal is making an eight step sequencer where at each step the player can choose what body sample is being played. I started by making a four step sequencer using with Jesse’s code as a starting point (and: Teensy 4.1, Audio Shield, a variety of potentiometers, buttons, and LEDs from the shop). Once that was working, I wrote a sketch to map all the body samples to the resistance of the potentiometer. I applied that to my four step sequencer code, then expanded to eight steps, and then added step indicator LEDs. Lastly, I modified my code to add two more potentiometers for volume and speed control. You can find find my test sketches and final code on my Github repo.
This is where my circuit started
Big mess
Current circuit
I also hoped to be able to plug my face into my brain. After talking with Jesse, I learned I could blink a pin on the Arduino controlling the brain and use that as a control voltage (CV) signal to progress the sequencer. I added this functionality to my brain and synth code. Below is some video and photo proof!
Me building my synth right after returning from OHS24
Important system diagrams
InterFACE schematic
Casting my life away
So I have this dream of making custom knobs for the potentiometers from what are called “life casts” from my own body. This is pretty tricky because I have no prior experience with casting. Originally I had planned on making some casts of my face but casting all those orifices can prove to be problematic. So I decided to try out casting my finger tips first.
After many discussions with my favorite shop manager Phil, we came up with a plan to create an alginate cast first, then plaster positives, then making a silicone negative, and finally on to a resin positive knob. Below are my accounts of the first two stages of casting. This is the alginate I ordered and I mixed 1 cup of water with 3/4 cup of alginate.
1. Alginate mixture starts out pink and turns grey after stirring. It’s ready for molding.
2. Molding my finger tips.
3. Finished alginate mold.
This is the plaster I ordered. I mixed 1/3 cup of water with 1/2 a cup of plaster.
4. Mix up plaster of paris.
5. De-mold.
6. Plaster fingies!!
The next steps to make resin knobs would be to use the plaster positives to create a reusable silicone negative to cast the resin knobs, but that’s a project for future Priyanka.
Enclosure Building
Now that I had basically the electrical “skeleton” of my synth built, I could focus on creating the enclosure. I did all of this after presenting our final for the class and my graduate thesis because I desperately wanted to show this project at the ITP Spring Show… idk why I am like this. Between thesis presentations, I got lots of advice from Ian in the shop (man, do I love that guy) and we came up with this plan to make my completed synth a reality. At some point I even got kicked out of the shop because we needed to break down the floor to get ready for the show (ah, the good old days) so I completed soldering my synth together in my Bed-Stuy bedroom.
Parts
Adafruit order for synth
This is my shopping list from Adafruit. Along with these parts I used a Teensy 4.1 and PJRC Audio Shield. I also used a full-size proto board and a whole bunch of female jumper wires which I picked up from my local Microcenter. I REALLY recommend these potentiometers I got, they click to an off position which is just so satisfying. However, these buttons I do not recommend, their push leaves much to be desired…
Below is the step-by-step process I took to create my enclosure using the Epilog laser cutter. If you are following along, these files were created in Adobe Illustrator and all my design files live in my Github repo.
1. Grab your calipers! Test cut on cardboard to make sure holes fit the components.
2. Drew a cartoon of myself and added in all the holes for the components of my synth.
3. Cardboard test cut of top face plate.
4. Double-checking component holes in acrylic scrap material. Want to make sure all the panel mounting works as expected.
5. Testing out a t-slot joint that Ian put me on to.
6. Another t-slot joint test, this time with the actual slot
7. Cardboard test for the whole box (double-checking t-slots).
8. Complete cardboard prototype.
9. A quick run to Canal Plastics!
10. Face cut! Except the engraving gave up towards the bottom of the face?
11. Taking this to my bedroom! This was all I could find for helping hands in my room.
12. Solder mess!
There are some issues with the final build:
Ideally, this would be a system where you could pop the top off, unplug, replace components easily.
Some of the panel mount components were secured from the top of the panel, others from the bottom.
Some of the connections needed to be soldered directly to the protoboard, so the top can’t be completely removed without ripping some of the circuitry out.
I used a lot of female jumpers as a plug/unplug interface. This is not a great permanent solution as these connections are not always the most secure.
RGB LED? What is it doing? Can you use too many analog pins?
Final Product
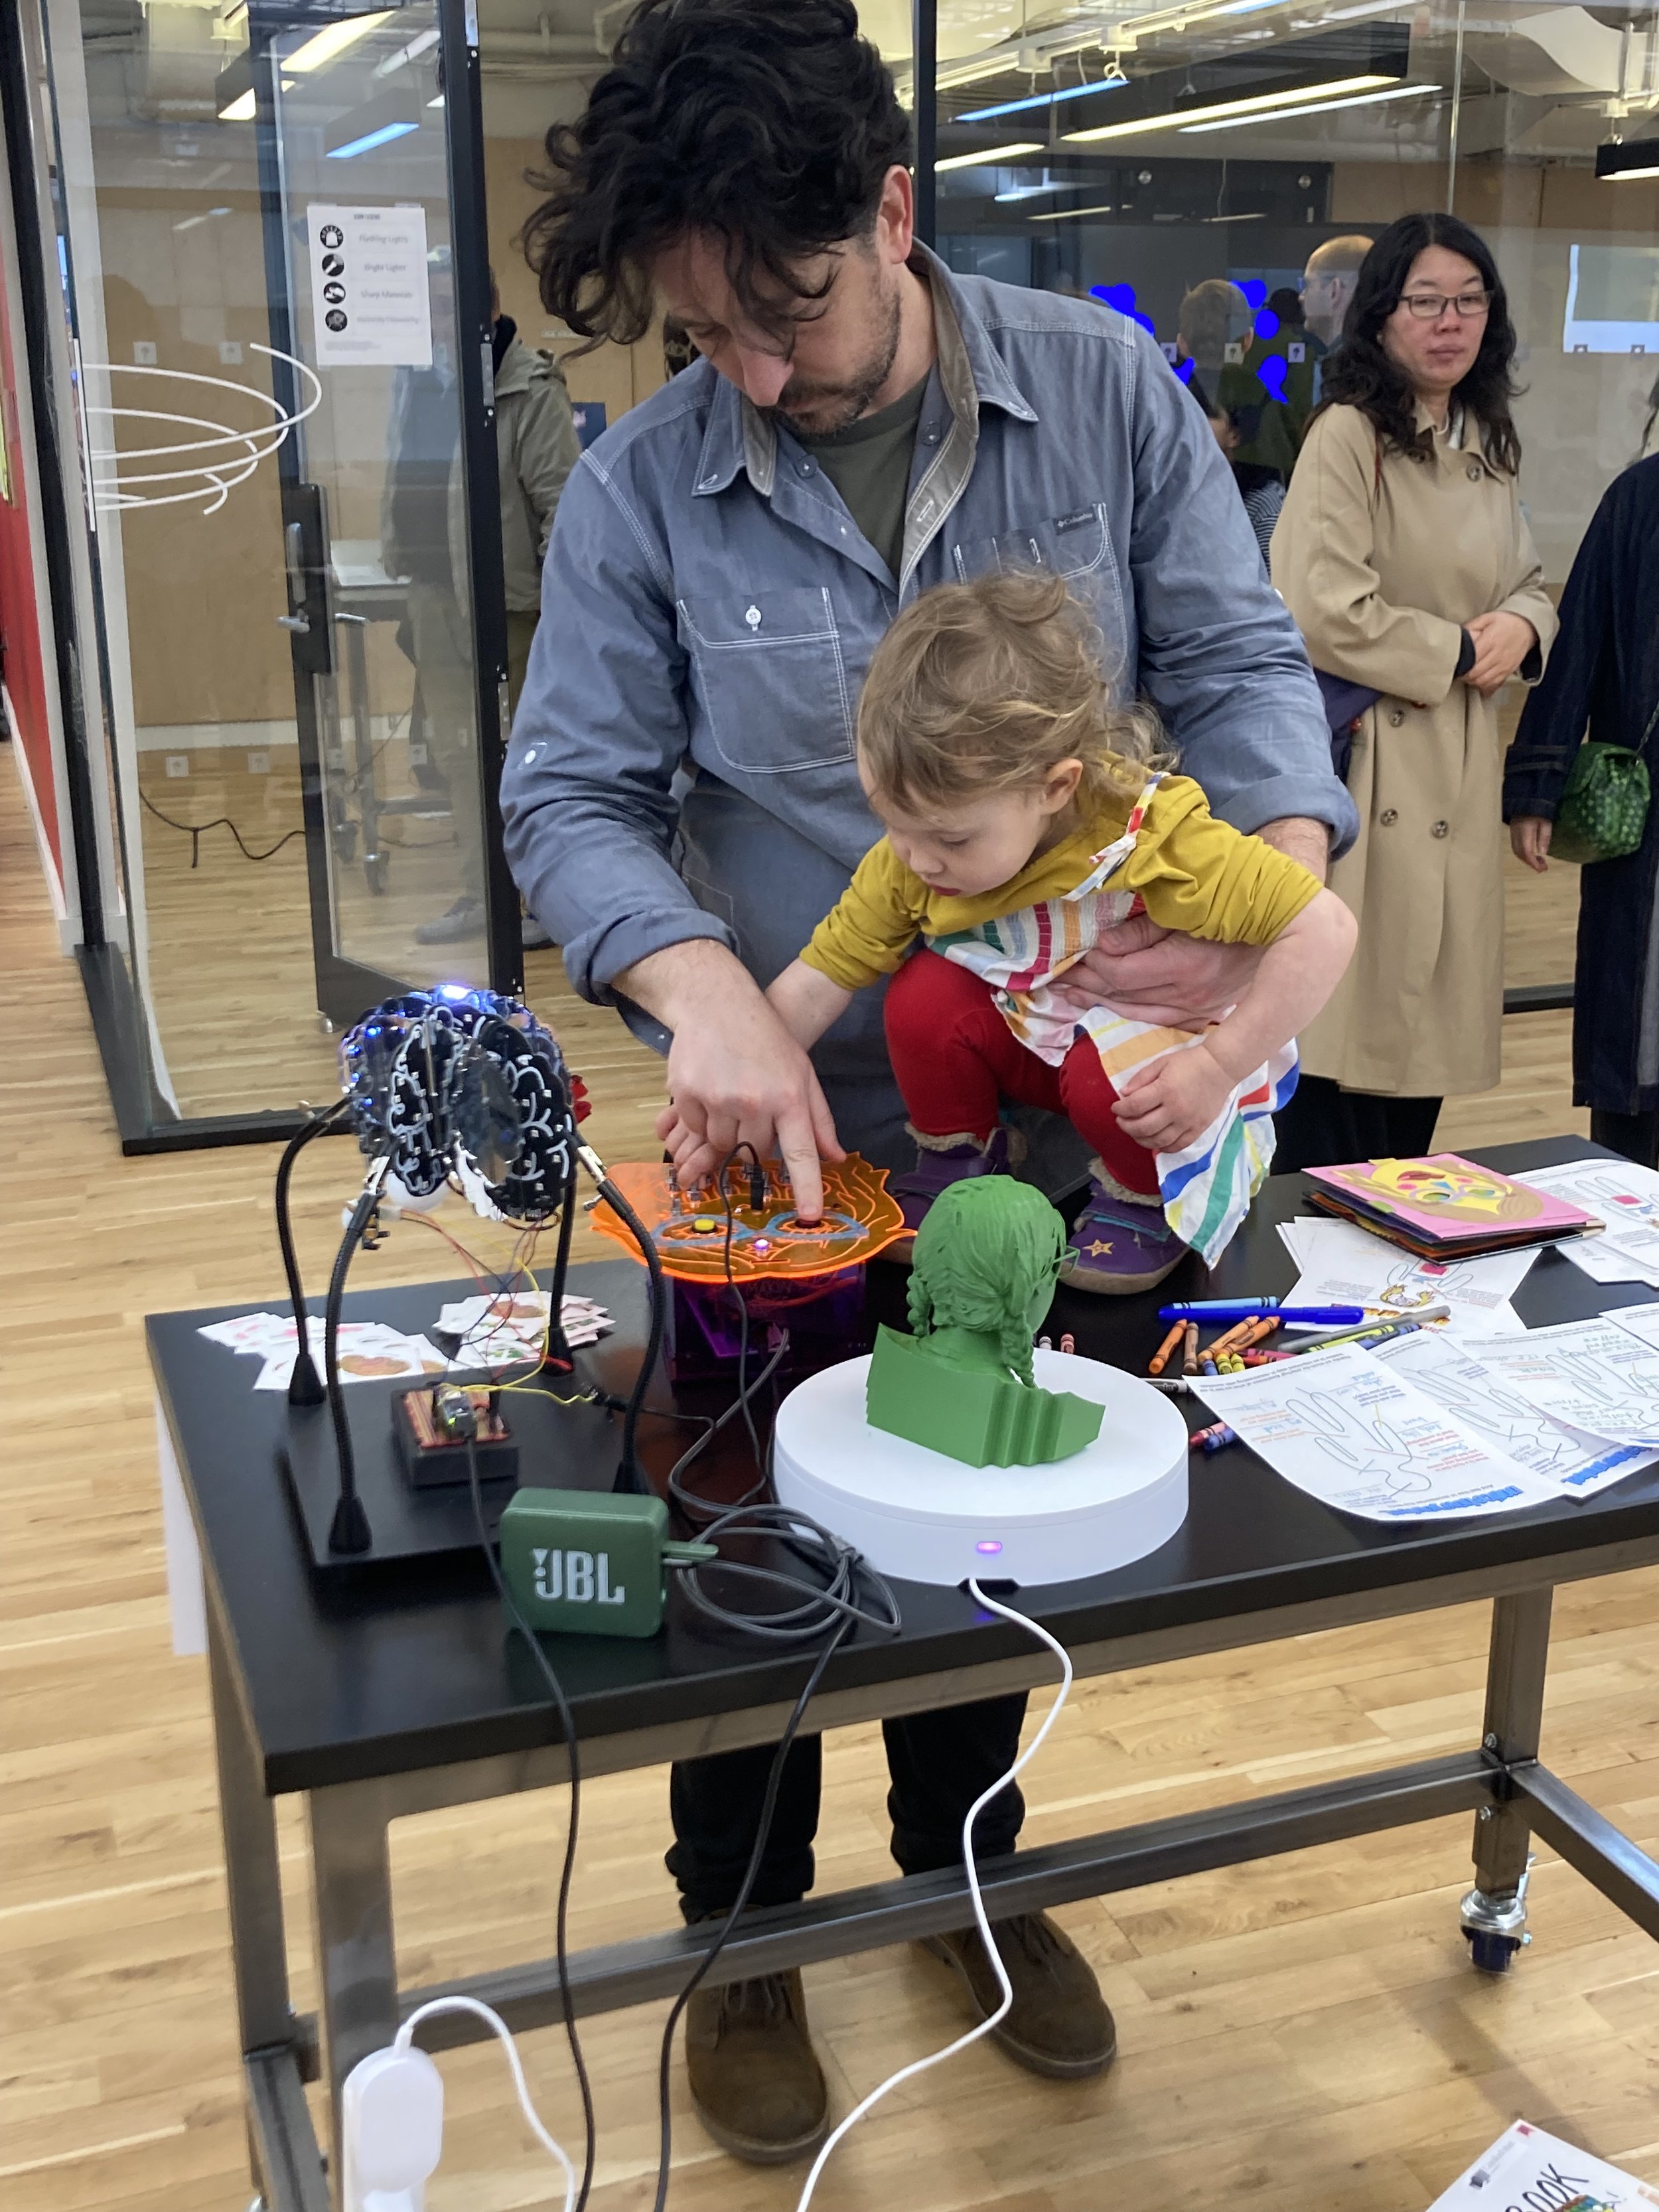
Here are some highlights from the ITP Spring Show.
And this summer, I was my own doc lab and took my own video documentation!
Next Steps
Need to recut face plate so that it can close properly. Parts near the box edges are in the way
New button eyes? I do not like how they feel
Need to figure out what is going on with RBG LED —> should this become an on/off switch?
Fix wiring (and label!) so that the top faceplate is removable
Screw circuit board into enclosure somehow
Other things that can be done with step sequencer modules?!?!?
Experiment with future modules: lo boob oscillator and ADSR envelope generator modules
Resin knobs….
Resources
⭐️⭐️interFACE Github repo⭐️⭐️
Jesse’s lecture with wav2sketch
Audacity Loudness Normalization tutorial


