[ITP: Connected Devices] Neighbors Amor - Collected Data Reflection

Here’s a link to my previous documentation of this project.

OK, but what does the data mean?

In Tom’s conndev class we finished up with making our environmental sensing devices at the midterm and set them up to collect data over spring break. I worked with Gracy to make Neighbors Amor and my house sensed the RGB values of ambient light and sent them to my personal server and web page using the MQTT protocol. Tom also ran a server that listened to the whole class’s MQTT topics and logged our data to a ginormous file. My data file contained 55000+ data points of RGB values!!!

To try to process my data in line-graph form doesn’t make much sense for RGB values, so I wanted to recreate my original dashboard but LARGE scale. I used p5js to make this visualization. First, I loaded my csv data table. Then I created a grid of 100 x 100 rectangles, that’s 10,000 data points total. Through printing some table values to the console, I could figure out what rows/columns corresponded to the RGB values of certain days/times. My device sent data every 15 seconds, but for this reflection I used every 4th reading, that’s one a minute, so that I could look at a greater span of time in one image. This image is comprised of data spanning the last 40,000 points in my data table. You can see my full code here.

The top 1/4 of the square reflects NY data and the rest is from AZ. The sensor read pure black (0, 0, 0) at night and pure white (255, 255, 255) in direct sunlight. One thing that is important to remember is that this data isn’t continuous. Within this time the device got disconnected from the broker, I traveled to Phoenix, and just the general tech weirdness. There are definitely some anomalies in the data… like what is that pure red line going through the middle? A solar flare?! And it’s kind of hard for me to describe the green and brown moments. What I think is cool to see in the top section there’s light pink that appears within a black time frame and that is when a roommate in my apartment turned on the pink-hued light in the living room during the night. Transitions between gray and white is when the sensor saw a lot of cloud movement. But there are definitely some squares (like the yellow and bright green) that I can’t explain.

Starting to control the Hue

  1. Create a Hue developer account

  2. Create a unique username to connect to the Hue bridge using the tool Tom created

For the time being I just want to mess with the strip light set up on the floor and Tom already told us that it’s light 3 on that hub. By knowing the IP address of the hue bridge we want to talk to we can send it commands directly from the Debug Clip Interface. I was able to change the light’s state, brightness, and color from a browser window.

Resources

https://p5js.org/reference/#/p5/loadTable

https://itp.nyu.edu/classes/light/resources/philips-hue-control/

https://tigoe.github.io/hue-control/

[ITP: Soft Robotics] PolySense and Soft Materials Store Visit

PolySense

PolySense is the in-situ polymerization for electrical functionality of any fibrous or porous material. This process can make pressure, stretch, capacitive touch, humidity or temperature sensors out of any soft material. To do this you need pyrrole and iron chloride and some sort of mixer. These are the basic steps:

  1. Add water to mixer

  2. Measure and add monomer

  3. Add the fabric and mix for 10 minutes

  4. Measure and add oxidizing agent

  5. Mix for 30-45 minutes

  6. Dry the fabric

The PolySense group have experimented with shiburi (tie-dye), weaving, and batik (wax resist) to create different electrical results. The questions I have for Cedric Honnet are:

  • How do you know what quantity of solution/water you need for a certain amount of material?

  • How do different materials and soak time affect the final electrical properties of the polymerized material?

Soft Material Store

Oh Michael, Michael, Michael … this store is like a clingy boyfriend I keep going back to; it finds me no matter what city I move to! It is a little bit of a cop out that I went to Michaels craft store to explore soft materials. I grew up going to my local Michaels as a little kid for sticker shopping with my mom and picking up little craft kits. Nowadays, I’m there regularly to grab supplies for my more “grown-up” projects (though I still love sparkly stickers). I know the store and their inventory pretty well and that there would be so many soft materials to check out. Not sure they’re the “outside-of-the-box” soft materials but here are the ones I found most compelling:

Me and MIchael

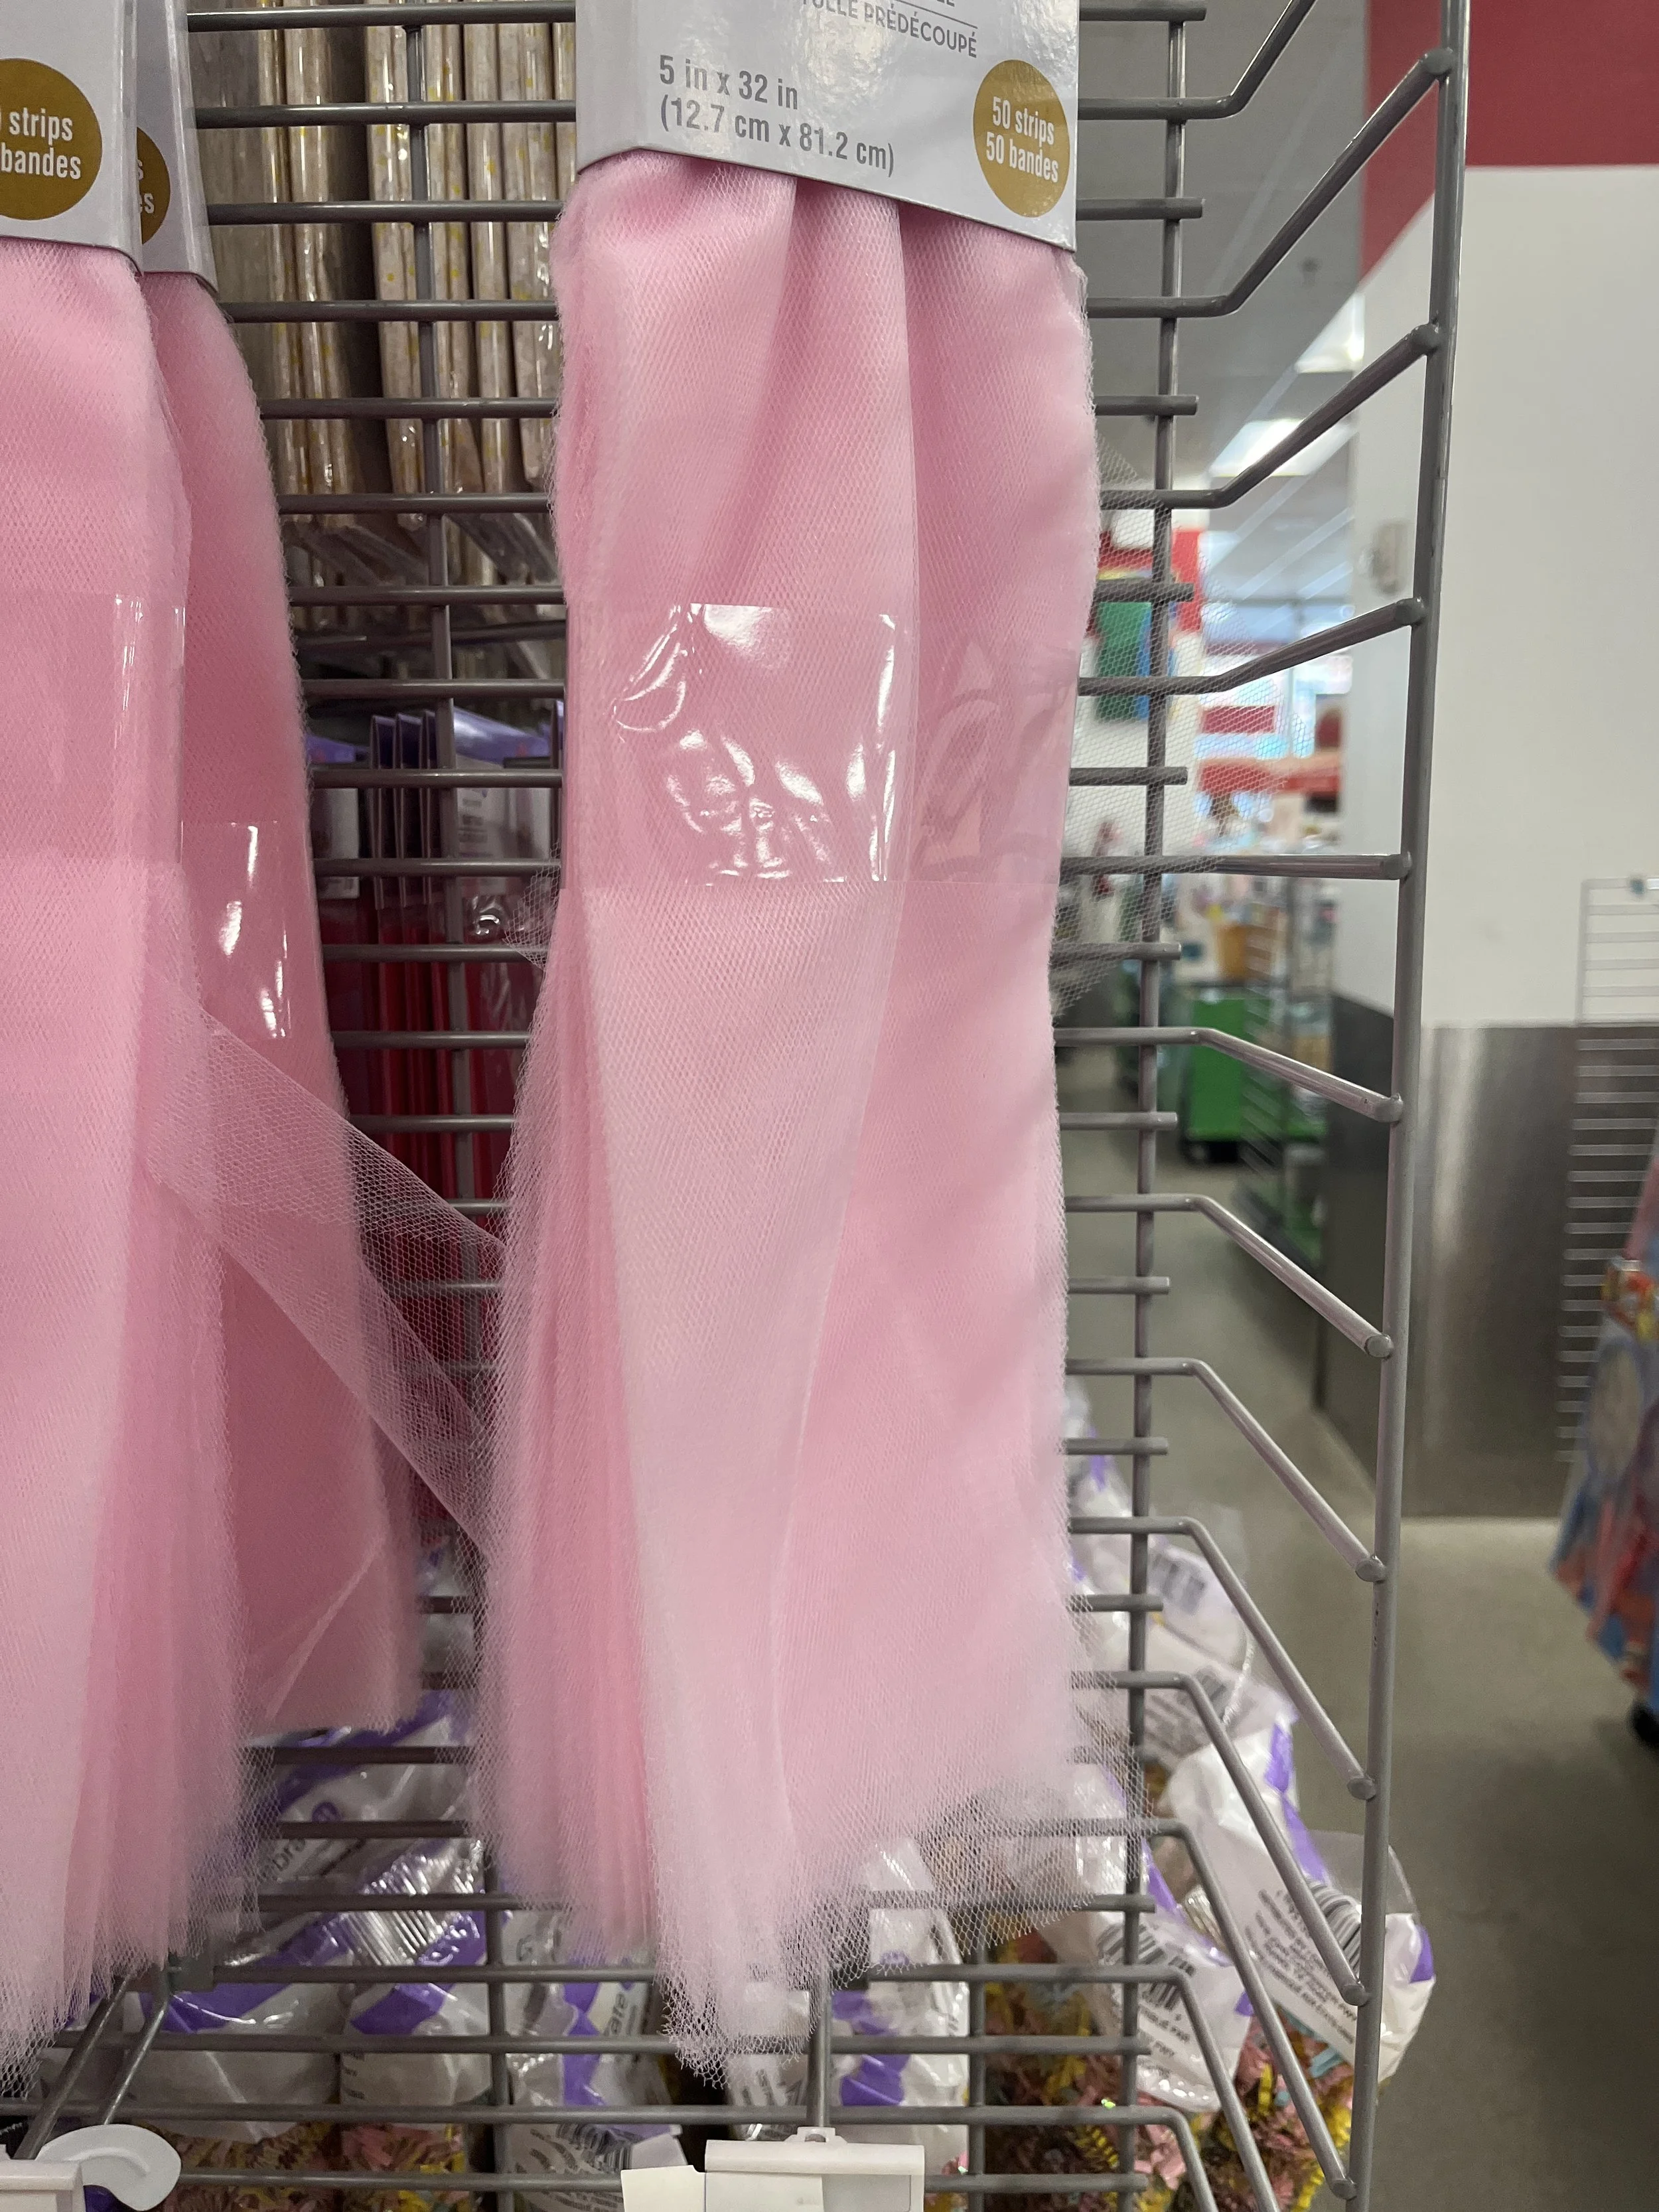
Tulle - texture, layering, netting, whimsical/airy feel

Fake grass - immediately I think of making dioramas or scenes for minatures

Sherpa - soooo soft, sensory, comforting, I wonder what you could do with dyeing it or cutting it into weird shapes

Burlap - natural, grainy, fibrous

Fabric flowers

Styrofoam - I guess this kinda doesn’t count as soft, but there’s something about the weight of styrofoam that gives it it’s softness?!

Faux fur - I love these crazy colors

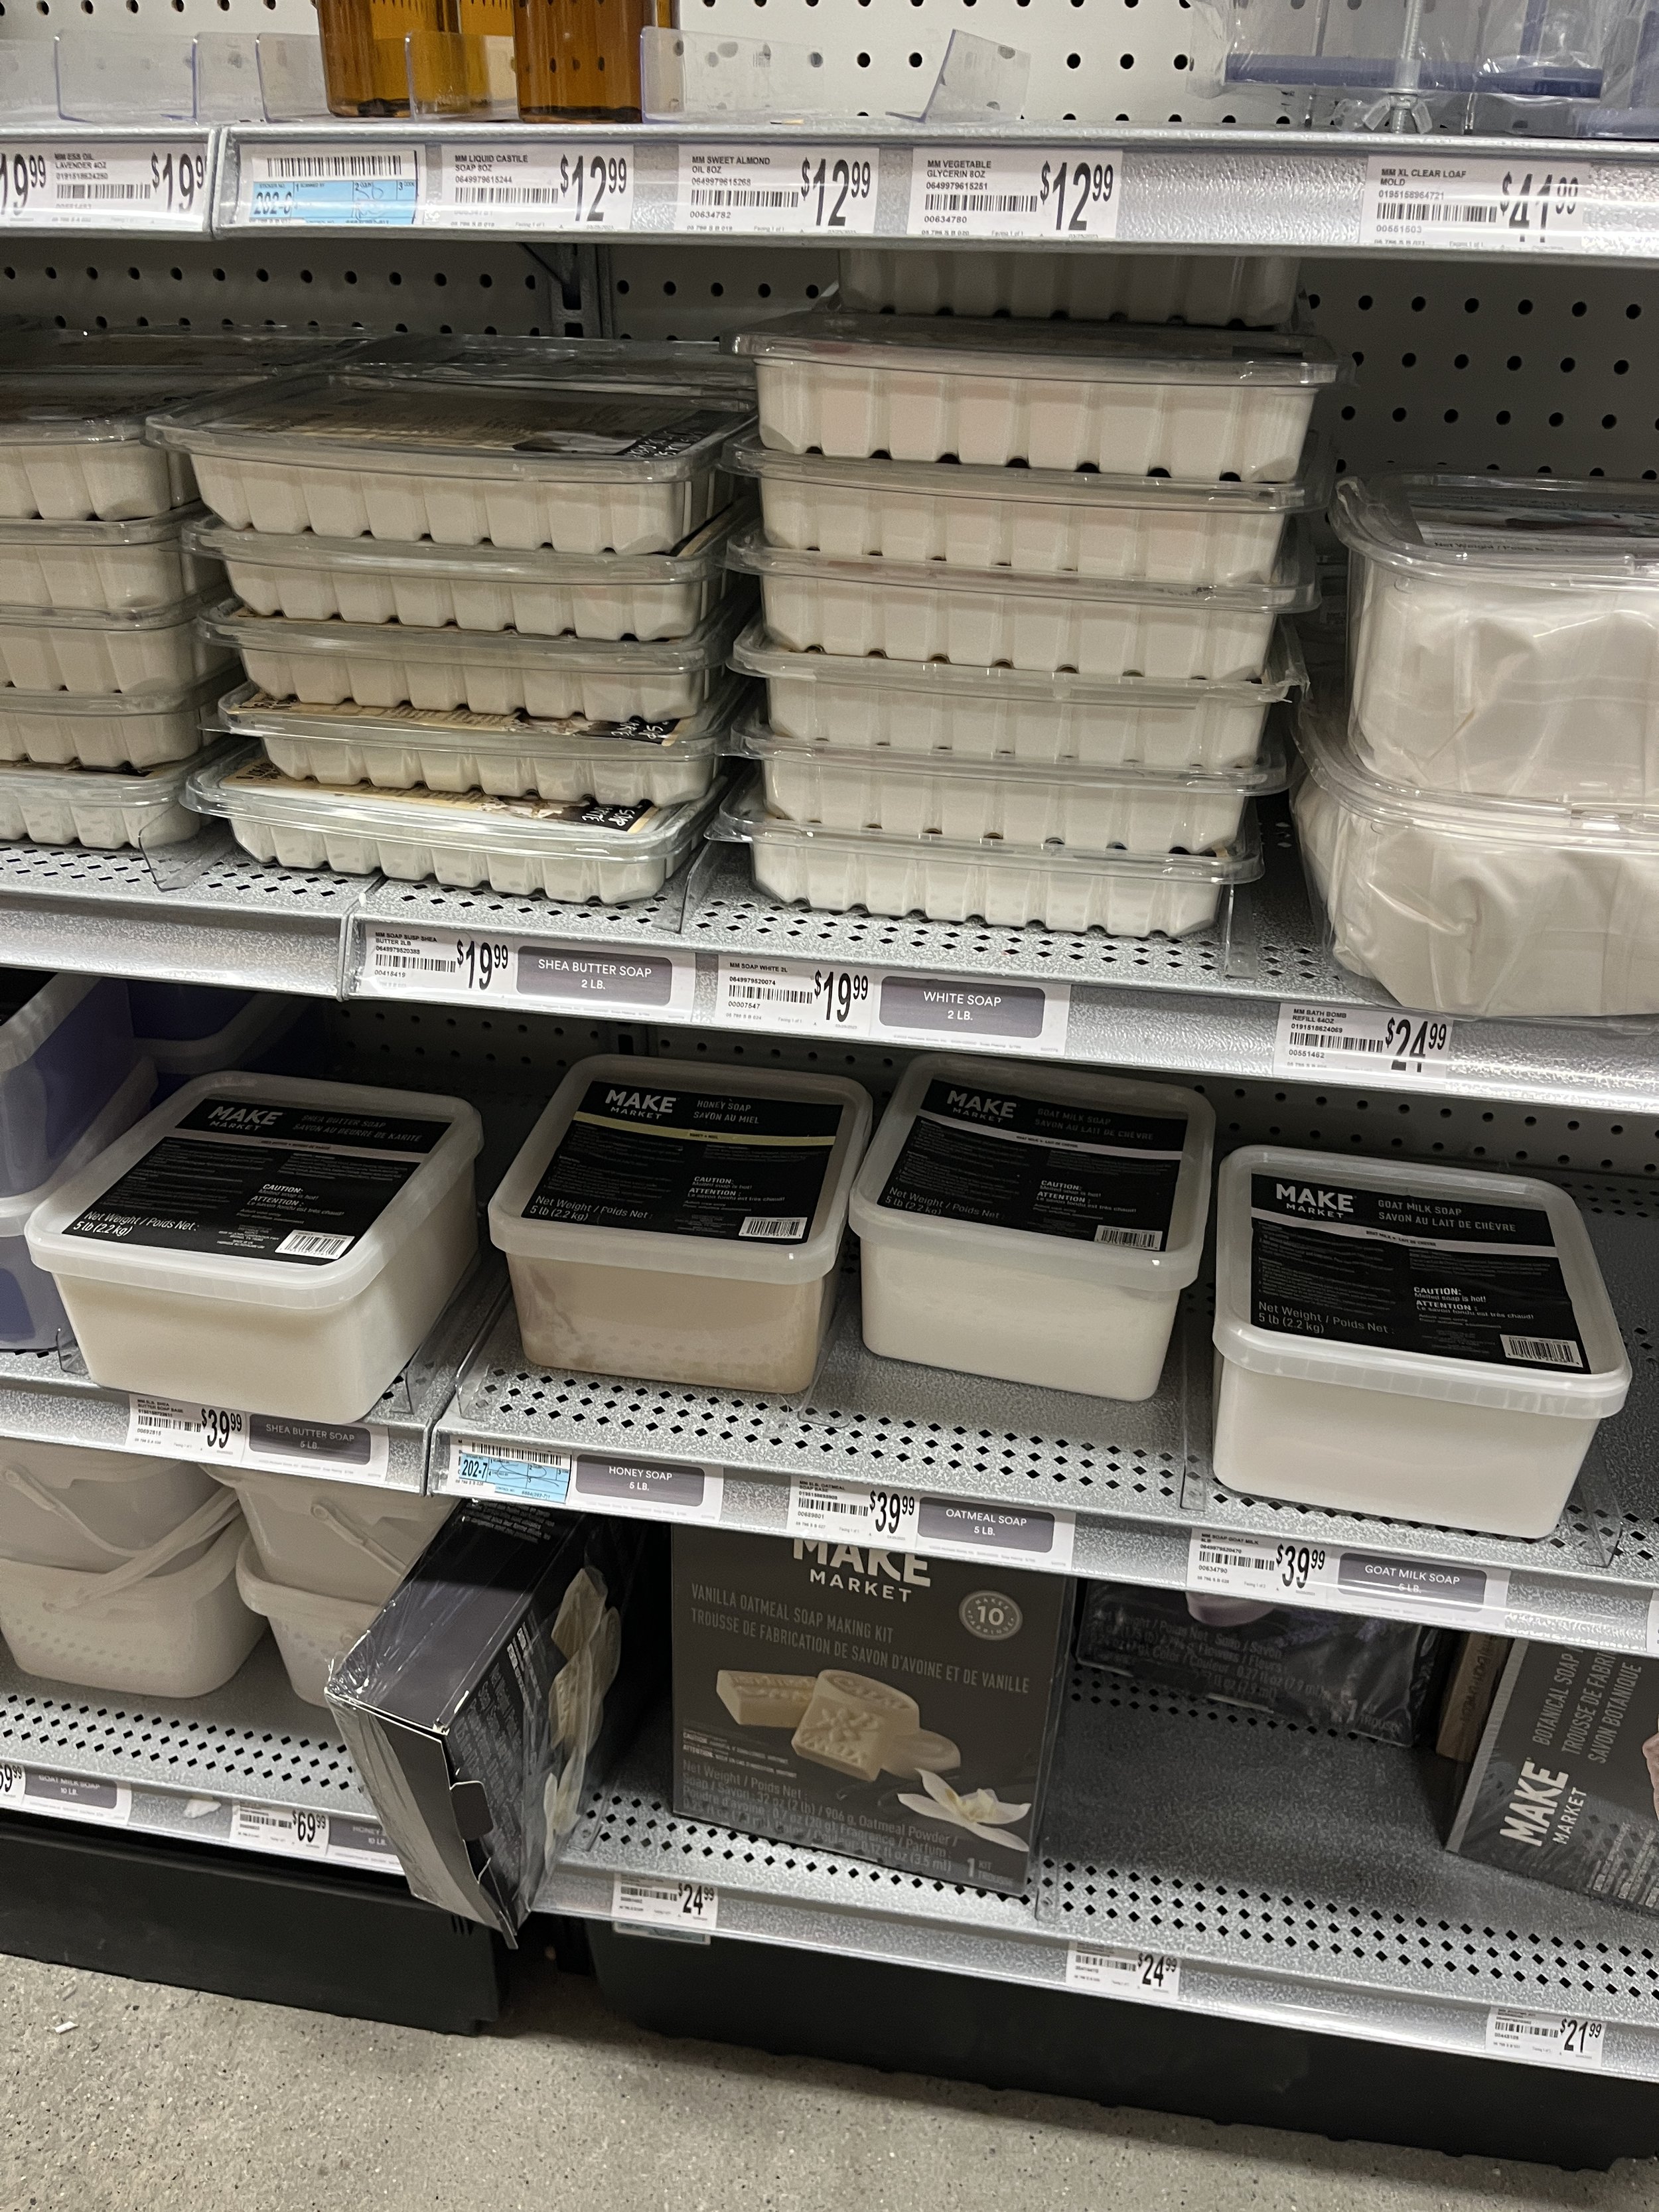
Wax - not sure if this counts as a soft material… it can be melted to a liquid (does that even count as soft?!) and reshaped into anything!

Craft clay - starts soft, can literally form it to any shape using your hands, baked and hardens

Squishmallow - these really have the softest, squishiest texture, no idea what you would make with these…

Fabric butterflies - just cute

[ITP: Modern Artifacts] Ancient Artifacts and New Tools

Get lost in the MET

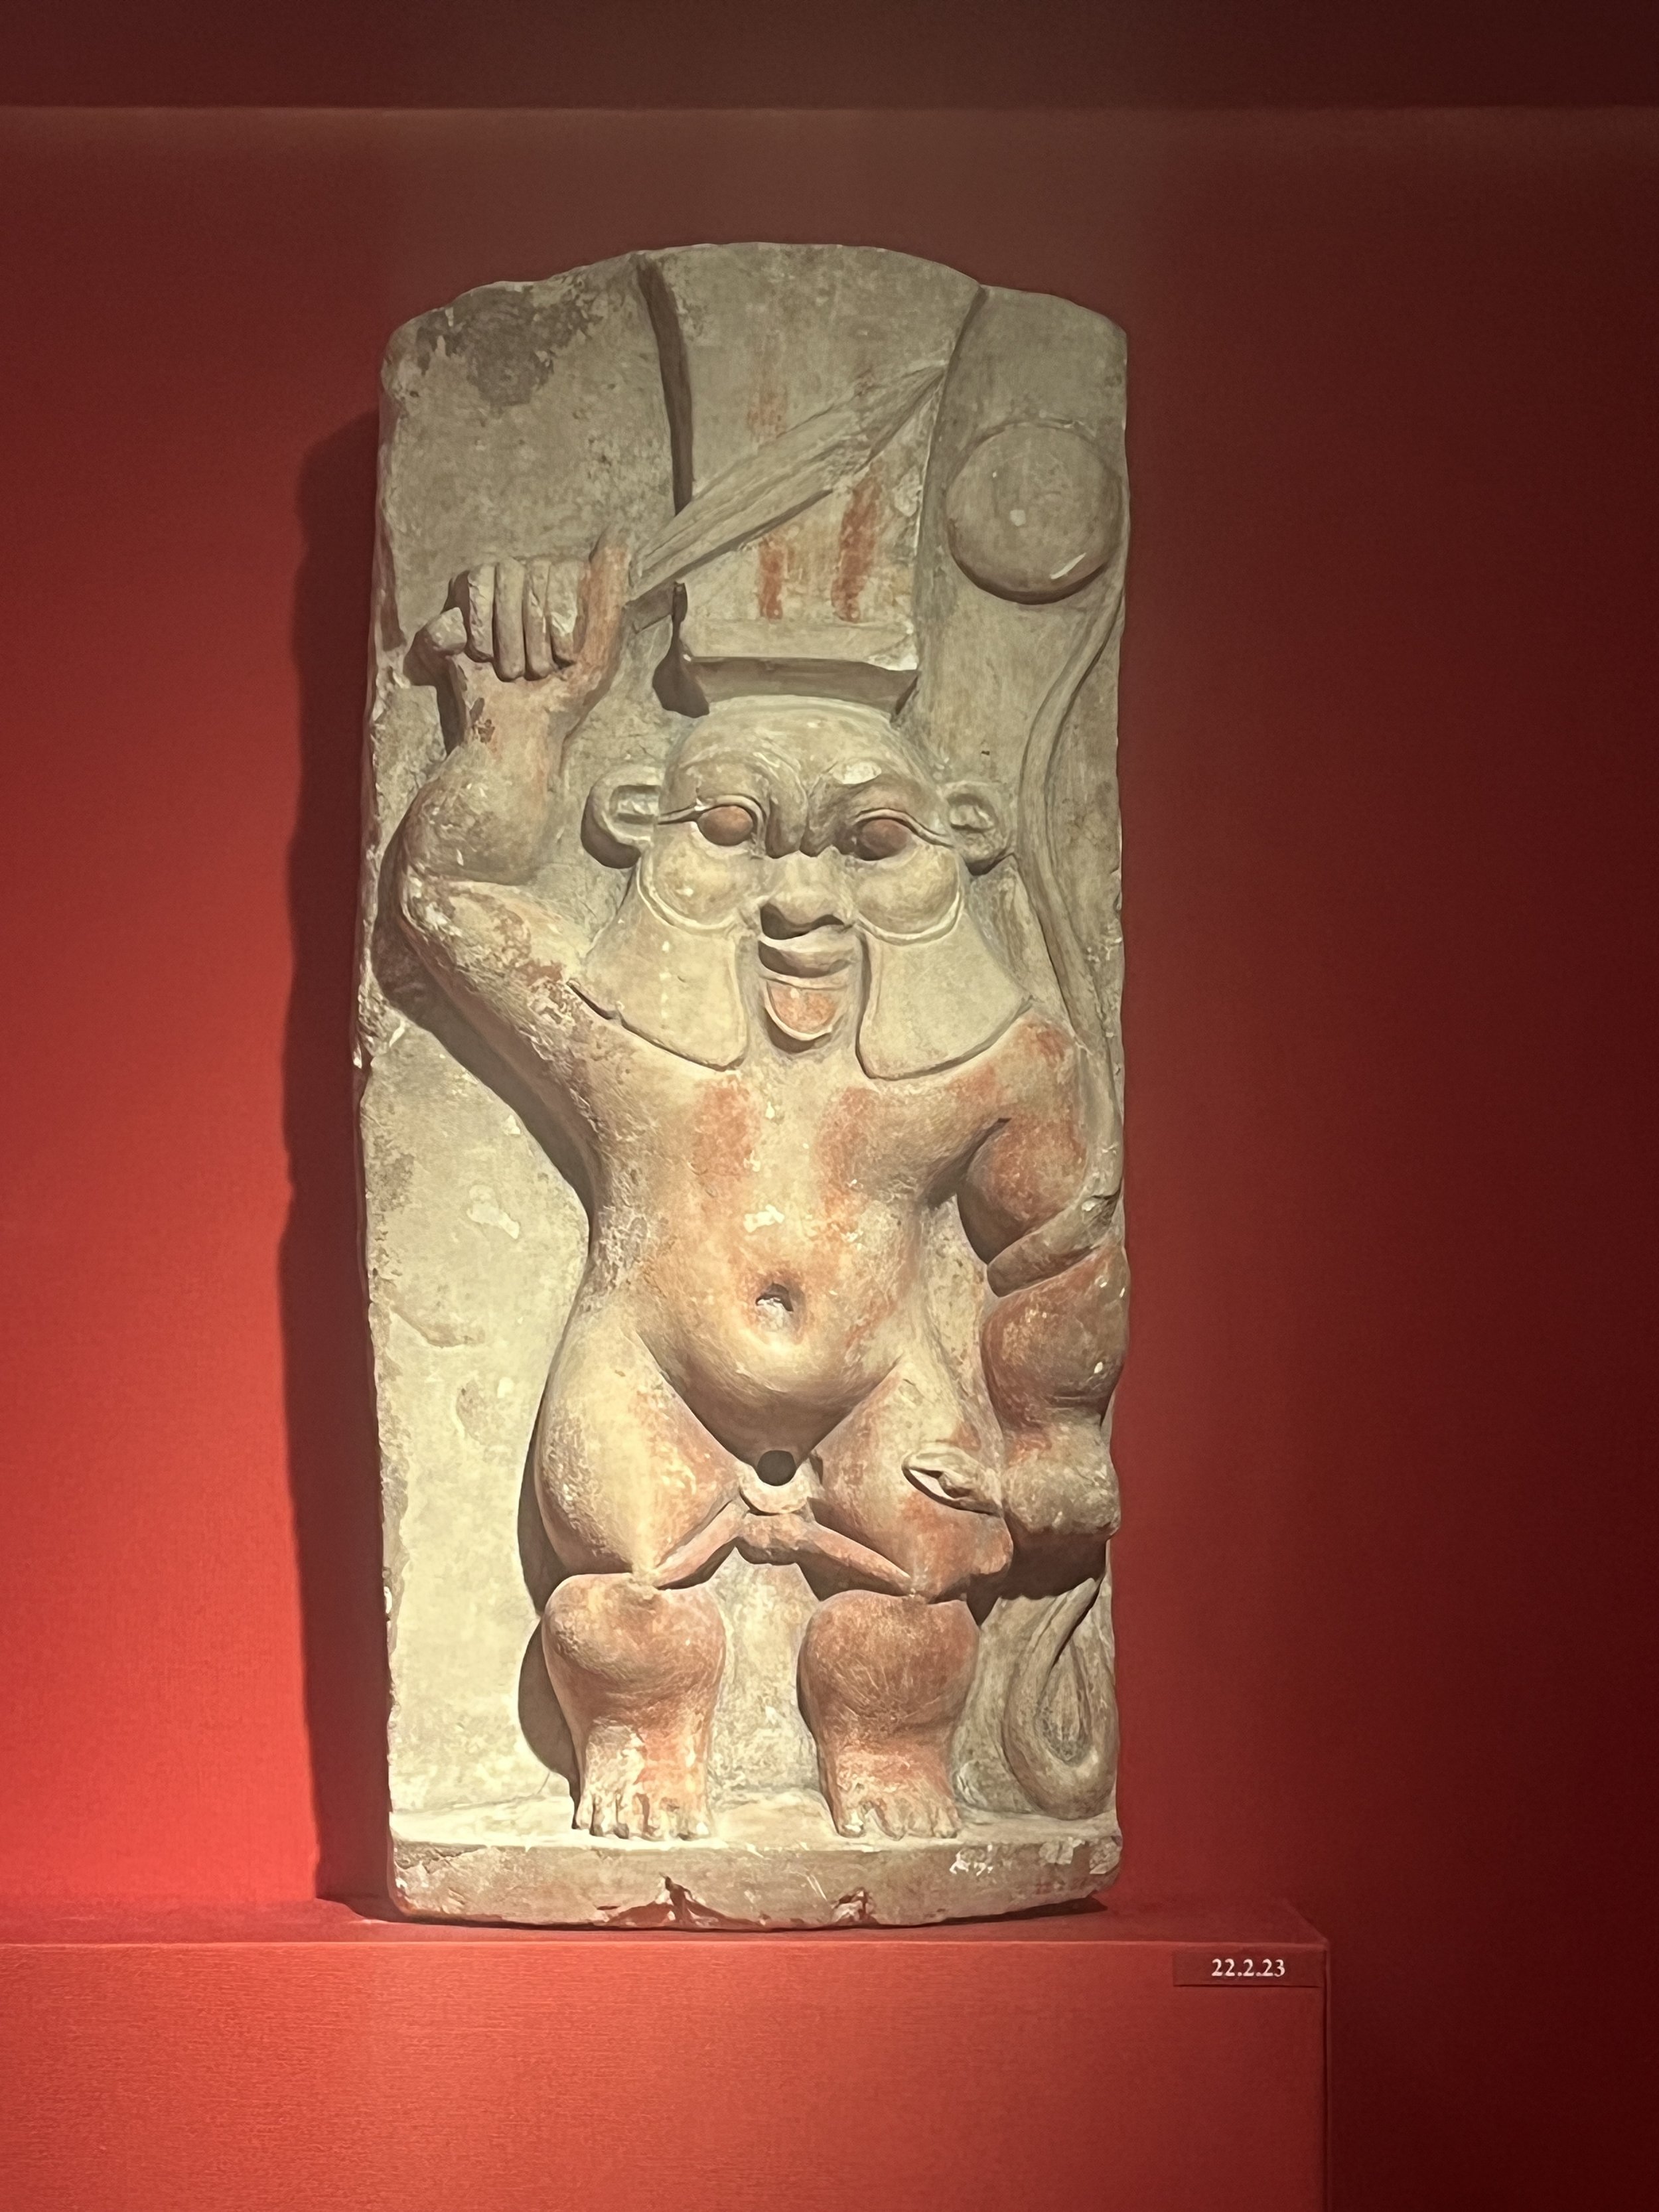
Stela of the God Bes, Egypt, late dynastic-early Roman periods, 4th century BC - 1st century AD

I LOVE the MET. It’s basically the only place I’ve been to (other than school) since moving to NYC 9 months ago. My Montana-aunt came to visit me this weekend and it is such a flex to take us both to this ginormous museum for free! It is so expansive and winding and multi-leveled and I’m pretty sure a full week isn’t enough to see everything the museum has to offer.

Actually, the first artifact I encountered is the one that spoke to me most. This is a stela, something I’ve never heard of before, which is a stone slab monument that sometimes serves as a gravestone. The Egyptian God Bes is carved out of limestone. Bes is the protector of households, mothers, children, and childbirth; defender of everything good and the enemy of all that is bad. He has a knife in one hand and a snake in the other whose tail curls up toward the god’s tambourine. The hole would have held a large erect phallus and there are some remaining traces of paint on the stone.

Archaeologists excavated the “Bes Chambers” at Saqqara. They are decorated with large terracotta wall reliefs of Bes with a large phallus. It is theorized to be a place where pilgrims came to stay and sleep in order to receive divinely inspired dreams prophesizing fertility. I think that’s super interesting because we’ve been discussing rest in class a lot and I think more rest can lead to more fertility in life, happiness, career… all aspects of life!

This artifact stood out to me because I really think this figure is cute and I’m interested in ancient deities.

Artifact honorable mentions

Ancient Egypt Amulets and Statuettes

Ancient Egypt Amulets and Statuettes

Armchair, NYC, 1875

Side chair, NYC, 1879

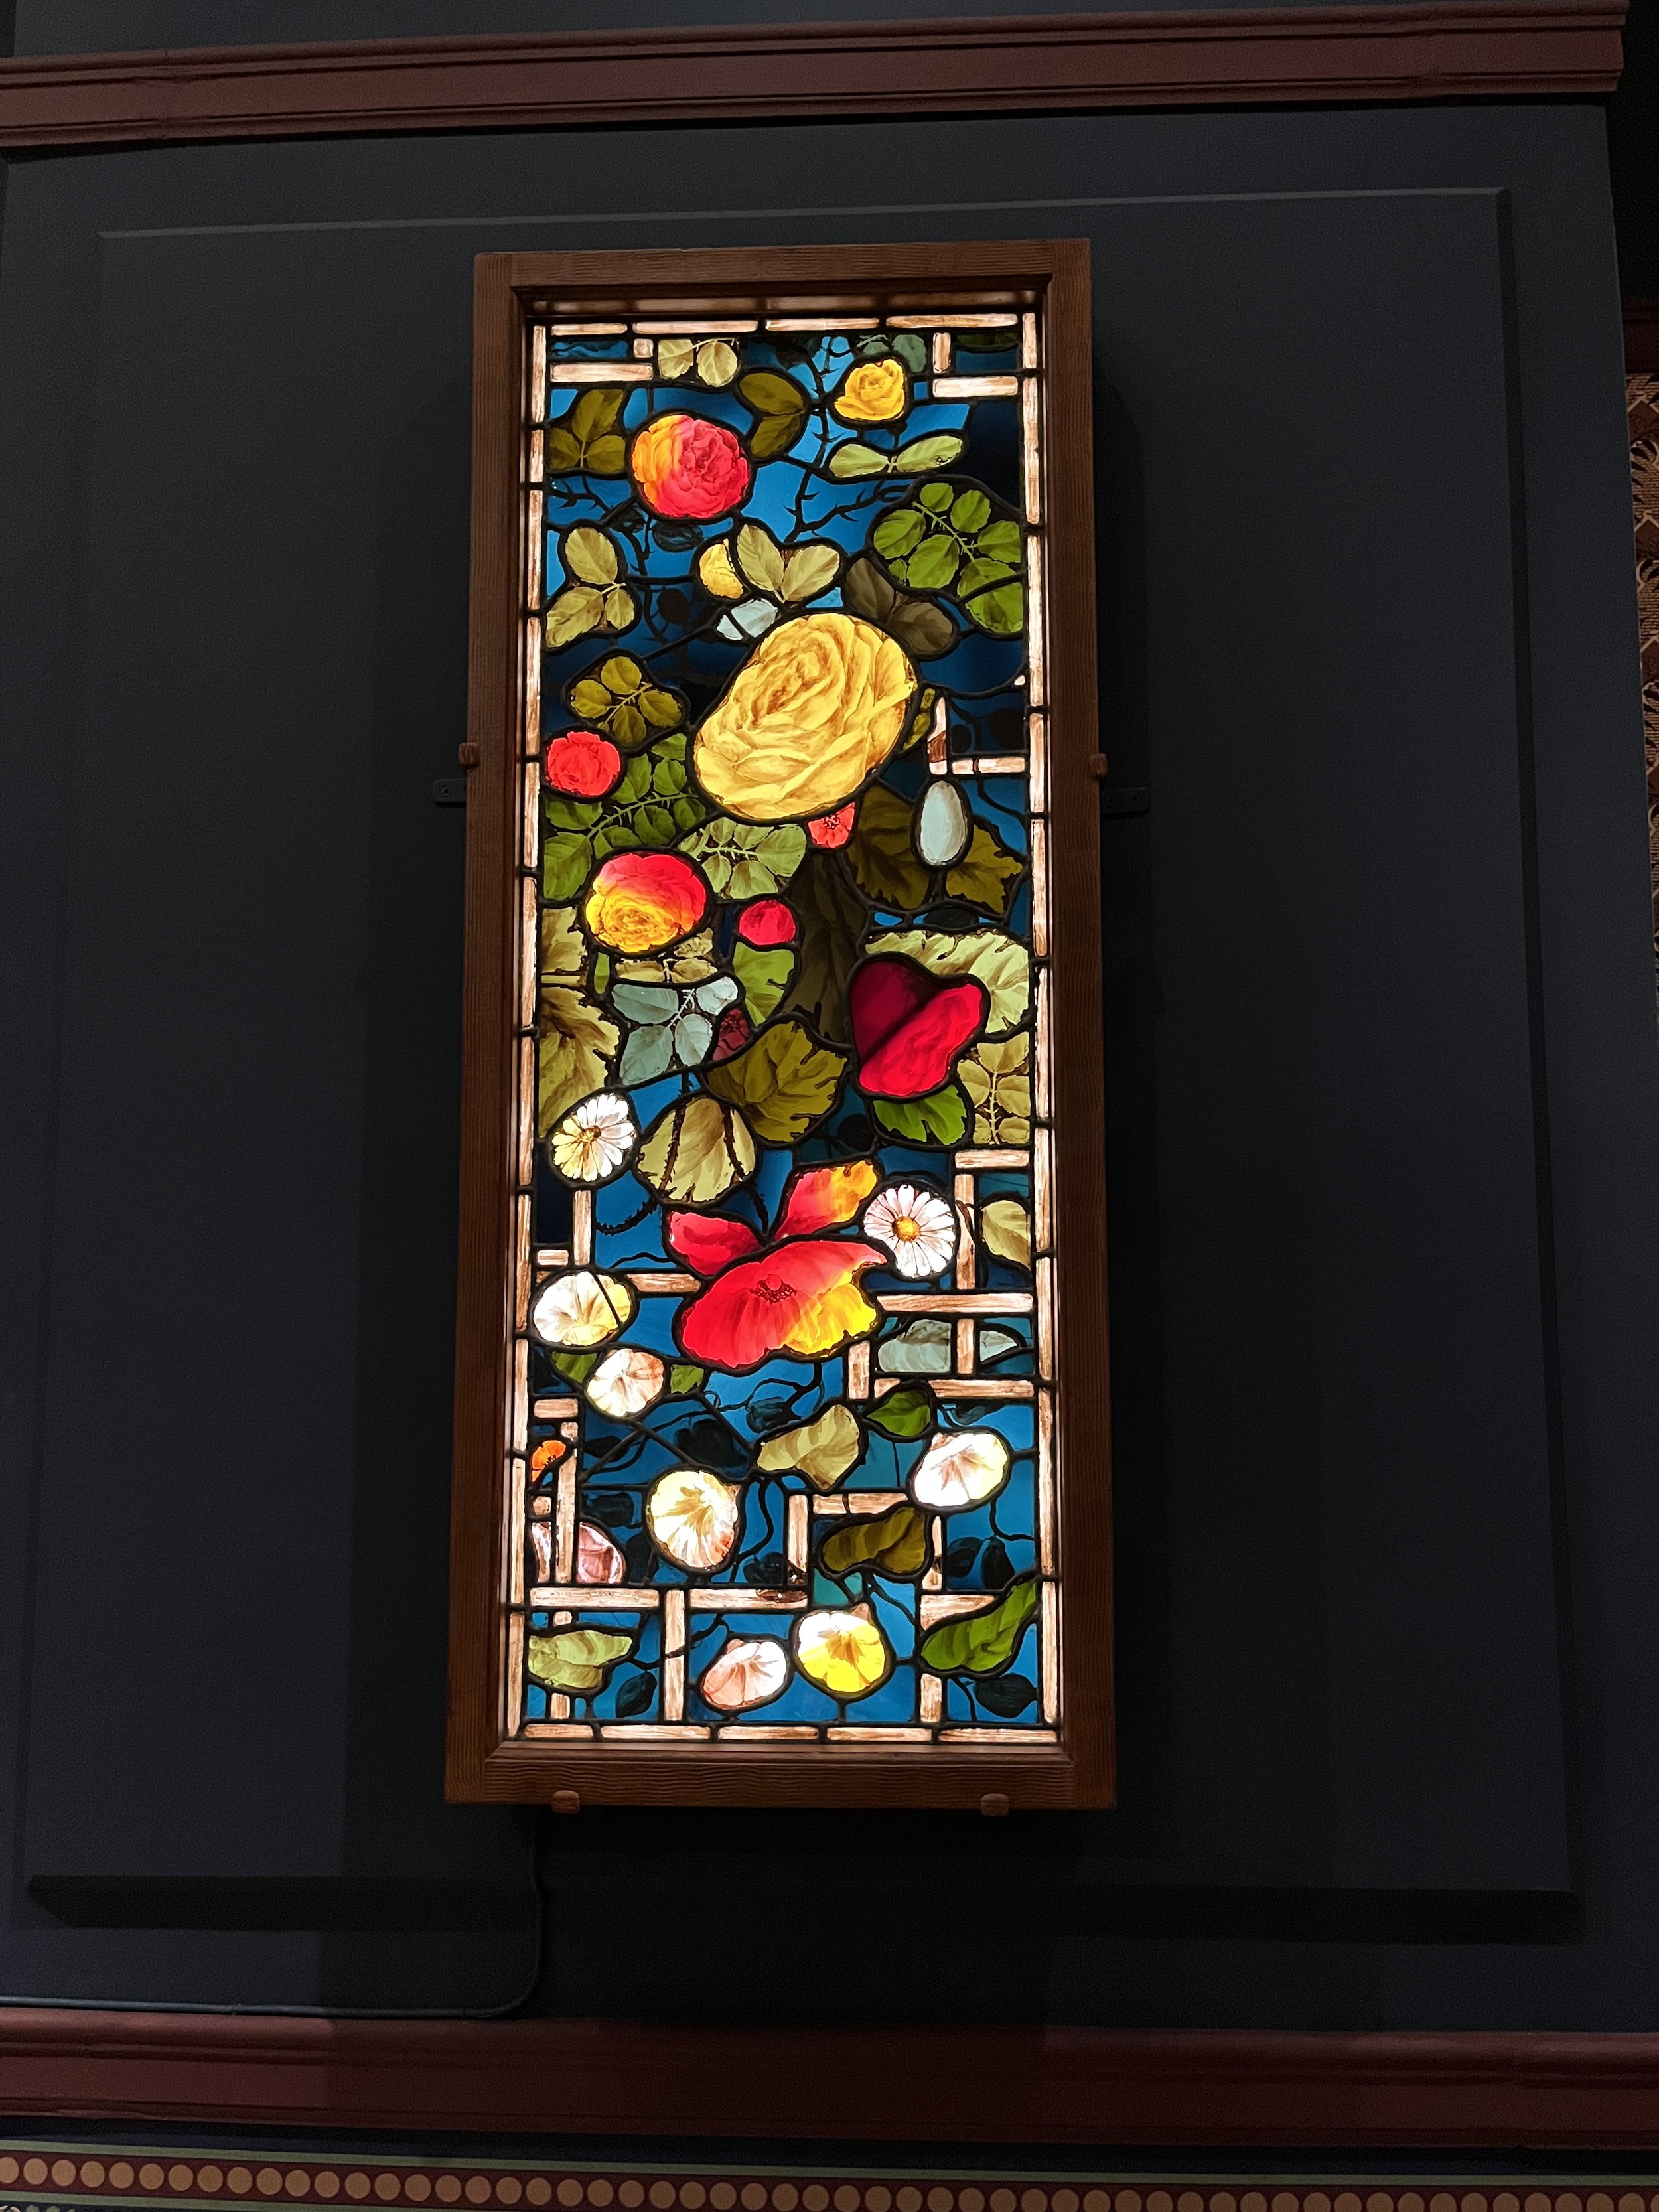
Stained glass window, London and New York, 1877-80

Chain Mail shirt, rings inscribed with the name of God (Allah), possibly Iranian, 15-16th century

Helmets, Caucasian (Ottoman?), 1808 (left), 1782 (right)

War maks, Tibetan, 14-16th century

Saint John the Baptist, Lombardy, late 15th century

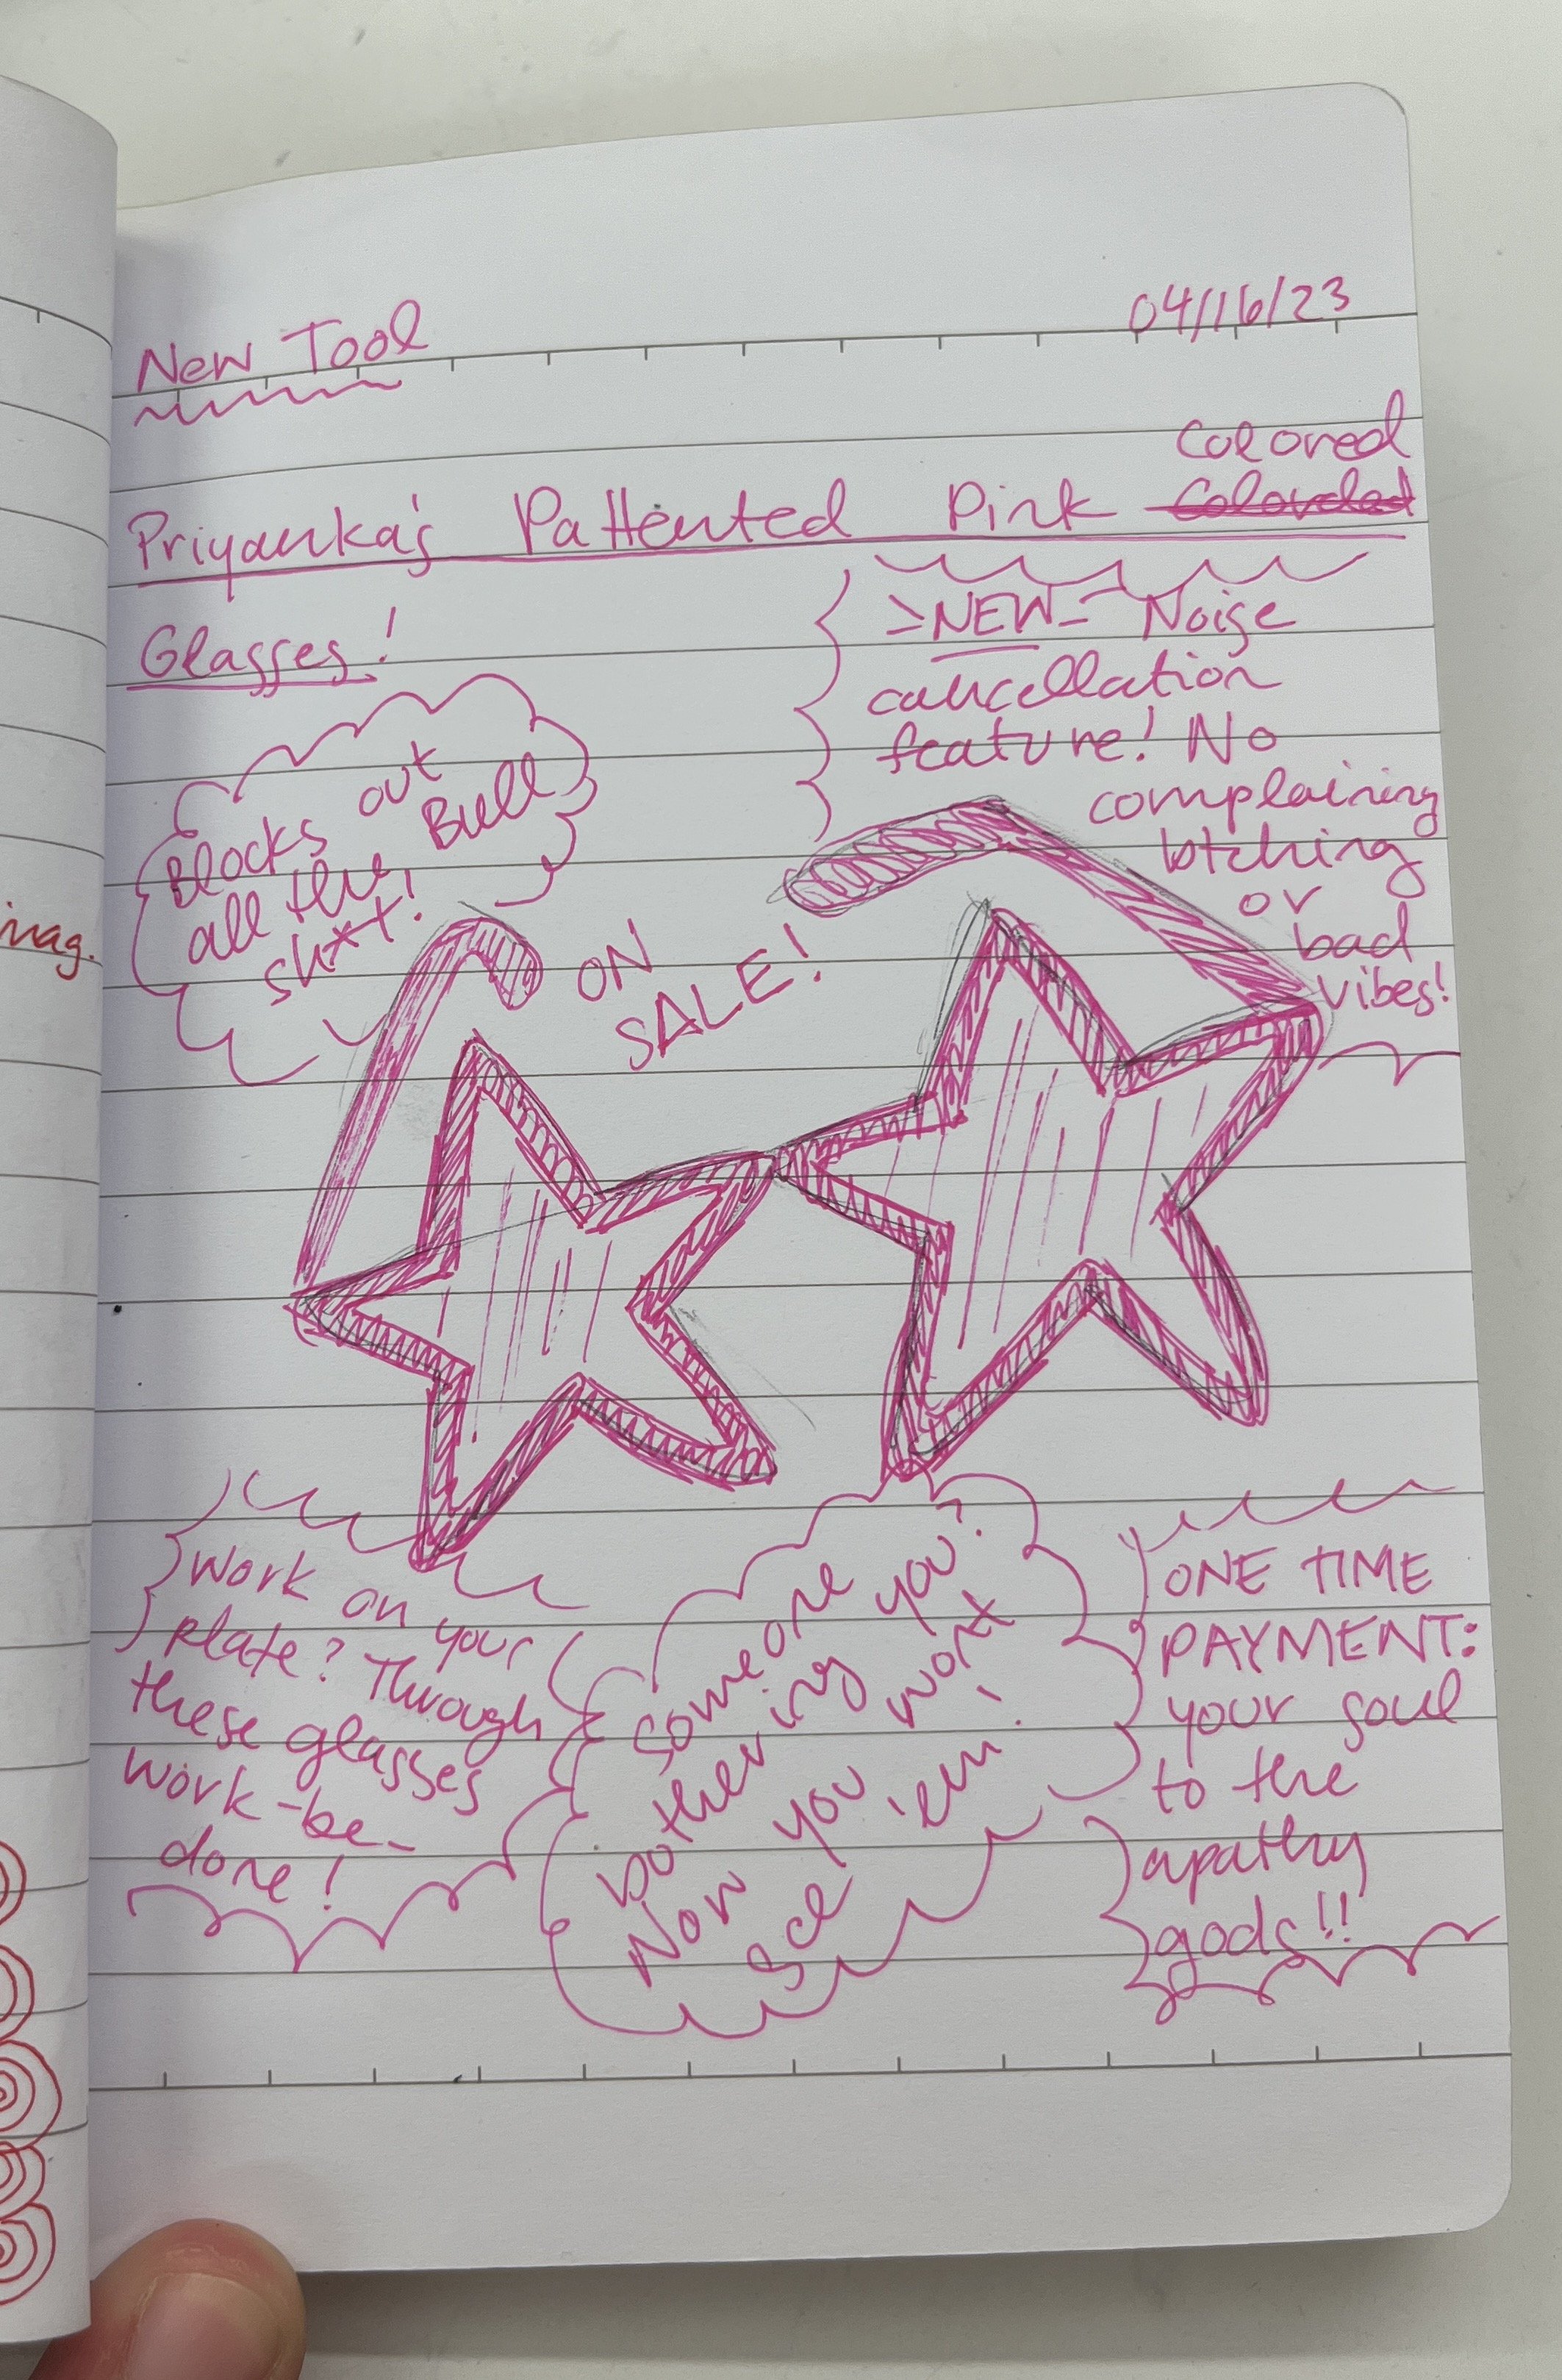
New Tool: Priyanka’s Patented Pink Colored Glasses

  • Blocks out all the bullsh*t!

  • Someone bothering you? Now you won’t see ‘em!

  • Work on your plate? Through these glasses work-be-done!

  • NEW noise cancellation feature. Now you won’t hear any complaining, b*tching, or general bad vibes.

  • One time payment of your soul to the apathy gods

[ITP: STEM Accessibility] STEM Experience, "Kinetic Constellation"

Partners: Eadin Wang and Vera Zhong

Initial brainstorm of many different ideas

Background

For our STEM Accessibility midterm we were tasked with creating a STEM experience for a child in the second grade. The experiences were developed in groups and all four projects were displayed together on one display.

We have been learning a lot about teaching pedagogy and methodology. Here’s a quick overview of the concepts we’ve covered in class so far:

  • Monetssori = child-led activities (“work”) in classrooms with children of varying ages and teachers who encourage independence

  • Instructionism = teaching by instruction

  • Constructionism = learning by making

  • Socio-cultural learning = development is influenced by social interaction, language, and culture

  • Sensory = learning through active engagement of one’s senses

It seems pretty obvious that children (and people) learn better from experiencing and doing rather than just listening or watching, so that was our aim with this collaborative display.

Idea

I have been helping assist Jeff Feddersen’s undergraduate Energy course this semester and we’ve been building up this circuit that transforms kinetic into electrical energy. By turning the shaft of a motor it becomes a generator which outputs an oscillating signal. If we create a circuit that pipes that sinusoidal signal into a rectifier, we get a DC output we can use to power stuff, like LEDs! With some added guidance from Jeff, I was able to modify the circuit to incrementally light up an LED at a time and added a large capacitor to store the generated energy. This cool video Jeff made really illustrates the power of kinetic energy!

Now that we had identified an interesting STEM concept it was time to think of how to make it into an experience. It seemed pretty obvious that we needed to put a handle on the shaft of the motor to make it easier to turn, but how could we motivate children to WANT to turn it? An initial idea I had was attaching the handle to a gear that would also turn when a child turned the handle. Maybe there would also be other gears in different sizes that the child could install and see how the movement and speed changed with different types of gears? We ultimately decided against this idea because it seemed like too many complex concepts at once. Why were we including the gear math? What did it add to the experience and the concept we were trying to teach?

We decided to put our circuit in the context of stars. Constellations are like circuits in the way that they need to be complete loops, every star counts. With this added context, the LEDs became stars and we were hoping that the child would be motivated to try and light them all up and complete the constellation.

Initial design and schematic

Breadboard prototype

Process

Though I had the circuit prototype working weeks in advance because of my involvement in that class, the build was rushed because our portion of the display was completed in one day. I didn’t really get as many process shots as I normally do. Mostly it was a lot of painting anyway, so not much to look at.

I think the main thing we struggled with was the physical display. The shape and size was defined and designed by our teachers. The shape was unconventional and multiple groups were sharing the same panel of wood so it took some logistics to get the display assembled. Seeing the finished display, I see the vision now! I do really like how it pops off the wall and how the different sections come together in the middle panel.

All we had really planned for was the constellation. We didn’t realize how big of a space we were given for our experience. We had to think on the fly how we were going to use the extra space and what texts/words/instructions we found necessary. I wish we had taken more time to craft the wording and design of our experience because we’ve learned that those kinds of things can be really important to learning and spending time with an object or activity.

Circuit glued to the back of the wood panel

Painted constellation with LEDs

Final Product

Evaluation

We had 2 sessions of 3 kids total come in and tryout our display. Part of the assignment was to make a rubric and evaluate how the child interacted with our experience and understood the concepts being exhibited, but I think we were all burnt out in the end so I didn’t do this too officially.

In summary, the first session had a participant that was a bubbly and sociable girl. She had quite a bit of energy and seemed excited to get all the LEDs to light up. The second session was two siblings who were more reserved and their parents stayed and watched them. They were more hesitant to go crazy with turning the handle.

The main thought I have for how our play test went is that we designed our experience to only do one thing, there’s only one way to physically interact with it, so the children didn’t spend as much time with it as the other experiences. I’m not really sure if that’s a good or bad thing. I’m also unsure if made our teaching approach less effective. Did they even clock the change in energy? I’m not sure kids brains think like that. Also after the first session, we decided to add the muscle and lightbulb graphics to sort of illustrate the kinetic to electrical energy transformation more clearly. I’m unsure if the kids even noticed, but it was a relief to me to have the concept outlined on the display.

Overall, I’m really proud of our STEM experience and our whole class because the I think the whole exhibit looks so good and like a professional school bulletin board!

Resources

https://www.fddrsn.net/teaching/energy/

https://vimeo.com/channels/itpenergy/

[ITP: Soft Robotics] Bio-inspiration and original mold design

Ok, I am so behind in this class!! Nothing like using spring break to catch up, get ready for a bunch of soft robotics blog posts all in a row!

Bio-inspiration

I have been spending spring break at my parents house in Phoenix, AZ. Their house basically butts up to the Sonoran desert, so there’s ton of bio-inspiration to be found!

When we first moved here almost 20 years ago, I really hated the desert, I missed the trees and grass I grew up knowing. But with time I’ve grown to appreciate the desert, its weird, alien plants, and really marvel at how anything can grow in this climate.

I find the capabilities of cacti to store water inside themselves so interesting but specifically I’m looking toward the cholla cactus for bio-inspiration. They are sometimes called teddy bear cholla because of their cute, cuddly appearance and their white/yellow spikes look kind of like fuzzy fur. They’re also referred to as jumping cactus as well because the top lobes easily detach from the plant when something gets too close and gets caught on the plant’s fine spikes. It’s so clingy it gives the appearance of jumping.

It’s kind of interesting to think of this feature of detachability in technology. Like could it be beneficial in a particular system to have defined segments of a material that could easily detach from the whole? I’m not really sure what a specific application could be.

A lot of desert plants also sport spikes to protect themselves from hungry animals. Could technology benefit from a built-in defense mechanism like cacti have with their spikey thorns?

I <3 Saguaro

Cholla in the Sonoran desert

Original Mold Design

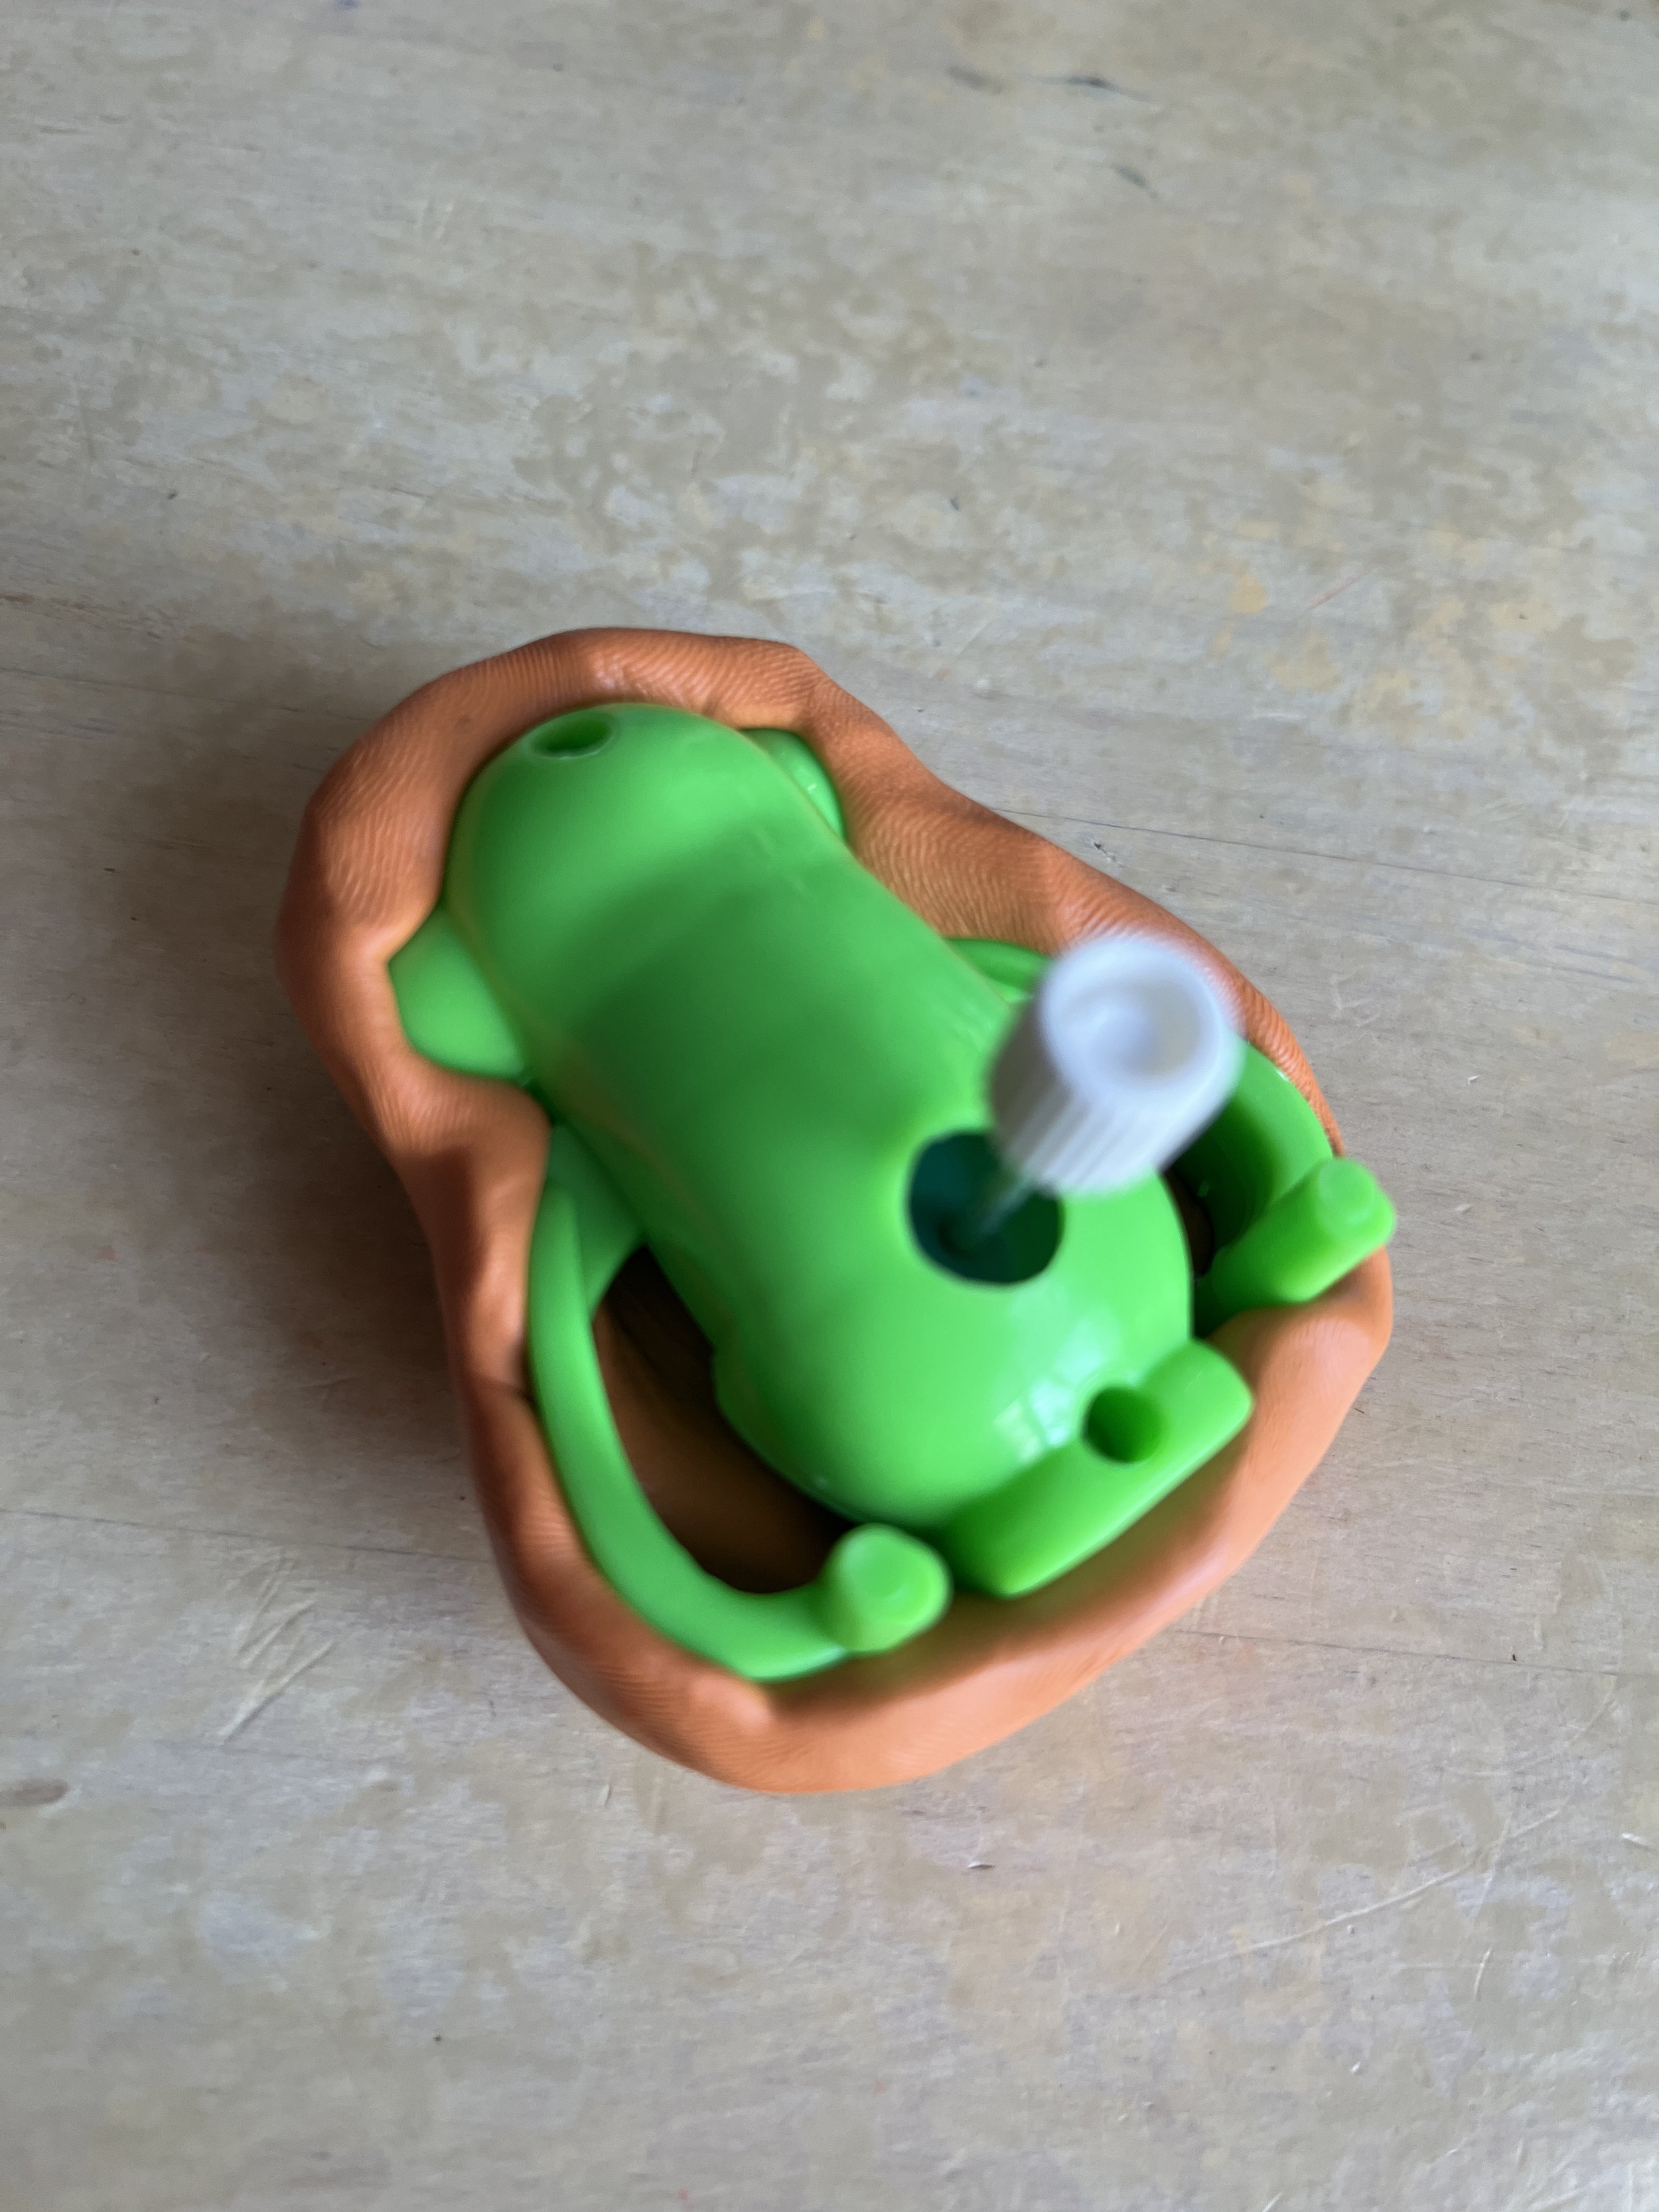
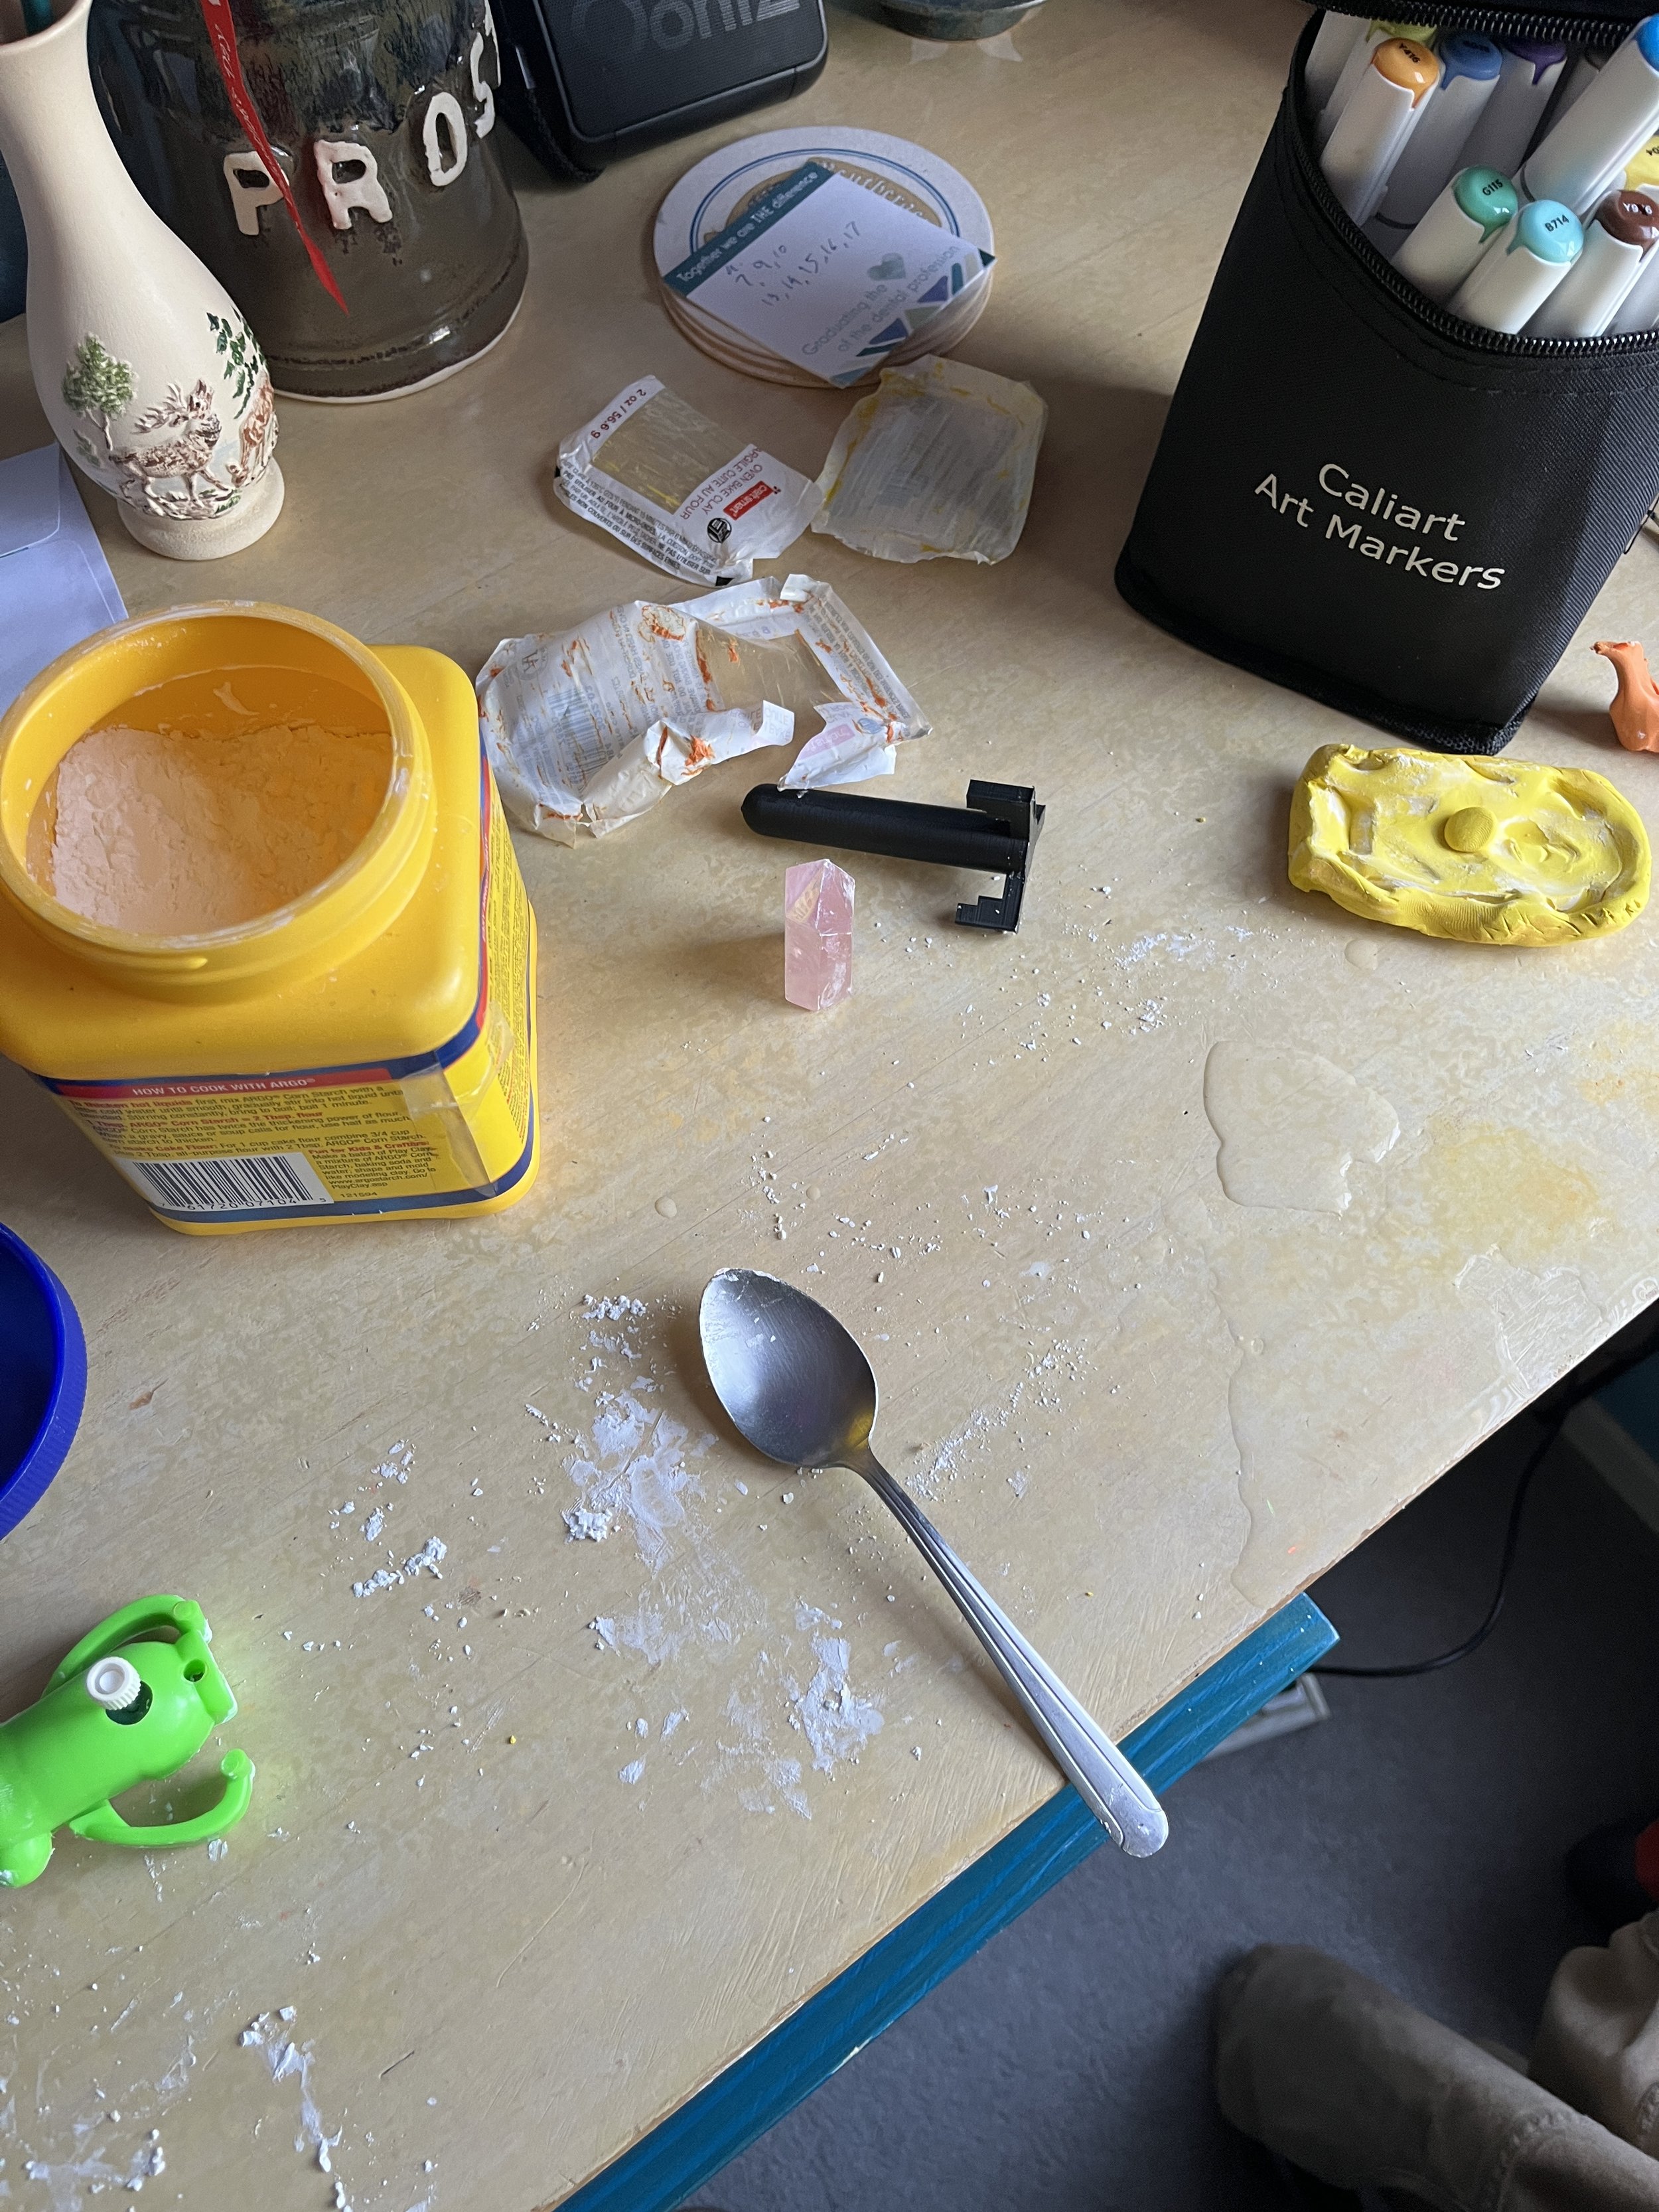
Casting this toy monkey didn’t really go as I had planned. I wanted to cast two halves of the front side of the monkey and then attach them together to get a hollow thing. Possibly also use the insert piece from the last assignment to make a hollow and/or inflatable silicone monkey. I had some issues working with the craft clay. First, I had a hard time de-molding the monkey and I would distort and bend the clay trying to remove it. Online I found that cornstarch could be used as a release agent for polymer clay and that seemed to help release the plastic better so that the clay could keep its shape but then I had a hard time attaching the two halves without the pieces collapsing in on themselves.

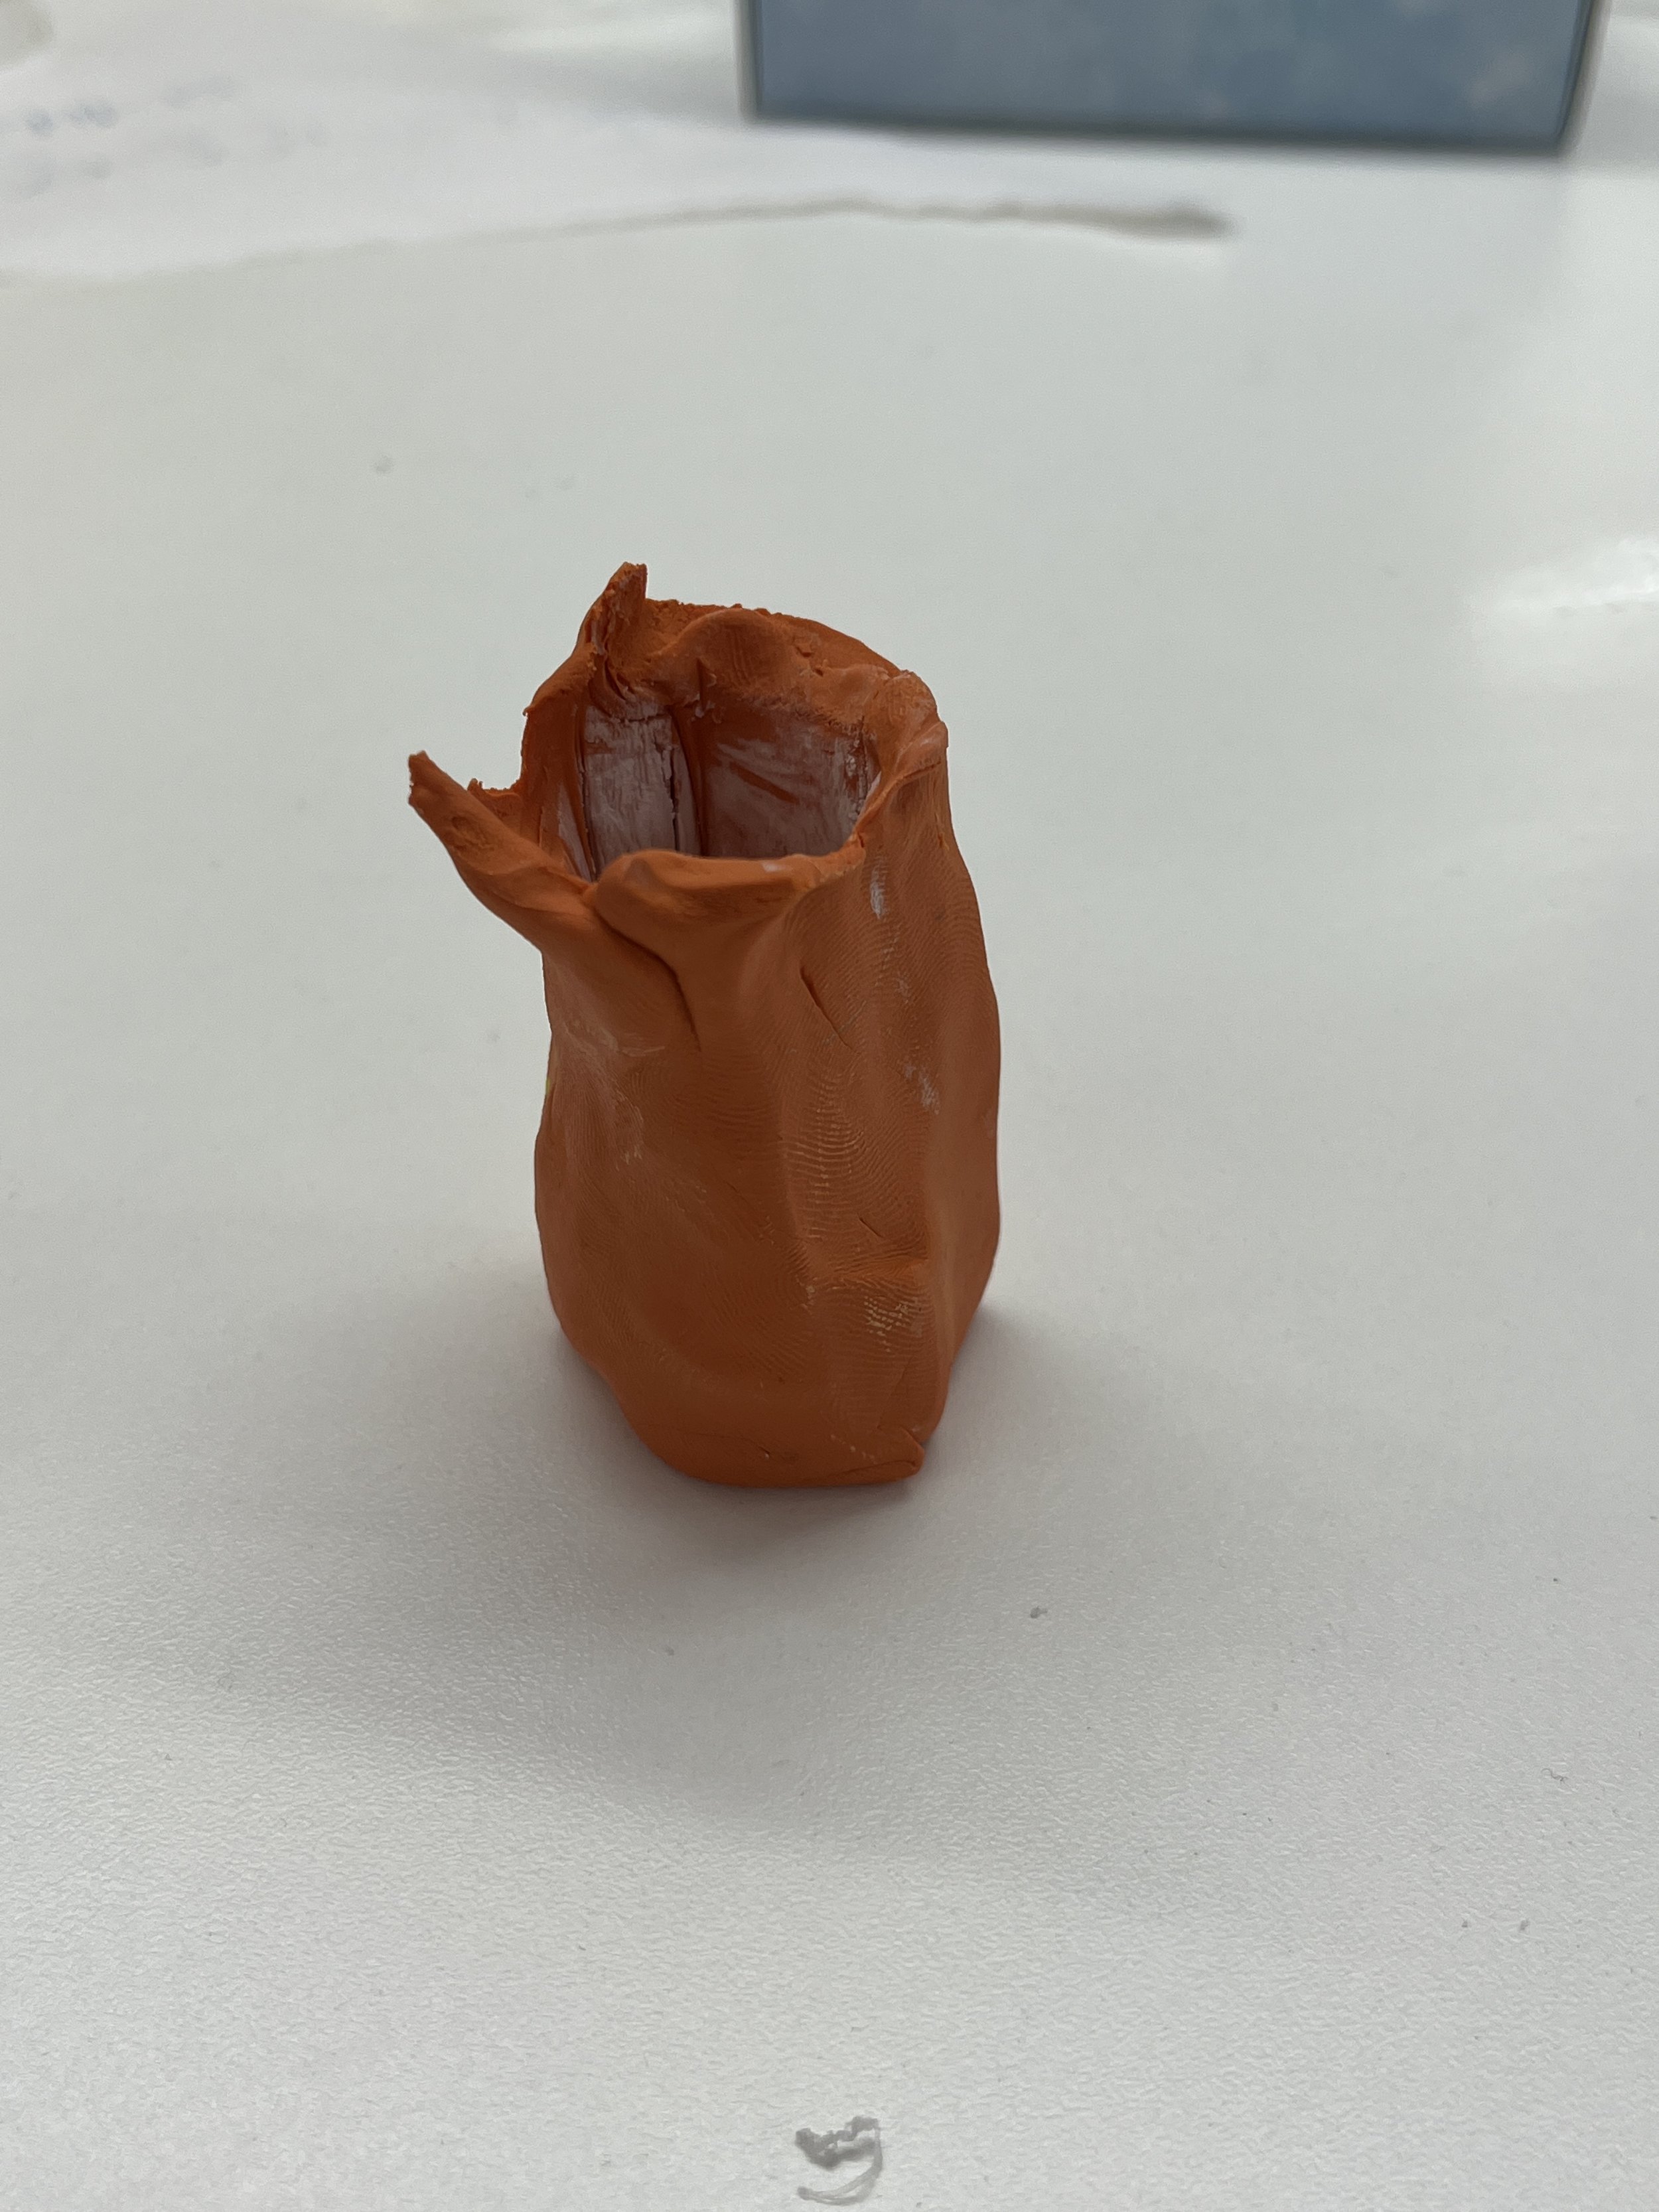
I scrapped the monkey and tried making a mold out of this crystal I found in my bed side table. This was easier to work with because I could just massage the whole piece of clay around the whole object. However, working with the cornstarch made it a bit trickier because it stops the clay from sticking to an object so it was hard to make a close fitting mold. I found that the clay slid around a lot.

Silicone Casting

Finished? product?

This was hard! I’m not good at making molds … yet! I somehow got it in my head that the only other way I could make a mold was to 3D print something, which I’m a little scared of. But Kari showed us so many other examples of molds that didn’t require any 3D printed components, so I want to revisit this assignment sometime and try to design and build another mold. Also! I want to not be scared of the 3D printer! I hope to learn to model and print sometime too.

Resources

https://en.wikipedia.org/wiki/Cylindropuntia_bigelovii

[ITP: Soft Robotics] Material ConneXion Library

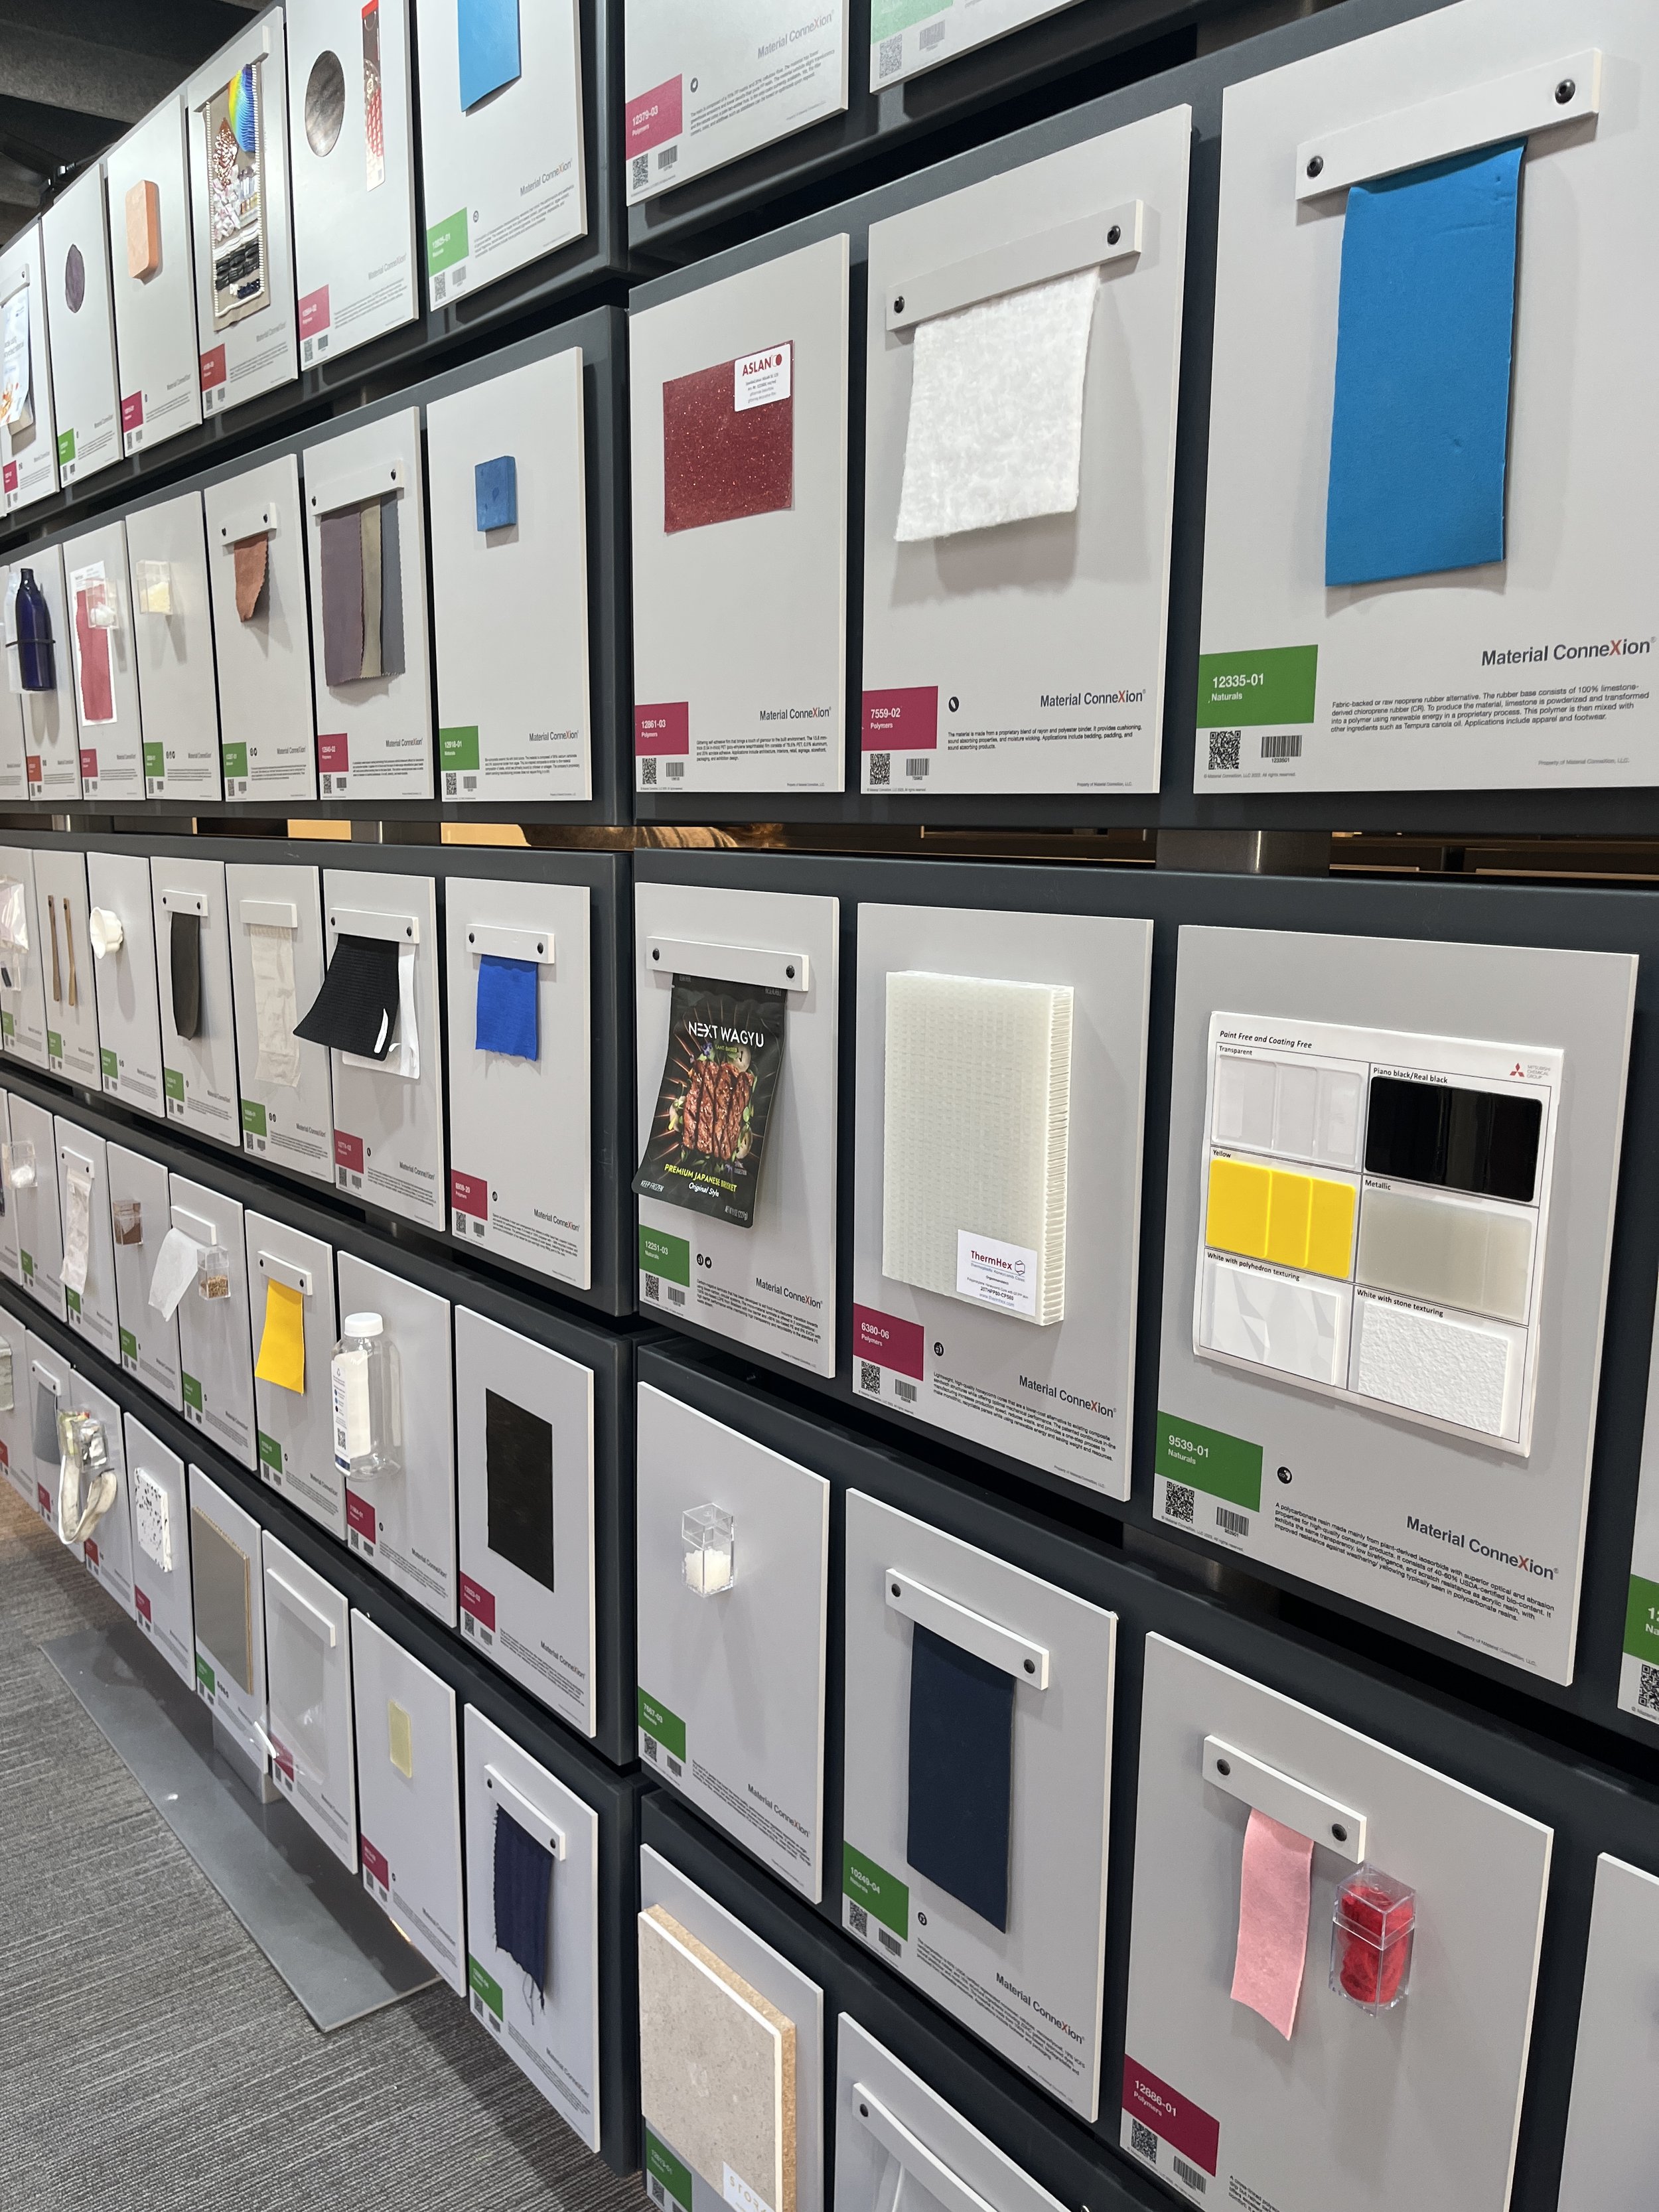
Last week for class, Kari took us to the Material ConneXion library. The Material ConneXion is a “materials library and consultancy … MCX helps companies source materials that enhance the performance, aesthetic, and sustainability of their projects.” This is a really amazing resource for students and makers. There are swatches of all kinds of novel and innovative materials that are so new that they maybe still under development. Learning about cutting-edge materials can inspire new projects and methods of making as an artist/engineer. It was a ton of fun visiting the library and getting to touch all the materials!

Honestly I am most attracted to things that are shiny, colorful, or look like they might feel good to touch (smooth, squishy, soft). I found a lot of the materials interesting and saved a lot of swatches to my MCX account but here are a few materials that might be particularly relevant to my work:

e-broidery

“Flexible, durable and washable textiles integrated with light emitting diodes (LEDs) … e-broidery is able to cohesively combine active lighting into fabrics without compromising their drape and strength.”

This material is particularly interesting to me because I am truly excited about e-textiles but sometimes adding electronics into fabrics can make them clunky and/or lose the materials softness.

Link: https://www-materialconnexion-online.proxy.library.nyu.edu/database/761001.html

Manufacturer: Forster Rohner Textile Innovations (Switzerland)

Fiber Optic Fabric

“The fabrics emit light from the cut ends of the fabric as well as at any point along each fiber that has been bent, scratched, or otherwise deformed.”

I met this incredible artist, Aruma, last year and she makes a lot of amazing textile work and many projects using fiber optic fabrics. Her work is super inspirational and I’m curious what I could make with a material like this.

Link: https://www-materialconnexion-online.proxy.library.nyu.edu/database/739001.html

Manufacturer: LumiGram LLC (France & US)

Nth Light

“Bright, printed, paper-thin lighting technology that consists of micro-scale inorganic LEDs on a thin, flexible, lightweight substrate.”

Again, more light-up stuff! This company is based in Tempe, AZ close to where my parents still live.

Link: https://www-materialconnexion-online.proxy.library.nyu.edu/database/871101.html

Manufacturer: NthDegree Technologies Worldwide Inc (US)

MEBA BioResine

“A bio-based thermosetting resin … composed of discarded biomass and other renewable raw materials (such as waste cornstarch, sugarcane, vegetable oils, and fats), its production drastically reduces the use of fossil fuels and CO2 emissions.”

This picture doesn’t really do the material justice, it is so pretty! Now that we’ve learned about silicone casting, I’m pretty interested in casting resin as well. It is astounding that this bioplastic can be made of raw bio waste.

Link: https://www-materialconnexion-online.proxy.library.nyu.edu/database/701702.html

Manufacturer: MEBA S.a.s (Italy)

Recycled Range

“Family of sewing and embroidery threads made from 100% recycled PET bottles … These threads exhibit … features such as excellent breaking strength, abrasion resistance, and sewability despite the recycled content.”

I’ve been learning to embroider over the last year or so and I know what a difference different fibers make for being able to hand-sew something. I’m not sure what kind of carbon footprint the thread/skein industry has but it could be interesting to sew something with plastic water bottles!

Link: https://www-materialconnexion-online.proxy.library.nyu.edu/database/1026104.html

Manufacturer: Amann Group (Germany & US)

[ITP: Soft Robotics] Silicone Casting

Making a Bibenda Actuator

Because it is made from flexible silicone and has stiff internal restraints, a Bibenda actuator is a soft, bending, pneumatic robot. Kari outlines the whole silicone casting process with pictures in her book. Kay, Adnan, and I made our actuators together because the number of steps and timing in this process was a little bit daunting. Here’s a quick overview of the general procedure:

1. Cut parts for the mold. This consisted of cutting a length of PVC pipe, a square of styrene and the insert is that black 3D printed cylinder.

2. Construct the mold by attaching the PVC tube to the styrene using PVC primer and PVC cement. Also cut and sew the fabric gauze sock seen on the mold insert.

3. Mix one part A and part B of the Eco-Flex 00-50 silicone. The pot life of the silicone is 18 minutes, so we needed to work fast after mixing. Then put the silicone and the insert in the vacuum chamber to degas for 5 minutes.

4. Pour the degassed silicone into the mold we made, carefully to not create more air bubbles. This part was super hard and messy.

5. Second degas for 5 minutes. Putting the silicone in the vacuum chamber makes all the bubbles in the silicone come to the surface.

6. Let cure for at least three hours.

Finished Soft Robot!

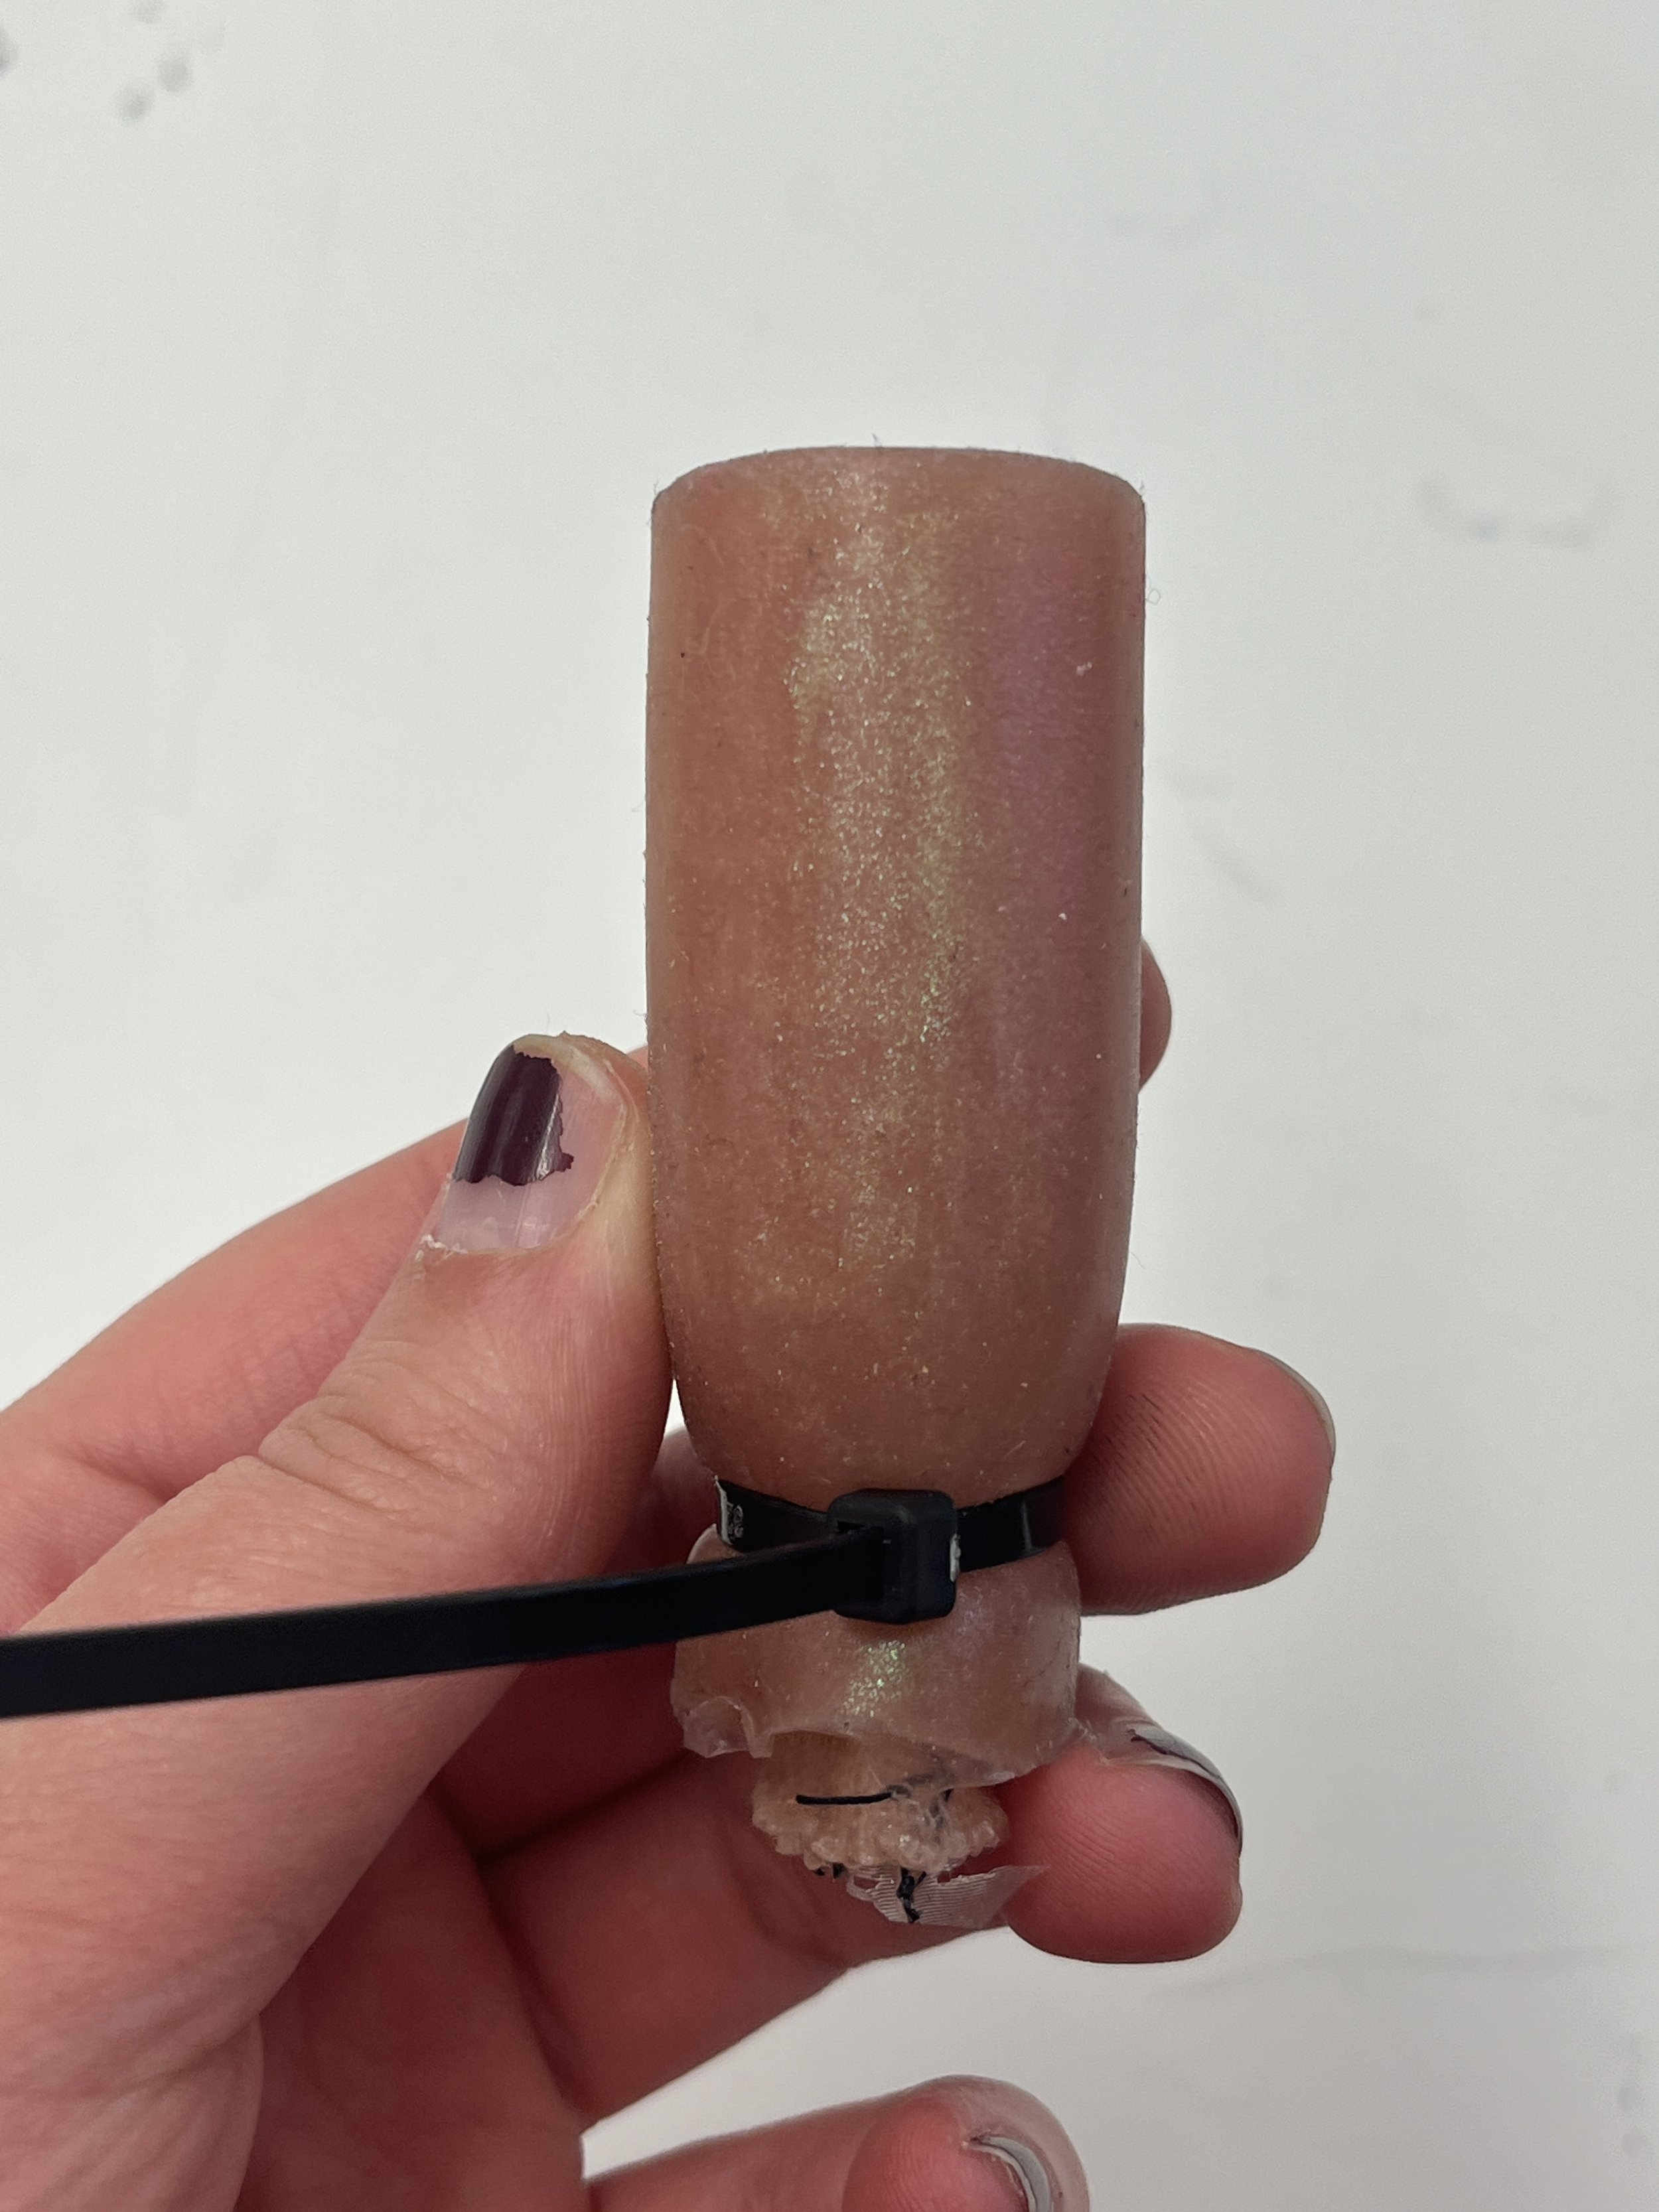
Kay and I bought some pigments for the silicone a couple of weeks ago so we mixed in glittery mica powders during the third step. So we made kinda funny looking, colorful caterpillars!

TODO: add video here!

[ITP: Modern Artifacts] Dreams

As a kid, I feel like I had a really overactive imagination and I remember having lots of dreams. Nightmares, specifically, that woke me out of sleep. I’m not much of a dreamer as an adult. Maybe I have them but don’t remember them in the morning?! I feel like I probably don’t remember my dreams on account of being overworked, tired, and having my to-do list looping in my brain constantly (secret is: it never ends!).

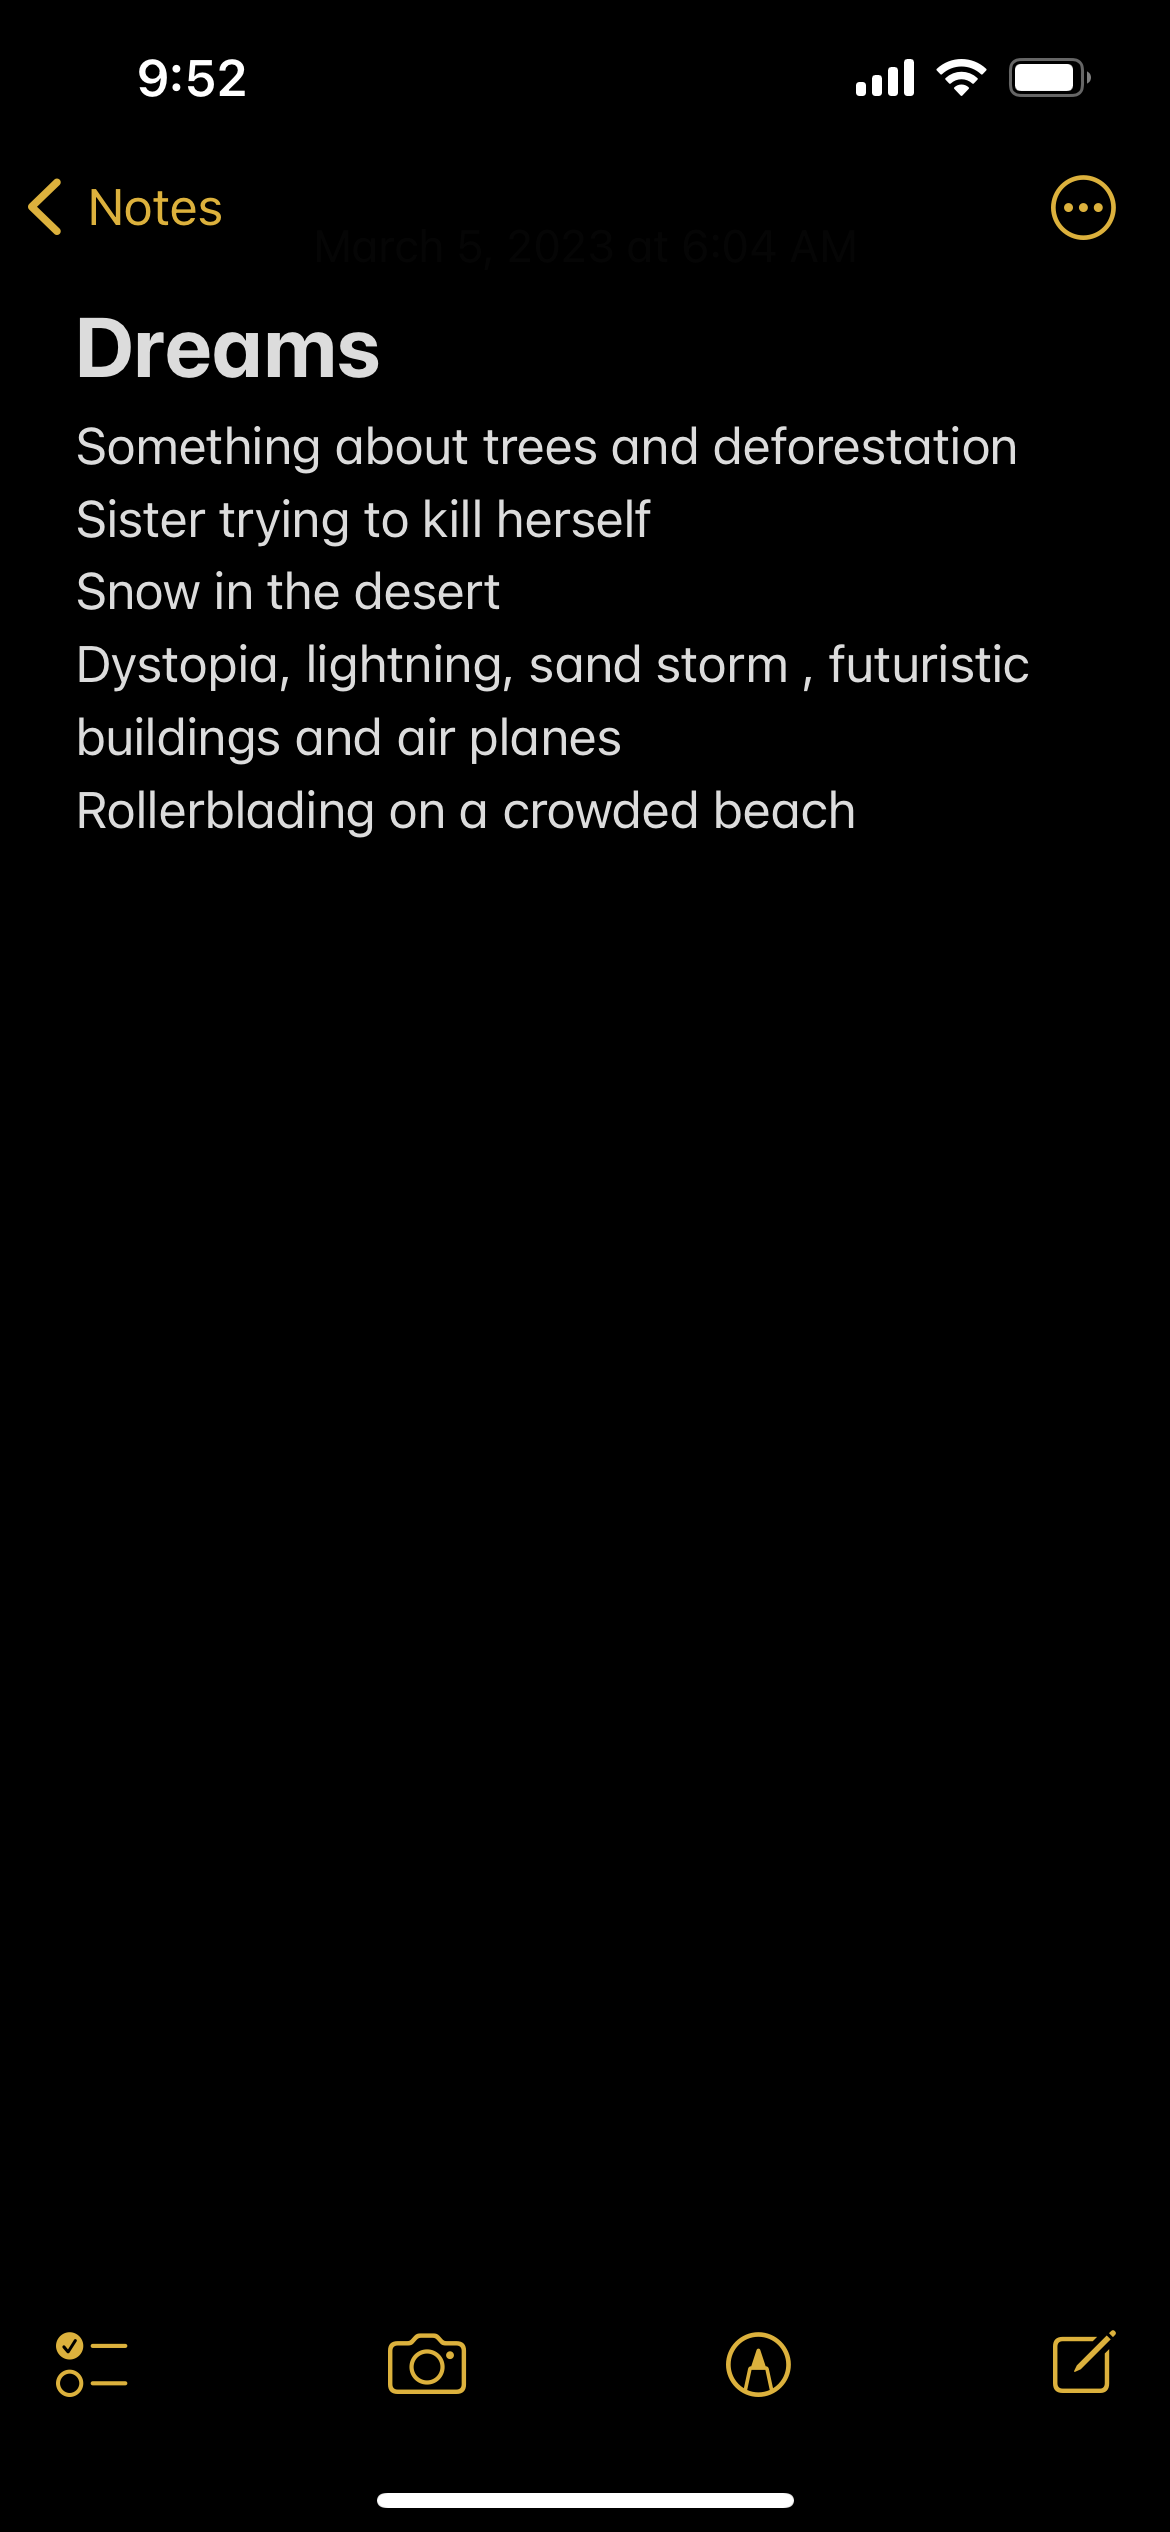
So this assignment of tracking my dreams was kind of hard for me. I would tell myself before falling asleep “now Priyanka, you better dream of something good and remember it in the morning!” and I would wake up stressed and upset that I had no dreams. This repeated for a couple of nights until I finally got something. I jotted down the following “dreams” in my notes app:

…hm yikes! Pretty terrifying, these must be stress dreams! Since midterms took over my life last week, these “dreams” were from a couple of weeks ago, so I don’t really know what they were/felt like anymore… but reading them back, they seem mostly bad. I think the intentionality lead to me to finally harnessing my dreams. I should practice this more when things feel a little bit more peaceful in my life.

I am not really familiar with writing prompts for AI systems, I don’t really like AI art in general, but I’m going to use Dall-E2, “an AI system that can create realistic images and art from a description in natural language”, to try to illustrate some of my dreams. Below are some of the images that I feel like came may have come closest to the dream itself and the image prompts.

“rollerskating on a crowded beach”

“rollerskating really fast on a crowded beach”

“rollerskating on a crowded beach”

“rollerskating really fast on a crowded beach”

“one person rollerskating really fast on a crowded beach with people relaxing on the beach, during sunset”

“dystopia, desert, lightning, sandstorm, futuristic buildings and airplane”

“dystopia, desert, lightning, sandstorm, desolate, futuristic buildings up close and parked futuristic airplane”

“dystopia, desert, lightning, sandstorm, desolate, futuristic and very tall buildings up close and parked futuristic airplane”

“snow in the sonoran desert”

“vast sonoran landscape, with freshly fallen snow, at sunrise”

“vast sonoran landscape, many cactus, saguaro, with freshly fallen snow, at sunrise”

The effect of these images is so weird, totally uncanny. Like other than the images for the second prompt, the generated images look like there could be something real about them, but when you look closely, the pixels do strange things. They feel kind like a bunch of images stitched together in Photoshop. And on top of the AI-effect, the prompts (my dreams) were kinda generated by my own AI-system in my brain. So double-strange!

[ITP: Connected Devices] Environmental Systems Monitoring Device - Buddy Devices

Group member: Gracy Welihan

This is a continuation of my device data dashboard project. My previous blog post can be found here.

Planning

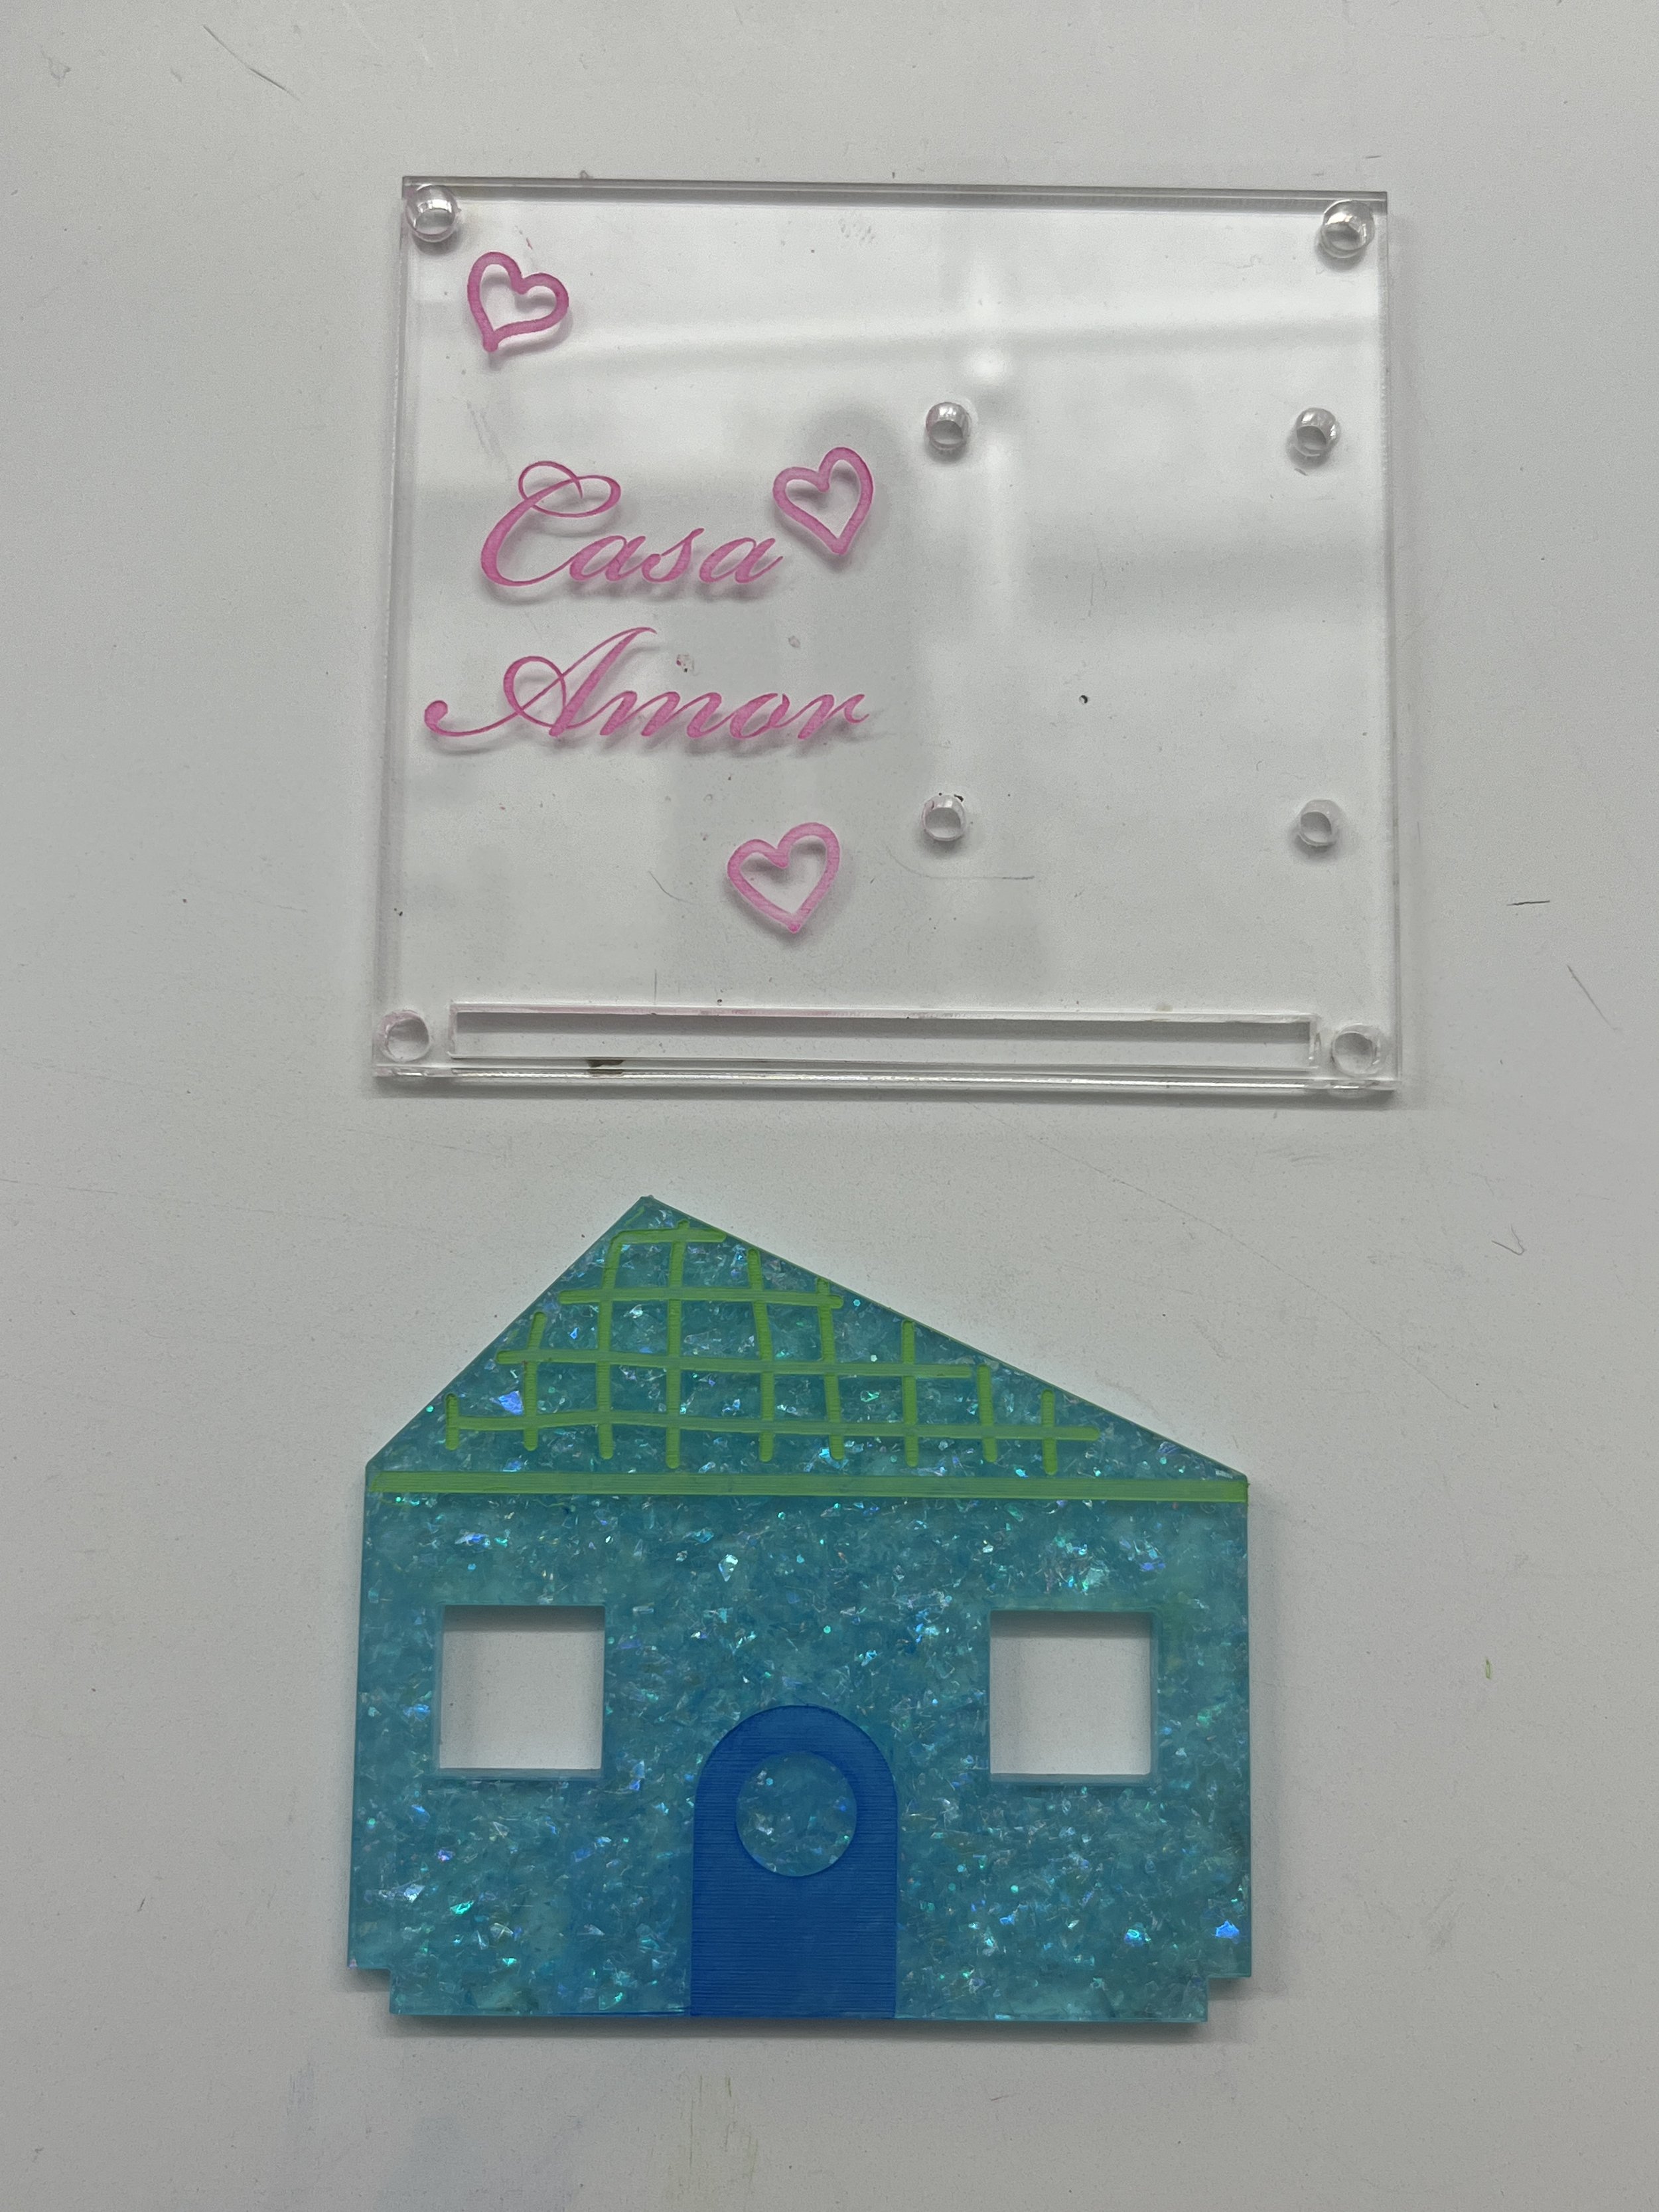
Below are some initial sketches I came up with when thinking about our environmental monitoring devices. We went through a lot of brainstorming. Gracy’s sensor measures temperature and humidity and my sensor measures light and RGB values, everybody’s favorite TCS34275. I always love some sort of gimmick when it comes to making projects, so I thought it could be fun to make the enclosures fun shapes… because you can make any shape with the laser cutter! But then Gracy mentioned making a house and I really liked that idea. Normally with IoT we are monitoring our house but in this case the house is monitoring us!

I also knew I wanted to use a screen in some way because I had never done that before. I got an E-Ink display and a regular OLED from Adafruit but utlimately decided to go with the OLED because the E-Ink is really advanced and has too many pins. I’ll have to save that for some other project.

Protoboard

Since we had already working devices and basic dashboards, I got started with getting the screen running. Adafruit’s monochrome OLED defaults to I2C communication, which is the same as my sensor. This should work in theory, especially since the two devices have different addresses, but as I would plug my sensor in the graphics on the screen would freeze. I cut the two jumpers on the back to put the screen into SPI mode and the system worked much better.

I used Adafruit’s GFX and SSD1306 libraries to get started with the screen. I also uploaded my new Arduino code, with the OLED additions, to Github.

Then I transferred my circuit to something a bit more permanent and soldered together this proto board. A little bit of tacky putty can be your best friend!

Gracy’s circuit consists of an SHT temperature and humidity sensor on the I2C bus and a KY-038 sound sensor on analog pin A0. Here’s that all soldered together.

Fabrication

Here are two things that are true:

  1. I’m in love with the laser cutter.

  2. We went crazy with the house idea.

Our enclosure needed at least one outward facing wall to get the house idea across. I remembered this slot-ing technique we had learned in intro to fab during enclosure week and that really worked like a charm with our cardboard prototype. I also tested out this technique of painting over the acrylic. After wiping the excess paint off with a rag, the color remains on the etched part of the material. Yay, multicolored house!

Assembly was a little bit tricky because sourcing the right mechanical hardware is always a challenge for me. For one, I had three different sized holes in my design that all needed the correct screw size (…some metric, some imperial). We also needed larger standoffs than were available in the shop but we eventually figured out a solution by mix and matching different spacers. I was also tipped off by Phil to use some hot glue as stand offs/attachment for the proto boards.

My laser cutter files are also on Github for anyone following along.

Final Product

Dashboard

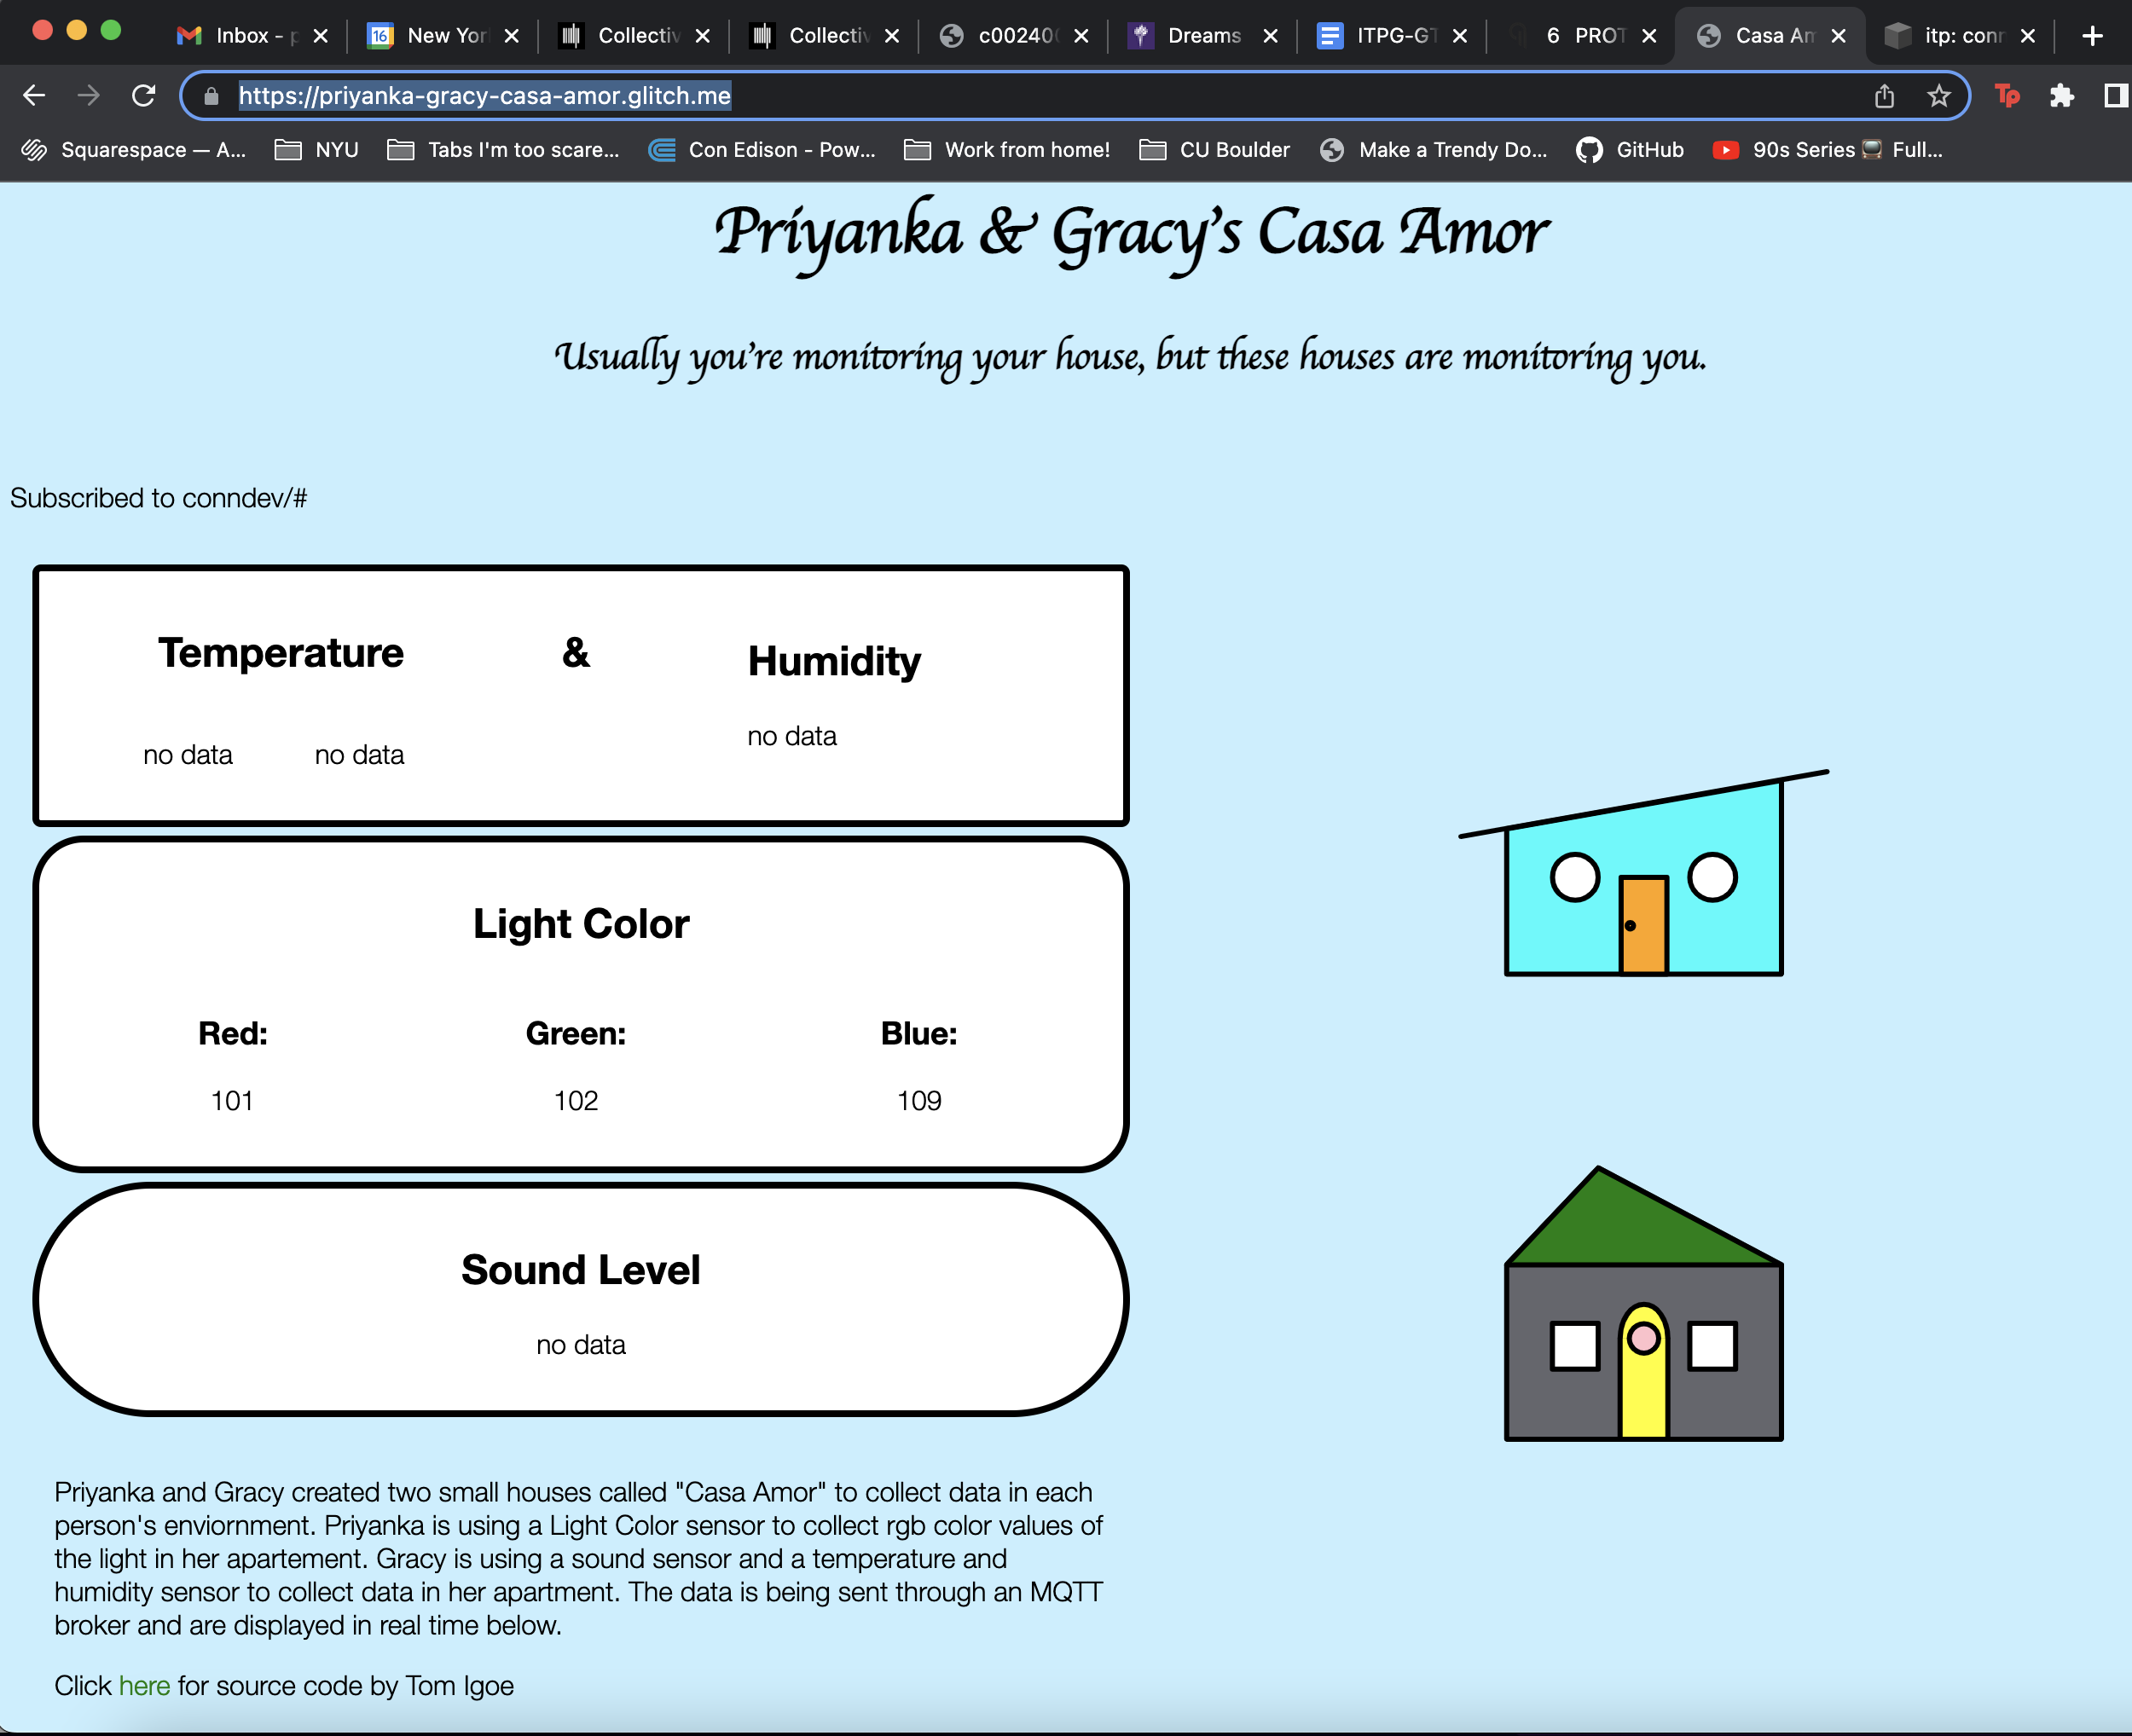
My very simplistic, original dashboard is still live on my private server. But Gracy created a super cool and cutting edge online dashboard that displays all the data from our various sensors and both houses! You can find it here. Looks like Gracy’s house isn’t live at the moment.

[ITP: Modern Artifacts] Altar

In Ali’s class we’ve been talking a lot about altars. Altars can be ancestral shrines, a tribute to a person or intention. It’s usually very personal to the person who created it and to who/what it is honoring. I’ve seen many altars on the side of the road put in place by families that have lost someone in an accident or Hindu altars around India worshiping specific deities. I don’t think I’m super spiritual so I have never created an altar honoring an ancestor or deity but when I think about it I might be building altars wherever I go.

I have moved every year for the last seven years and now that I’m in New York, I’m moving more than ever. Every time I set up in a new room I re-arrange my little chachki’s, notes, artifacts, letters, pictures, projects, etc around me. They are my home. I started out in New York a few months ago with really few things but through my time at ITP I’ve collected all kinds of stuff/materials and, more excitingly, things I’ve created. Below are images to my altar(s) to creating and my creativity.

Maybe I didn’t intentionally create these altars but I did intentionally arrange my silly creations in a way so that I can see them every day. Among some embroidered pieces and wood projects I have a plant and some special things made for me from my boyfriend. My favorite is my “Pri Shed” sign he made for my first ever she-shed/art studio. I don’t have a separate studio space anymore but I’m learning that I can make art anywhere. The Pri Shed is wherever I am!

I’ve also got some pictures and artworks hung up from my friends. Candles, calendars, and to-do lists to keep me accountable.

I feel like a desk or work table can be considered an altar for artists. I’m trying really hard to keep mine clean in my new place. I also really love flowers and nature but living in the city and being so busy with school I haven’t seen any real flowers in a long time. So I’ve made some arrangements with fake flowers. They’re colorful but don’t smell as good as the real thing. The altars around my room are good reminders of what I’m capable of and people or ideas that support me and keep me going in my journey in makin more stuff.

[ITP: Modern Artifacts] Found Object Sculpture - Assemblage

ITPearance Mask

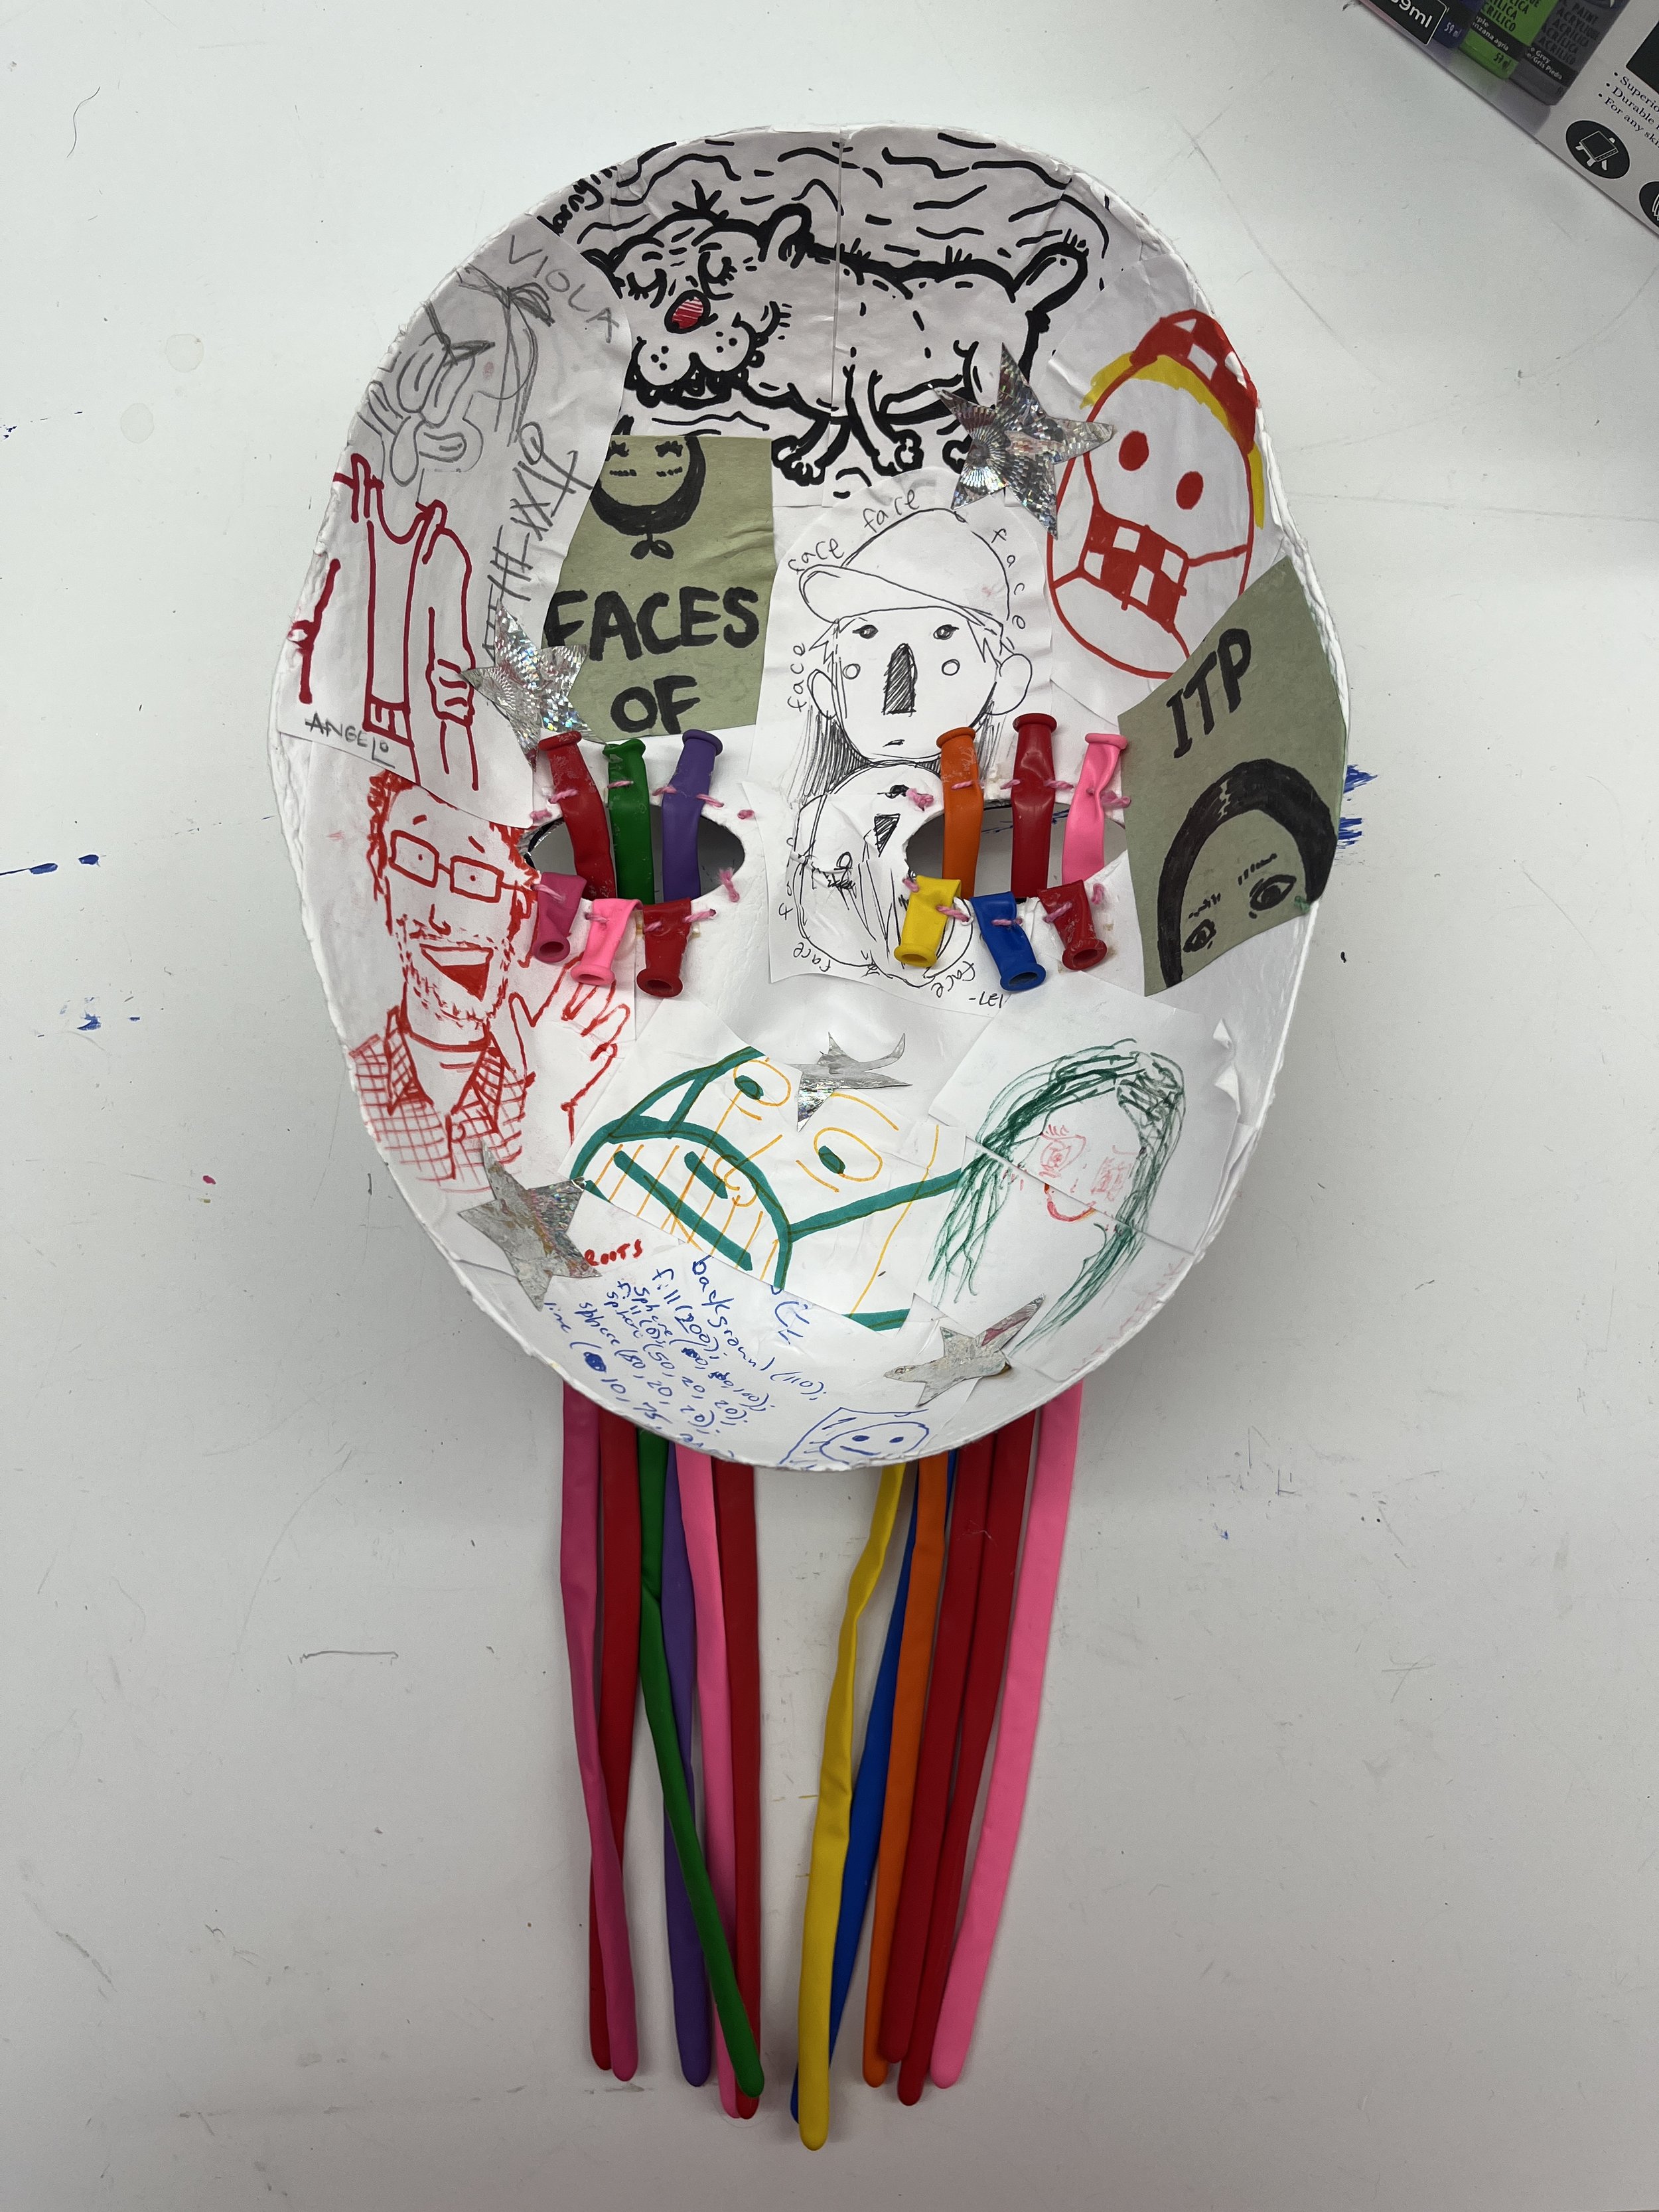
This sculpture is a historical ITP relic: it is from, for, and by ITP. The mask itself comes from Alter Ego’s, a class taught last semester by Ali Santana. The drawings on the inside come from an anonymously authored “Faces of ITP” zine; representations of how community members see themselves. Face inside a face. This mask can serve as an identity or a disguise. Their eyes are always watching. The eyes are a window to the … balloon.

Found Objects

Materials the junk shelf offered me

Process

Faces of ITP zine

Zine spread

Deconstruct zine

Test: thought I could paper mache the pages into the mask but the marker bled

Use white glue to attach the pages to the inside of the mask

Sew the balloons into the eyes because they are too slippery to glue

Cut out shapes from foil

Both sides!

Paint decorations

[ITP: Connected Devices] Device Data Dashboard IV

This is a continuation of my device data dashboard, see my previous blog post here.

Getting the Ball Rolling Again

I tried getting my sensor set up sending MQTT data at home and got my local webpage running and I got an error I hadn’t seen before running Tom’s mqtt.js example: “mqtt.js test.mosquitto.org failed: The certificate for this server is invalid”. I remembered that I wasn’t able to get my Arduino to connect to the broker with a “WiFiSSLClient” so I changed that to just “WiFiClient” in my Arduino sketch. I changed this in my script.js file to use the unencrypted port 8080:

I also needed to get reasonable RGB values from my sensor because the getRaw() function returned some 16-bit value read straight from the TCS34725’s registers. I looked through the Adafruit Arduino library and its getRGB() function returns the RGB values normalized to 0-255, exactly right for web colors.

Dashboard Construction

So I thought about it and the reason this dashboard is so important to me is because I find myself stuck indoors too much (almost all the time) and I could run this webpage in the background to check the color of the sky during the day. I placed my Arduino + sensor on a window sill in my apartment that gets direct sunlight during the day. Fingers crossed the roommates don’t mess with it!

I modified Tom’s code by removing the stuff that wasn’t necessary to my dashboard; at this point I do not need to publish to the broker. I am super rusty with web stuff so my first goal was to change the background of the webpage to match the RGB sensor value. Then I referenced the amazing Bianca Gan’s “Thesis Clock” code to see how she drew different shapes with JavaScript. I used the html canvas element to draw rectangles with the RGB values from my sensor.

Since this dashboard will be acting as a kind of clock, I want to track the changes in sunlight over the course of a day. We know that the MQTT broker doesn’t hold on to any data over time so it is up to the JavaScript client to hold on to relevant data. I created three arrays to hold on to past RGB values. I made the array 100 elements long because of the following rationale: check sensor every 15 mins * 24 hours a day = 96 data points —> make it a perfect square of 100. If the array fills up, the script replaces the oldest data point with the newest one. Thanks Tom!

Next I wrote the logic to draw the grid of squares and loop through the RGB data to assign the fill colors. I started small with a grid of 9. I also made a dummy array to test the fill of the grid. Looks like the logic is correct!

Here’s what the dashboard looks like working to scale and with the sensor data. The newest data reading is always in the top left and the oldest is the last rectangle. I did some minimal CSS to get the dashboard looking better. I also got a timestamp for the last data point using the Date() object in JavaScript.

The pink is when someone turns on the living room light in my apartment!

Sunny day

Cloudy day

For the time being, my code lives here if anyone is interested in peeking.

Going Live

  1. Put all web files into “public” folder

  2. Write the server.js and package.json files. I stole this server code from Bianca.

  3. ssh into digital ocean server in computer terminal.

  4. I already had my ITP repo cloned to my droplet, navigate into it and “sudo git pull [url]”.

  5. Follow this tutorial like we’ve done in the past to use PM2 to run the server and set up Nginx as a reverse proxy.

IT’S ALIVE! I’m amazing!

Questions

Why?

Why can’t I get my system working with SSL?

Using test.mosquitto, I had issues connecting to the broker on the web page side. I switched over to shiftr.io and I didn’t have those problems anymore. Why is that?!

Here’s a link to my next blog post about this project.

Resources

❤️ https://github.com/biancaagan/QuestionableThesisClock ❤️

https://github.com/tigoe/mqtt-examples/blob/main/browser-clients/mqttjs/MqttJsClientSimple/script.js

https://www.w3schools.com/graphics/canvas_drawing.asp

https://developer.mozilla.org/en-US/docs/Web/API/Canvas_API/Tutorial

https://www.w3schools.com/js/js_arrays.asp

https://stackoverflow.com/questions/33745249/js-how-do-i-create-a-10x10-grid-of-filled-rectangles

https://javascript.info/date

https://www.digitalocean.com/community/tutorials/how-to-set-up-a-node-js-application-for-production-on-ubuntu-20-04

[ITP: STEM Accessibility] micro:bit toys

micro:bit

The micro:bit is a “pocket-sized computer” and educational tool. It’s comprised of many different sensors including an accelerometer, temperature sensor, light sensor, LED array, speaker, buttons, compass (magnetometer), touch sensor, sound sensor, capacitive touch button, and radio. I’ve played with one before but did not know it had so many great features. You can use the web editor MakeCode to visually write code and upload it to the micro:bit. The homework was to create three children’s toys with our micro:bit’s.

The site showcases a lot of documentation and fun examples to get you started coding. I went through quite a few like sun shine, dice, Farenheit thermometer, and reaction timer. Lily and I also tried out the radio functionality between our two micro:bit’s and we found they have a range of almost the whole ITP floor! Below is some of the code from my explorations.

Planning

Make something that moves

The idea for this toy was to teach photosynthesis by “growing” (spinning) the flowers when the light sensor was uncovered and receiving light. The flowers should stop “growing” when the light sensor is covered. I used my multimeter to check that my logic was working but the motor wouldn’t turn when connected to a digital pin at 3.3V. The motor turned fine attached to the 3.3V pin itself. I really have no idea why this would make any sense…

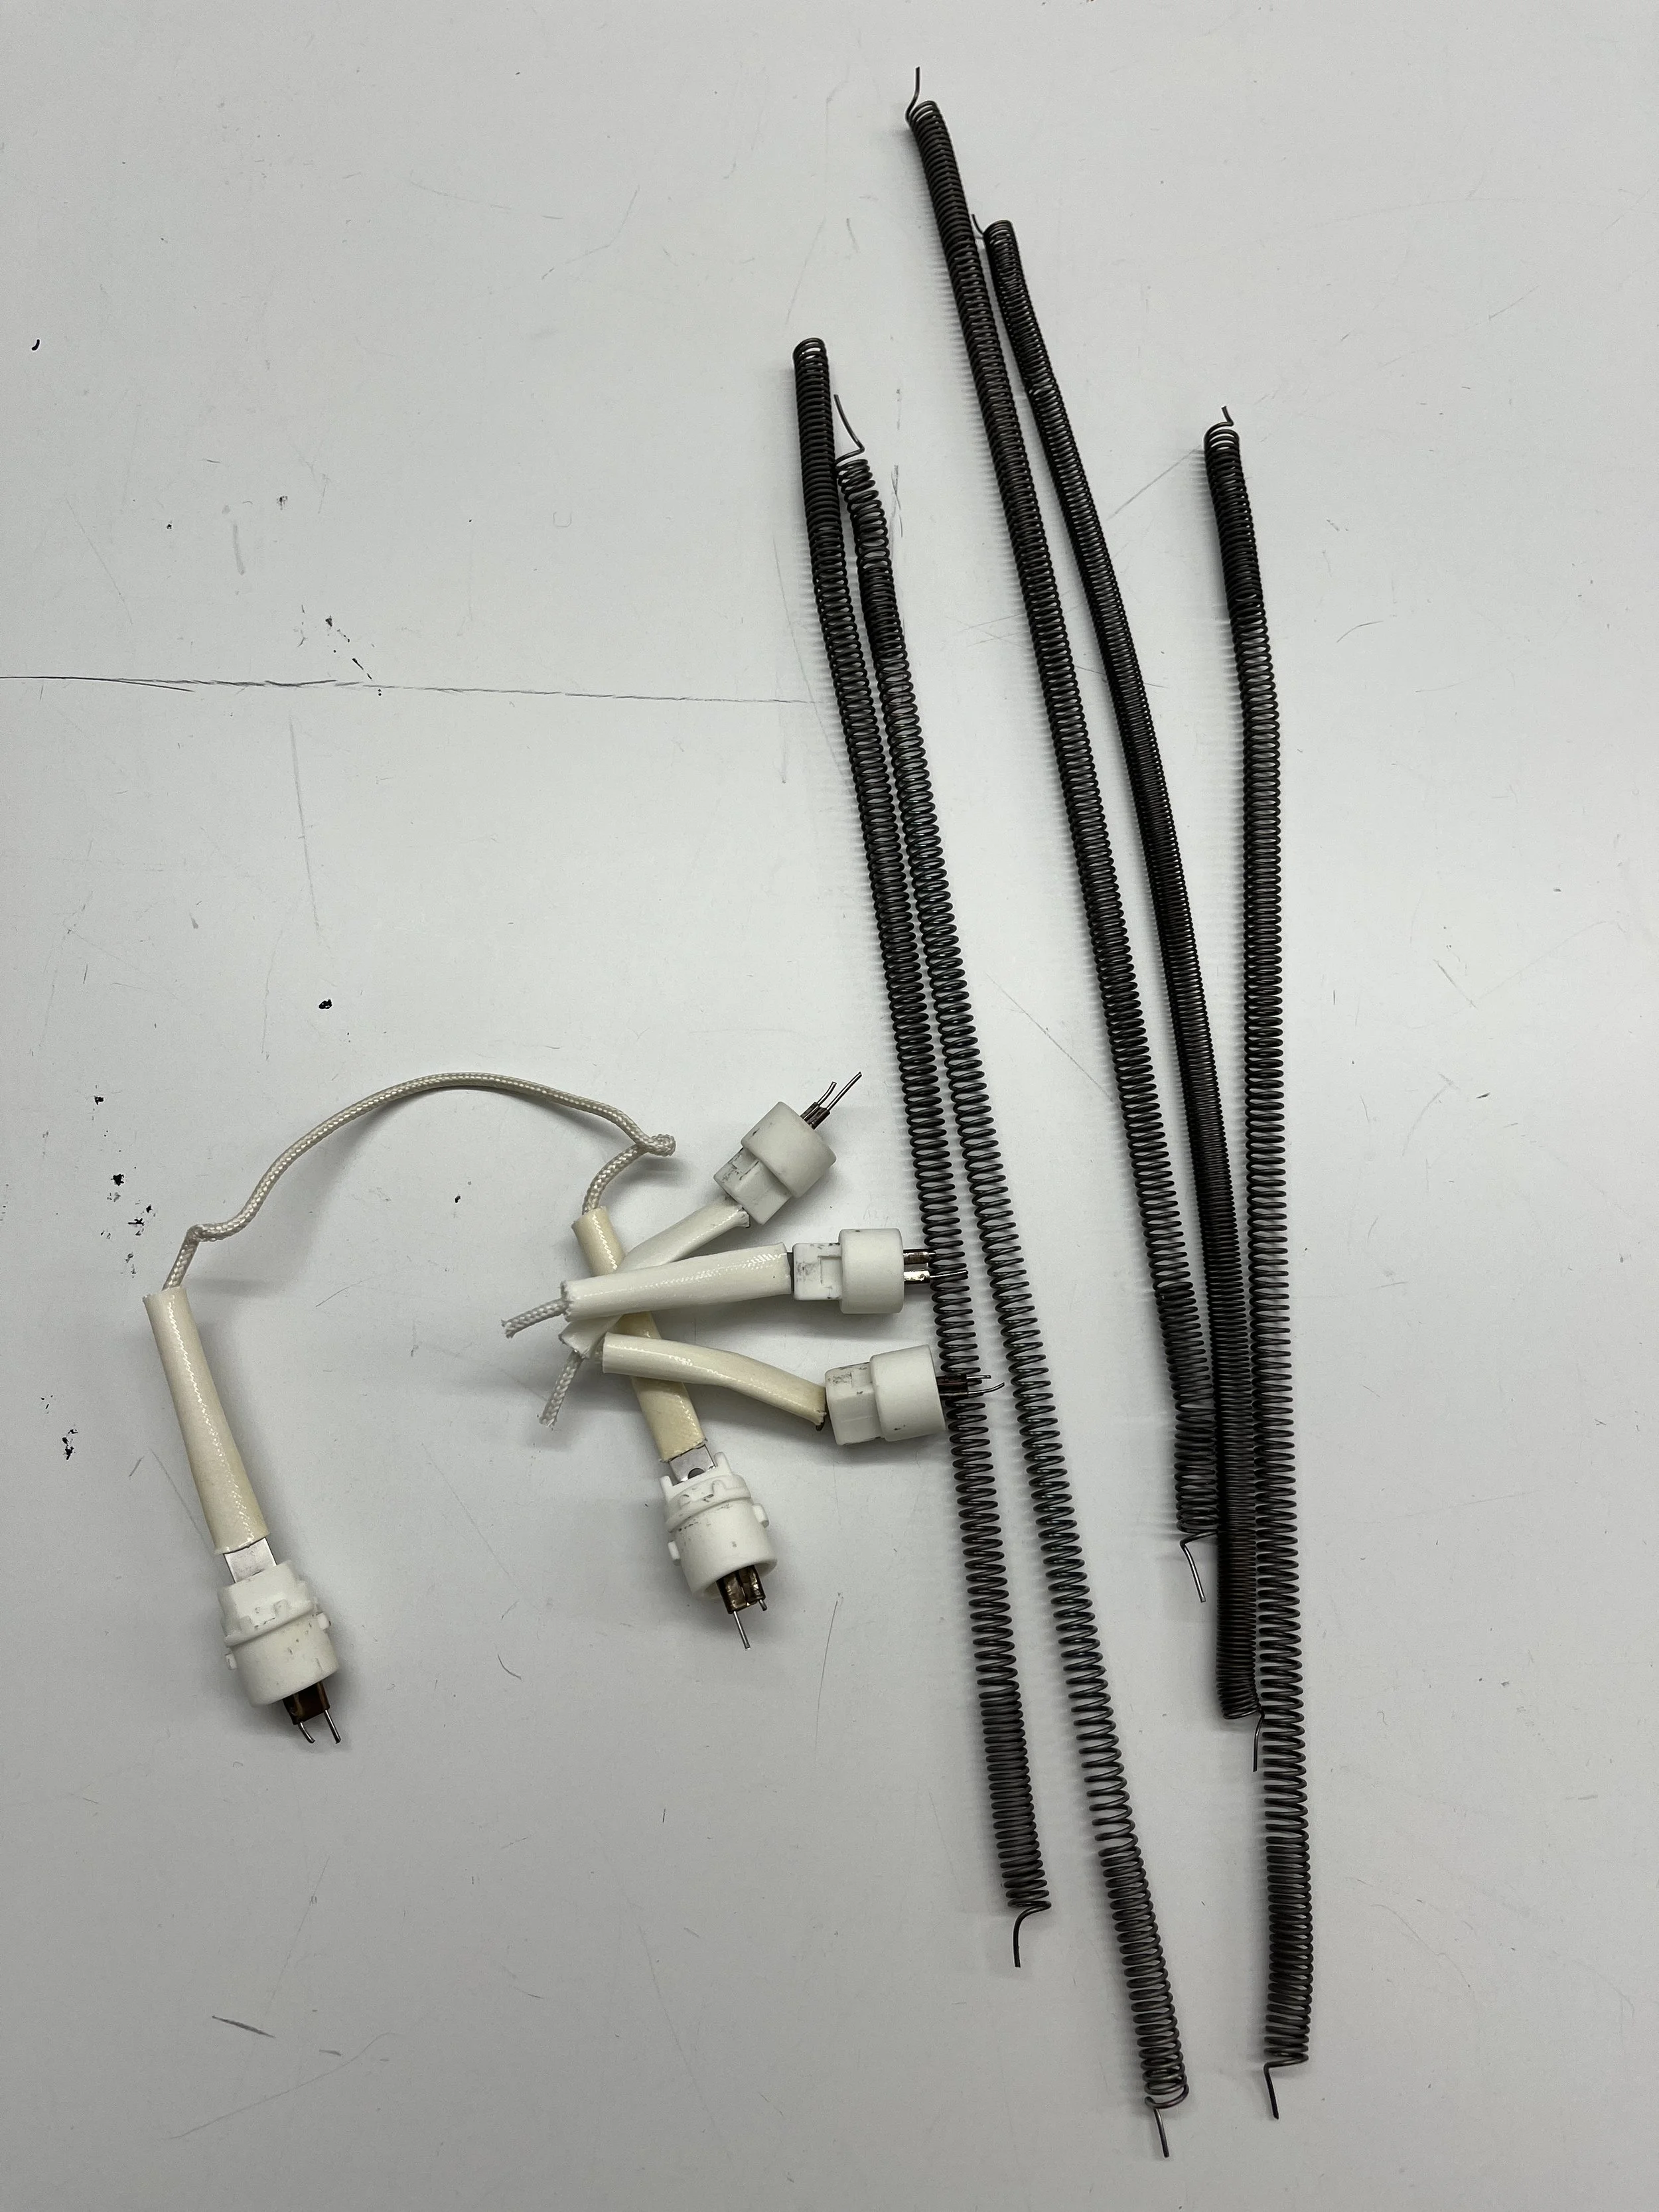
Found these springs on the junk shelf. Chop the heads off!

Lily shared her pink paper with me!

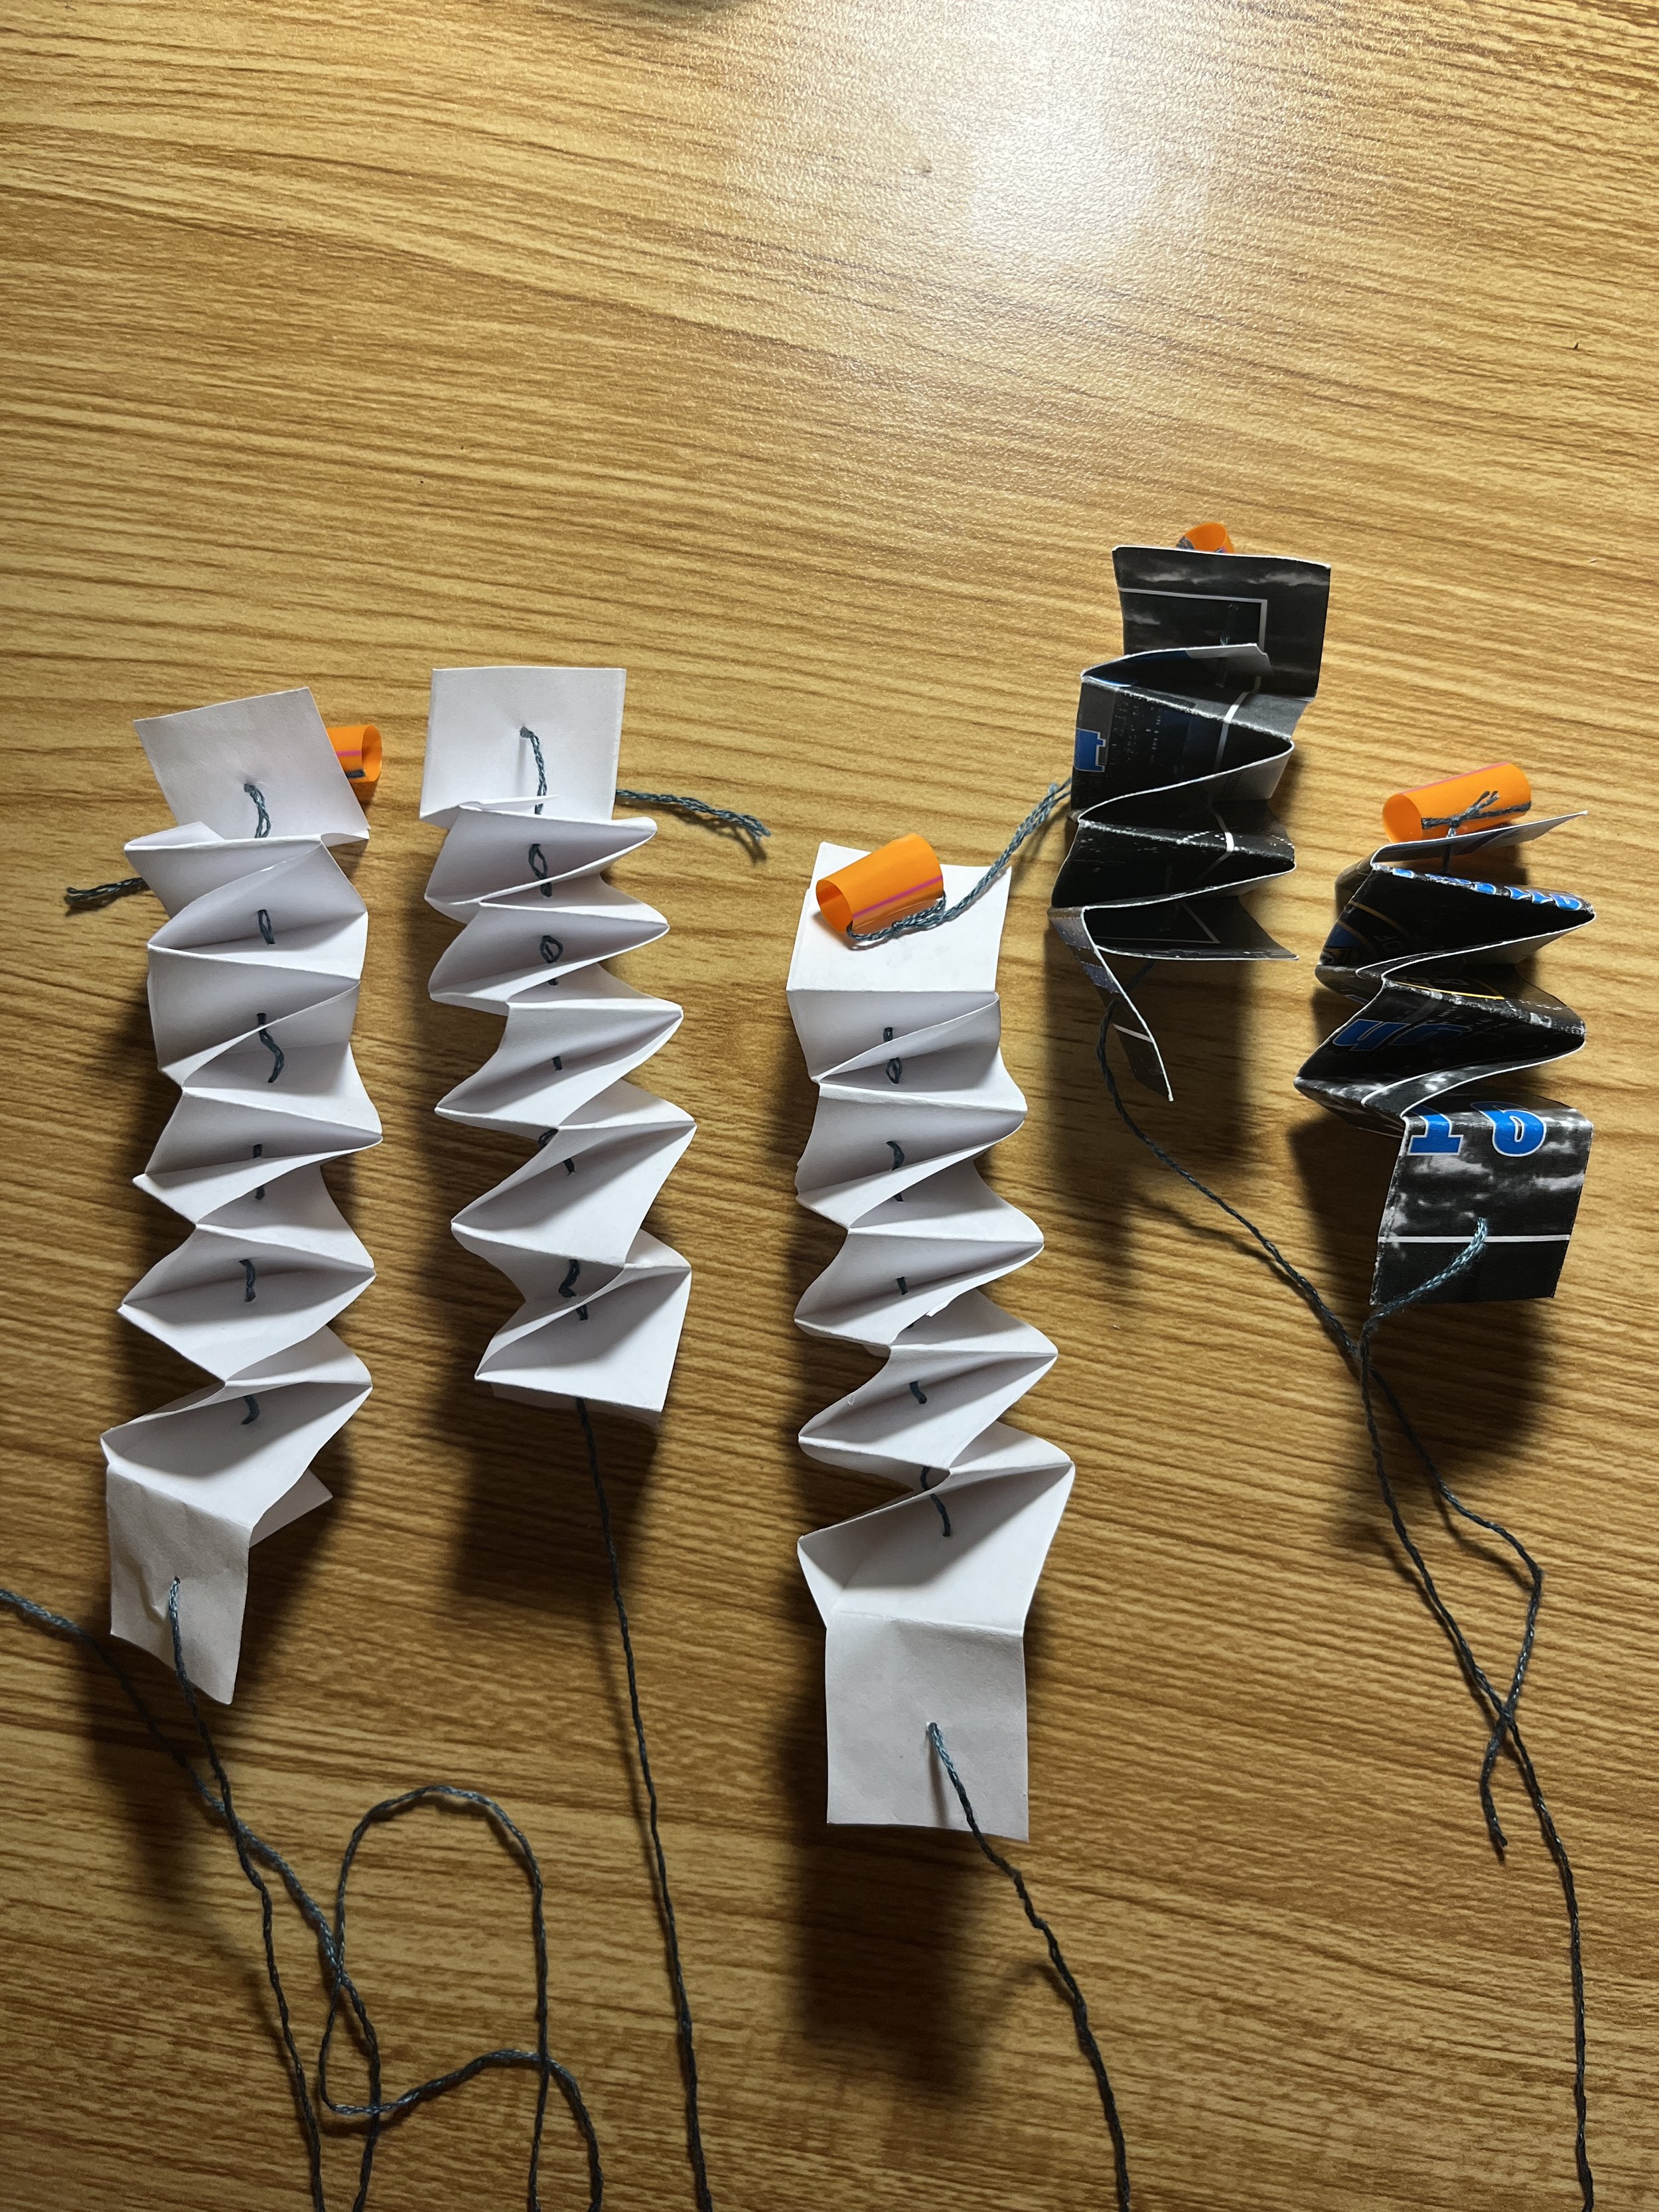
Cut into 5x5 inch squares for some origami.

Folded origami lilies in honor of Lily!

Hot glue the flowers to the springs.

Hot glue melted the plastic cup so I made this cardboard reinforcement to glue my flowers into the cup.

Ta da!

Make something that interacts

I created this really simple toy in which the frowny face turns into a smiley face when the hands are touching each other. Not sure it teaches an aspect of science tho.

Make something that responds

In hypercinema last semester we followed a tutorial to make a “Roll a Ball” game in Unity. I decided to make a similar toy using the micro:bit’s accelerometer. As the child tilts the micro:bit the lit up LED changes positions on the screen. I referenced this code, but customized it to be more granular. This toy could teach children the concept of gravity.

[ITP: Soft Robotics] Flat Patterned Inflatables

Real life inflatable

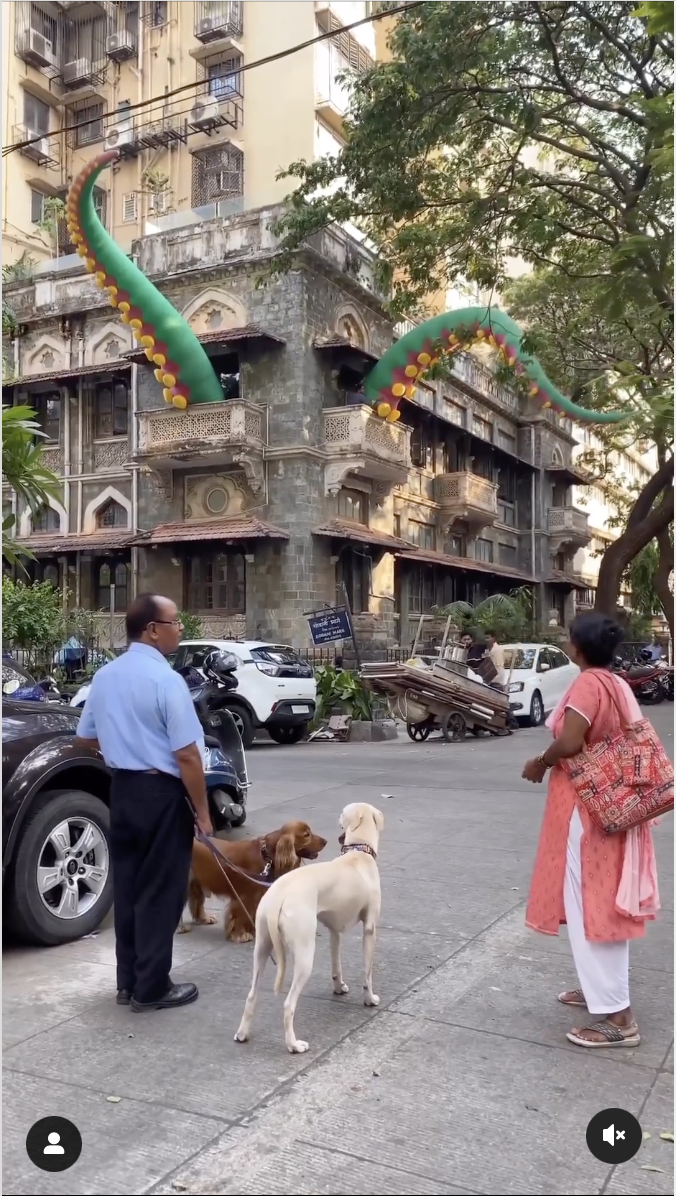
I saw this really crazy inflatable on Instagram! It looks like octopus tentacles coming out of an old building in India. I haven’t been able to find a ton of information on it, but I think this piece was curated by Gallery XXL in Mumbai. The piece is located in a century-old building called Kalanjee Bungalow in Colaba and is part of an exhibition called “OUTSIDERS” alongside other graffiti and urban art pieces.

Simple Soft Actuator

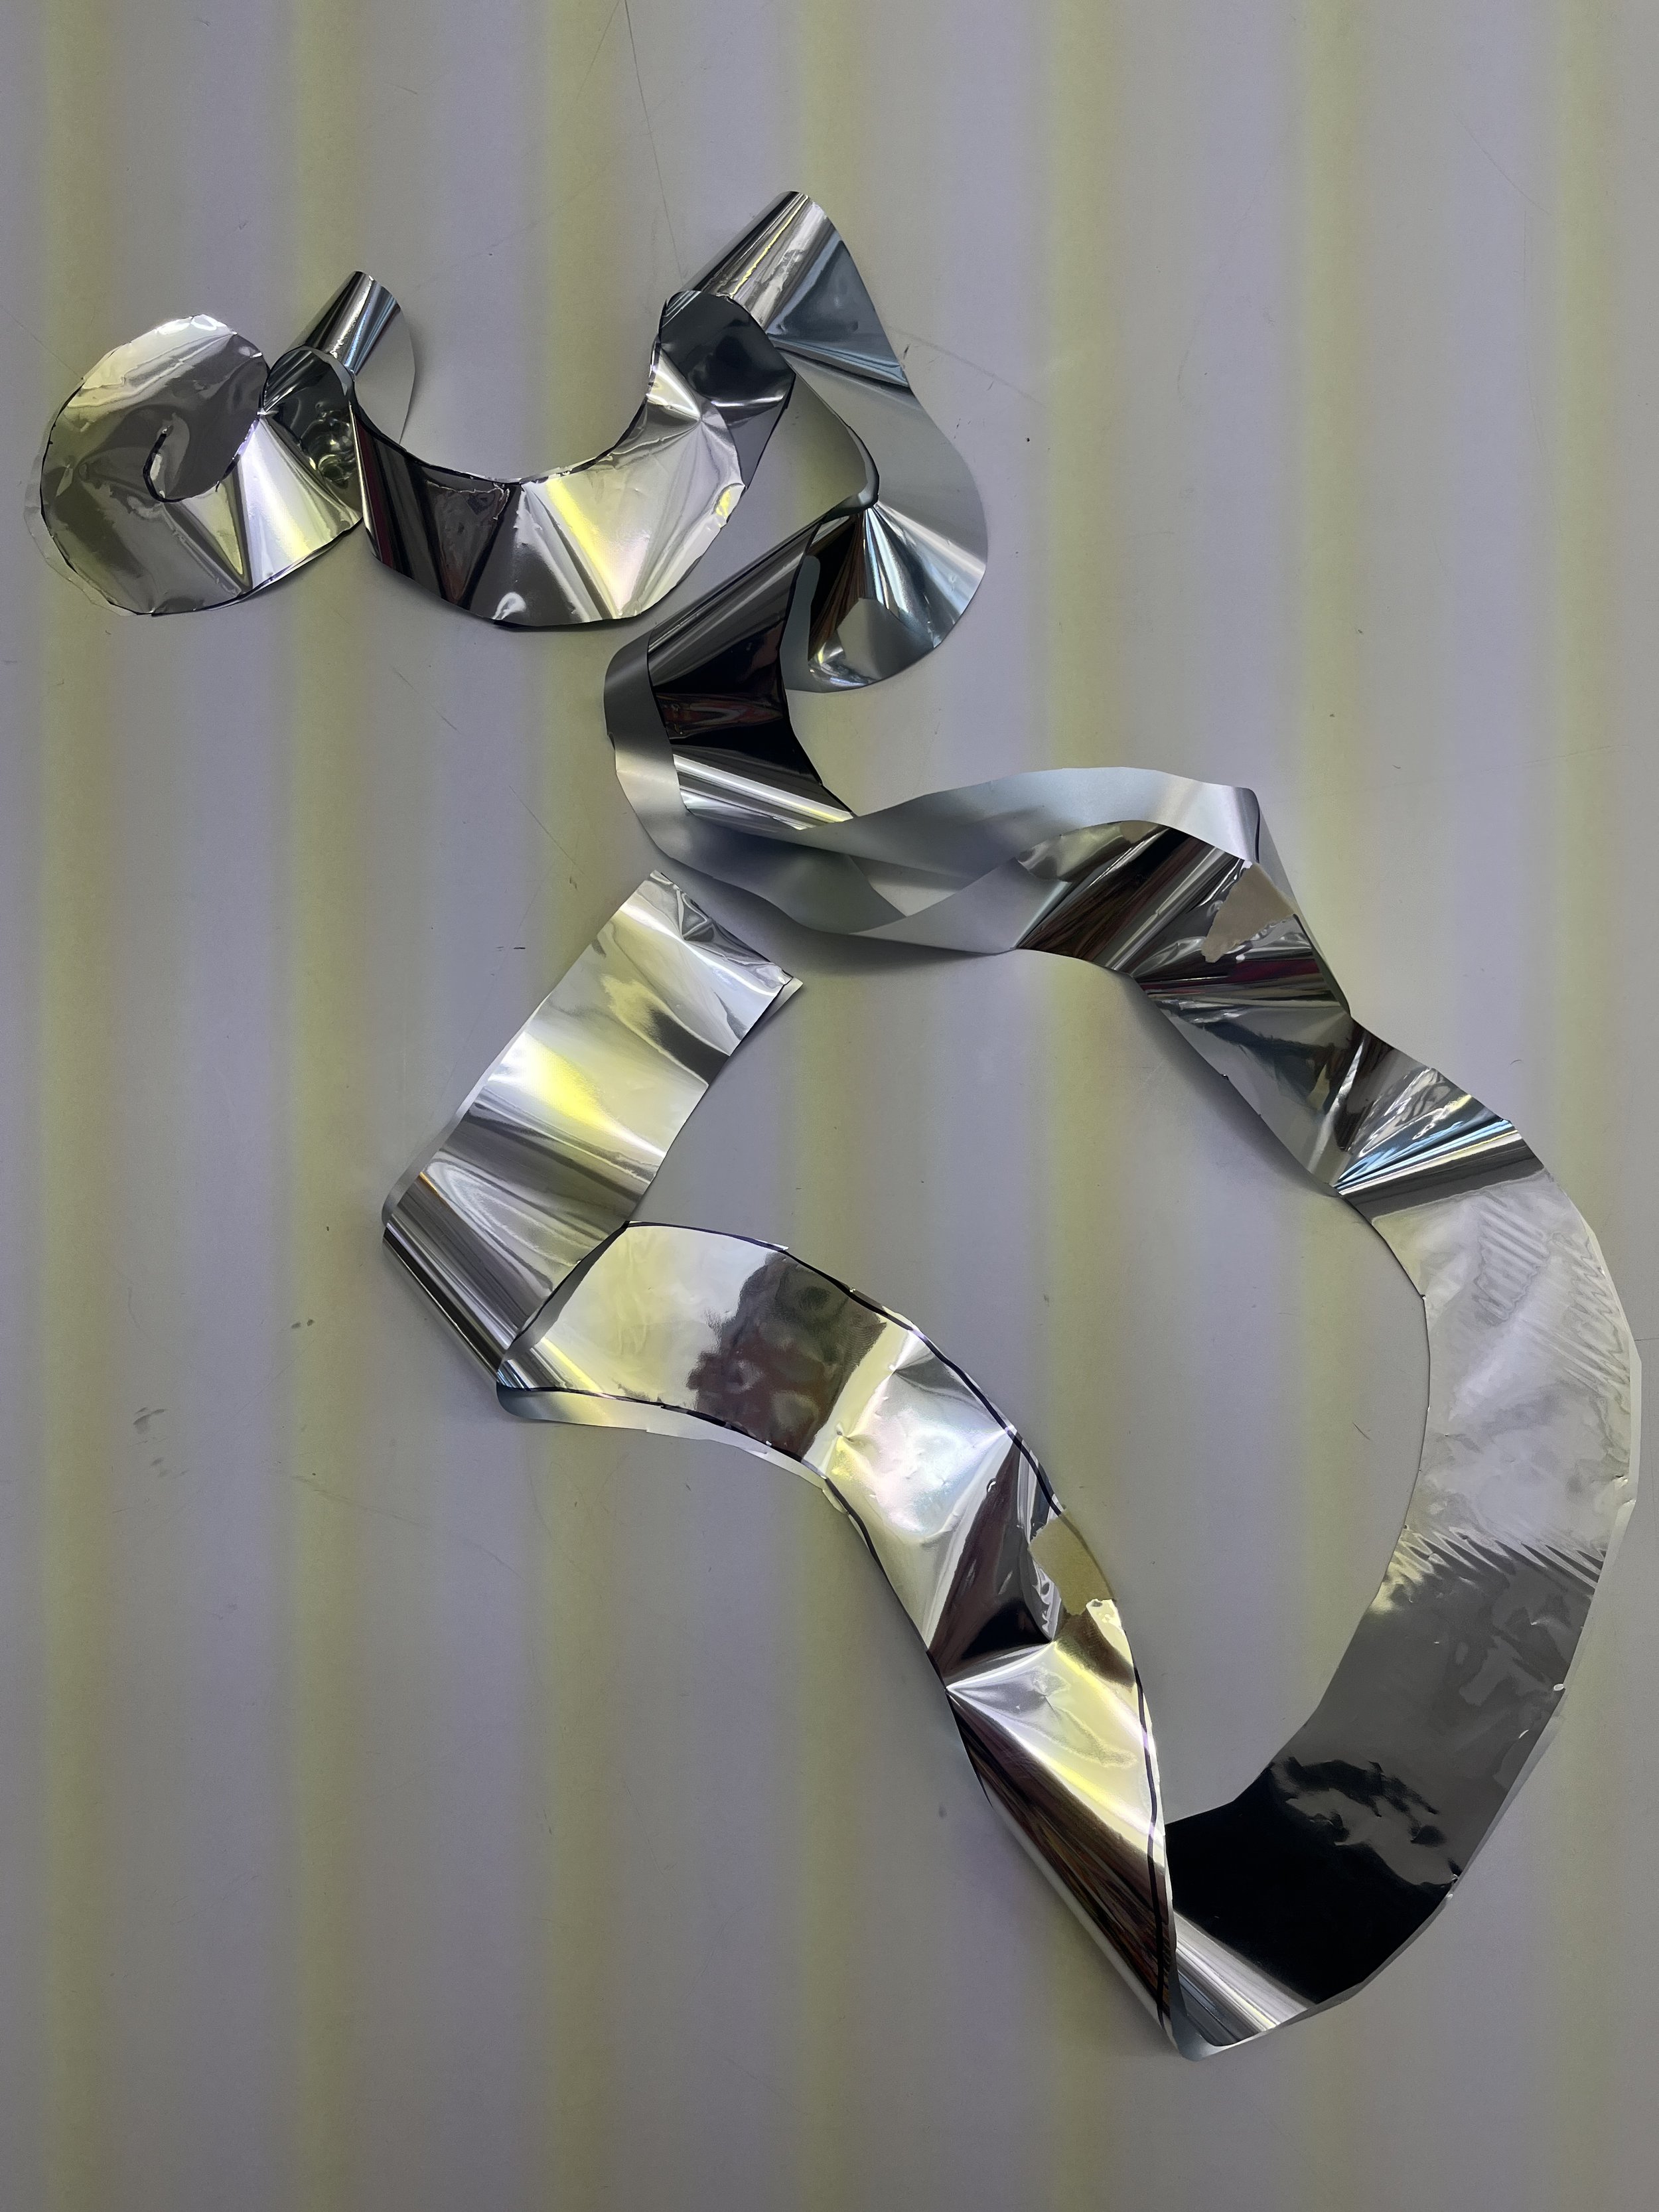
I started with the spiral soft actuator from the lecture notes last week. It was kinda hard to cut this design out, the material is so slippery. I’m also not sure why some of my pictures have those weird stripes in them, I think it’s from some camera setting.

Line up two pieces of mylar, non-shiny sides facing each other. Draw cut pattern.

Cut out actuator making sure to cut through both layers of mylar. I used a bit of tape to keep things in place.

Use a small hair iron to heat seal the edges of the inflatable.

Mylar Balloon

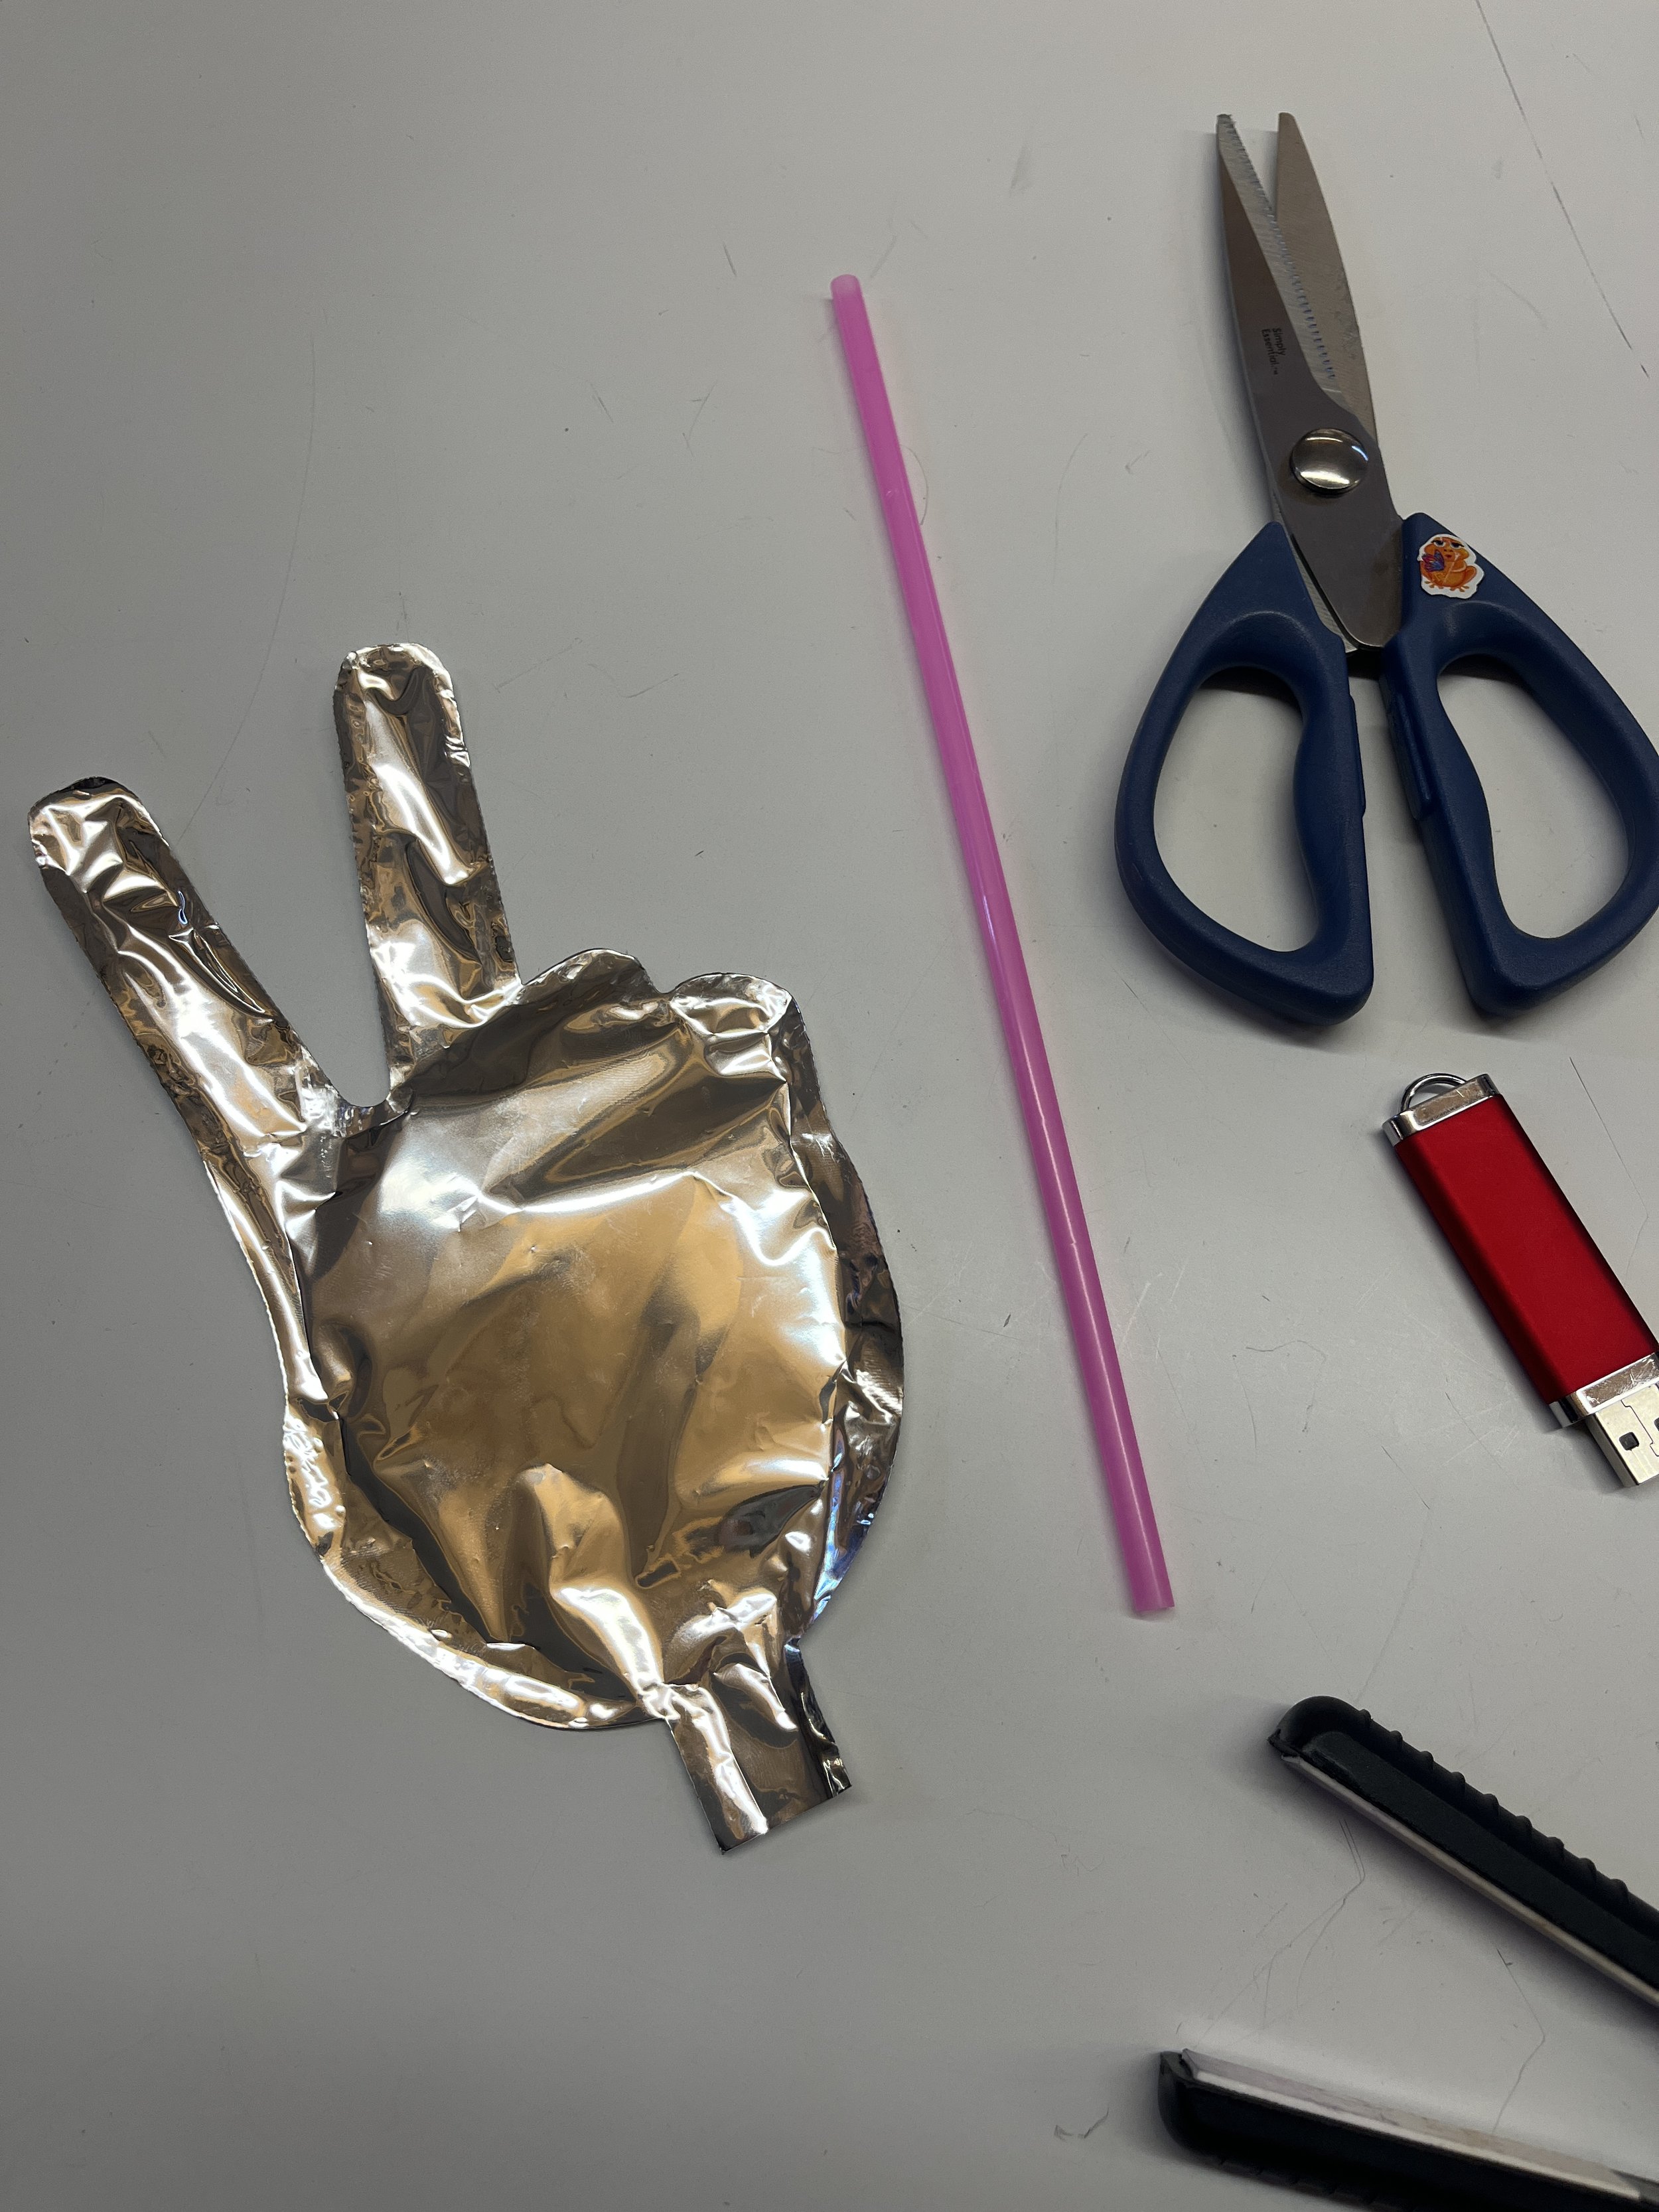
Have you ever wanted to make a hear balloon a flower balloon? Well I guess I did that.

Draw flower design.

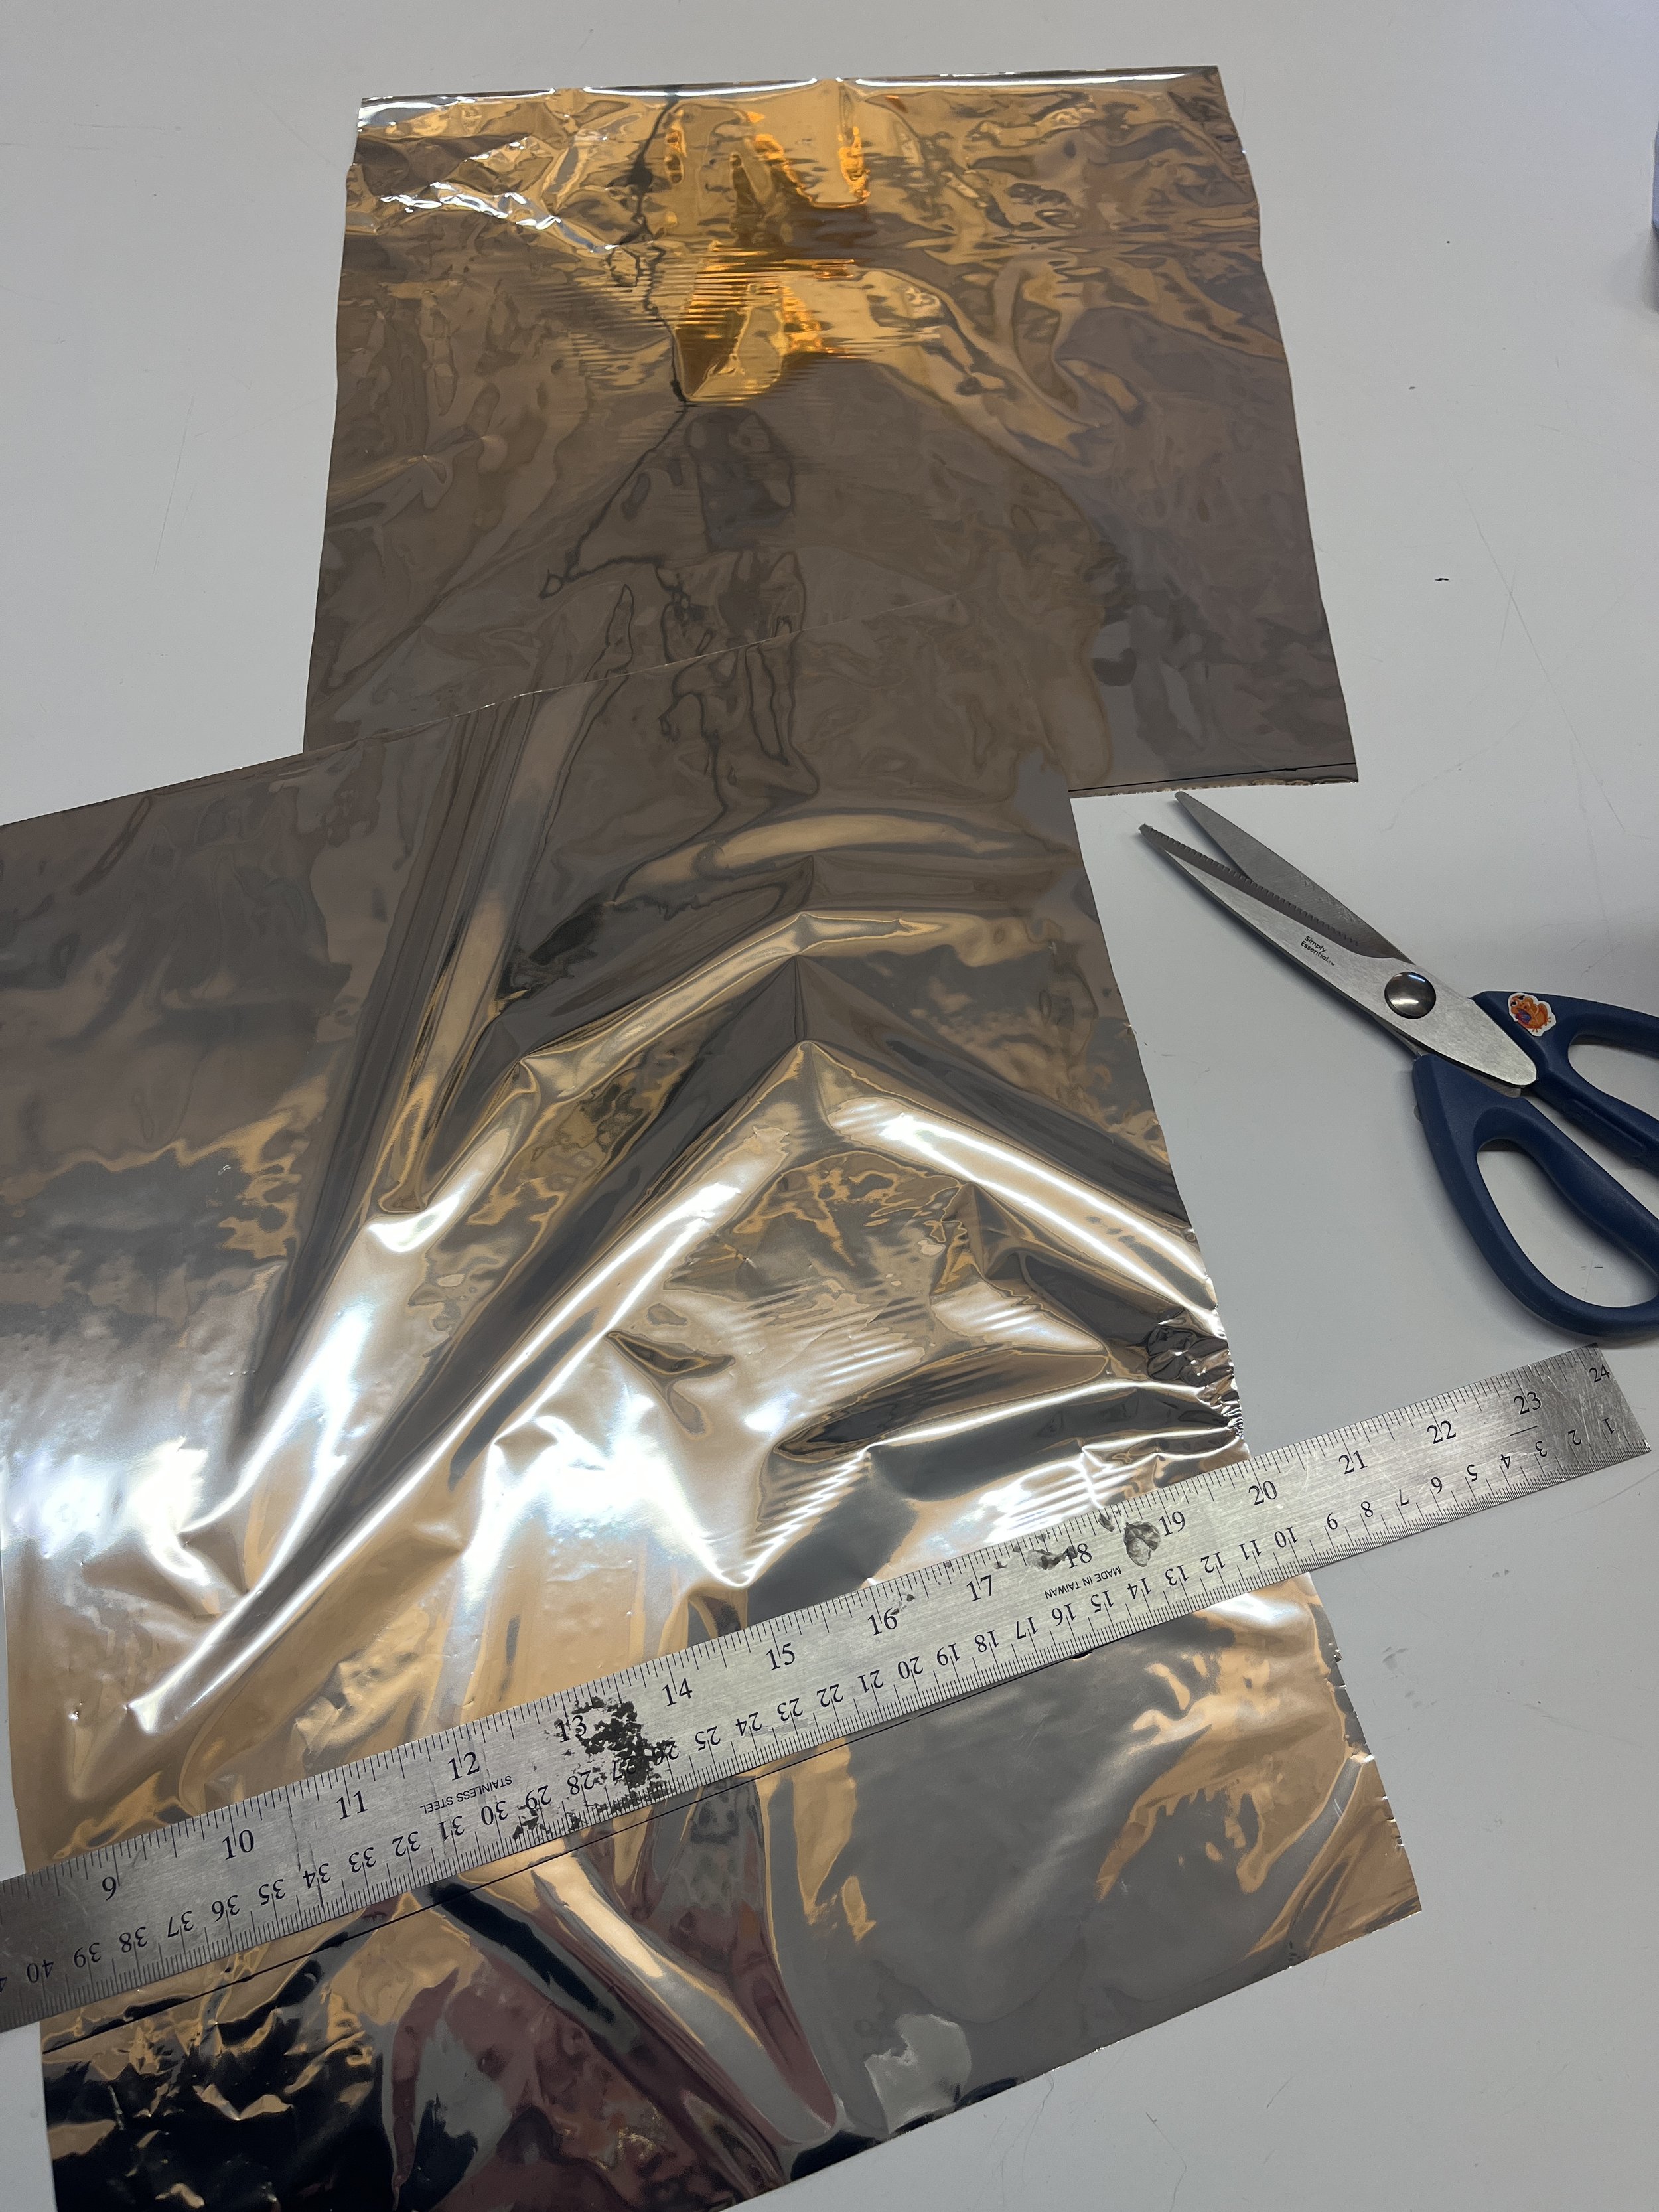
Cut out the flower. This material was harder to work with because the cut edges kept on rolling up.

Heat seal the edges using an iron.

Cut out the flower’s inner circle and heat seal. It’s important to not forget to leave a tab with an opening so that you can blow air into the inflatable.

Laser Cutting Mylar

Laser cutter settings: speed = 100, power = 20, frequency = 5000.

Draw the laser cut design in illustrator. I found this image and used it as a reference.

Cut the mylar to a 12 inch height (to fit in the laser cutter bed). Stack the two pieces of mylar with the non-shiny sides facing inside.

Heat seal the edges like before. It was the easiest this time because the laser kind of joined the edges a bit so the material wasn’t sliding around.

[ITP: Connected Devices] Device Data Dashboard III

In my last blog post I got my sensor logging data using the TCP-to-net-cat connection. As a review, I’m going to get my sensor logging over a broker connection using MQTT, but I’ve done this before.

MQTT data logging

Recall that “Message Queueing Telemetry Transfer, or MQTT, is a lightweight IP-based messaging protocol designed for communication between sensors, controllers, and other devices. It’s designed to support equipment that may not always be online, like automated devices built with microcontrollers,” as Tom put it so well.

Using the ArduinoMqttClient library, start with Tom’s ArduinoMqttClient.ino. For some reason I was unable to connect to the broker with the “WiFiSSLClient” in line 33, but changing it to “WiFiClient” worked for me. I also setup the broker settings (test.mosquitto.org, port = 1883, topic and clientID). Next I added in all my sensor stuff (TCS34725). I got it working! I’m using MQTT Explorer and am subscribed to the “conndev/#” topic under the "Advanced” settings; looks like I’m the only one here right now.

Side quest: Turning an LED on/off with MQTT

Drumrooooollllll… I’ve been dying to learn how to do this for some personal projects of mine so I’m excited we went over this example in class. I’ve modified the MqttClientSubTopics example to just manipulate the LED. I removed the sensor stuff and added control of the built in LED on my Arduino. Here’s a video of me updating variables using the MQTT Explorer software.

Web Dashboard

Ok, back to the Arduino example with sensor data. Now that my TCS34725 sensor is successfully sending the sensors RGB values to the MQTT broker, I shifted my focus to Tom’s MqttJsClientSimple example. I think I was able to get this to work?! I change the topic to “conndev/makin-stuff” and occasionally the RGB values flashed on the web page. I think they’re only showing up in the instant that they’re published?

Looks like the RGB values are 16-bit, so I remapped them to the range 0-255 for web colors. I don’t know how to internet!

If you’re following along in this project, see my next blog post here.

Resources

https://tigoe.github.io/mqtt-examples/

https://vimeo.com/375315679

[ITP: Soft Robotics] Cable control

Real life cable control

I follow this really crazy artist on Instagram named Callen Schaub. He has been pursuing his “Fake Art” movement because his work consists primarily of what I used to call spatter art growing up. He spins ginormous canvases and drops paint on them, many times using a pendulum mechanism. This is a really interesting use of cable control to literally make works of art (?!).

The cables below are not necessarily controlling any sort of kinetic mechanism, but I definitely noticed them outside of my apartment window. They are kind of draped hap-hazard and precariously tangled which freaks me out a bit. An interesting cable system for sure…

Soft Cable Experiment

Extendo

Retracto

[ITP: Soft Robotics] Soft-enough Materials

For my exploration of soft materials, I was really captured by the trash I was collecting from my week of being sick. I got a lot of takeout and that comes with many soft materials: bags, napkins, packets of goop, packets of salt… it’s a soft score!

What’s considered soft anyway? From class, we decided that soft meant: bendy, squishy, stretchy, flexibility, compressive, elastic, and deformable. Also, softness can be a factor of an items material properties or its form.

Some soft materials, and funny packaging, I collected last week.

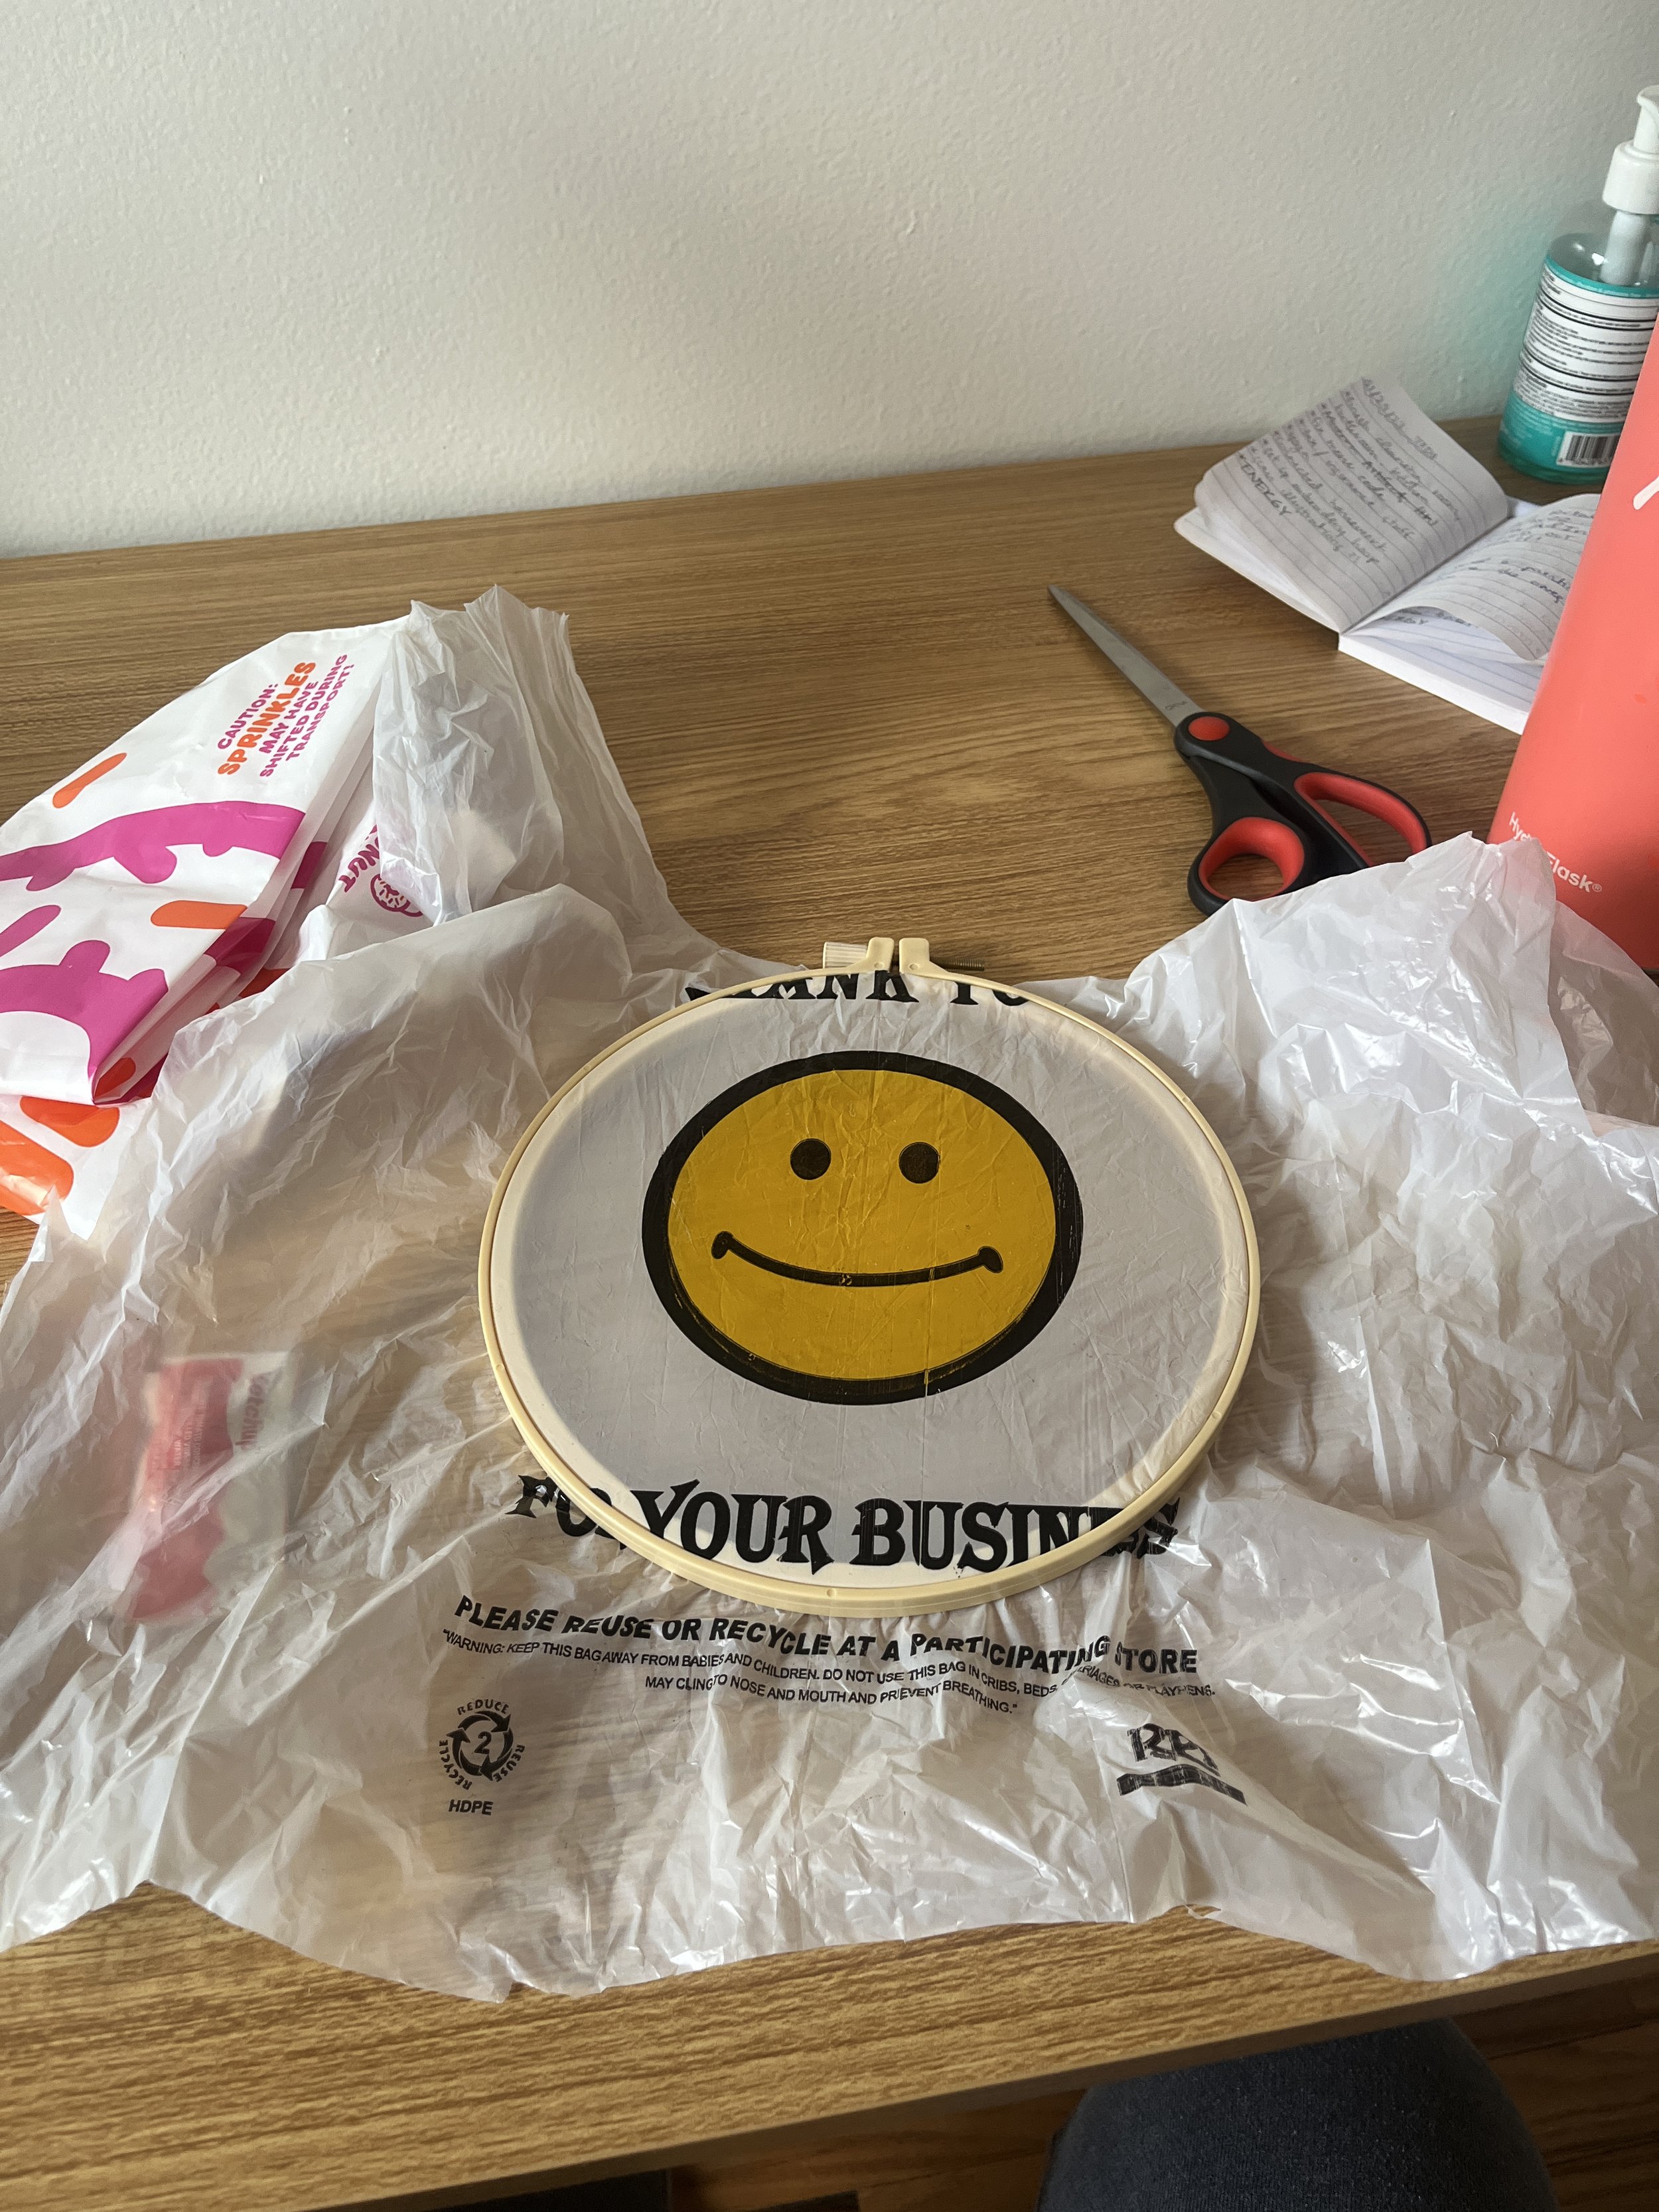
Just holding onto these everyday materials I thought of some crazy experiments I couldn’t get out of my mind. First, can you add some embroidery to a super cute plastic bag? Answer: no.

Well, I guess, I don’t think so. I started by cutting this bag so that it was just one side with the graphics on it. You can see that the holes made by the needle didn’t hold their shape and if I try to pull the stitch tight it rips holes in the bag. I kinda want to try this again but embroidering through both sides of the bag, maybe that will give the stitch a bit more integrity?

OK, this idea haunted my dreams: saucy quilt. These takeout sauce packets reminded me of my favorite toy from the first robotics class, the water wiggler. They also evoked parts of a quilt or crochet squares. It’s this reason I was bent on attaching them together with thread and needle, even though this could have ended up being a big mess if I poked a hole through the sauce part of the packet.

[ITP: Connected Devices] Device Data Dashboard Part II

Setup Sensor

So to start where I left off last week, I need to use an actual sensor. To get myself started, I pulled out the TCS34725 RGB sensor I used in Understanding Networks last semester. It communicates over I2C, so I connected the sensor to my Arduino Nano as follows:

Arduino Nano 33 IoT

  • 5V

  • GND

  • SDA

  • SCL

TCS34725

  • VIN

  • GND

  • SDA

  • SCL

Once the sensor was connected correctly I ran the “tcs34725.ino” example from Adafruit’s library to double-check my circuit. Looks like it works! Also, I noticed as I was getting this sensor setup that this product has been discontinued by Adafruit, so I might consider using a different sensor for this or future projects.

Integrate with TCP Client Example

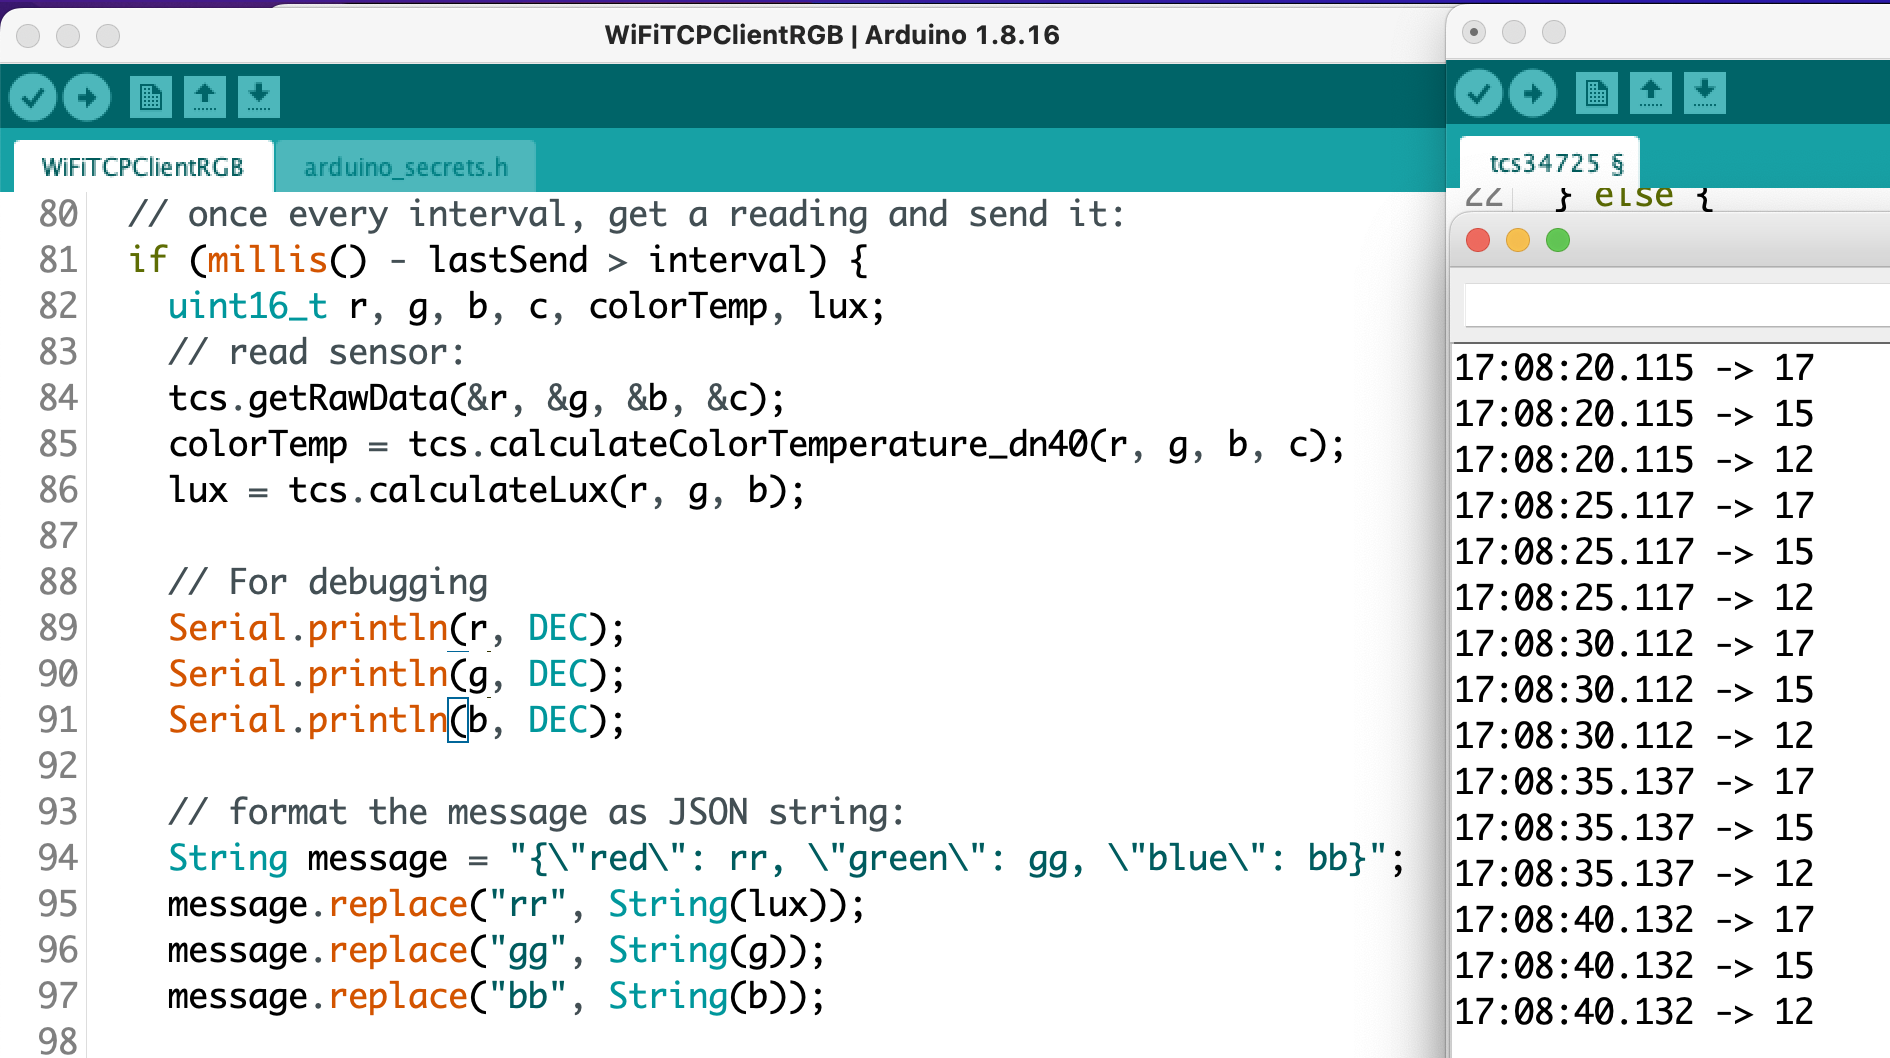
Port the “tcs34725.ino” example to Tom’s “WiFiTCPClientLogger.ino” example from last week. I was able to get my sensor readings to send over the sandbox370 network and they were received by netcat application listening on port 8080. But what is super weird is that the RGB readings are totally wrong, like nowhere close to the data I saw running the library example. At first I thought the issue may be caused by concatenating the message or the replace() function but below is my debugging, and even the raw data from the library is wonky. I’ll have to come back to this tomorrow.

Ok, I looked at this the day after running into this bug and turns out if you want the sensor output to look the same between different sketches you need to remember to initialize it with the same parameters (🤦‍♀️). This output looks a lot better!

Get sensor data onto web page

Now I needed to save my sensor data to a .json file. I followed the tutorial and ran “nc -l 8080 | tee log.json” in my terminal window. I could see something was happening because using the “tee” command I could see the sensor data on the terminal itself. But where is my log.json file? I looked at a couple of other people’s blog posts and found that my file is here:

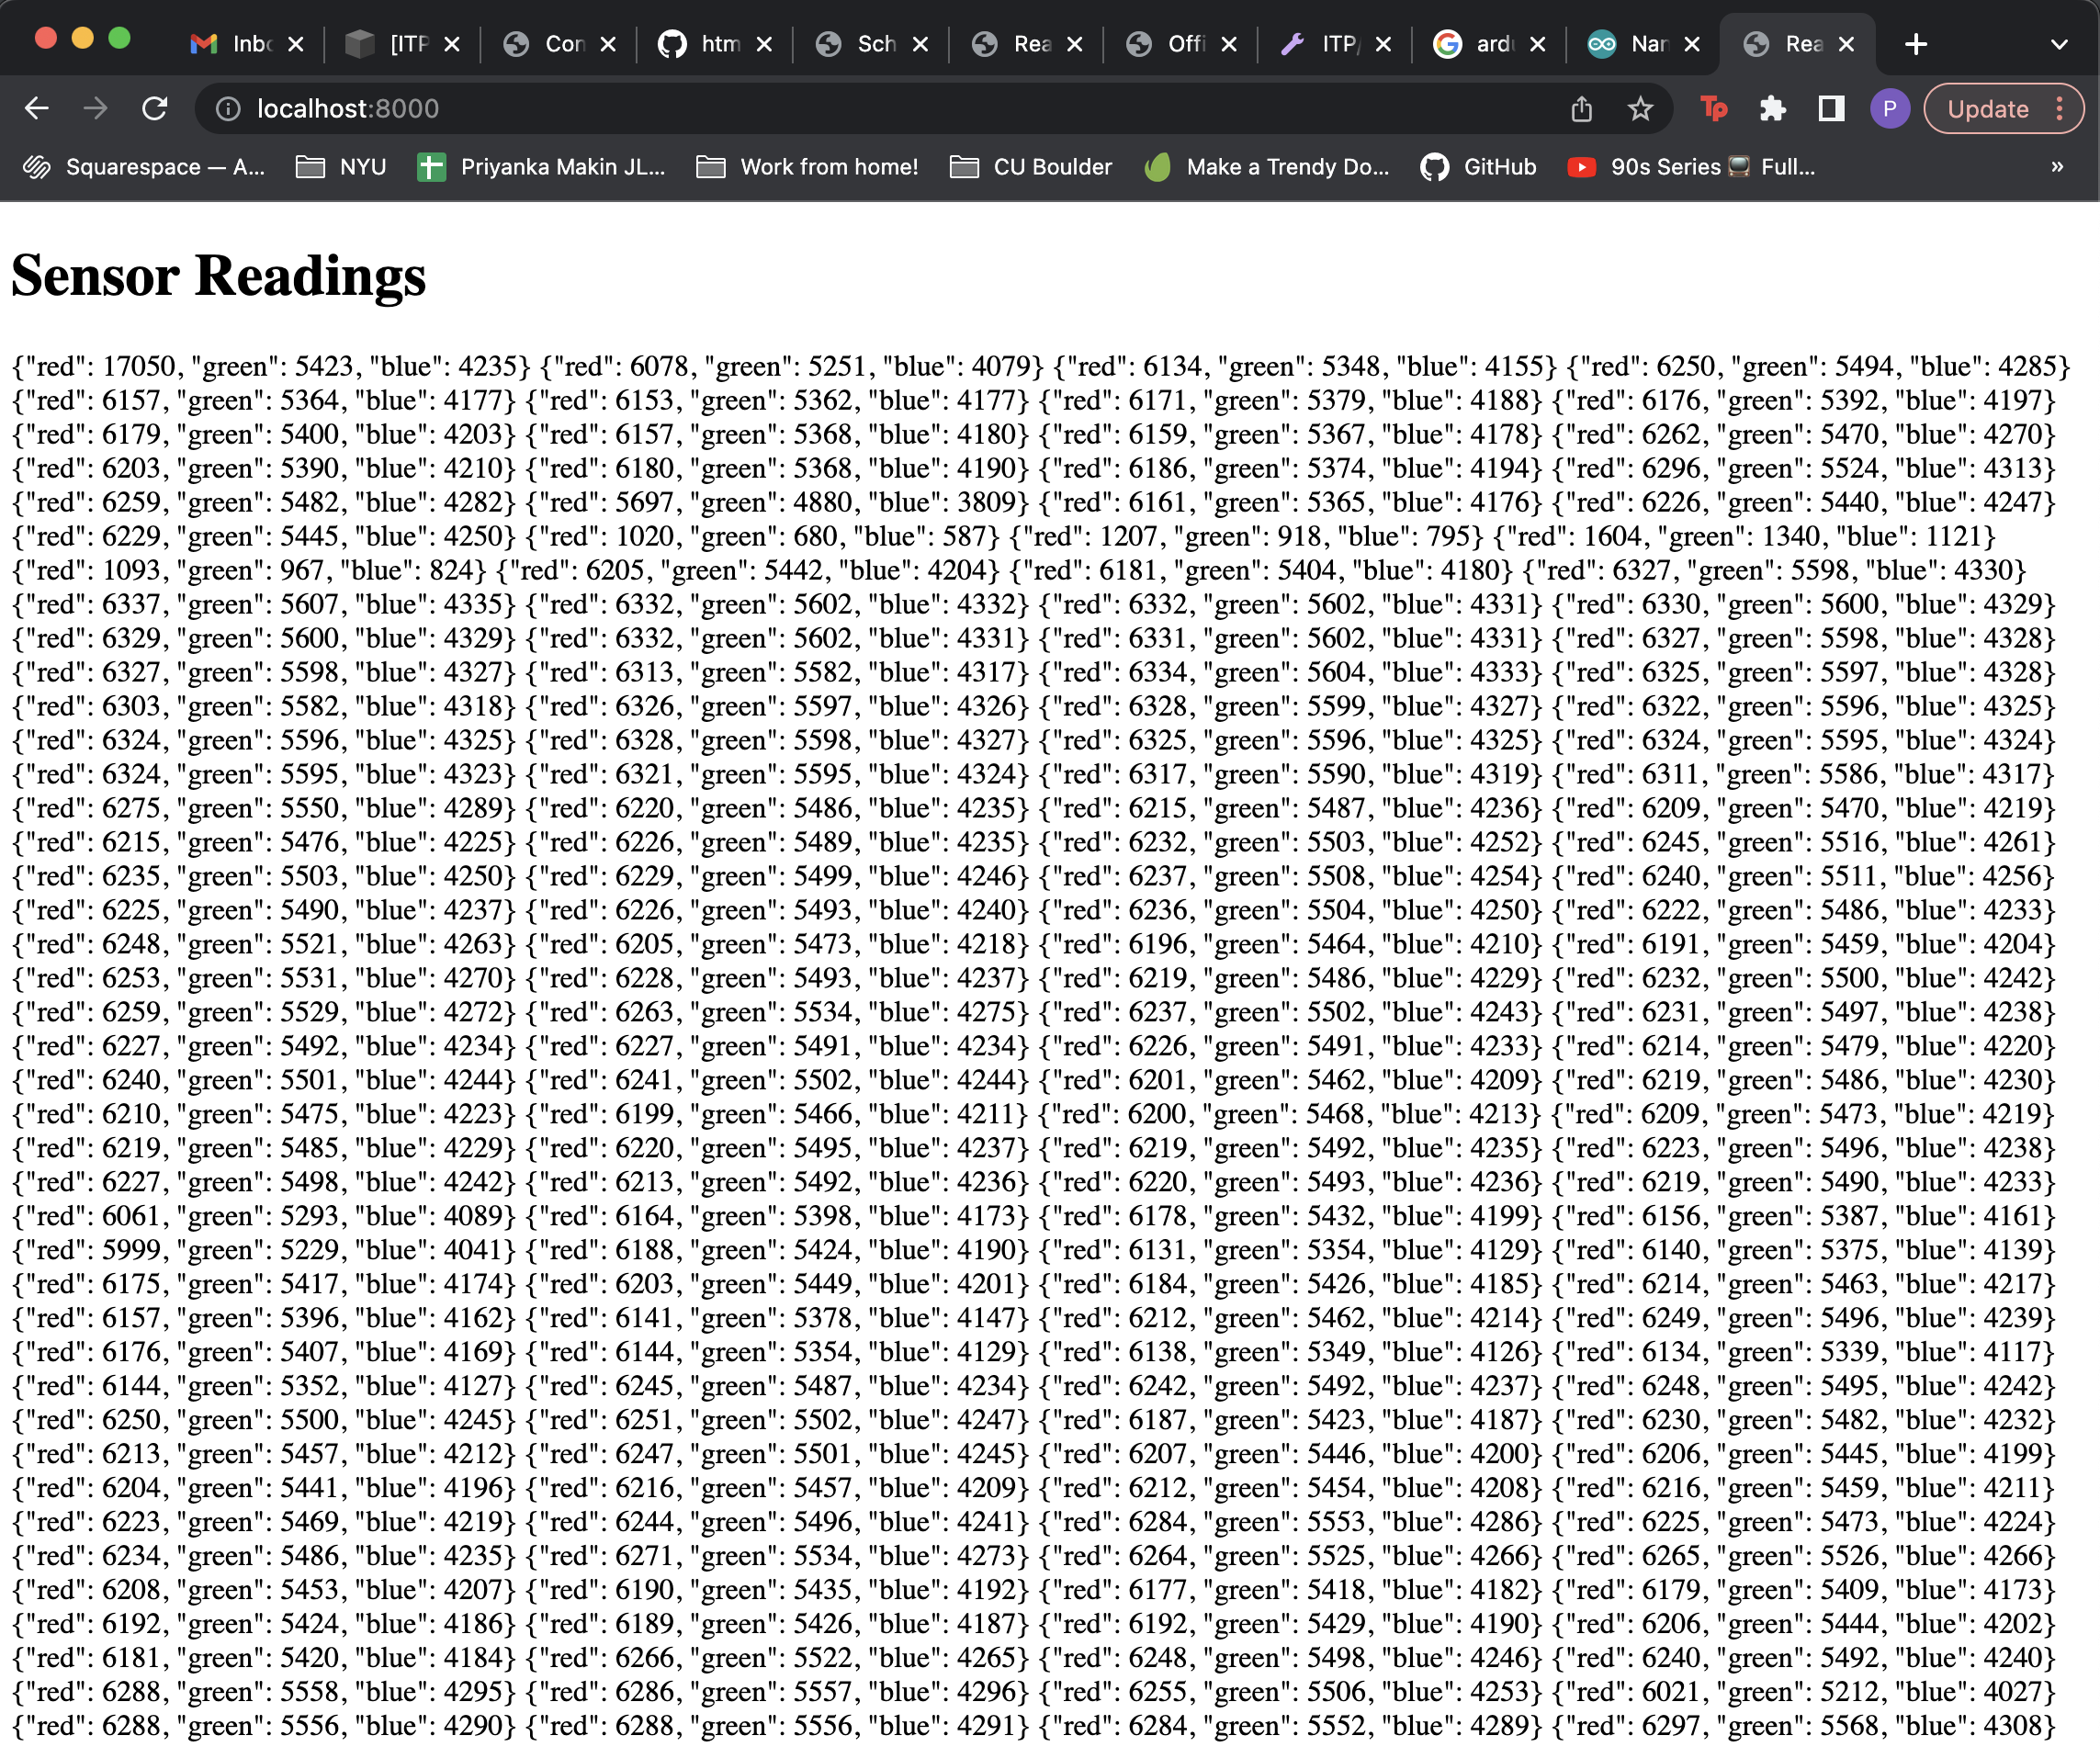
Which totally makes sense because in the terminal we are working in my user’s root directory. I followed the tutorial’s directions to run the sketch, navigate to the sketch directory (with index.html, script.js) and using Fetch to read the file. Typing “nc -l 8080 >> log.json & python3 -m http.server” in the terminal starts the server and then you can see the data coming in!

For a continuation of this project, please see my next blog post.

Resources

https://tigoe.github.io/html-for-conndev/DeviceDataDashboard/

[ITP: STEM Accessibility] Analyze STEM Object

I'm choosing to analyze my soldering iron which I inherited from our WFH-era while I was working at a small tech company.

The iron itself is dark blue and yellow and doesn't make any obvious attempt at gendering. Actually,  something about the choice in shapes and colors makes it kind of look like a kids toy. Both the base and iron stand are labeled HAKKO. The base has a big black toggle switch for power. It also has two buttons labeled "UP" and "ENTER". These are for changing the temperature of the iron but I've never needed to change that so I don't know how those buttons work. Intuitively I would think a "DOWN" button might be necessary as well. The model number is also labeled and there is a logo stating the solder station is "ESD safe" meaning it is safe from electrostatic discharge which could break electronics. The base has also been customized with a tin of chip quik stuck to the top of it.

I would consider this a STEM object soldering is when a melted metal is used to join to other metal objects. This process is used largely in the building of circuits/circuit boards. So that falls under the technology and engineering categories of STEM.

I guess my soldering station might feel a little bit more accessible to me if I took two seconds to look up its manual. But in all seriousness, when I think about when I first started learning to solder I was really shaky and scared that I would break the circuits I was working on. Basically I was always scared of breaking things when I first started working as an engineer and that really held me back from learning and doing my work. I think STEM fields in general would feel more accessible if we were taught that it is okay to make mistakes, break things, and even fail.