Real life inflatable
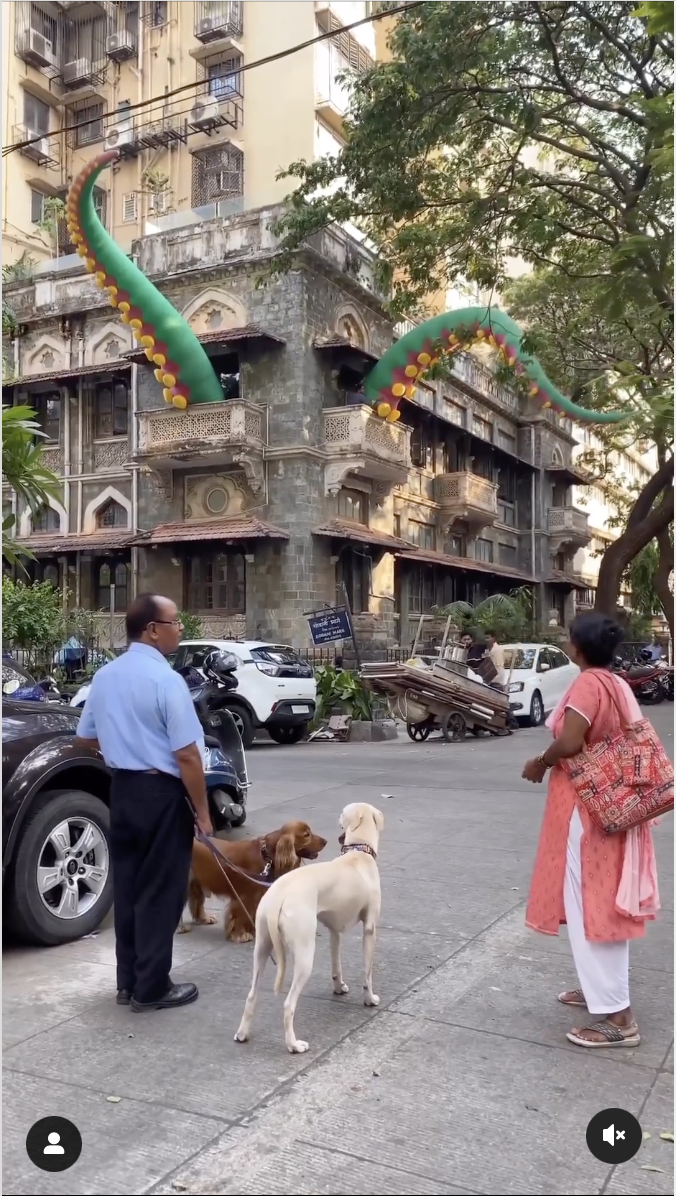
I saw this really crazy inflatable on Instagram! It looks like octopus tentacles coming out of an old building in India. I haven’t been able to find a ton of information on it, but I think this piece was curated by Gallery XXL in Mumbai. The piece is located in a century-old building called Kalanjee Bungalow in Colaba and is part of an exhibition called “OUTSIDERS” alongside other graffiti and urban art pieces.
Simple Soft Actuator
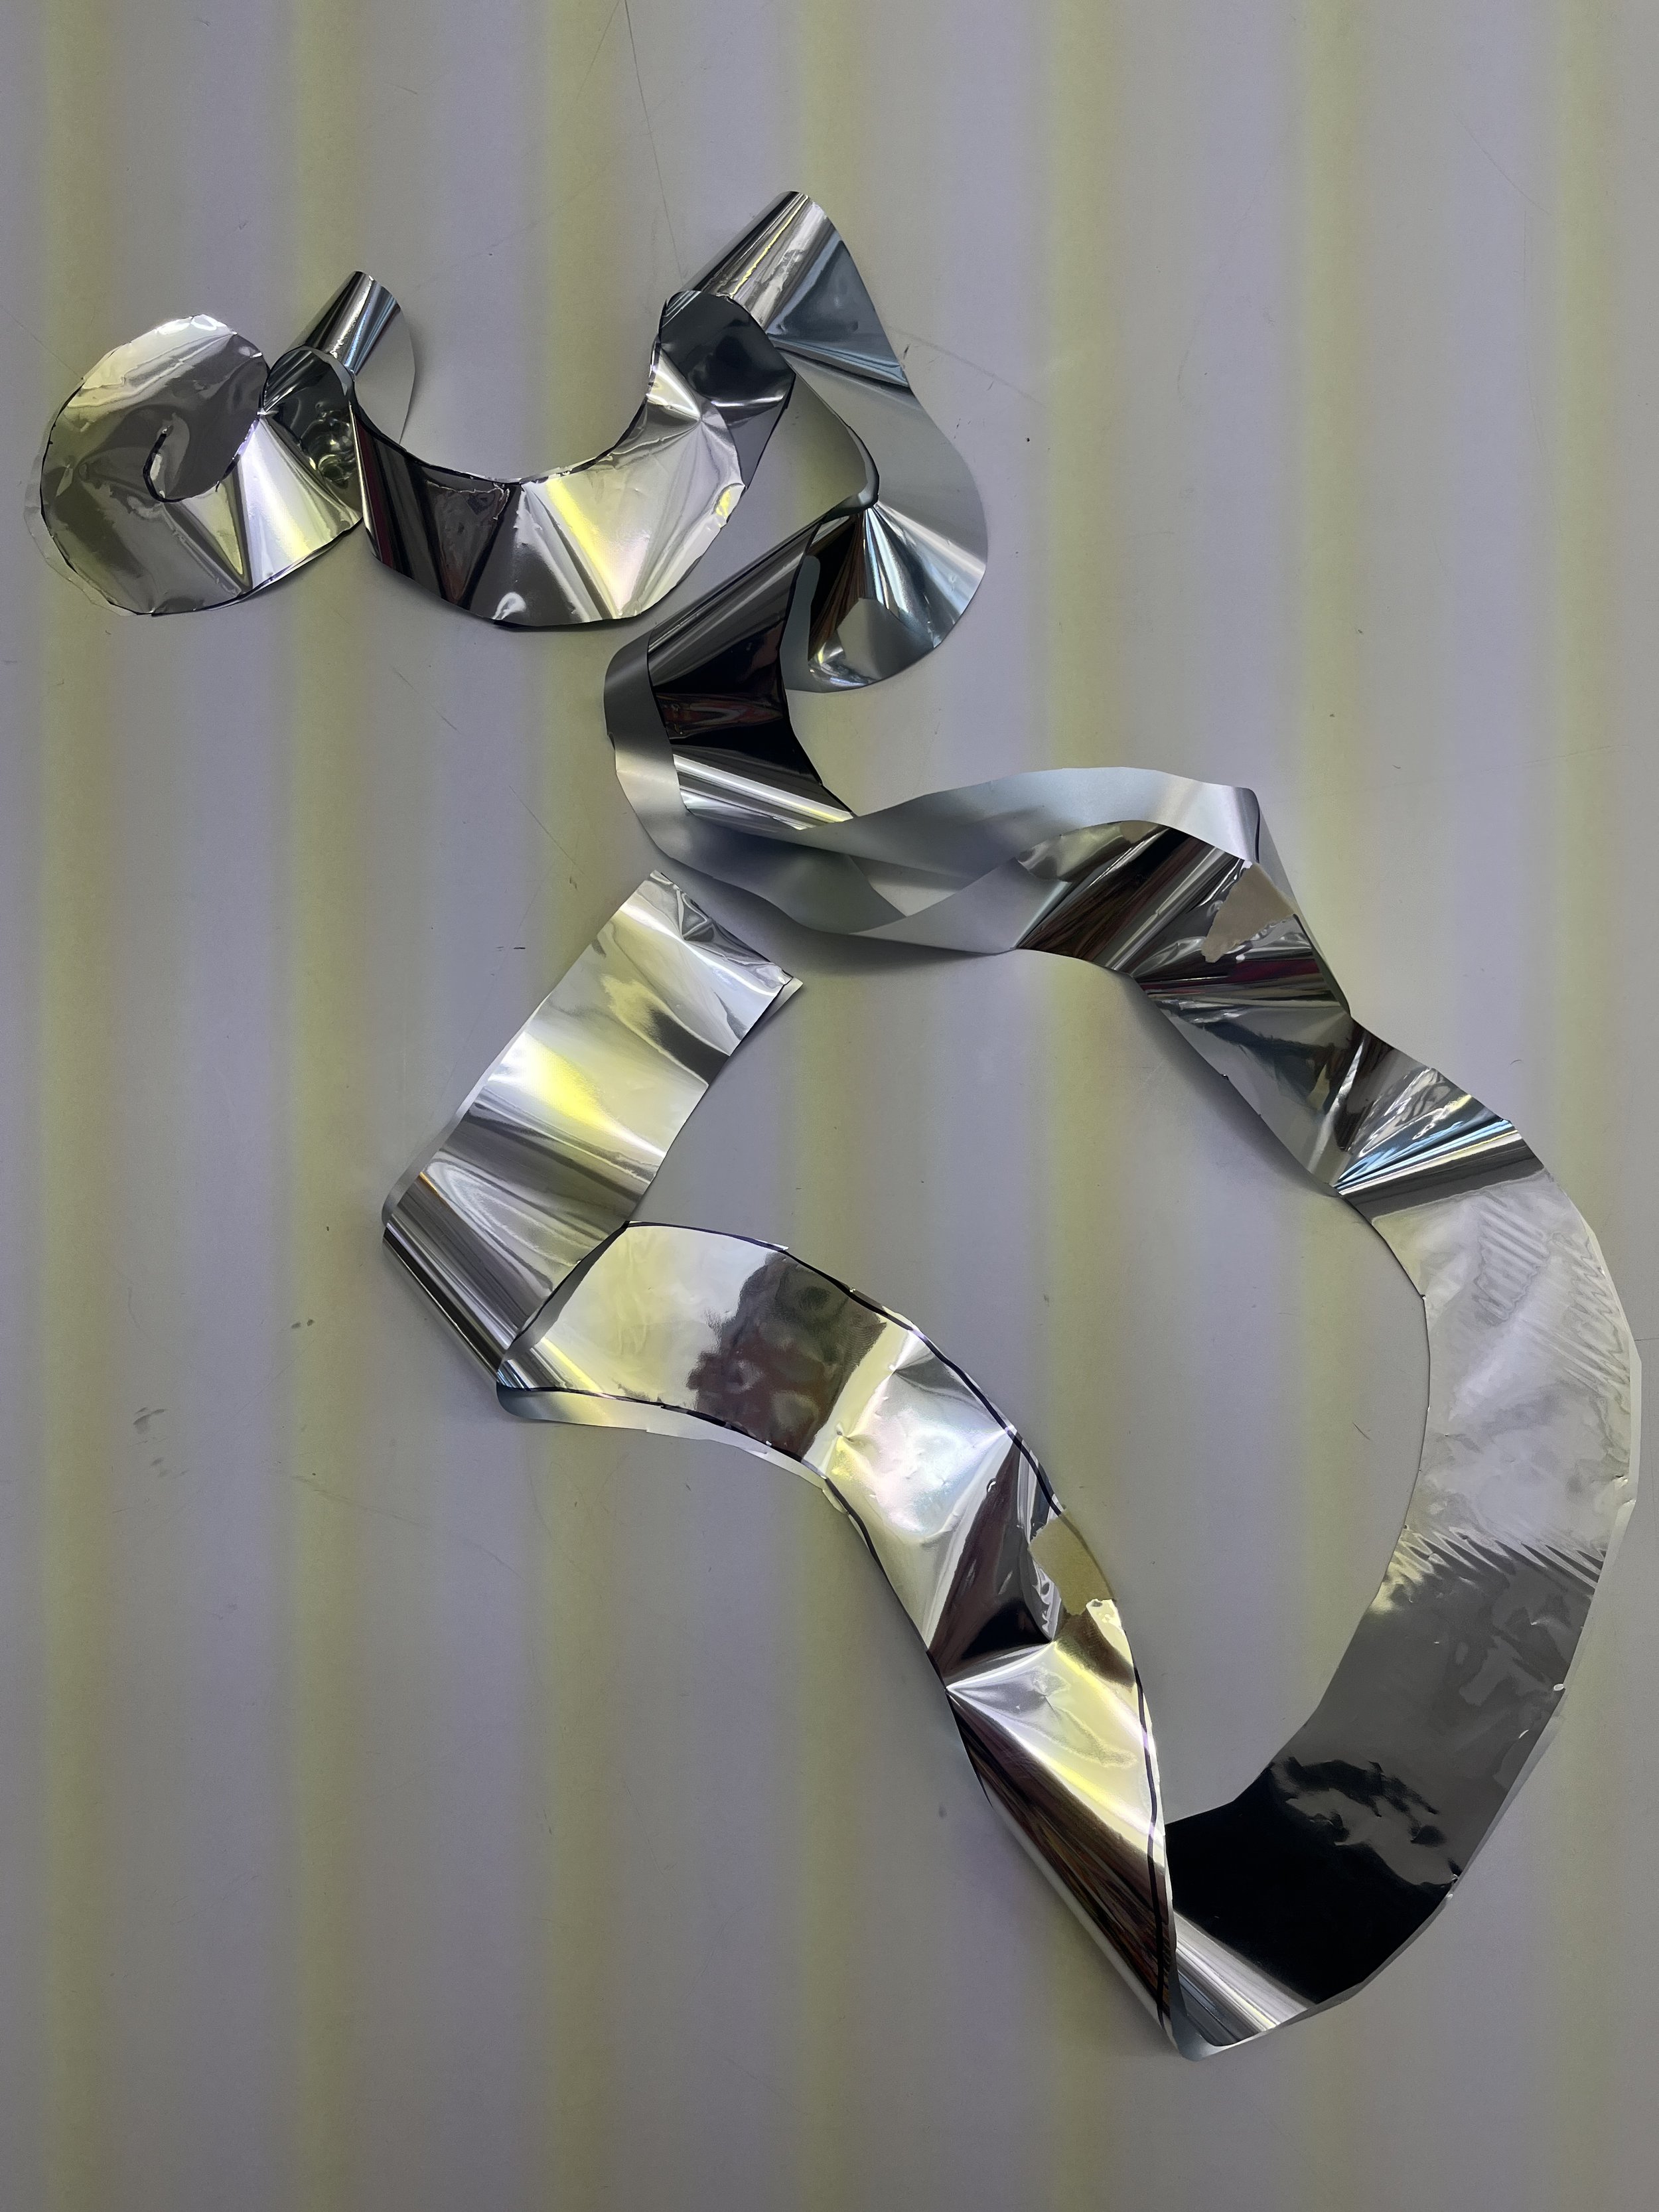
I started with the spiral soft actuator from the lecture notes last week. It was kinda hard to cut this design out, the material is so slippery. I’m also not sure why some of my pictures have those weird stripes in them, I think it’s from some camera setting.
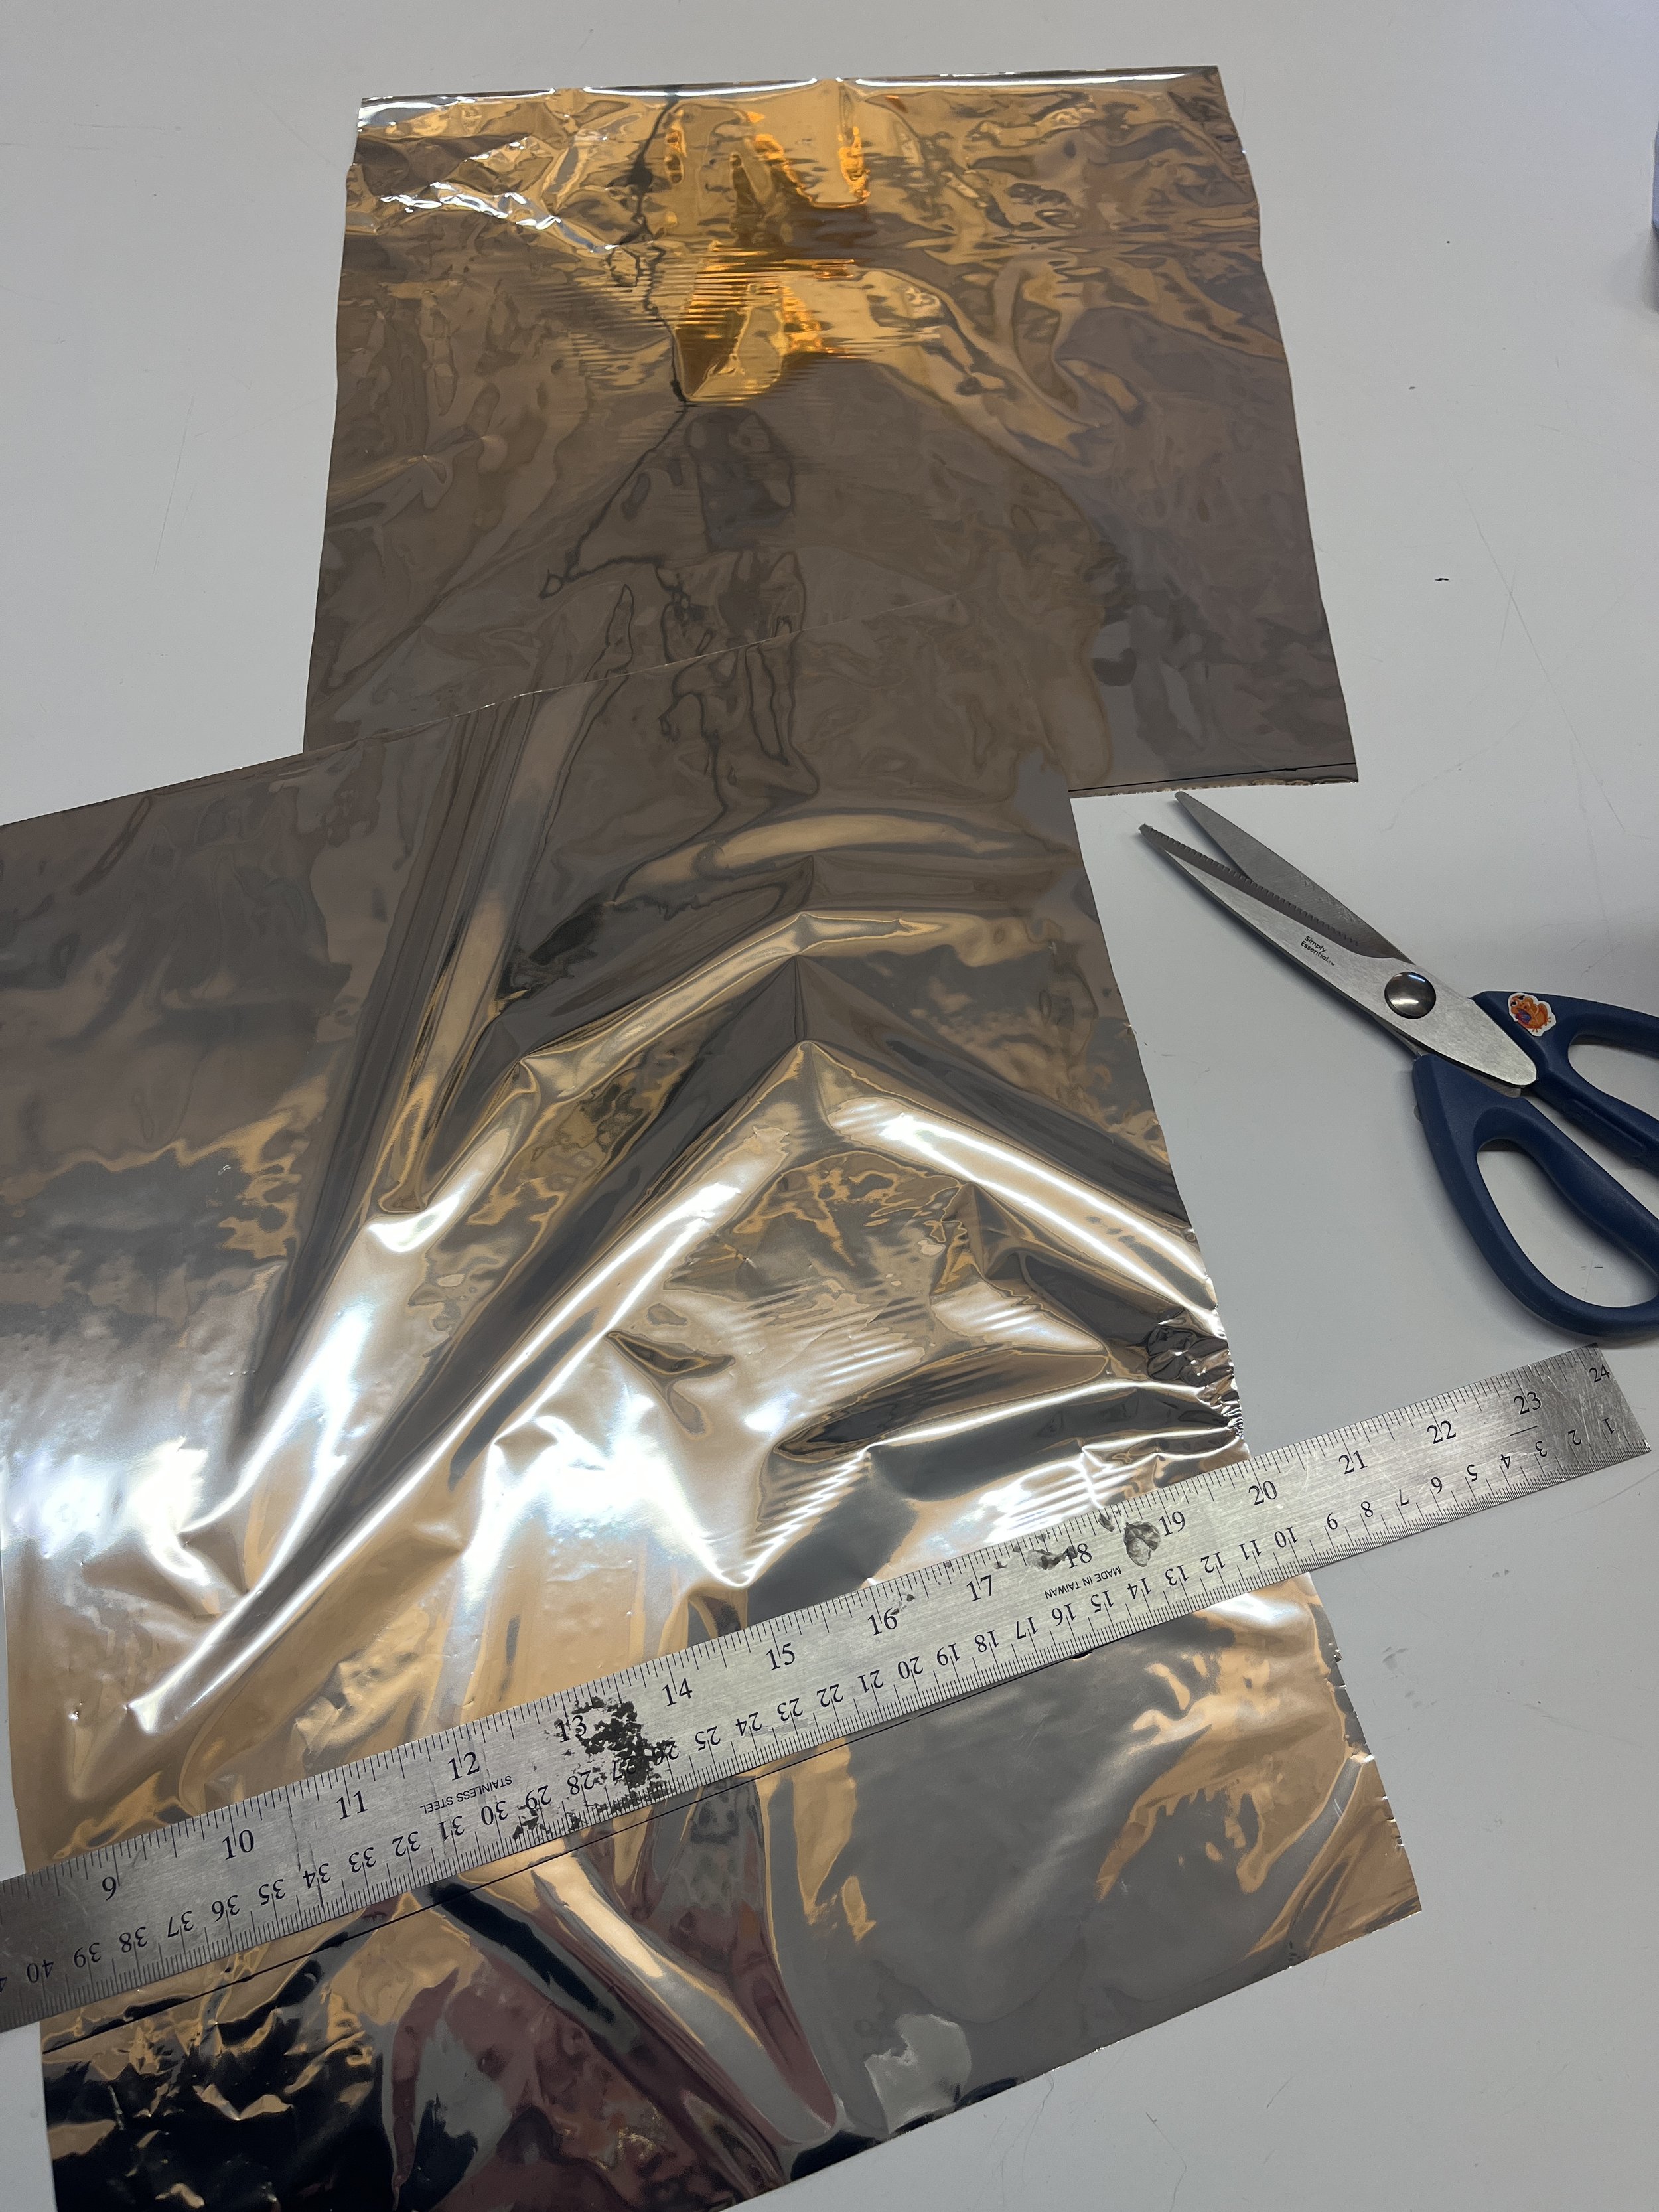
Line up two pieces of mylar, non-shiny sides facing each other. Draw cut pattern.
Cut out actuator making sure to cut through both layers of mylar. I used a bit of tape to keep things in place.
Use a small hair iron to heat seal the edges of the inflatable.
Mylar Balloon
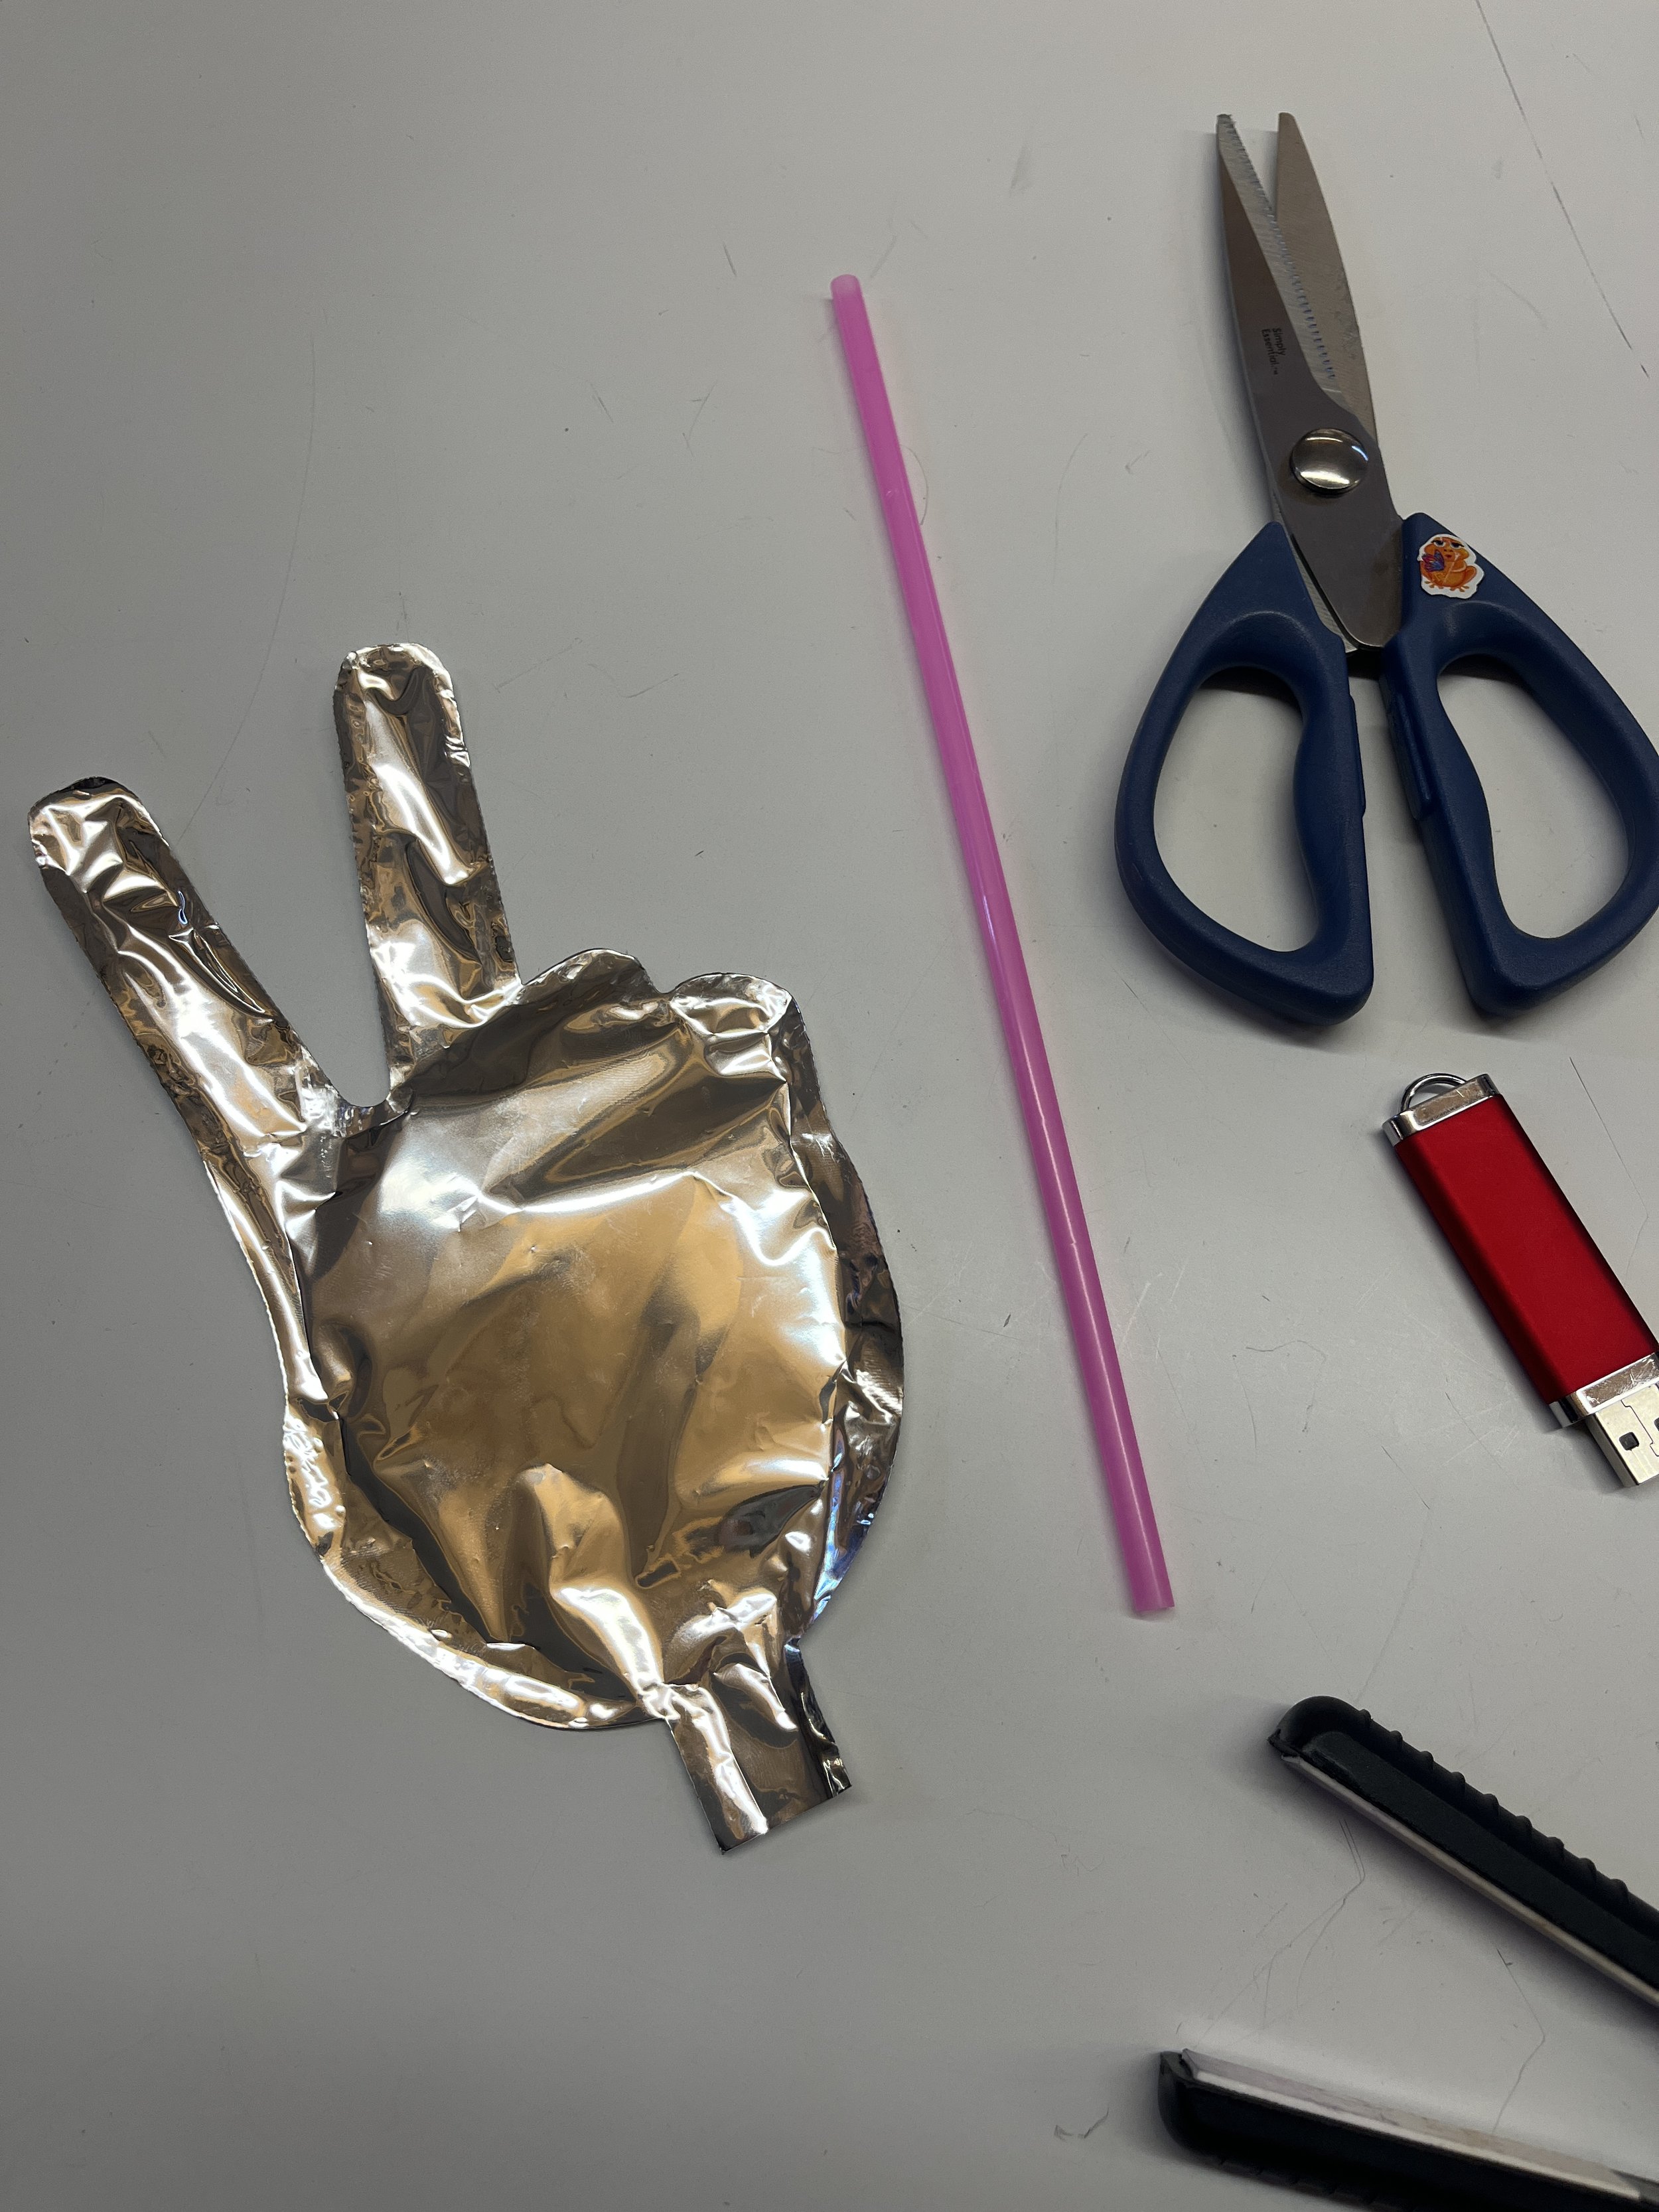
Have you ever wanted to make a hear balloon a flower balloon? Well I guess I did that.
Draw flower design.
Cut out the flower. This material was harder to work with because the cut edges kept on rolling up.
Heat seal the edges using an iron.
Cut out the flower’s inner circle and heat seal. It’s important to not forget to leave a tab with an opening so that you can blow air into the inflatable.
Laser Cutting Mylar
Laser cutter settings: speed = 100, power = 20, frequency = 5000.
Draw the laser cut design in illustrator. I found this image and used it as a reference.
Cut the mylar to a 12 inch height (to fit in the laser cutter bed). Stack the two pieces of mylar with the non-shiny sides facing inside.
Heat seal the edges like before. It was the easiest this time because the laser kind of joined the edges a bit so the material wasn’t sliding around.


