[ITP: Hypercinema] Stop Motion

Group member: HyungIn Choi

You can find my brainstorming blog post here.

Process

For this assignment, HyungIn and I were tasked with creating two looping stop motion animations. To optimize our time, effort, and to be sure we both got to get our hands onto the animation and creative process we both kind of designed and directed our own animations and helped each other with execution and filming.

Following my story board from last week, I wanted to make a jack-o-lantern loop. Short of getting a physical pumpkin, paper seemed like the medium of choice. At first it was daunting to hand cut all the shapes for my animation but it ended up not being so bad. Hand cutting the shapes for each frame gave me more control in how smooth animation ended up. I was able to tape certain parts down and move one thing frame by frame. I shot the images using my iPhone and an overhead tripod.

HyungIn and I were working in parallel and took over a full classroom over the weekend. We helped each other ideate and shoot our photos. Below are some BTS shots of the aftermath of shooting our stop motion loops.

Premier

I followed this tutorial to make my video in Adobe Premier instead of Stop Motion Studio. Here are the settings I used:

  • Still image default duration: 4 frames

  • 23.976 frames per second

  • Frame size: 720 by 480 (4:3)

  • Exported as a .gif and QuickTime (.mov, “Apple ProRes 422 HQ”)

Final Product

Here’s the animation that Hyungin directed. It’s in a completely different style using found objects but the effect it has is more organic, abstract, and lively than the pumpkin piece.

Conclusion

I really enjoyed making this stop motion loop with paper. It was much easier than I thought it would! One thing I’ve been consistently having issues with is lighting photos properly. As you can see in the loop, the lighting changes and by the end the color balance is totally different than in the beginning of the loop. I’m also running into this issue when taking pictures of my ITP projects in general. Whenever I try to take a straight-above portfolio picture on the floor there’s always a shadow no matter where I move my setup.

Resources

https://www.youtube.com/watch?v=82RM7ZpldxM

https://www.youtube.com/watch?v=6isAwak22O4

[ITP: Fabrication] Sheet Metal Portrait Update

This is a continuation of my previous blog post.

Process (cont’d)

Cut shapes out of sheet metal with tin snips. You’ll need strong forearms for this!

Sand the edges of the metal so that it’s not so sharp. I also tried flattening the pieces in hopes that they would glue better using some pliers.

Here I am painting the individual pieces. I’ve got some others pieces waiting in the spray paint booth!

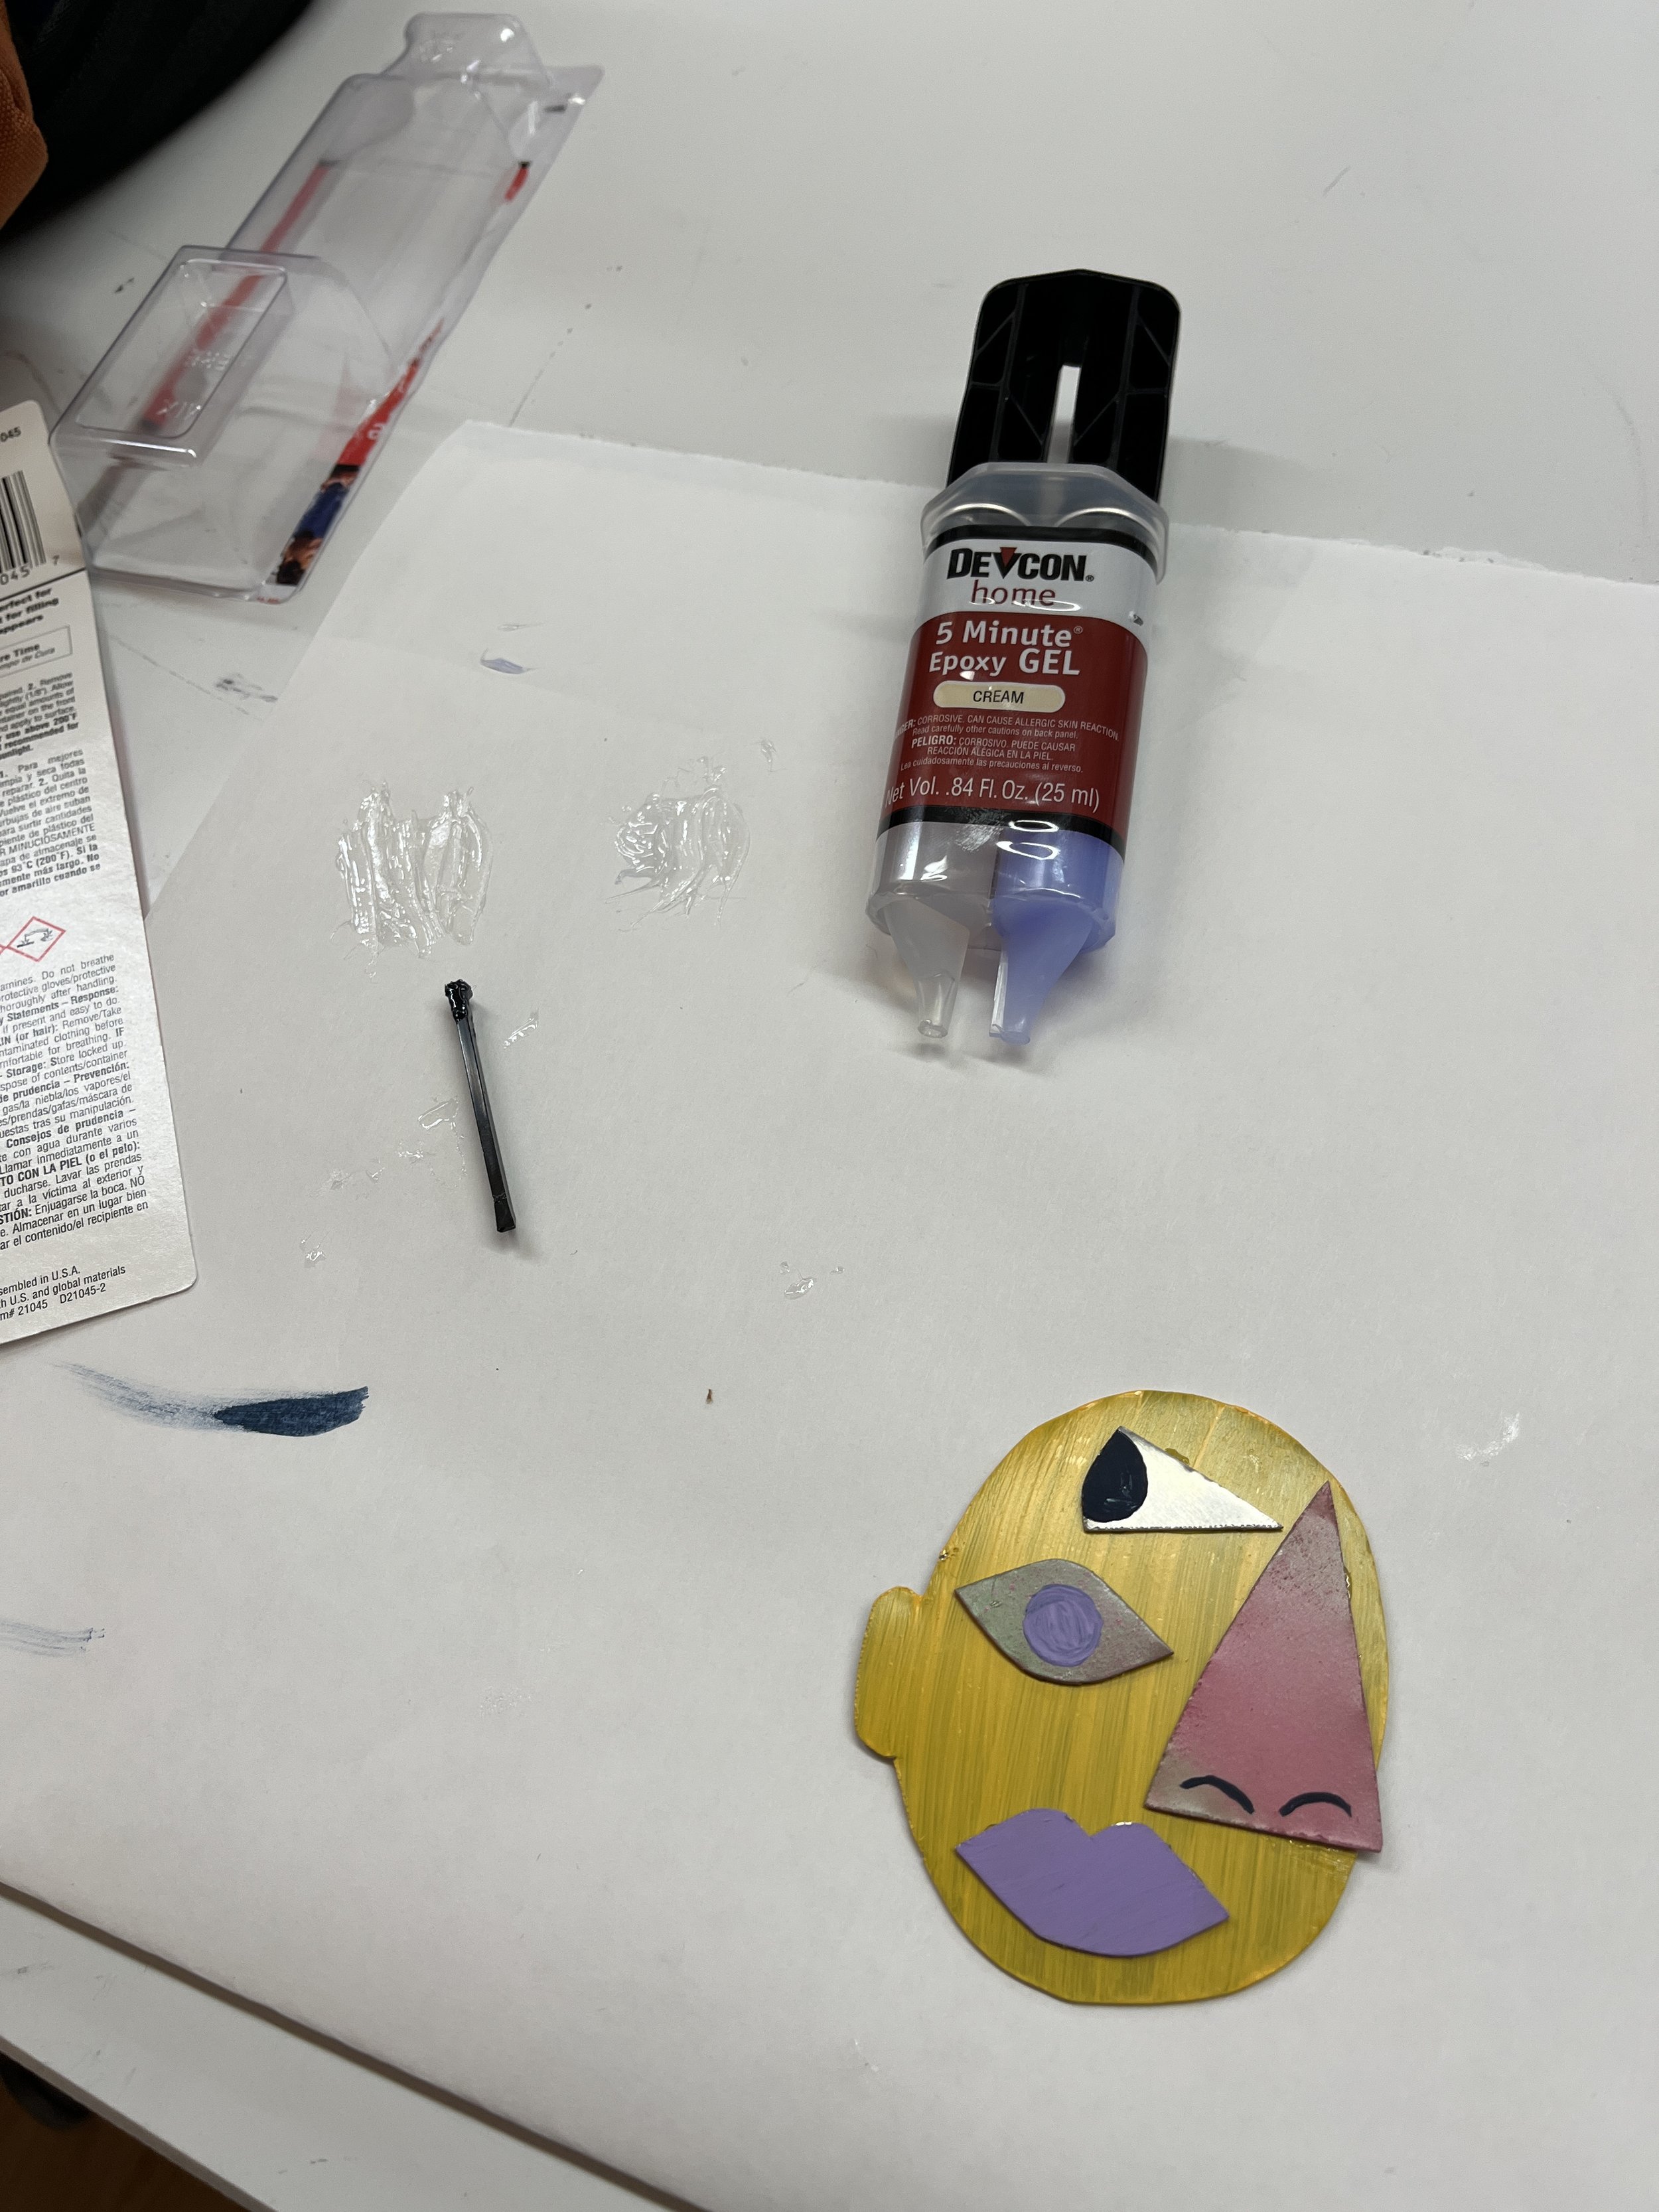
Epoxy time to glue it all together. Then I drilled a hole in the hat and nailed it to my wood backing.

Final Product

Conclusion

I am pretty stoked on how my exploration of different materials and fasteners turned out. For a while there I thought I would not be able to cut these small shapes from sheet metal with the shears; it was super hard. Also, I learned all about spray painting to finish the metal. In addition, I had never used epoxy before so it’s good that I learned how to use it. Overall, this project taught me a lot!

[ITP: Feeling Patterns] Pattern Observation Week 5

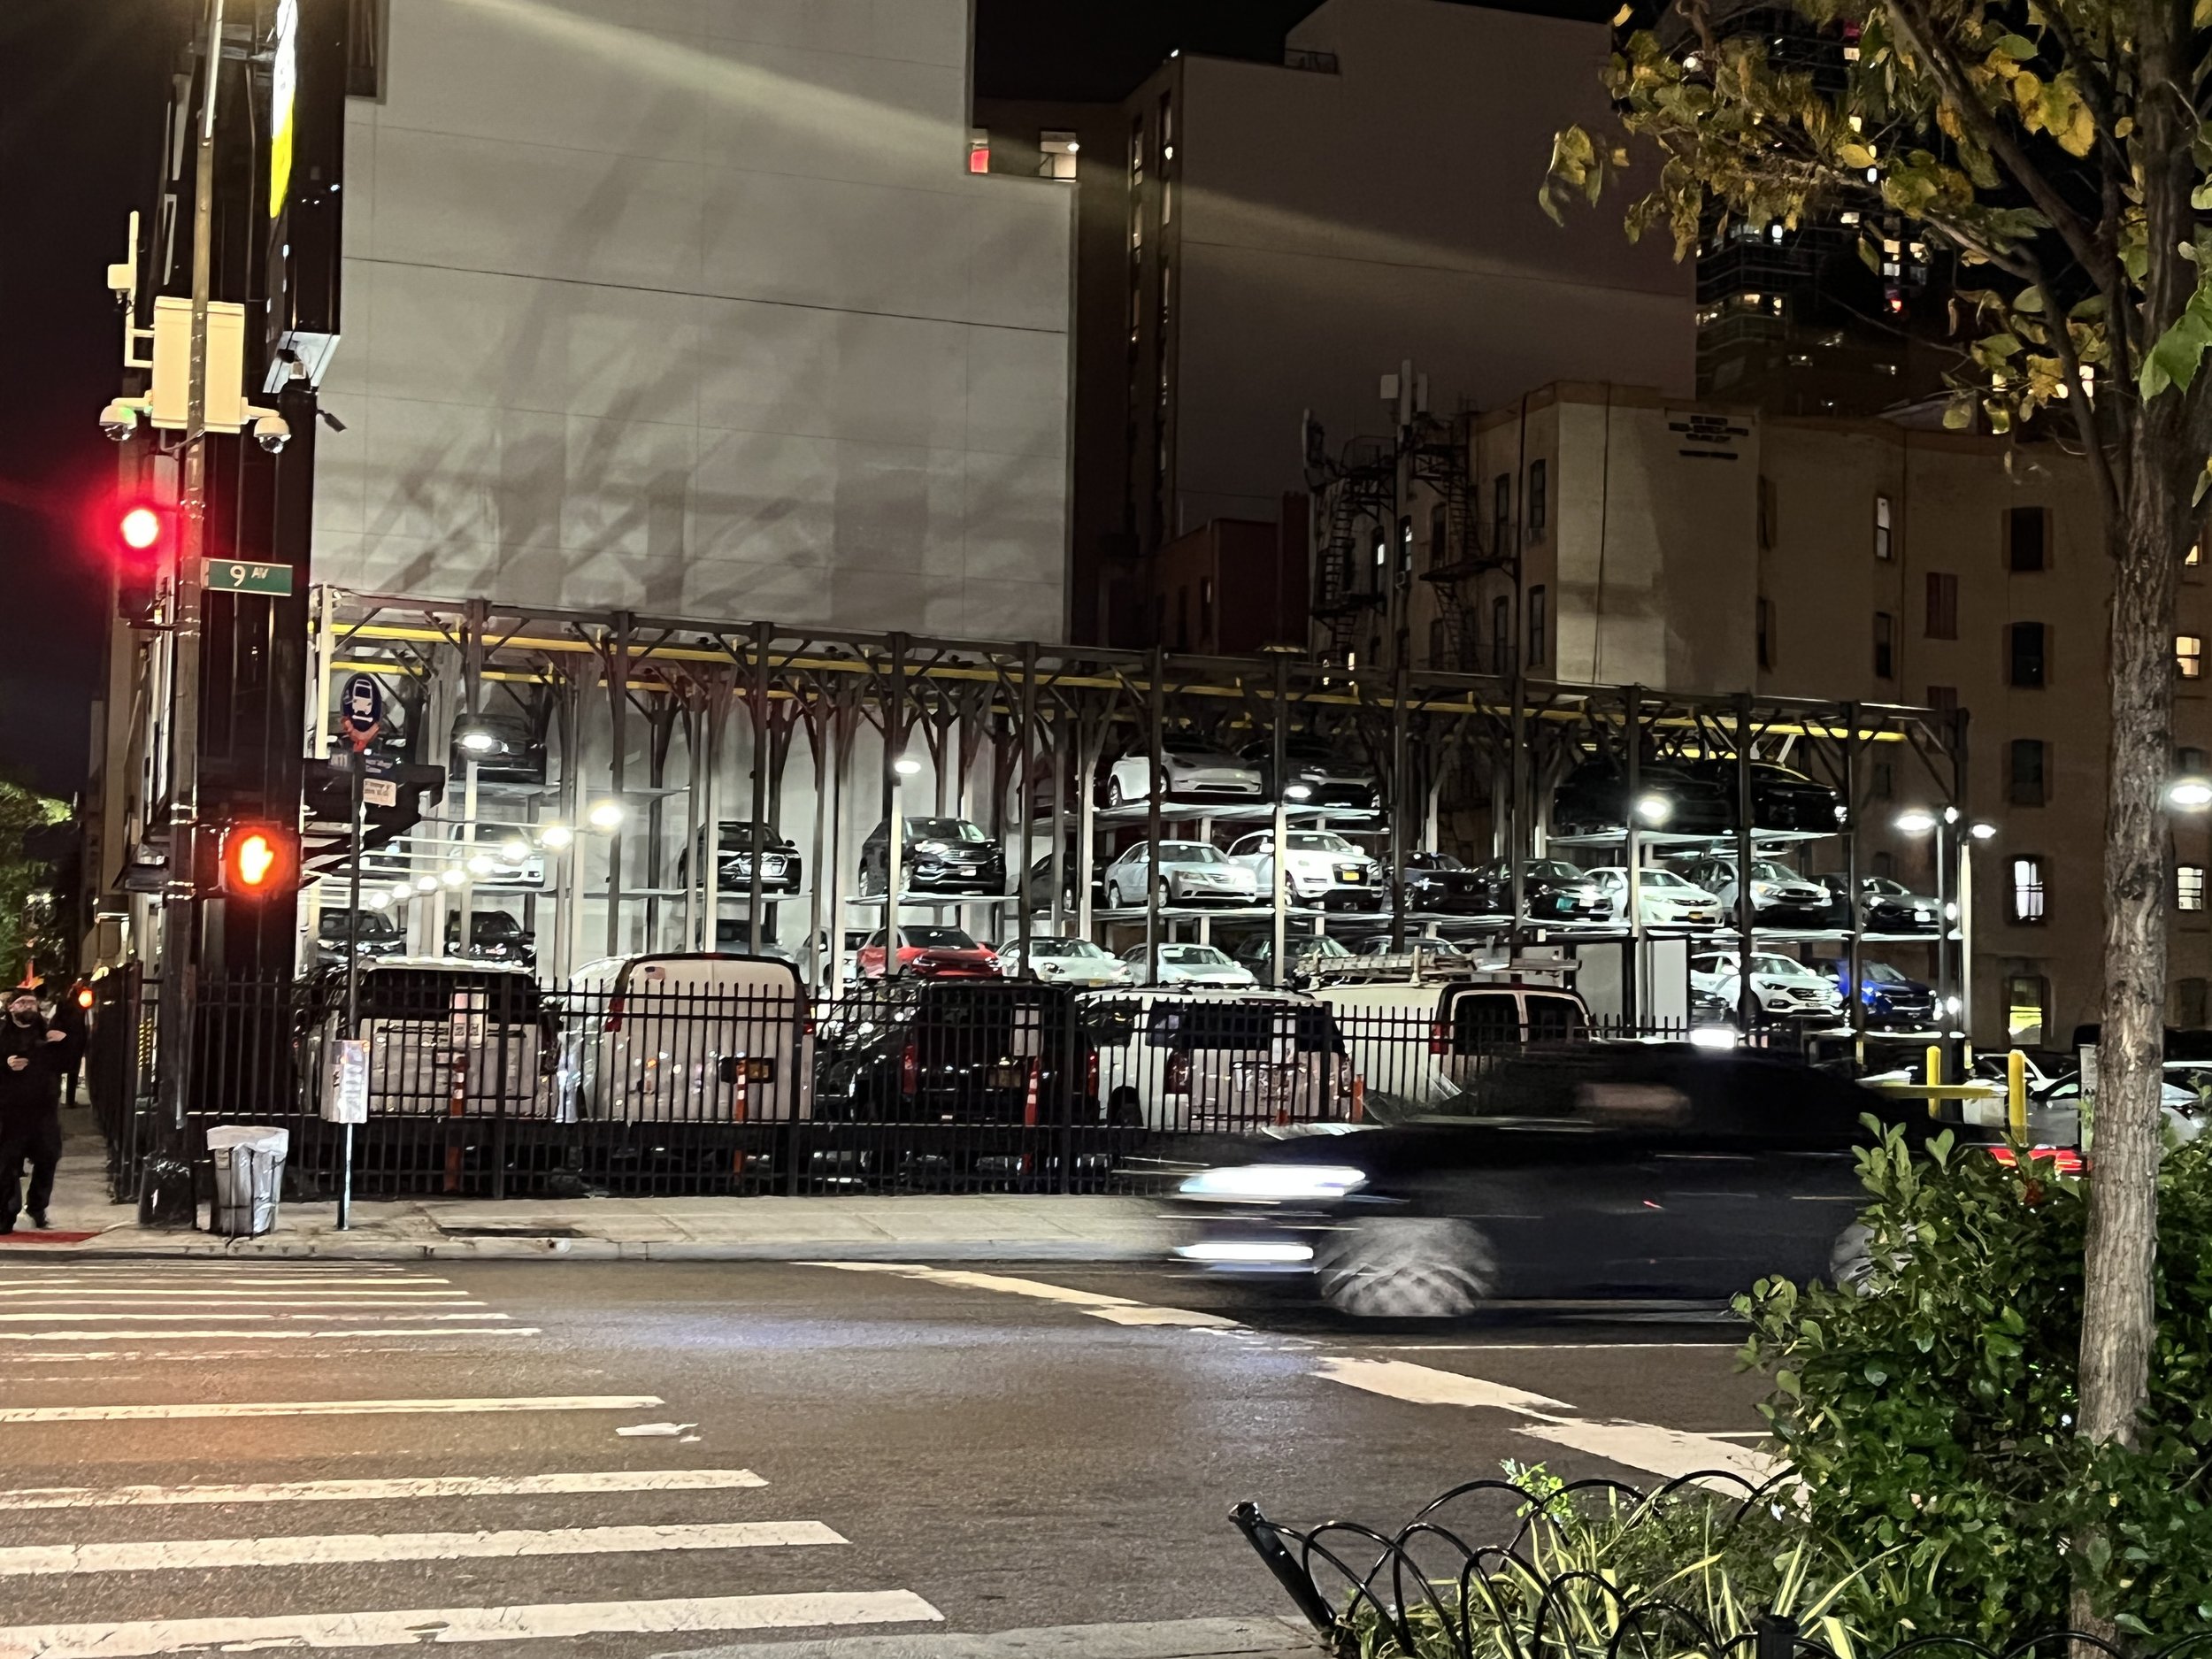
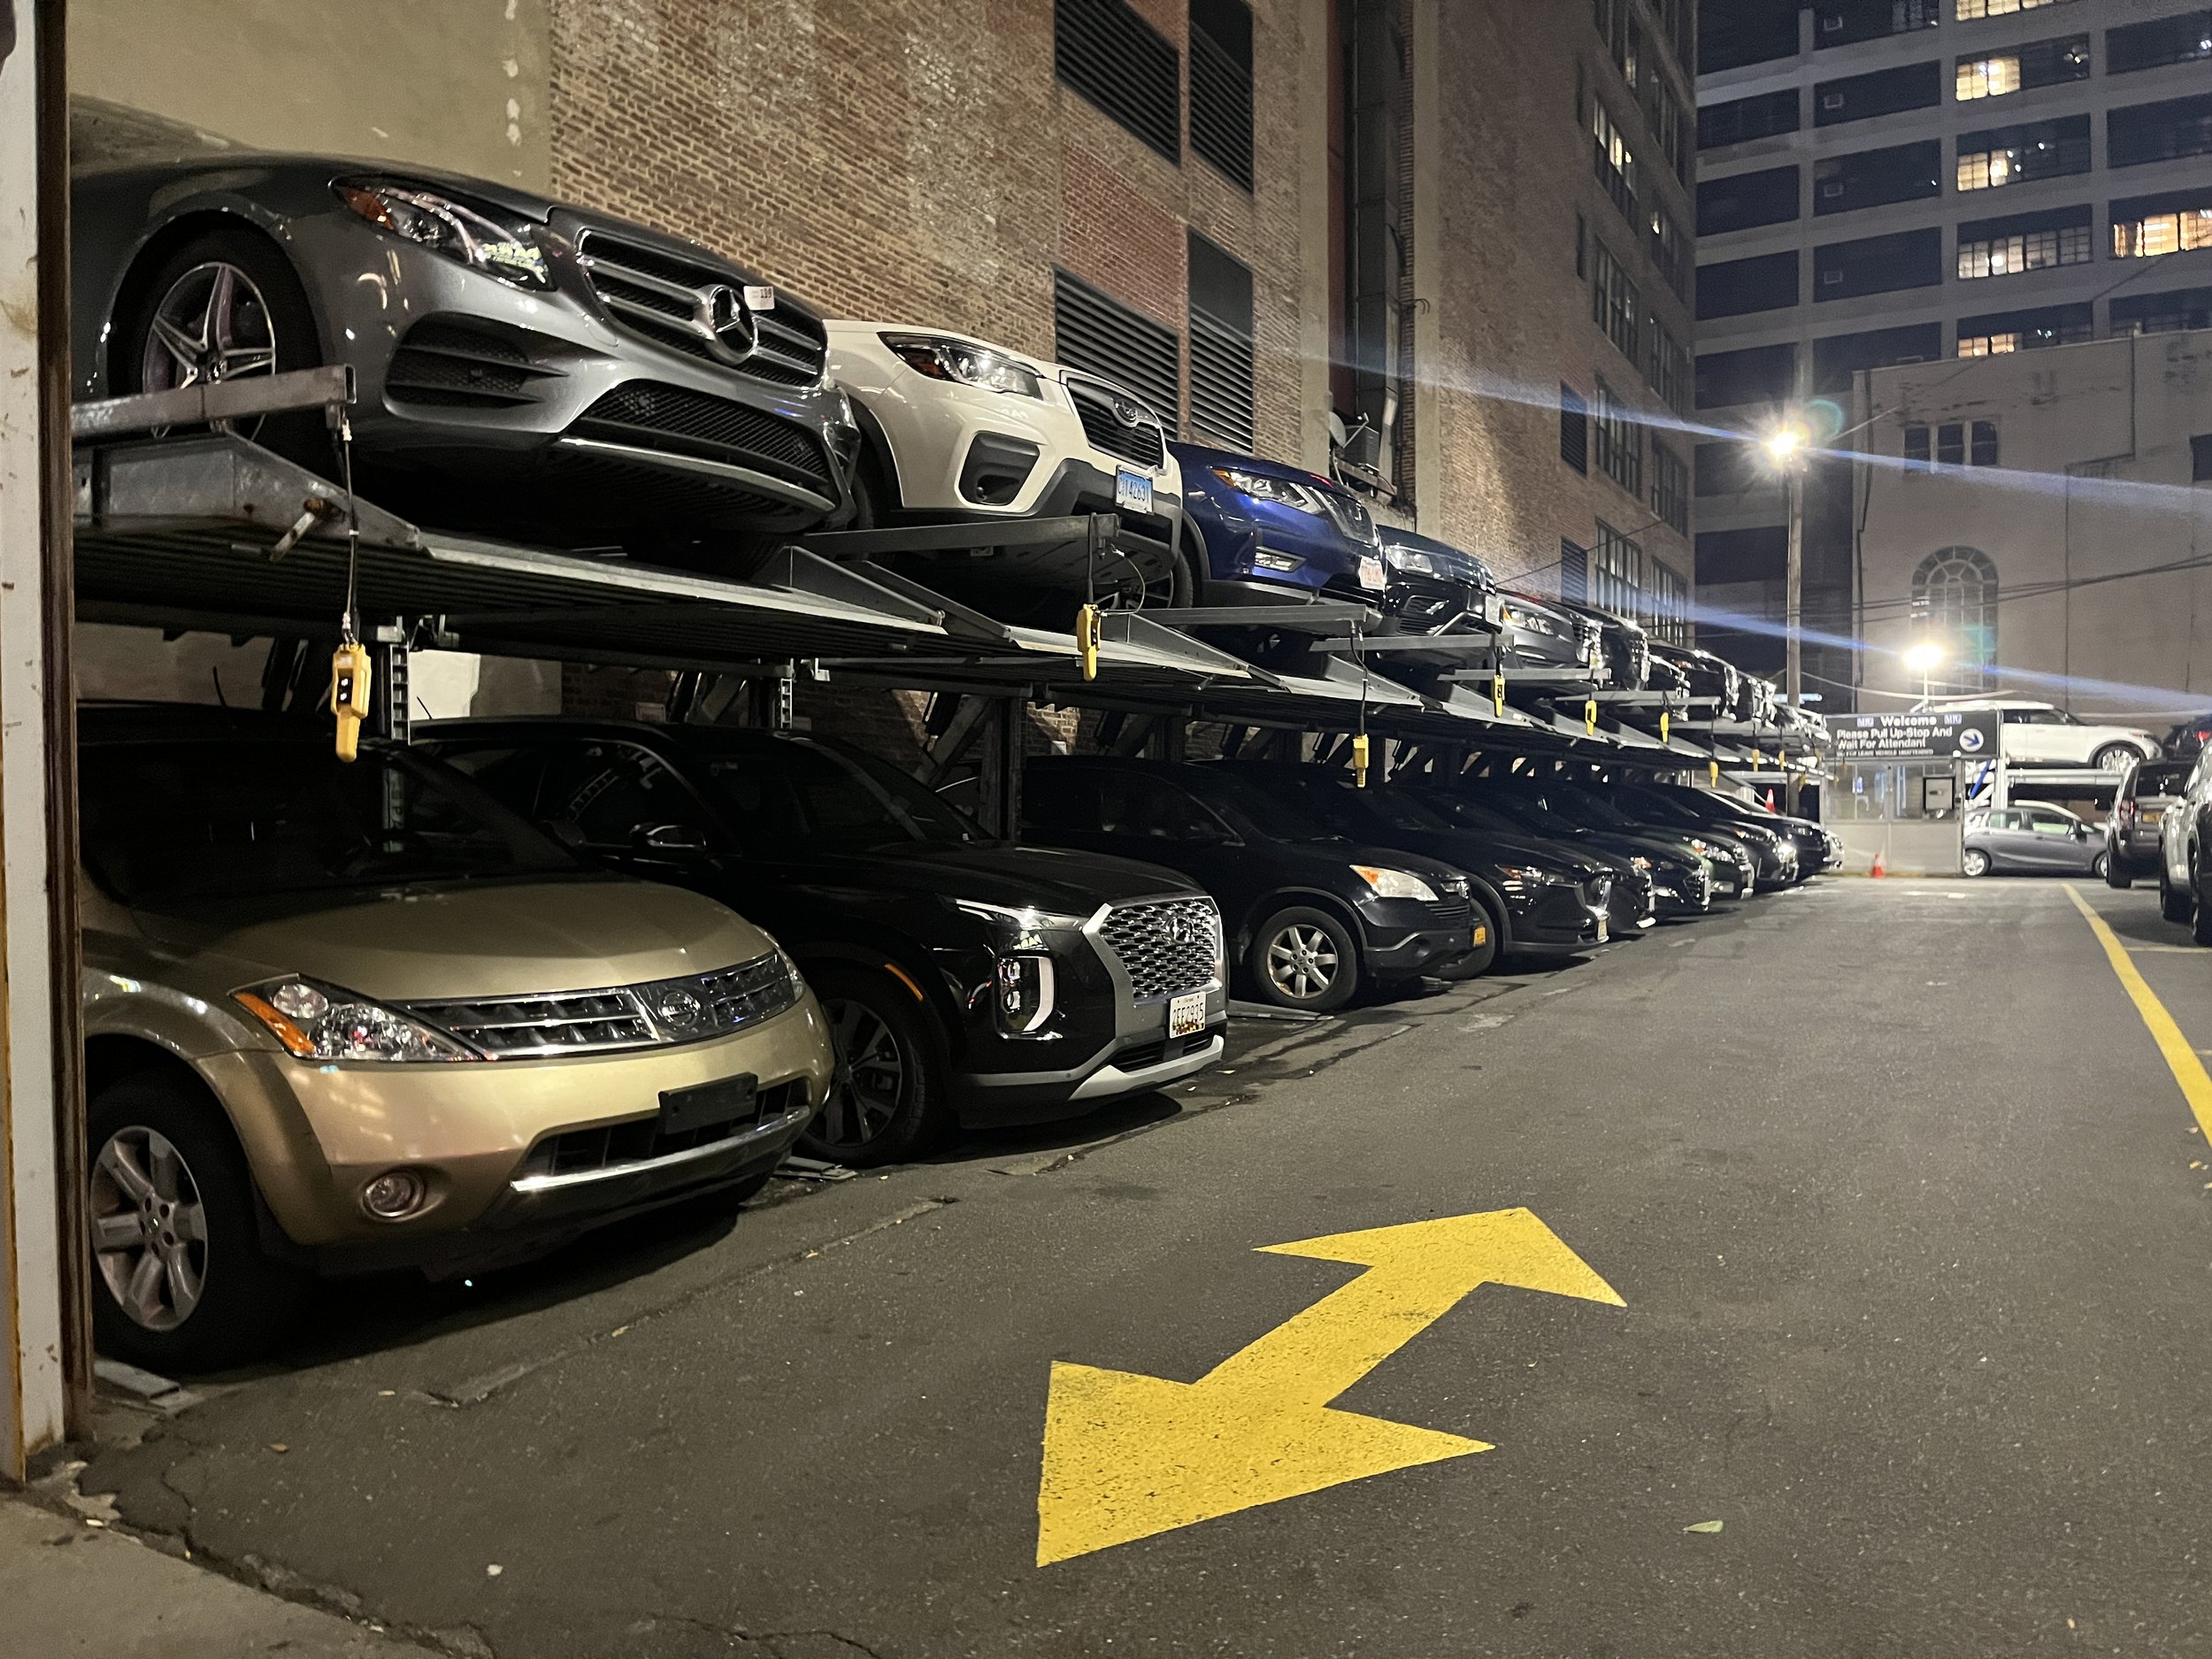
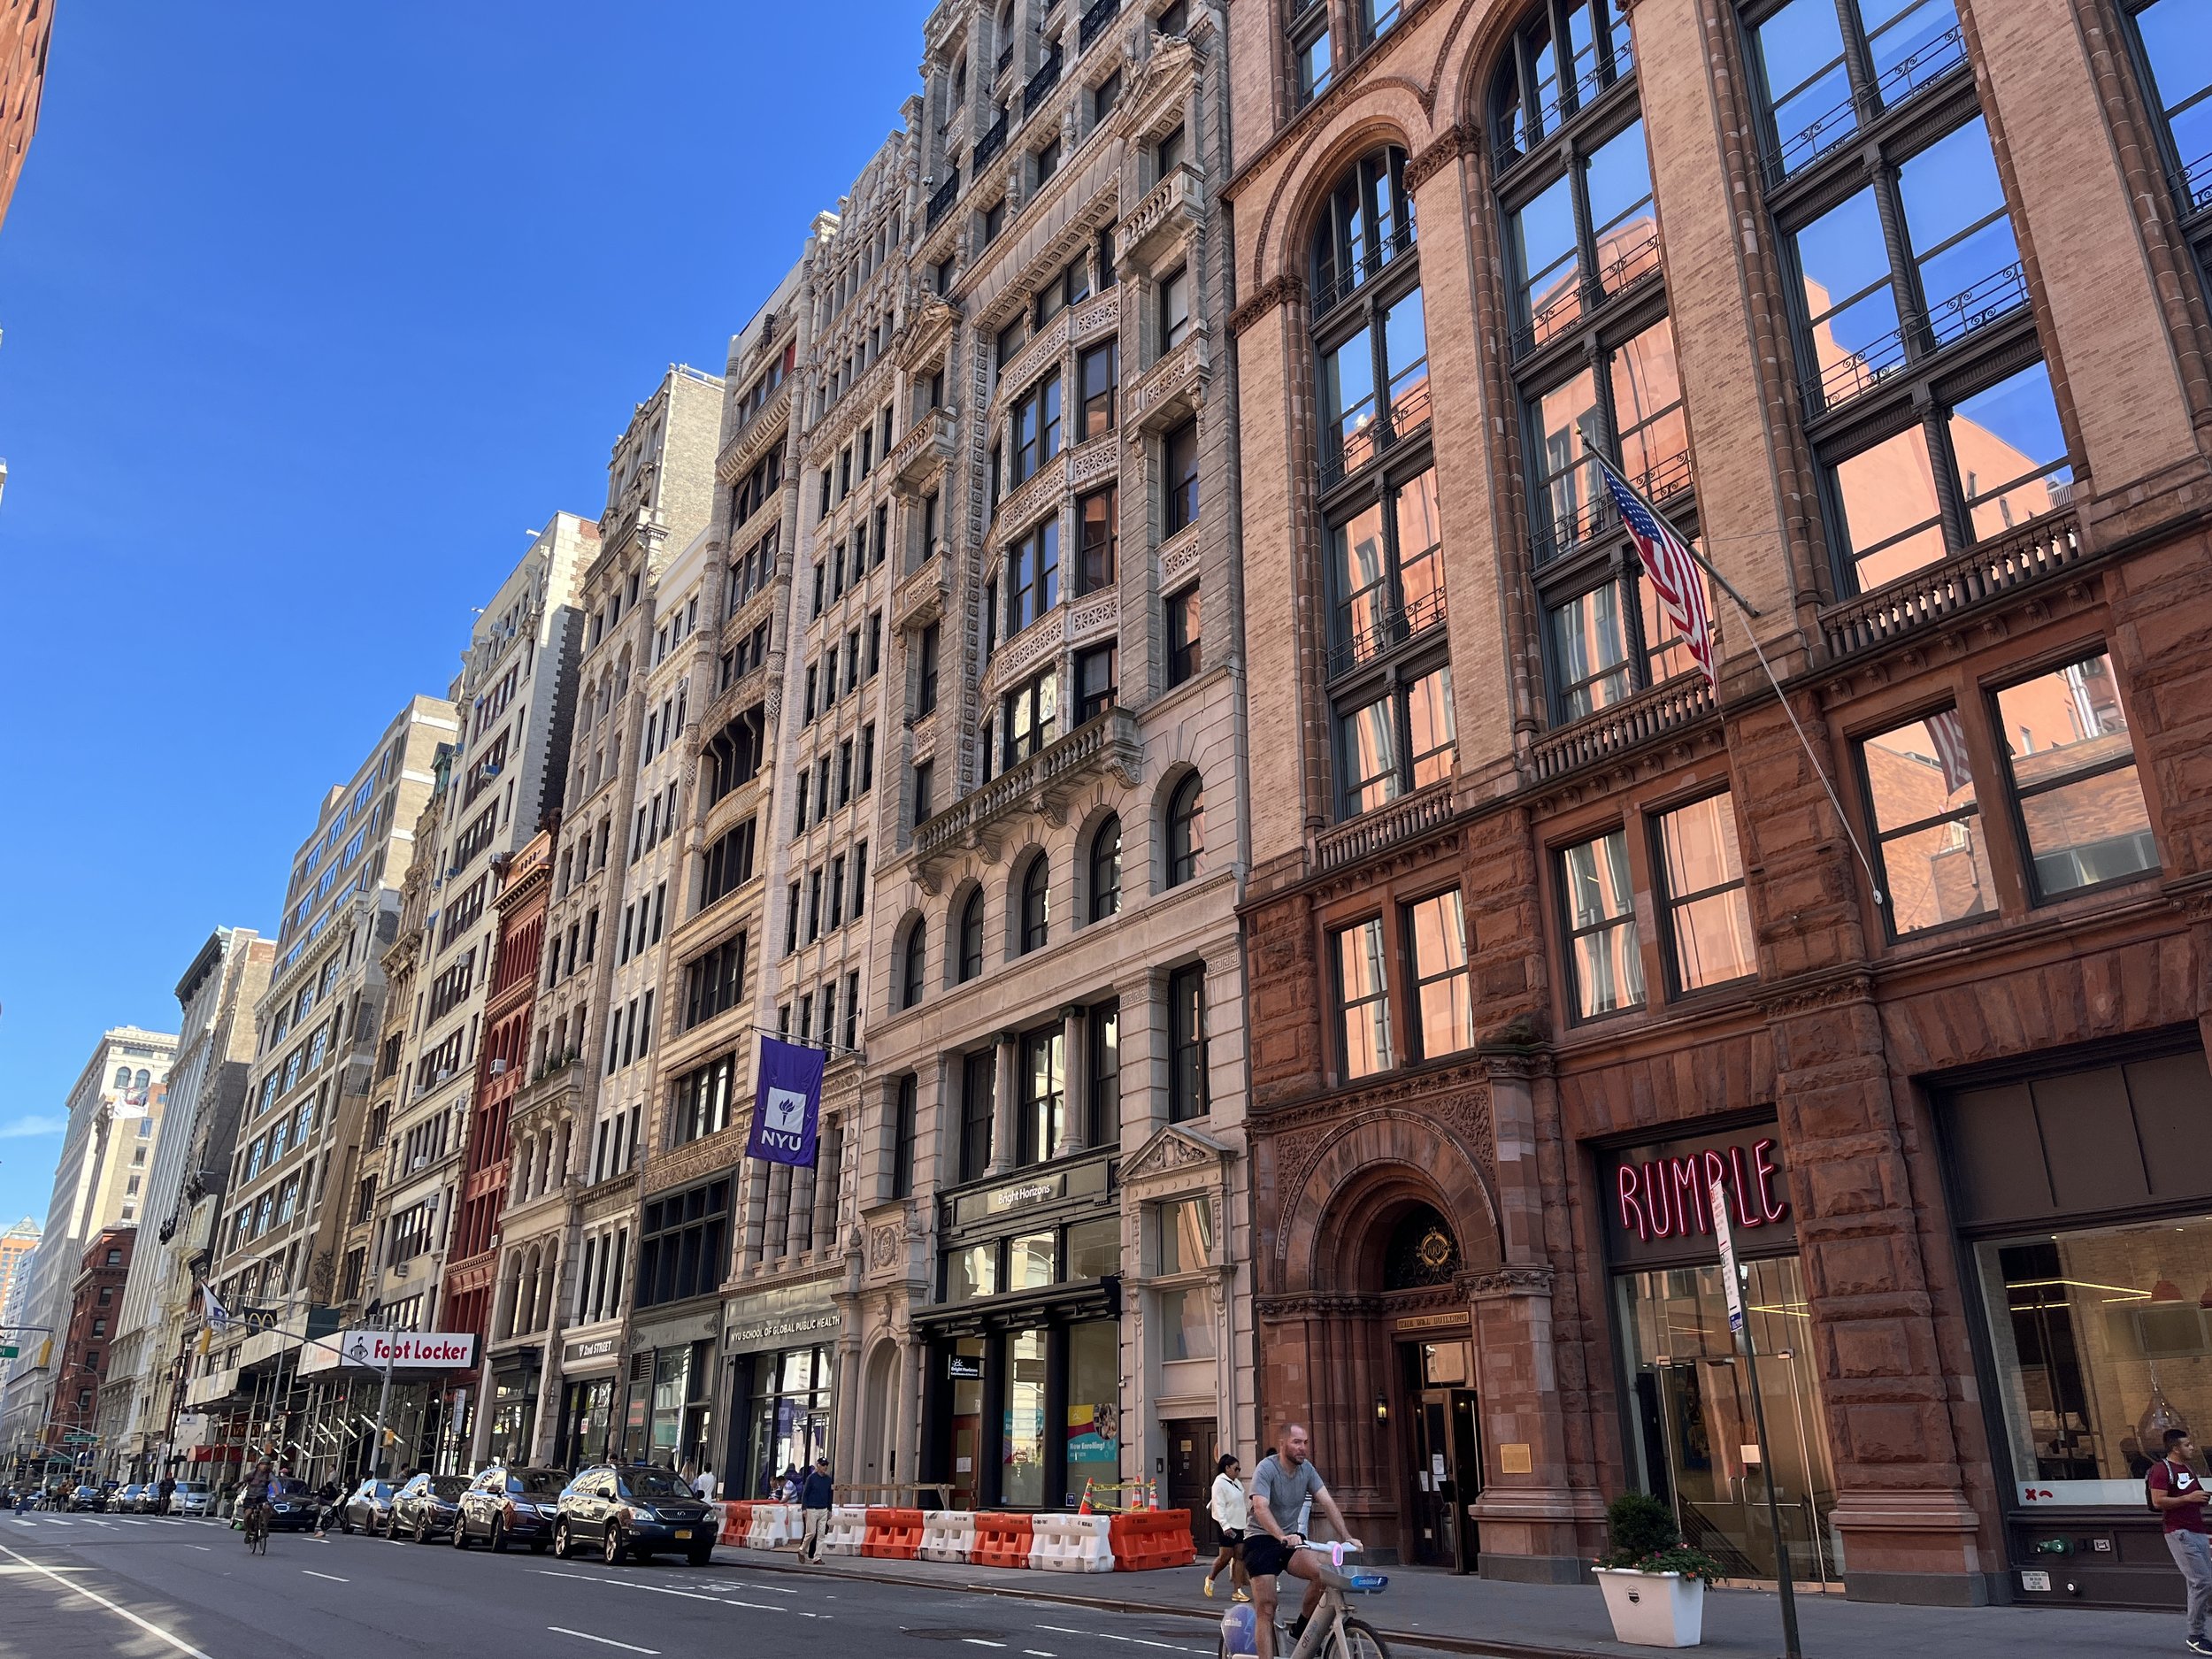
Here are some more very New York patterns I observed this week. I just love these crazy car-parking-vending machines. They kinda remind me of apartments for cars. They create such interesting visual patterns and they also speak to a larger pattern of too many cars/people in a city with too little space.

From Maya Lin’s Vietnam Veterans Memorial Proposal

  • Names of all those lost in chronological order

  • “I had an impulse to cut open the earth”

  • Visitors reflected in the shiny granite

  • The beginning (1959) and end (1973) meet in the middle

  • Ties together the Lincoln Memorial, Washington Monument, and itself

  • Make it“personal, human, and focused on the individual experience”

[ITP: Feeling Patterns] Pattern Observation Week 4

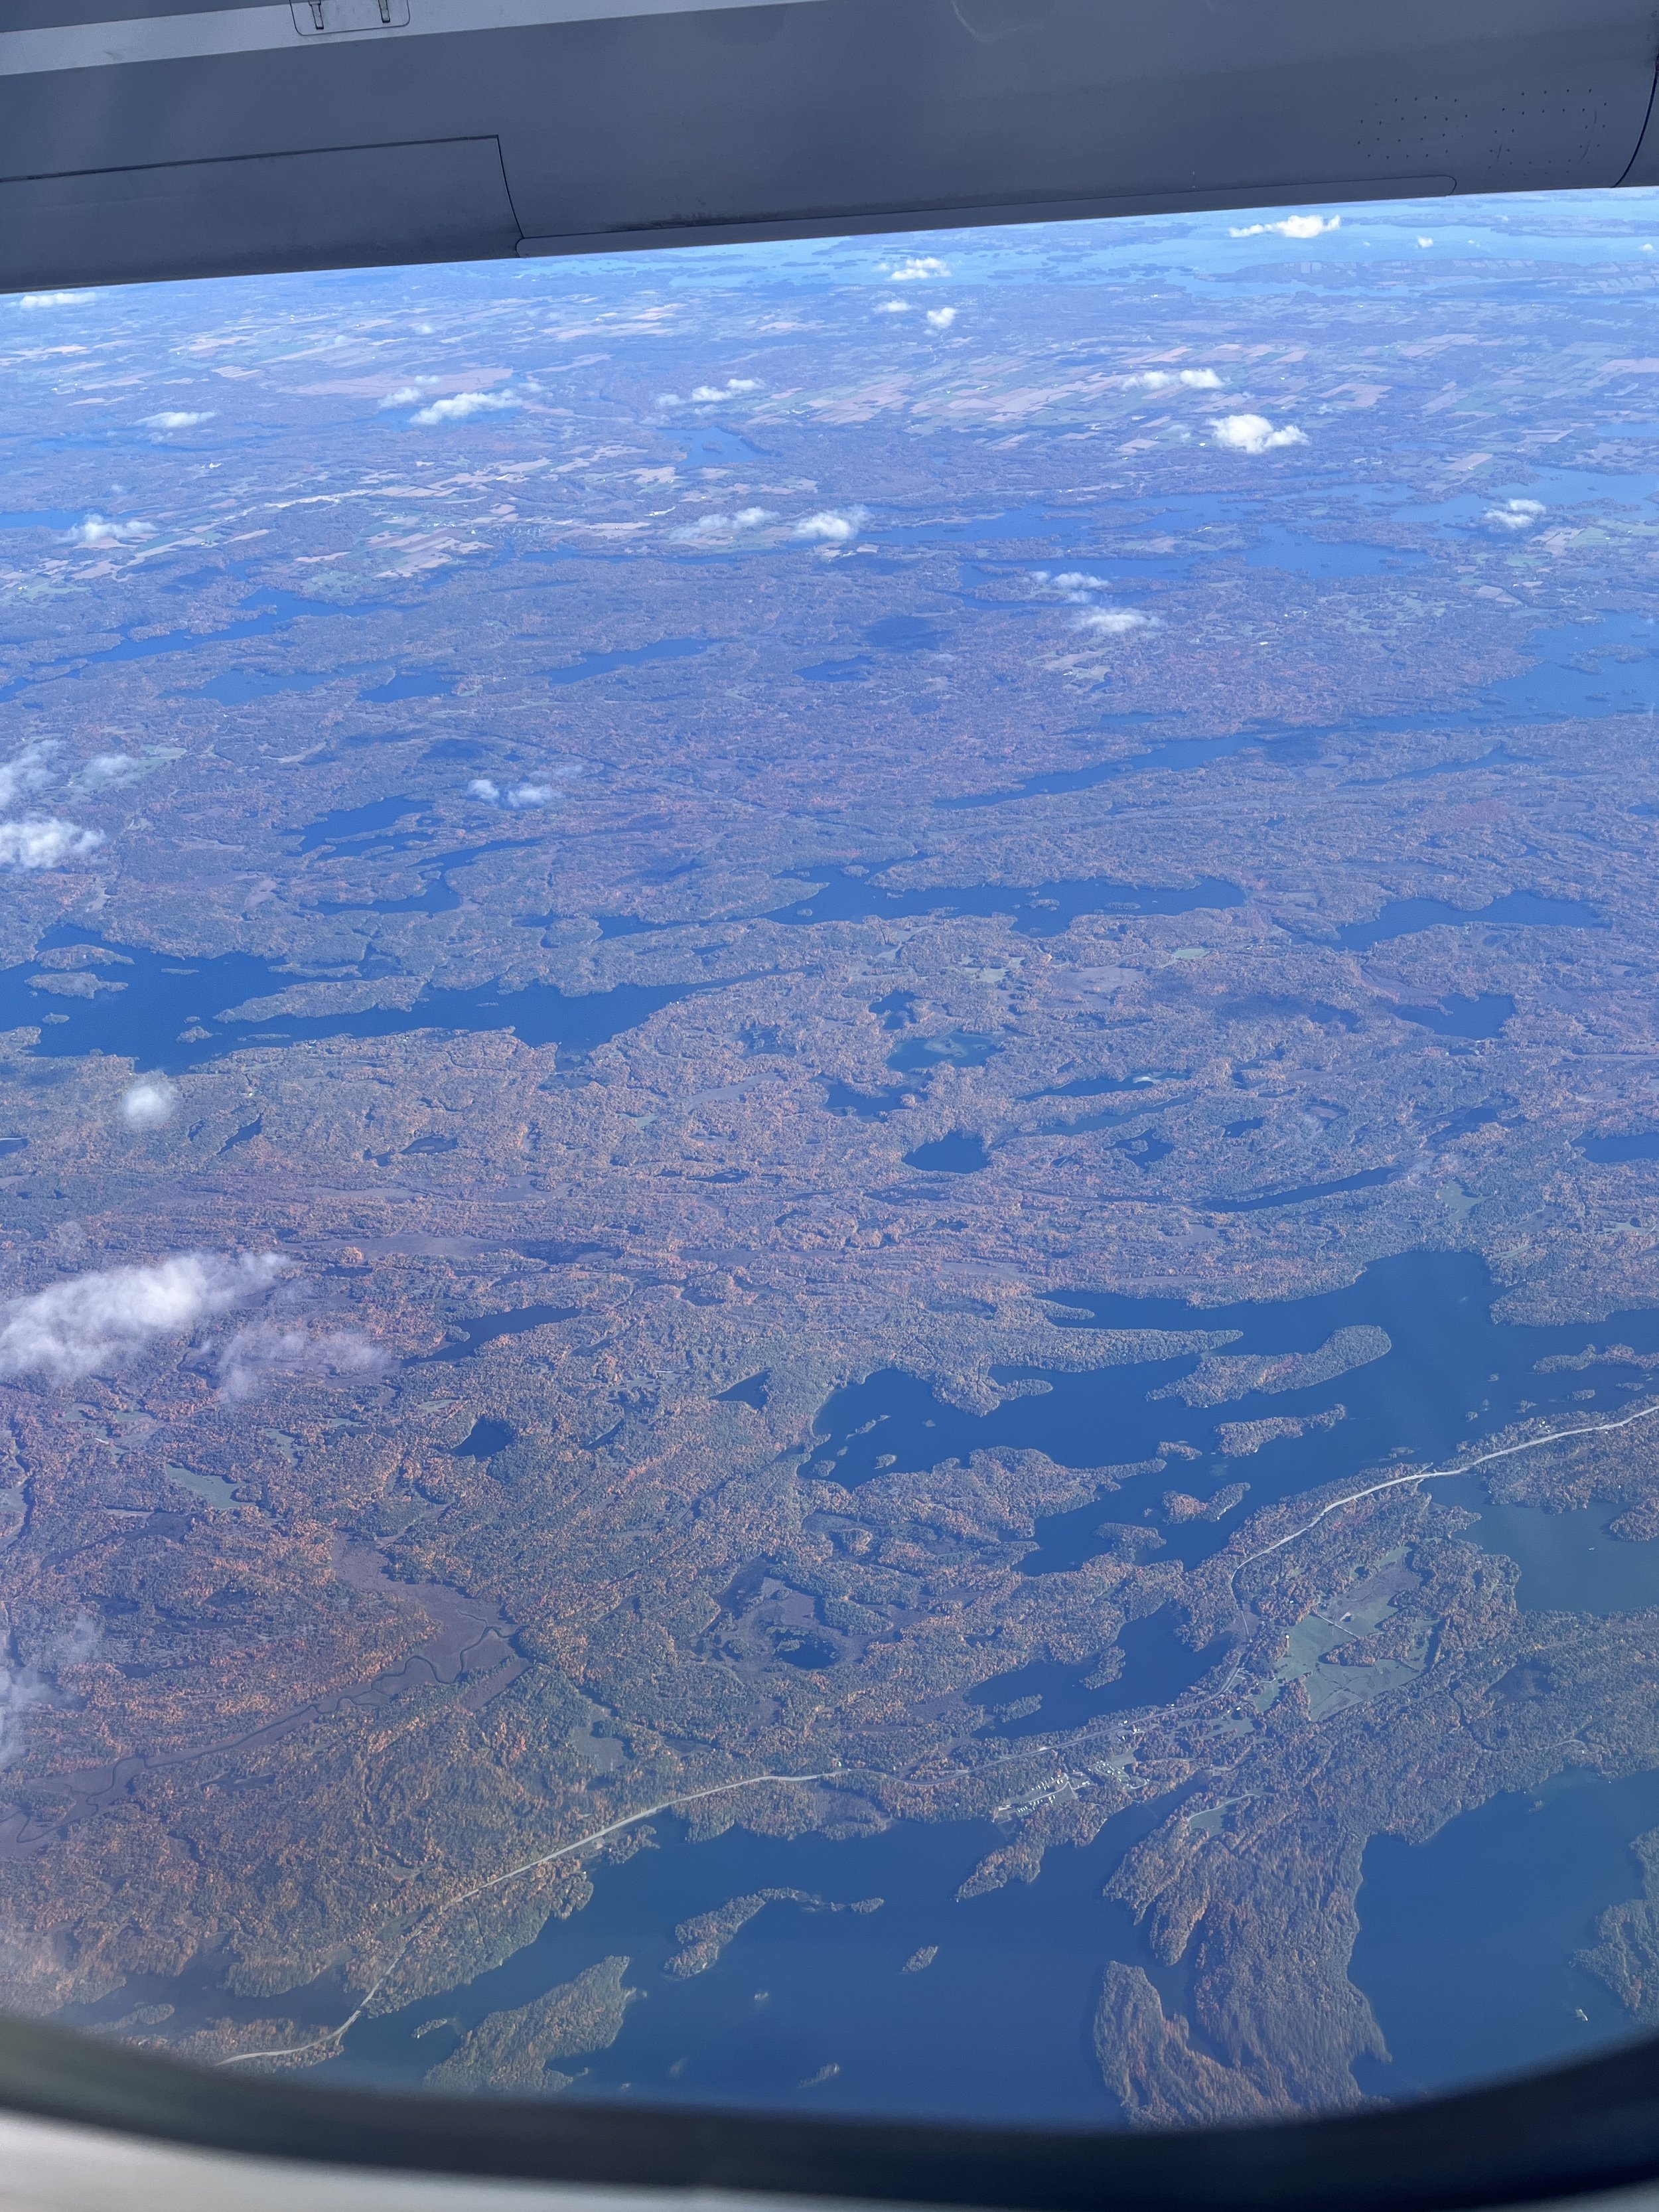
Here are some photos I took on a flight from Ottawa. I was totally inspired by Chaski’s assignment of the superimposed videos of the airplane taking off. The leaves are changing in Canada right now and I thought it was interesting to see how the landscape changes as it becomes less agricultural and more rural.

Response to “A Letter to Dance”, by Anne Teresa De Keersmaeker

I really don’t know anything about dancing. I’ve got some rhythm because I grew up playing musical instruments but I definitely have two left feet. I don’t really ever think about choreography but this letter made me think about dancing differently. I like the idea of choreography being a way of “writing the people”, to dictate their movements, expressions, and feelings those movements evoke. The example about people moving through a subway station not being choreography makes sense to me as well. Though our bodies routinely exhibit patterns and the process of being “written” what makes something choreography is the conscious attempt to embody an idea and exhibit agency over our bodies. This kind of reminds me of Nun’s definition of pattern from last class: something that’s distinguished from the noise, what we choose to sense.

[ITP: Understanding Networks] Game Controller Update

This is a continuation of my previous blog post. In this article I will show you how I made an enclosure for my game controller circuit.

Solder Fest

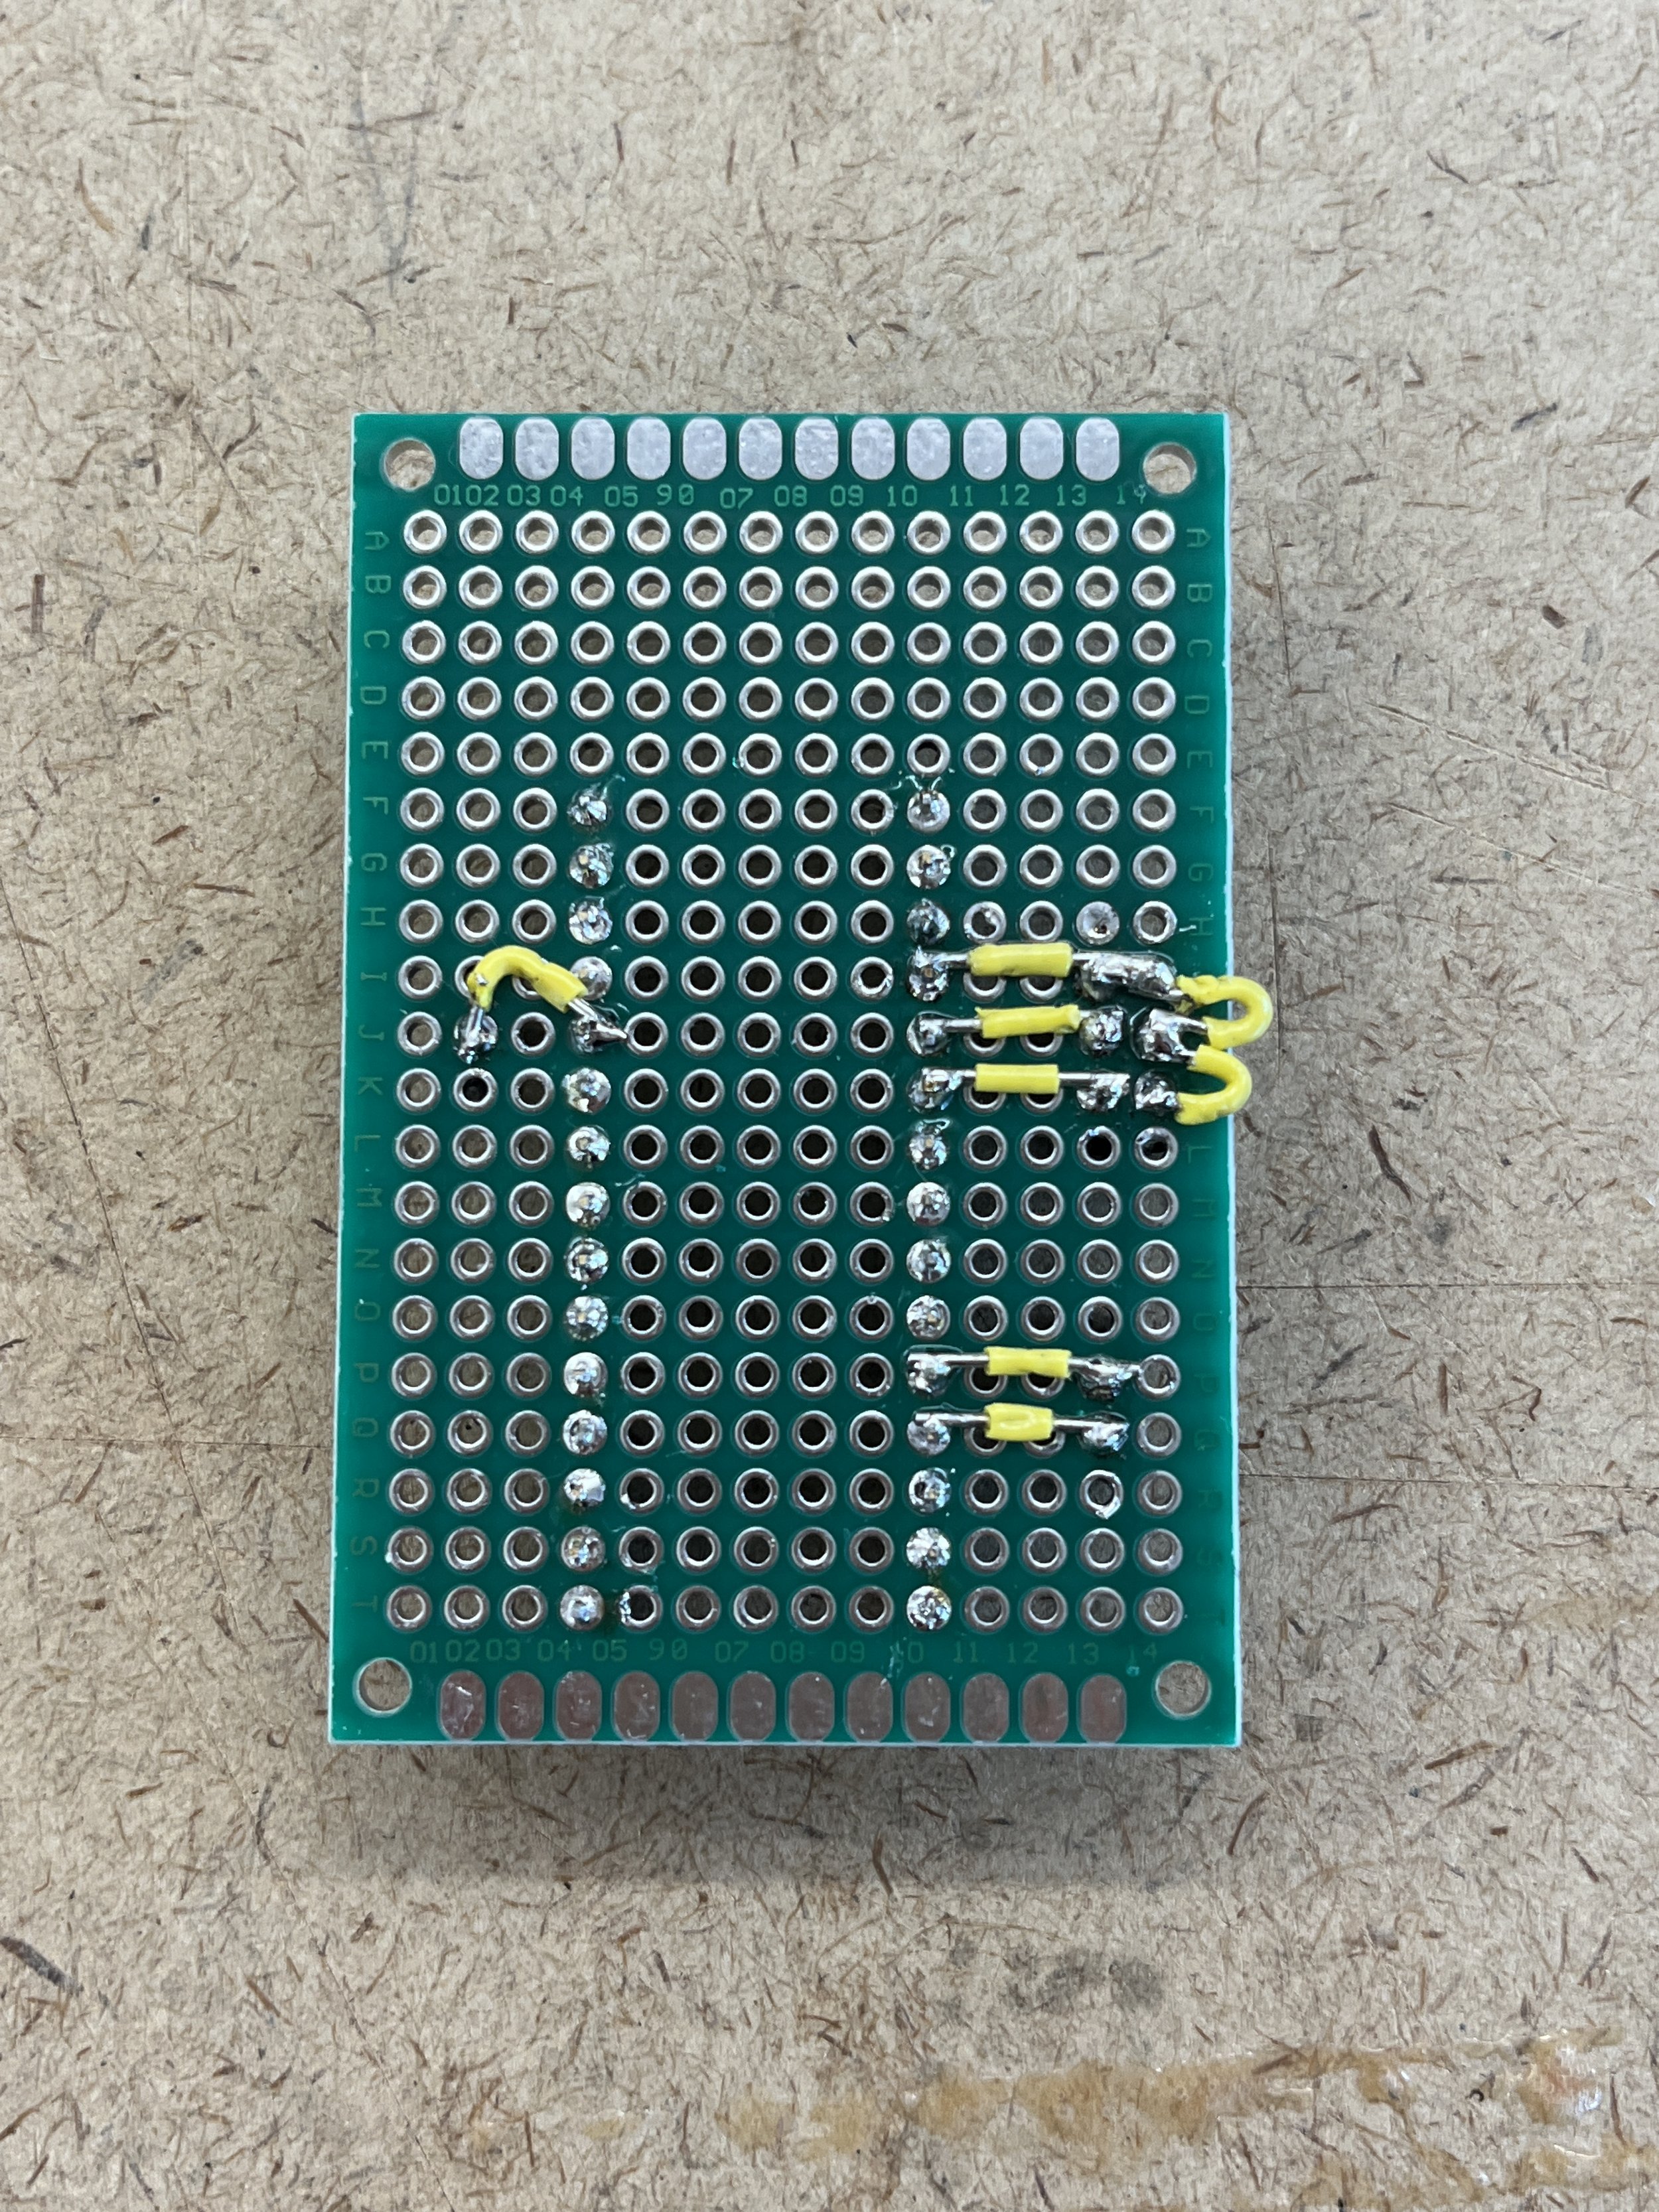
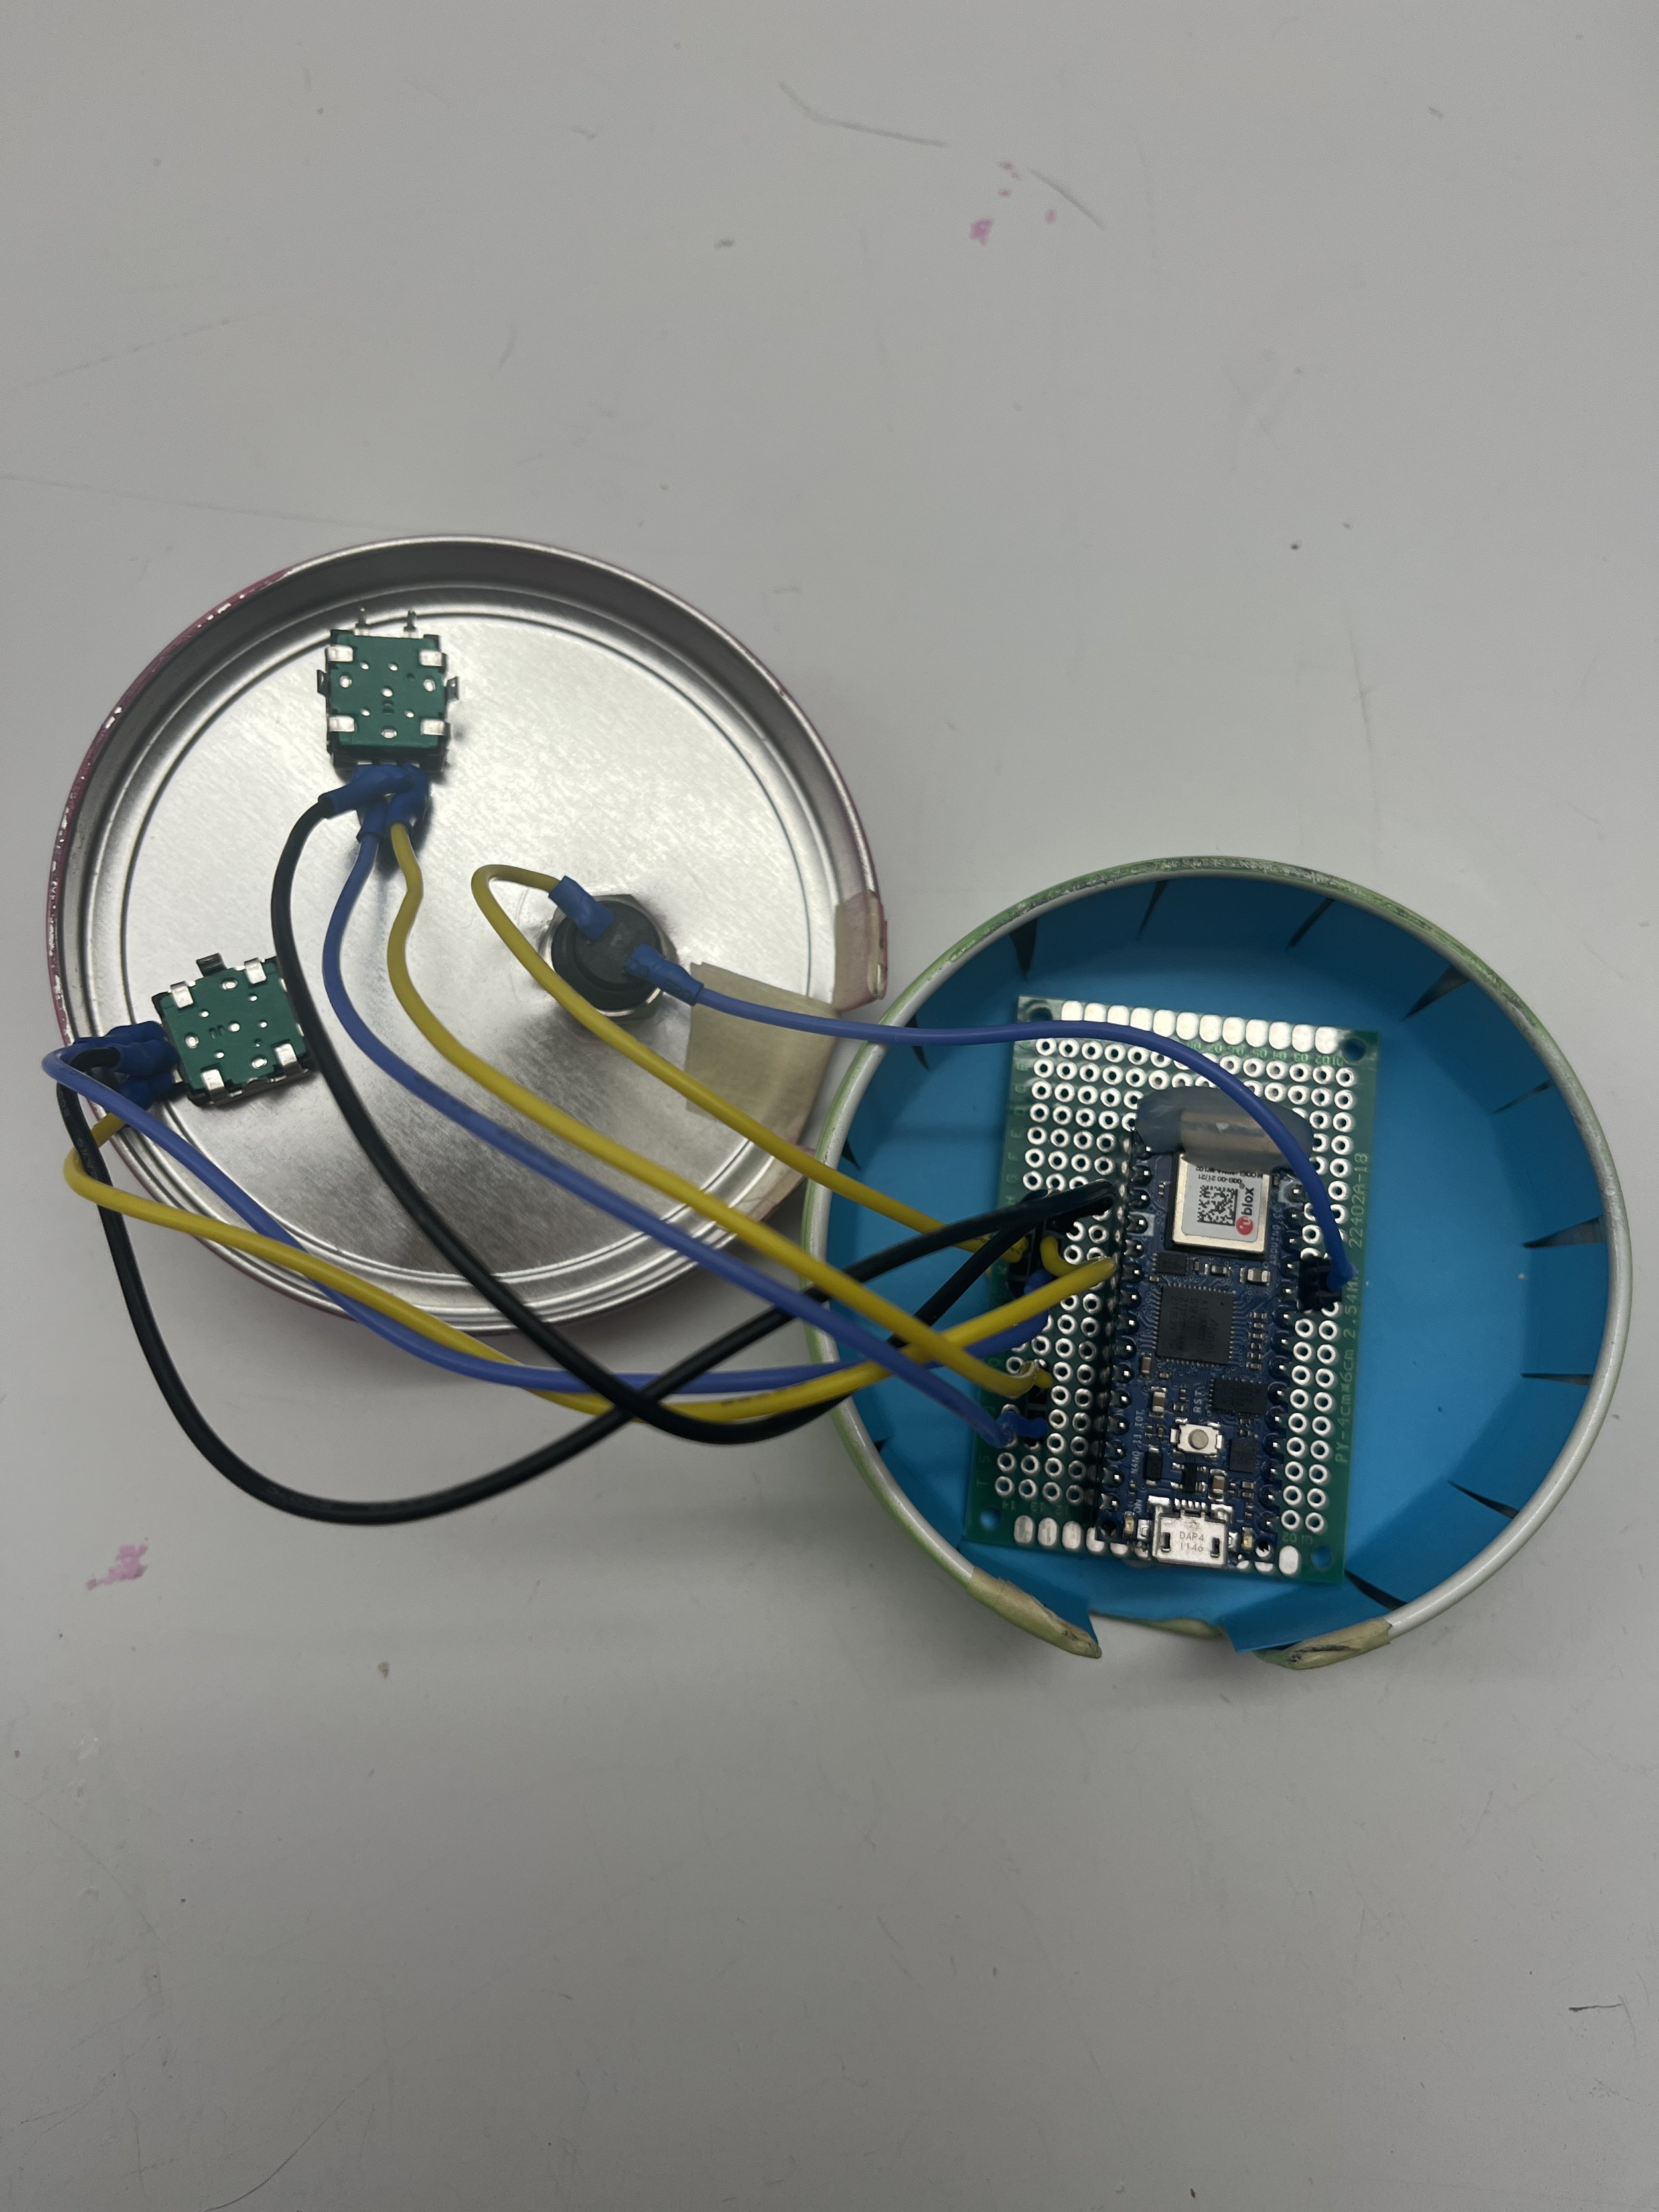
First, I soldered a small protoboard female headers so I could easily unplug the electrical components if needed. The brain of this controller is an Arduino Nano 33 IoT which I only have one of and costs $24, so I want to be able to remove it and use it in other projects. I also soldered stranded silicone wire to my two encoders and push button and heat shrinked the joints. The stranded wire does not work super well with the female sockets, the tips need to be tinned, but the wire itself is more flexible than solid core so it can be stuffed into a small enclosure!

Circuit Testing

I wired up my complete circuit and made sure it was still working like before.

Enclosure Building

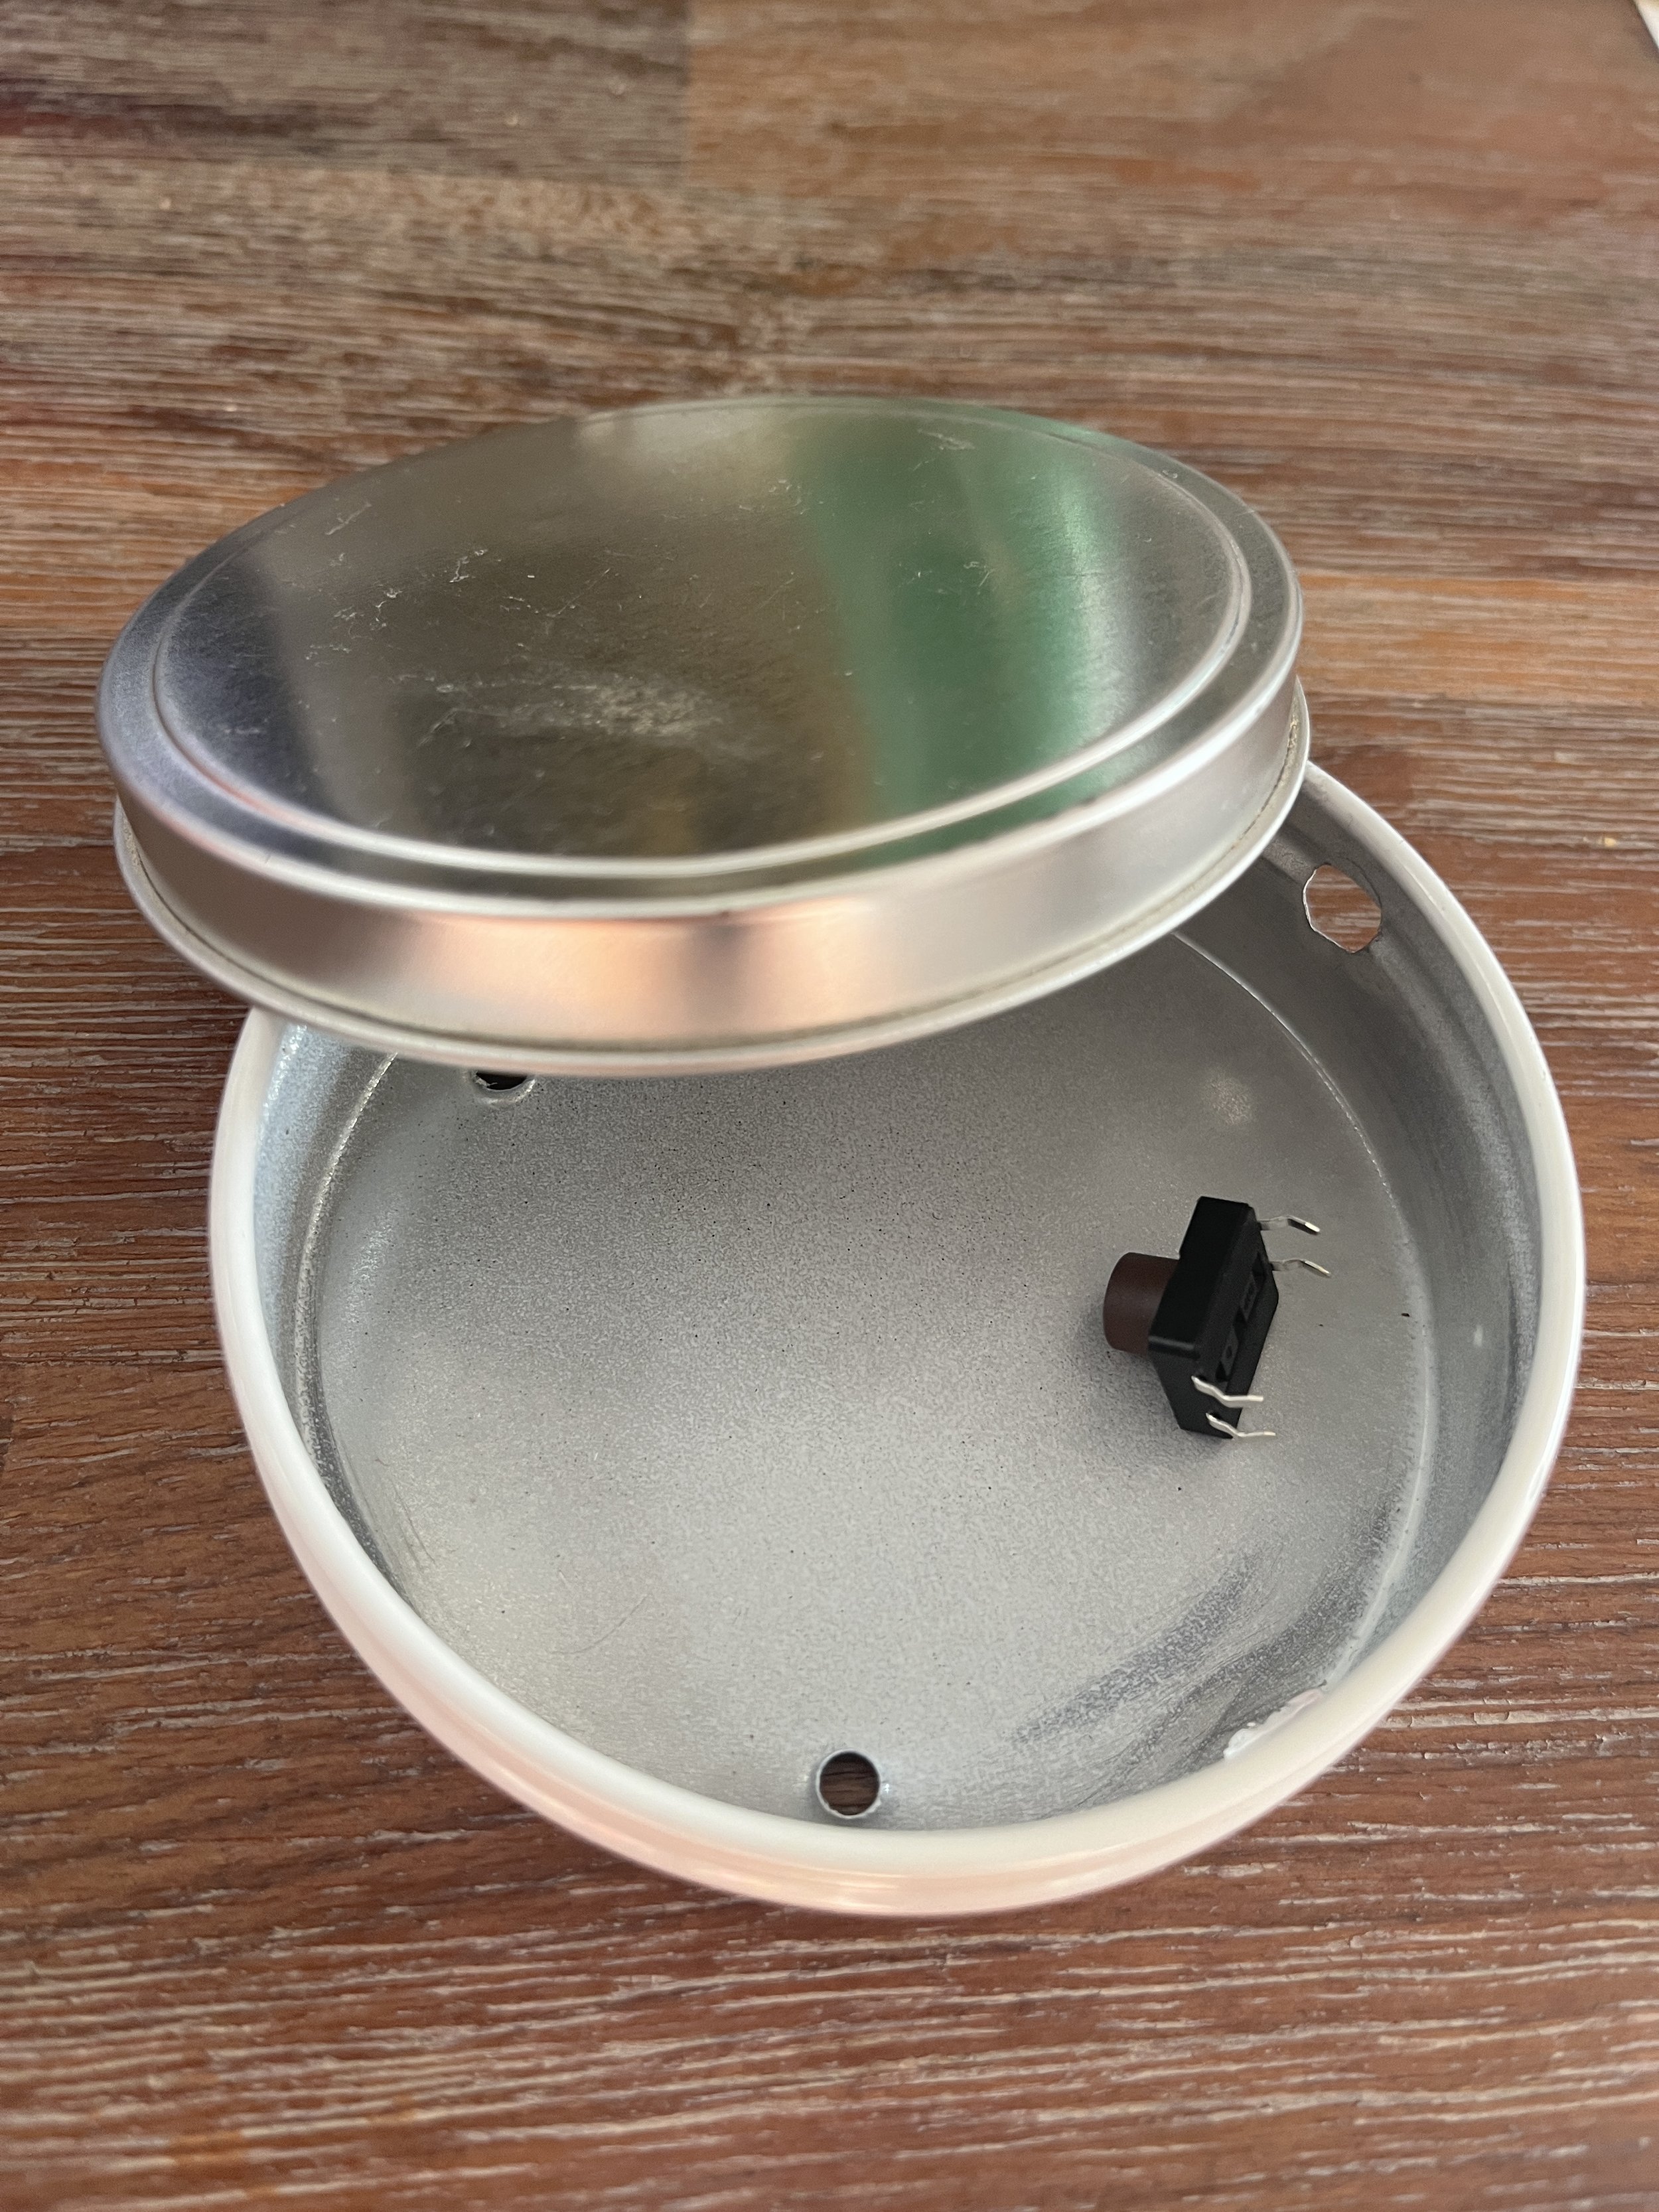
Next was the fun part, flexing my fabrication muscles. I found this little candy tin on the ITP junk shelf and thought it would make the cutest little game controller. After I made sure all the electrical parts would actually fit in this tin, I got to work.

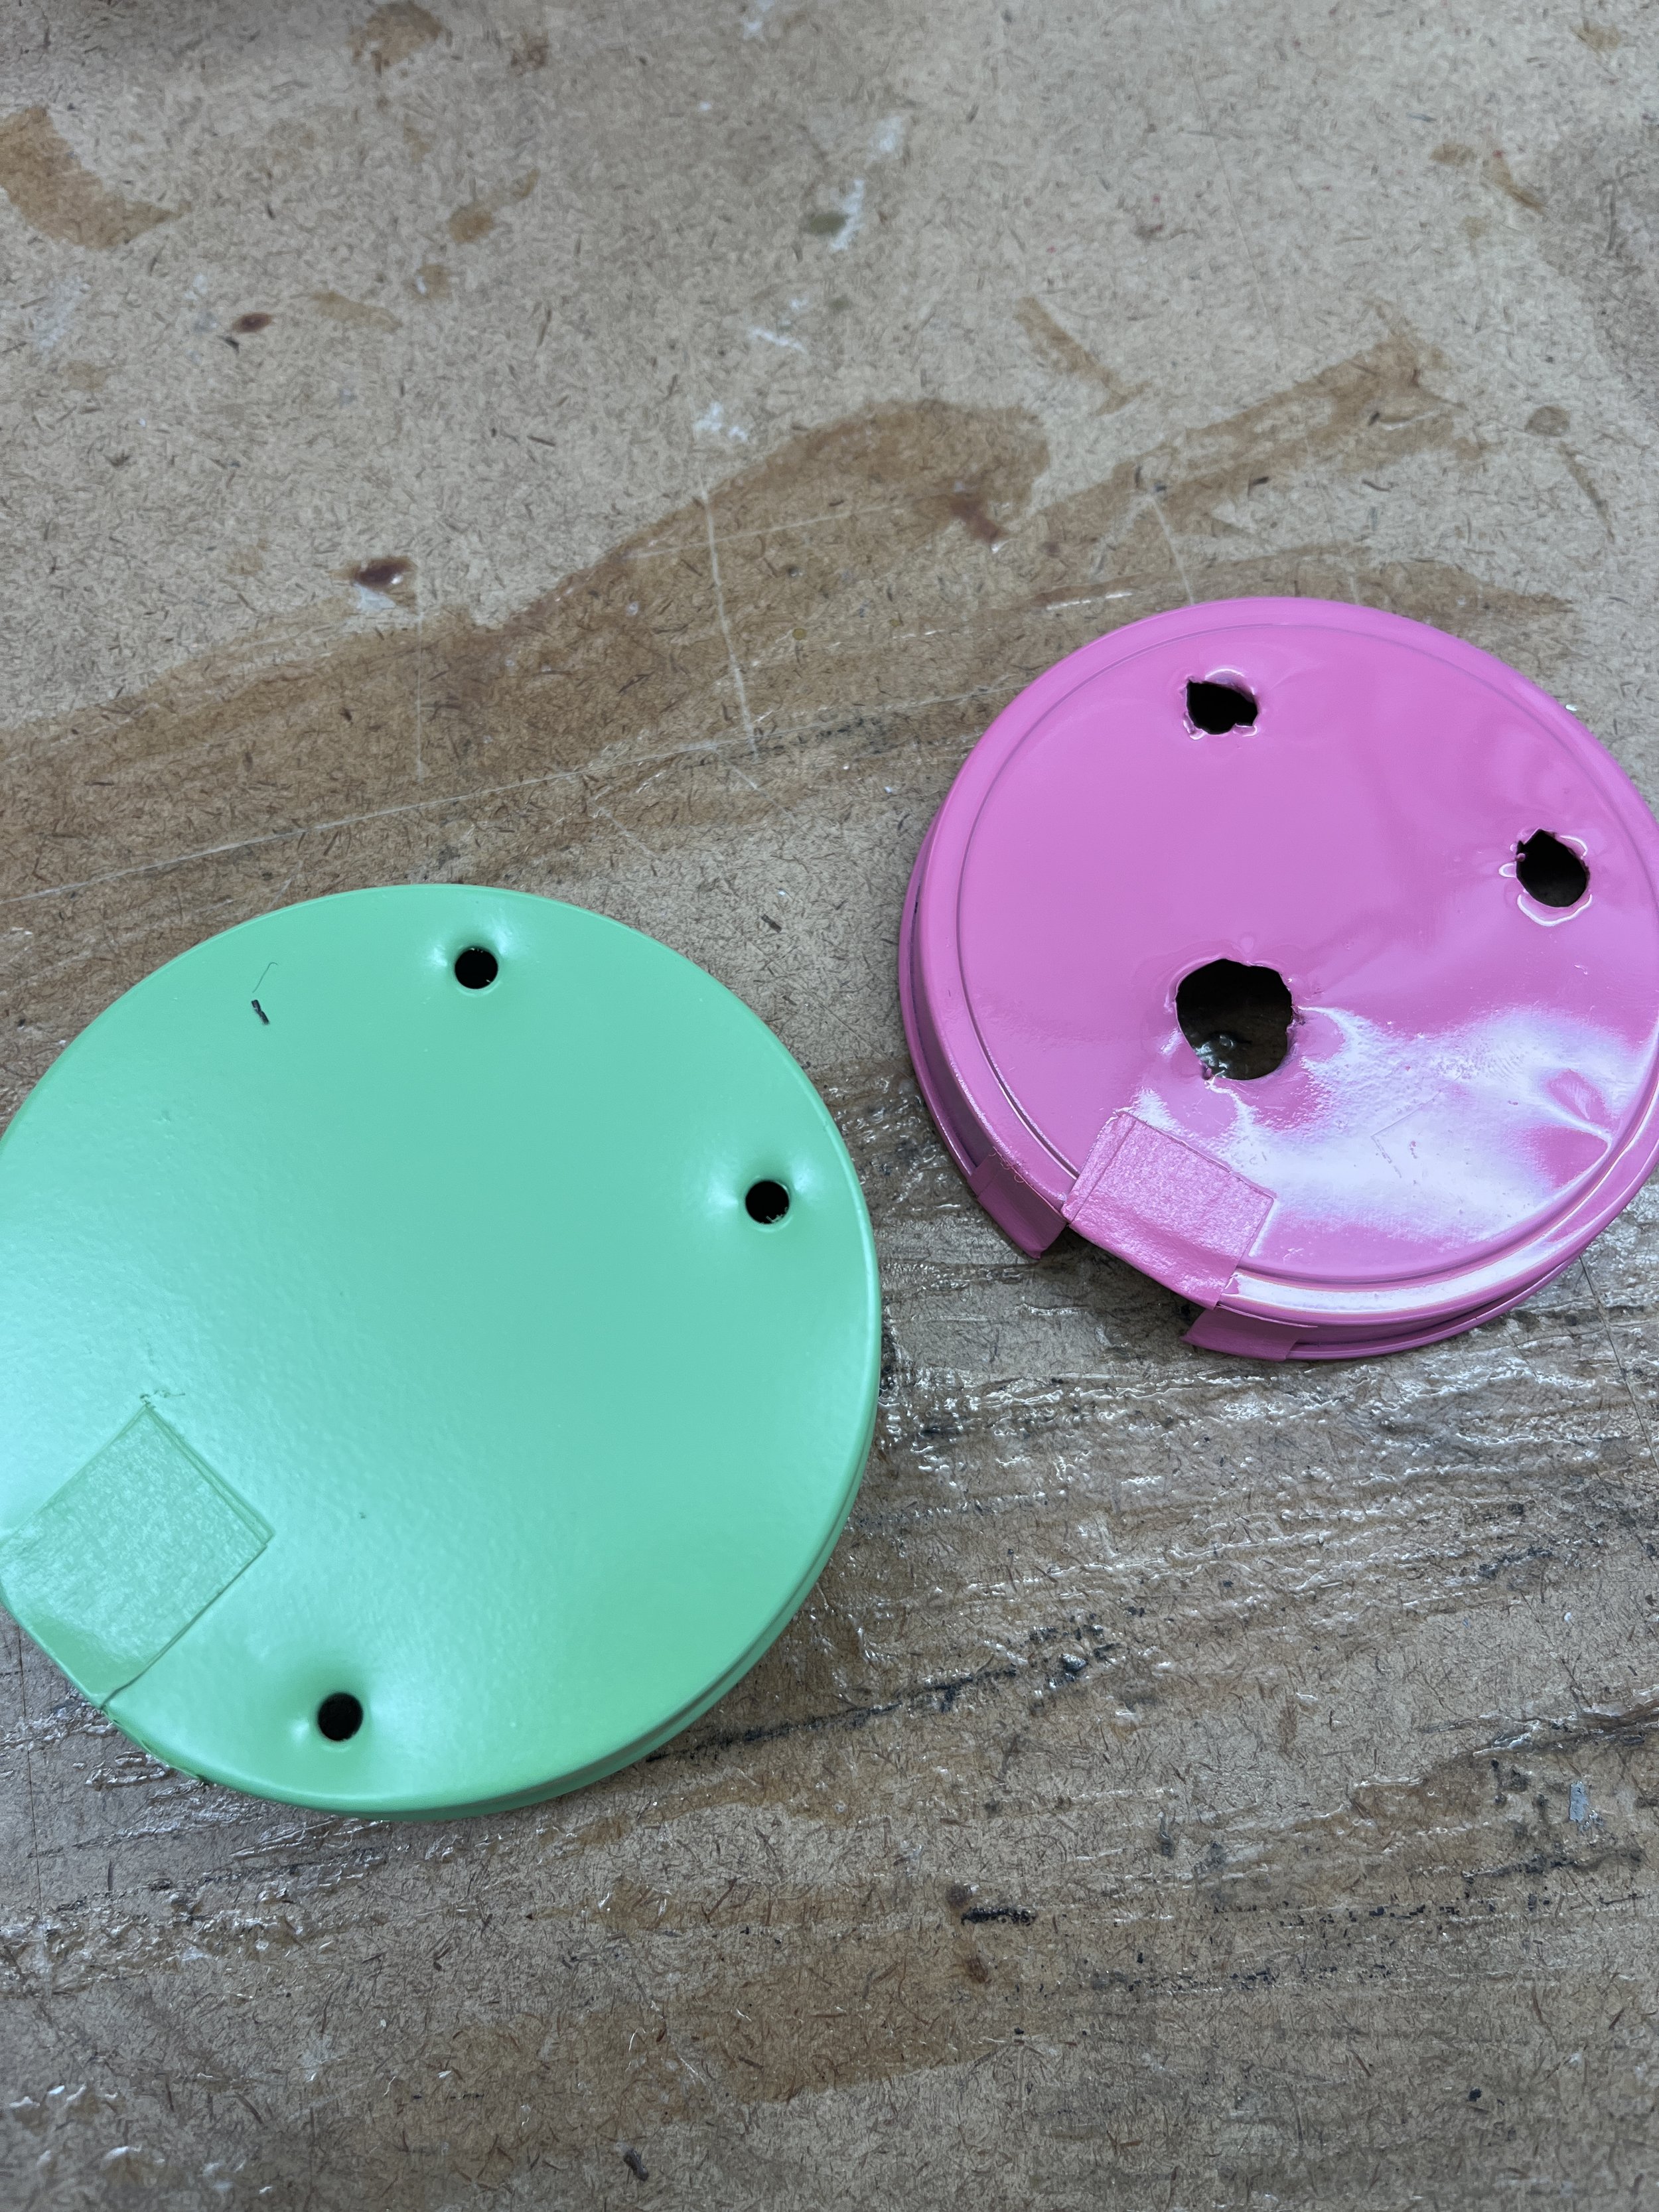
First, I drilled holes for the two encoders and the button to be mounted to the lid. I used tin snips to make an opening for the micro USB cable to connect to the Arduino.

The edges were kind of sharp. I cleaned them up using the small snips to cut away sharp pieces and taped up the edges of the USB hole so it wouldn’t cut anyone.

Next, I spray painted the top and bottom pieces in the basement spray booth.

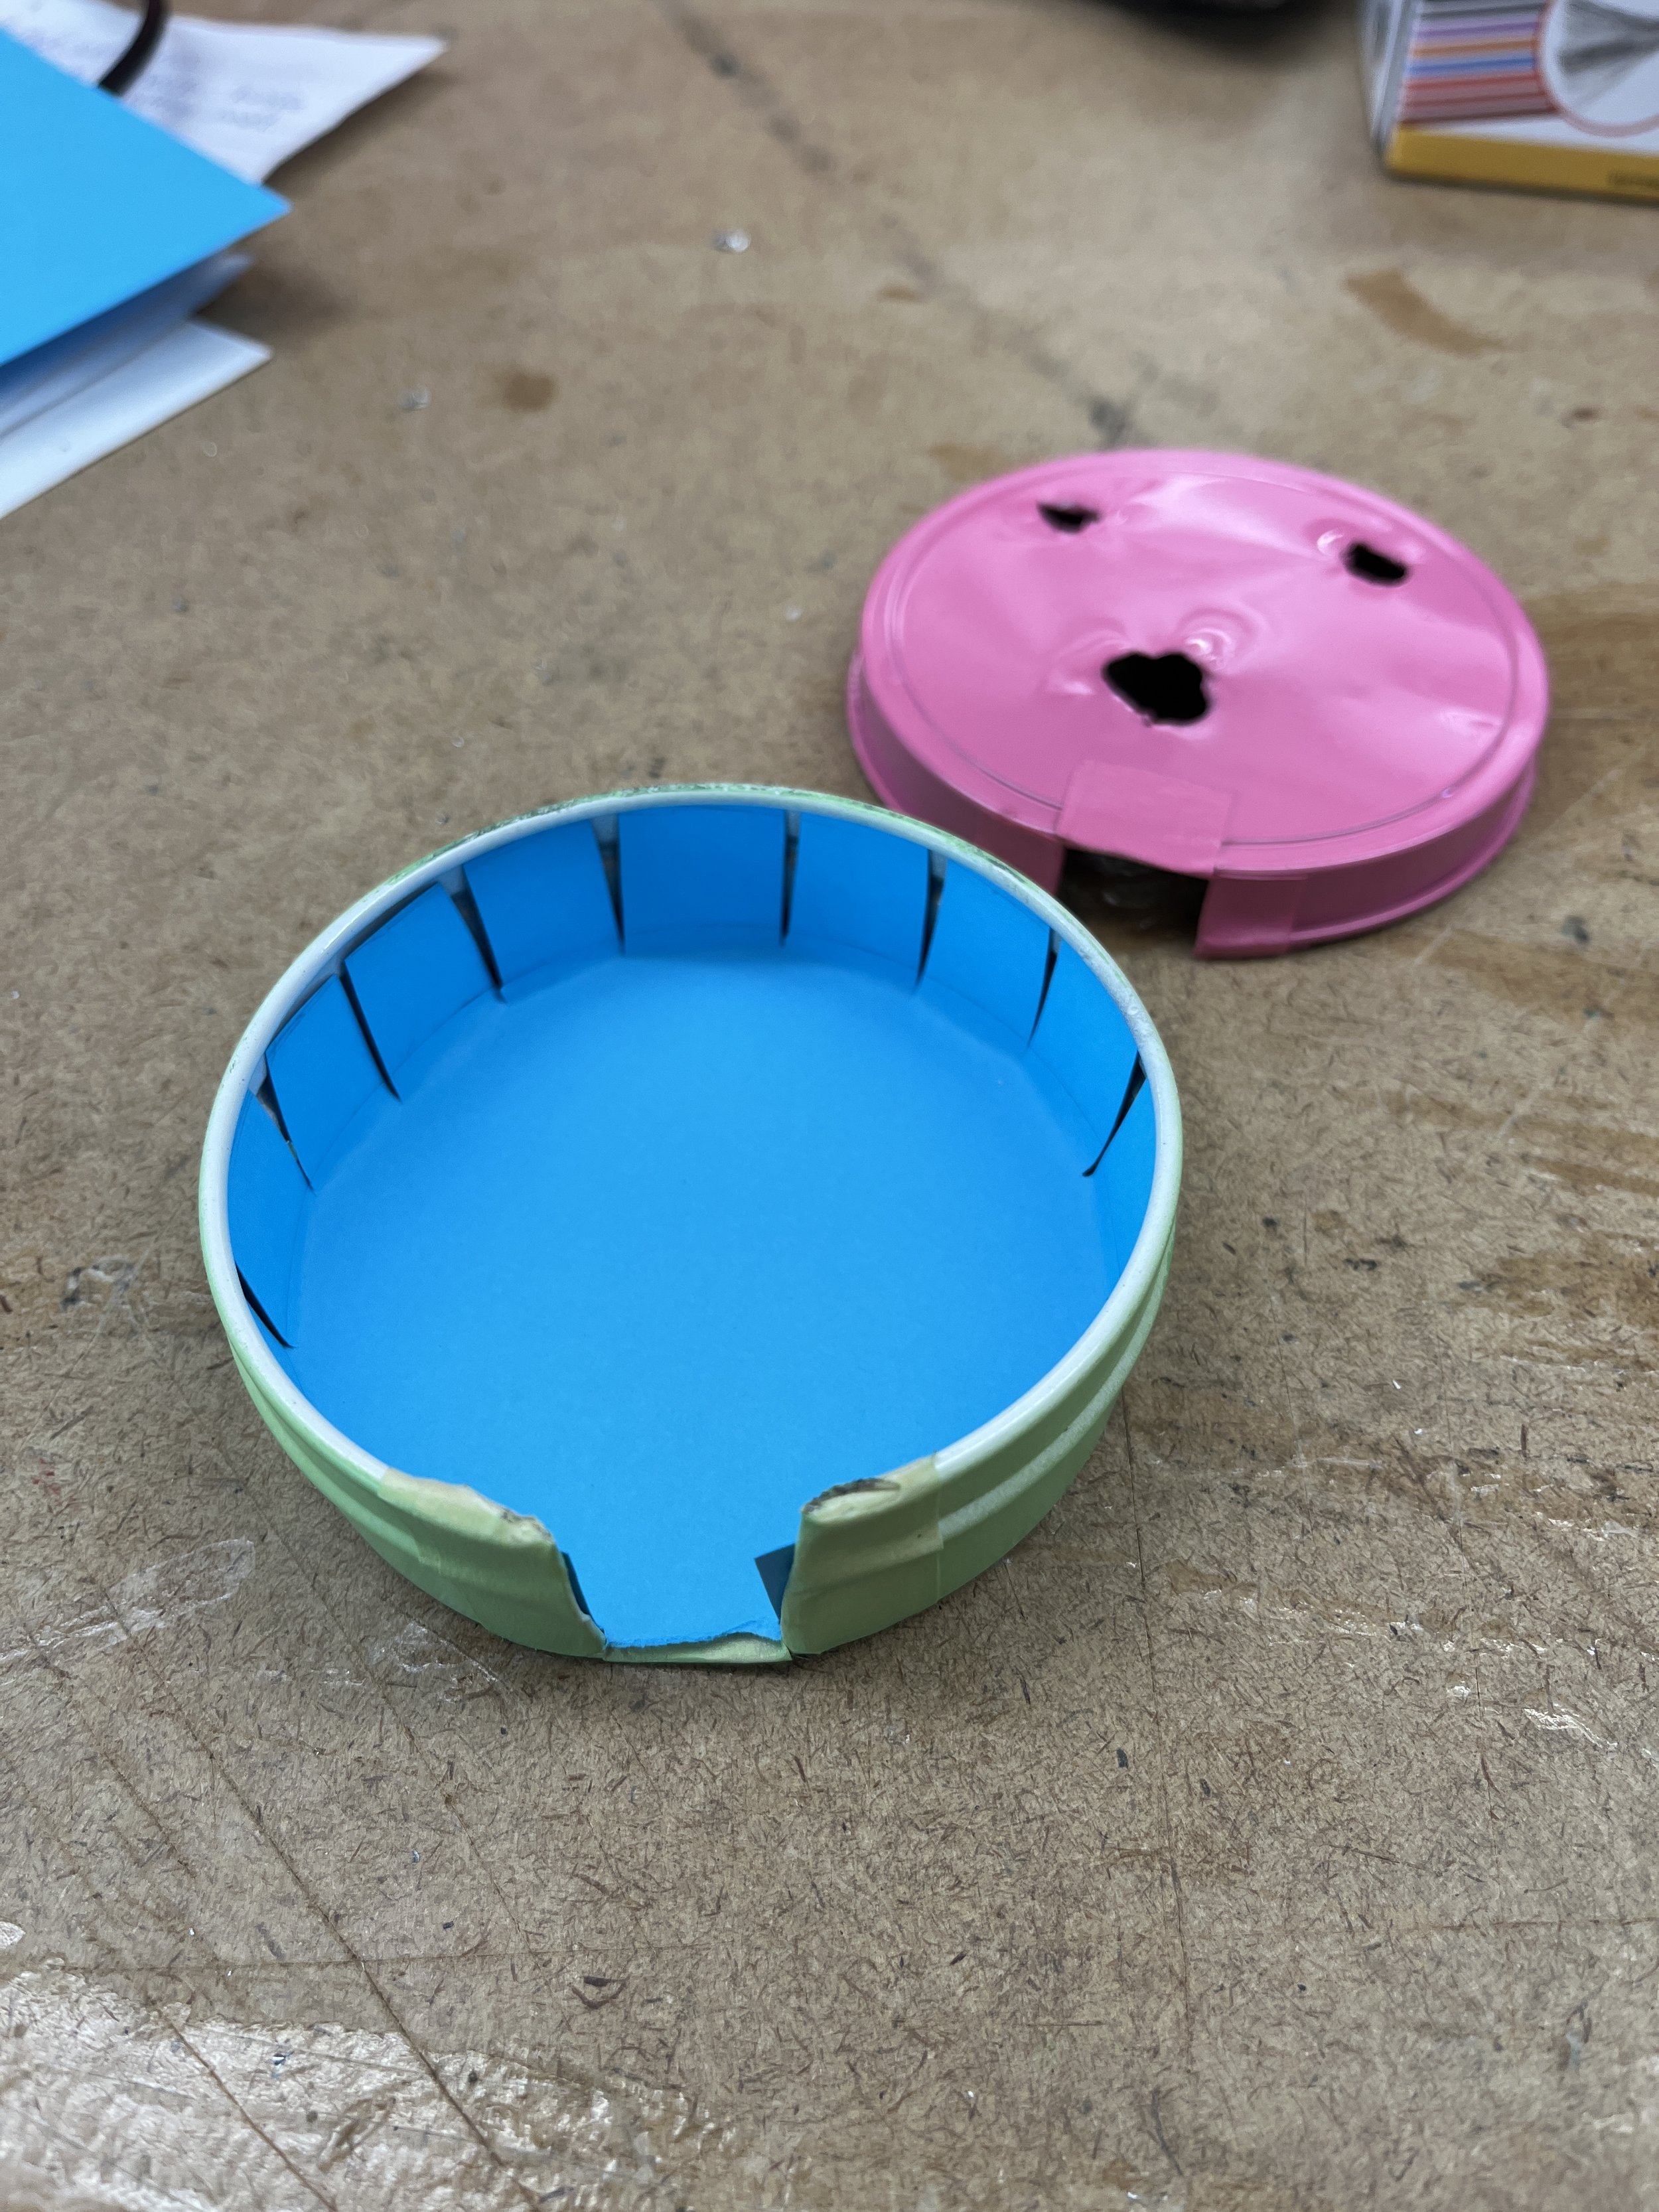
I also cut this circle to line the inside of the tin. I’m not certain if the tin is conductive, but it’s a good safety measure to add some paper to mitigate shorting.

Installed paper liner.

Finishing Touches

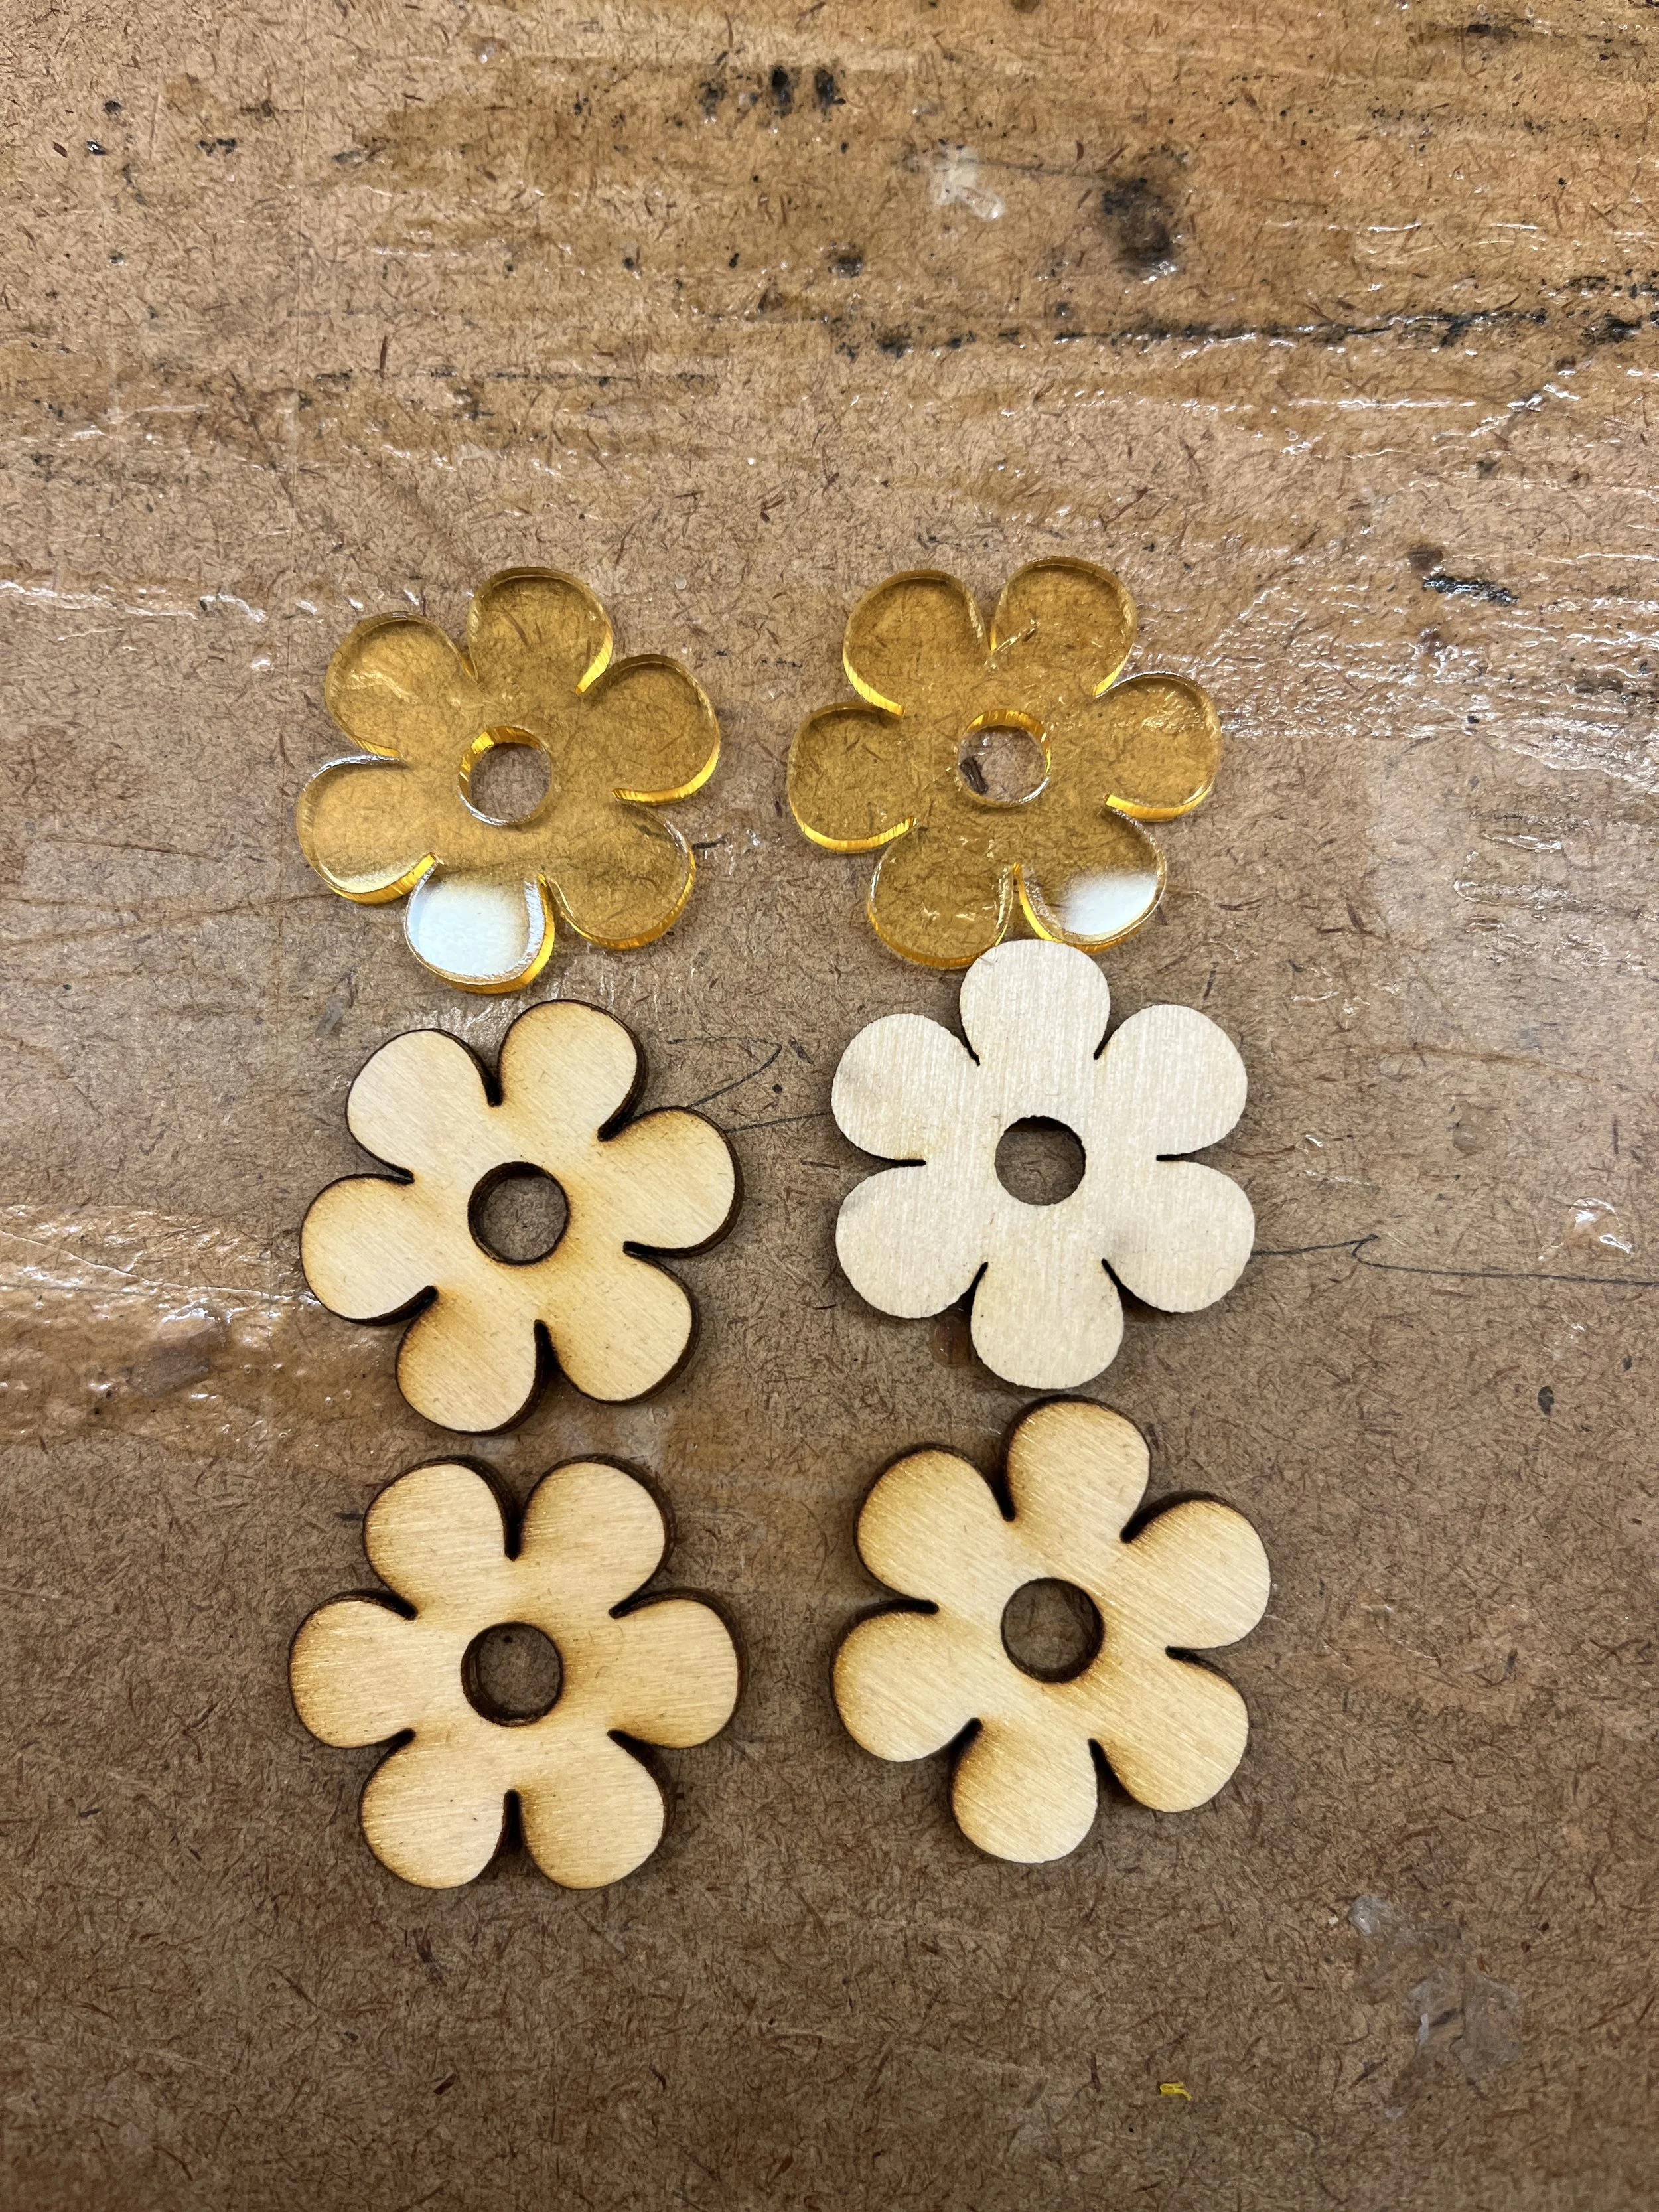
I cut flower knobs using the laser cutter.

I glued together the wood layers with wood glue and painted some designs.

Final Product

Assembled controller - I screwed on the nuts of the encoders and button to attach them to the lid.

Installed electronics - I used some putty to keep my protoboard/circuit in place.

I ended up gluing the acrylic layer to the wood by using this glue called “GOOP” that I picked up from Bruno’s. I think it’s worked pretty well.

Conclusion

I’m really happy with how my controller turned out. One of my biggest downfalls as an engineer is that I didn’t grow up playing video games so I’m on the outside for a lot of nerdy conversations. This is my ideal, Priyanka-esque, hyper-feminine game controller.

Here are my next steps:

  • Try out the new encoder library. Try getting to the bottom of the inconsistent encoder readings.

  • Make sure I can play the game on my computer and get some footage of the controller in action.

Here’s a link to my final blog post on this project.

[ITP: Fabrication] Mounting Motors

Inspiration

In class we learned all about mounting motors. This was super exciting for me because I’ve had some experience working with motors for various projects and it generally was always a crap shoot. After some brainstorming, I decided I wanted to put my skills to the test and build a waving machine. The final iteration of this project will be make of acrylic, have a long metal arm, and interchangeable “gloves” with different hand symbols.

Drawings

To translate the rotational motion of a motor into a waving motion you need to create a four bar linkage. I used this handy tool to figure out what dimensions I needed for the movement I was looking for.

Dimension drawing

Planning and more dimension scribbles

Joint hardware stackup

Laser cutter drawing

Laser cutter drawing

Materials and Tools

  • Tape measure

  • Laser cutter

  • Utility knife

  • Screw driver

  • Wrench

  • Drill

  • Sander

  • Cardboard

  • Wood and plywood

  • Wood glue

  • 12V DC Motor, 60 RPM

  • Motor mount (comes with screws)

  • 6 mm hub coupler (ONLY comes with set screws)

  • 9V battery and barrel jack

  • x4 m3 screws for the coupler

  • x3 32 screws for the joints

  • x3 32 nylon locking nuts

  • Washers

Process

Once I had all my materials in hand I started this project by laser cutting the links for the mechanism. Following the simulation from above I made sure the screw holes were the correct distance apart. I also made a set that was scaled by half just in case I wanted a a movement that was half the size or I needed extra pieces.


Next I wanted to put together the base for my motor. I knew I needed to make sure that the motor was high up enough so that the surface it was sitting on wouldn’t interfere with link AB. I glued together some scrap wood to make a platform. Then I screwed in my motor mount. I’ve never used wood glue before but it dried quickly and the joint feels sturdy.


I also needed to get my motor ready. I soldered some leads onto the motor terminals and attached the battery to a barrel connector I got from the shop. If you’re following along, just be sure to check that the battery connector works with a DMM because the one I originally grabbed was broken.

It had been smooth sailing up until this point but this is where my build process hit some friction. I was trying to put all the parts together when I realized the motor shaft couplers didn’t come with any mounting screws. I’ve run into this issue before where I don’t know what screws or hardware I need. I was tipped off to go to the Tandon Makerspace and figured out that I needed m3’s for the hole size. And they also had the matching tiny nuts to go with them!

With the new screws and nuts sticking out of the back of link AB, my mechanism was encountering a collision. I cut out some extra spacers out of the cardboard so that link BC could clear the hardware sticking out but then the screws I got for the nylon nuts were too short. I found some longer screws of the same size (32’s) in the shop that could accommodate all my parts.

Another thing to note is that I’ve always been afraid of nylon nuts. Turns out they’re not permanent! You just need to hold down the nut with a wrench and use a screwdriver to remove or tighten the screws. Good info for future projects!

Lastly I needed to create my point D for the fourth link. I cut this simple mount on the laser cutter. I tried my best to get the height to match with the motor shaft. The wood platform ended up being a little short so my AD link is actually 4.5 inches and not 5 inches. This did change the acceleration of the wave.

Final Product

Conclusion

I’m really happy with the first iteration of this project. There is something so satisfying with the movement and the sound. I also loved learning about and implementing the four bar linkage. I feel a bit like a mechanical engineer!

Next steps:

  • Reinforce point D. Is it in the right spot?

  • Add a switch to the circuit. Where could I mount it?

  • Attach metal rod

  • Decide if the movement is correct

    • Do I need a slower motor? Do I need to revisit my link lengths?

  • Re-cut links using acrylic

  • Create different hand “gloves” using some material?!??!

Resources

Special thanks to Ben Light for fabrication guidance and sharing hardware with me. And thanks to Josh for taking me to the Tandon Makerspace to pick out my missing hardware.

https://mechanicalexpressions.com/explore/kinematics/4-bar-linkage.html

https://itp.nyu.edu/fab/cad/week-6/

https://www.youtube.com/watch?v=0MYF8YCf2jQ

[ITP: Hypercinema] Stop Motion Animation

Inspiration

I really love animated movies and shows so I’m really excited that the next assignment is a looping stop motion animation. When I think of stop motion a lot of my favorite Tim Burton, Wes Anderson, and Aardman Animations movies come to mind. To get into the fall spirit my assignment partner Hyungin and I decided to make our animations following a Halloween theme.

Storyboard

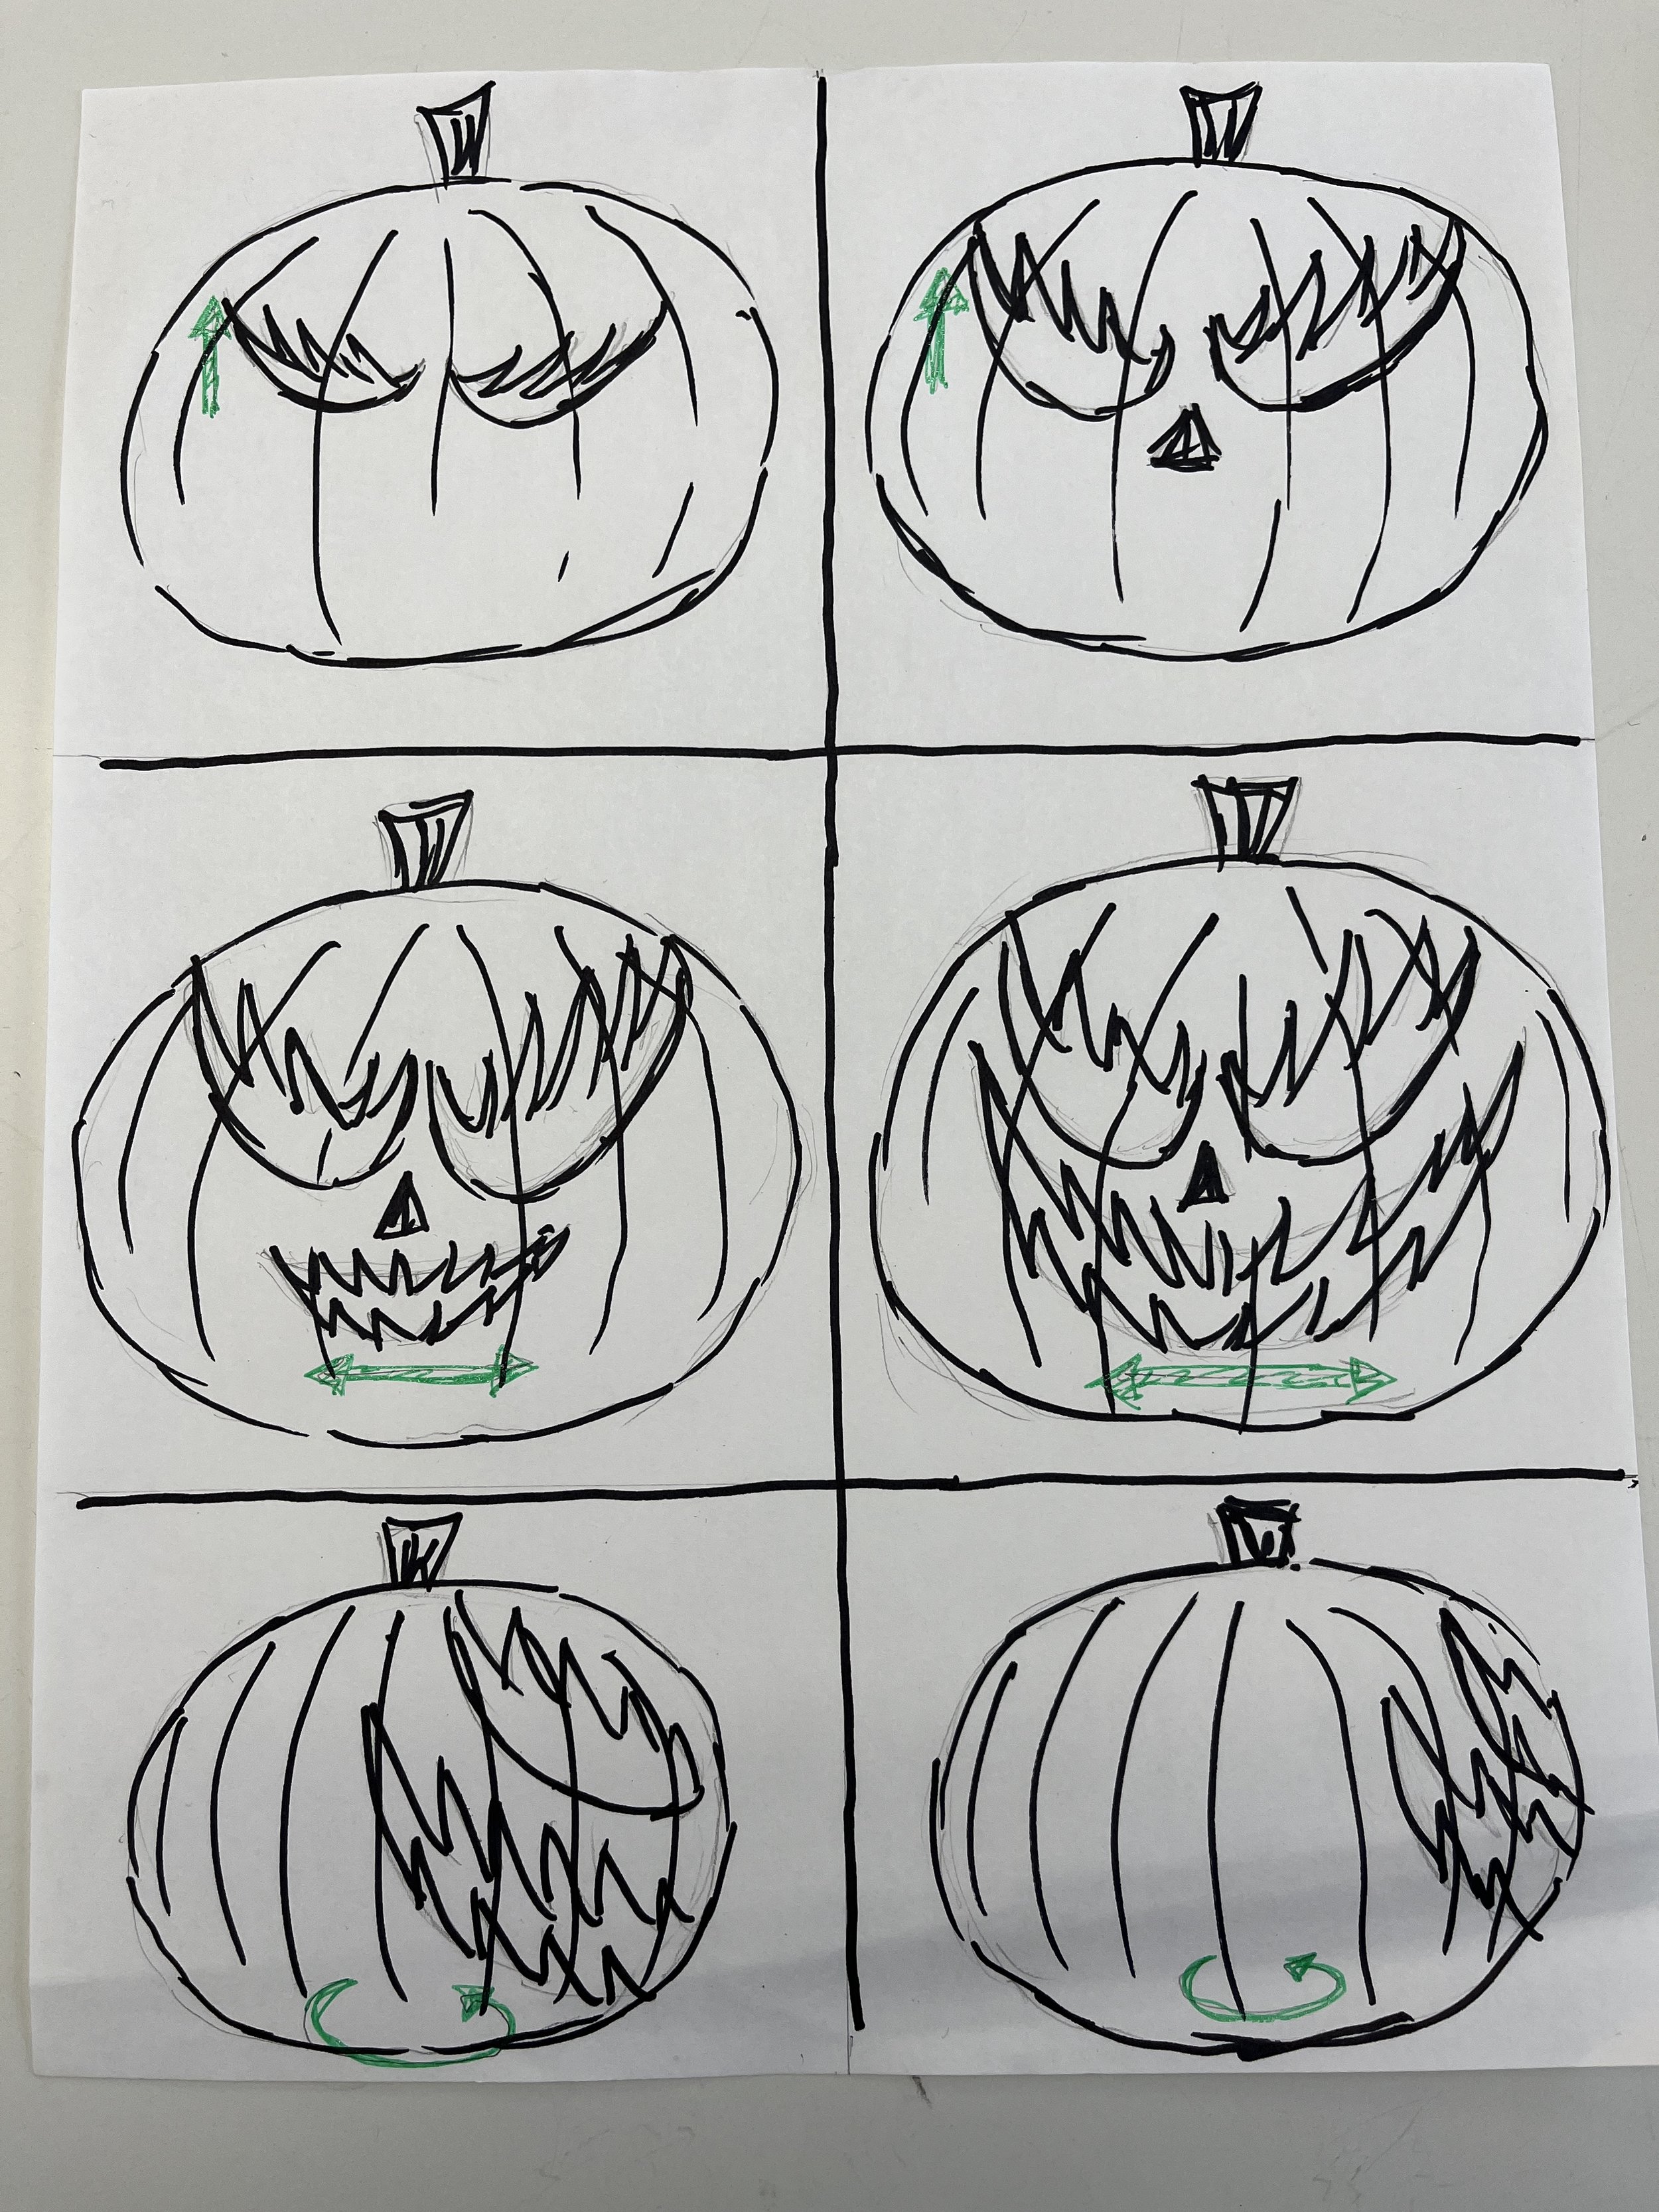
This should loop flawlessly because it will start and end with a plain pumpkin. The green arrows indicate the movement for that scene. Some other ideas I had were a ghost fading into a scene or dancing skeletons.

Materials and Next Steps

The task of making a stop motion animation feels really daunting to me because I’m not sure how many frames I’ll need and how hard it will be to set up the scene. Will the images flow smoothly when I put them all together?

I found this creator that makes stop motion using paper. I really like the look and feel of the material but am not sure how hard it will be to cut out these organic shapes out. Claymation seems fun as well but am not sure how that would work out. I guess the easiest solution would be to find a pumpkin and try to modify it’s face somehow (paper or clay?) …

[ITP: Understanding Networks] Networked Game Controller

Background

This weekend I made a game controller for Tom Igoe’s ball drop game. The Arduino Nano 33 IoT board we got in our PComp kits includes a Nina W102 uBlox module which supports WiFi connectivity so it was a no-brainer that I would use that. I’ve never made a game controller before so I looked to past students blog’s for reference.

I loved the this example and the control interface Beverly Chou developed that I wanted to do something similar. It’s kinda surprising that I’ve never encountered rotary encoders with my background before so I was interested in learning how to use them for my controller.

Circuit

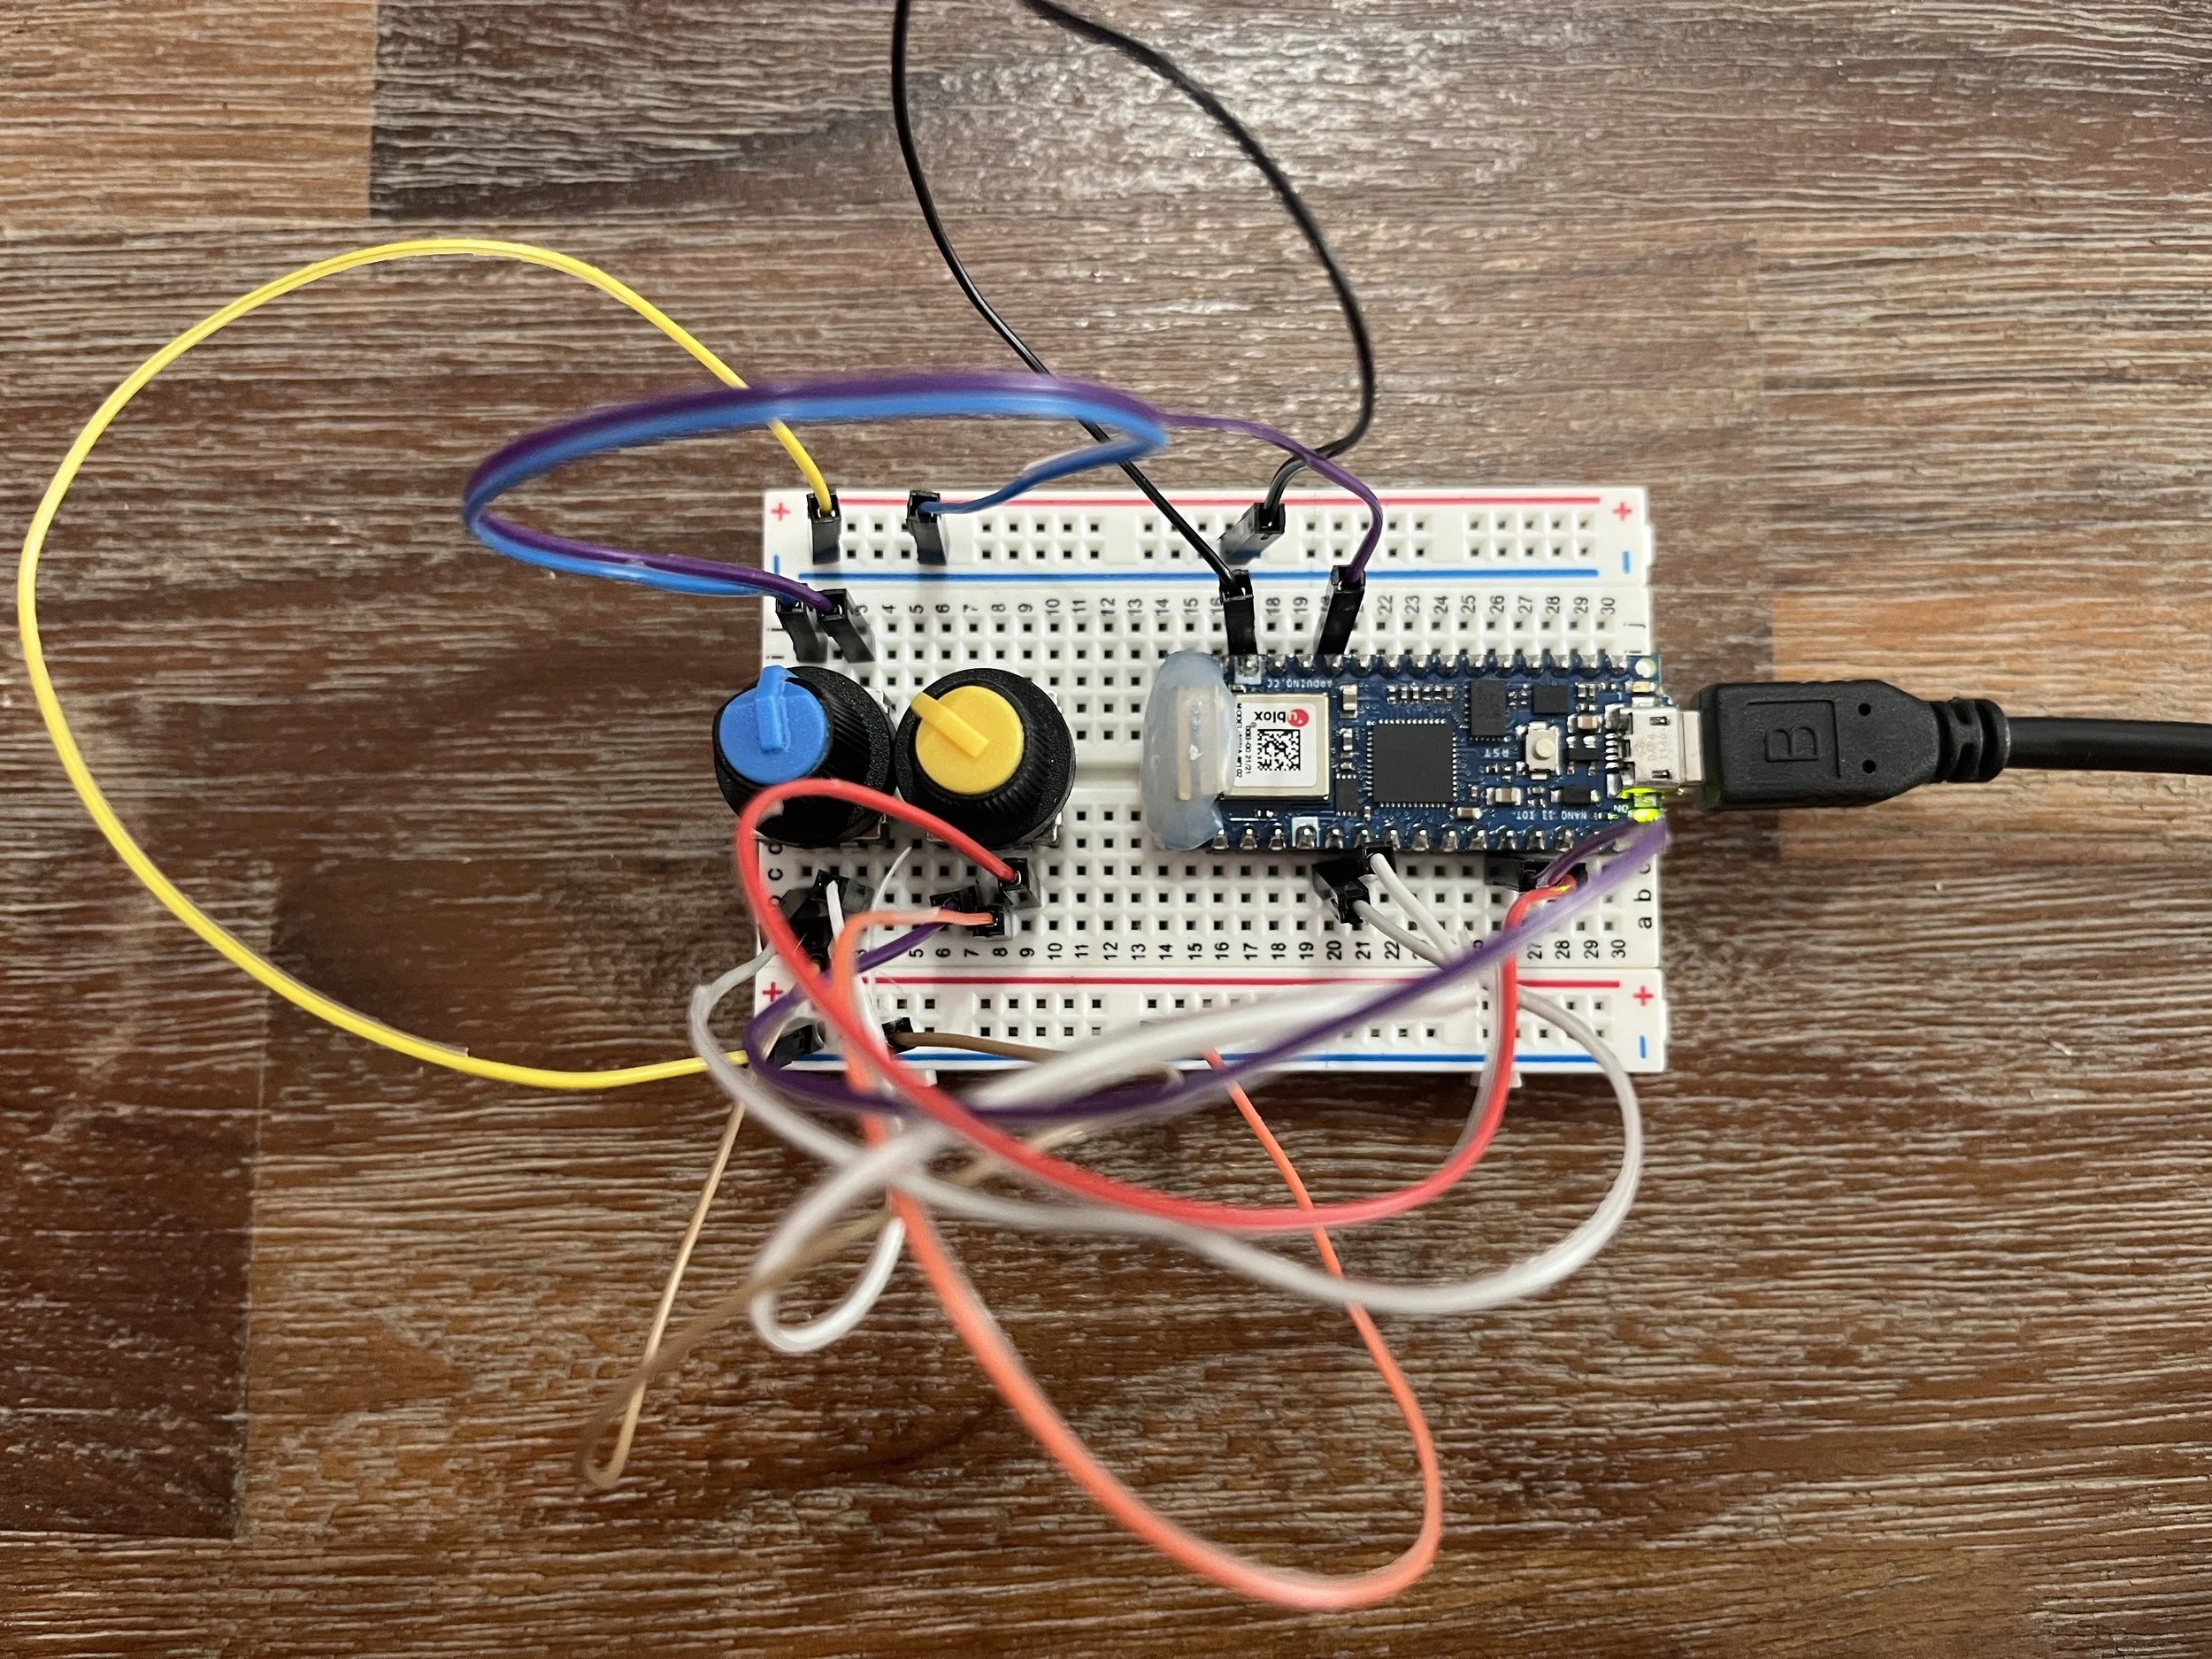
Even though all Arduino nano 33 IoT pins should have external interrupts, I could only get the second encoder to work on pins 8 and 9. At this point I am not sure why that is.

Process

First I wanted to make sure I could get my hardware set up working. I started by bread-boarding the encoders and testing their functionality with Serial.println()’s. The blue knob sends the commands that moves the paddle up (CW) and down (CCW). The yellow knob sends the commands that moves the paddle right (CW) and left (CCW). I also needed to add a button to connect and disconnect from the network but I quickly ran out of space on my small bread board. These encoders have a push button built in, so I connected the blue knob’s button to the Nano 33 to establish a connection to the network.

Next I needed to send the game commands over the network using a TCP socket. With some digging I found the WiFiNINA library and examples. Then I found that Professor Igoe already wrote the WiFi joystick client, so I guess it pays to read the instructions fully….

After this, finishing up the code was a breeze. I added in the print functions to the client where they needed to go. I did get this weird error on my first compilation but I got rid of it by just updating the Arduino SAMD boards package.

Code

You can find the code and it’s iterations here.

Trouble-shooting and Future Work

So far I’ve been getting kinda weird readings from the encoders. I think this is because the encoders don’t really sit in the bread board right. I’d like to solder wires to them and mount them onto an enclosure. I’ve ordered some protoboard and female headers to recreate this circuit to fit in an enclosure. I found a mint tin on the junk shelf at school but it might be too small.

I’m also not sure how get the game running and get my controller interfacing with it. I’m sure we’ll go over that in class!

Here’s a link to my next blog post working on this game controller.

Resources

https://store-usa.arduino.cc/products/arduino-nano-33-iot

https://www.sparkfun.com/news/2438

https://learn.adafruit.com/rotary-encoder/hardware

https://www.pjrc.com/teensy/td_libs_Encoder.html

https://tigoe.github.io/BallDropGame/

http://itp.fromjia.com/?p=440

https://itp.beverlychou.com/websocket-game-controller/

[ITP: Fabrication] Materials and Fasteners

Disclaimer: I won’t have this project done by class time Friday but I wanted to be sure to publish my plan. I am waiting on some sheet metal to arrive (and possibly Luke’s spray paint tutorial!) and will finish this project up along side the next one next week.

Inspiration

The two materials I would like to explore this week are wood and sheet metal. I’ve got some left over pine from the build five things assignment and I’ve never worked with sheet metal before so I’m excited to try it out! I seriously don’t know where these ideas come from but I want to try making a cubist portrait. My thought was it would be relatively easy to make this 2D image: cut out some weird shapes, rivet them together, and nail the thing to some wood, but the more I think about it the more things I want to add to complicate the build. Typical!

Picasso, Yellow Lady

Picasso

Picasso

Drawings

Tools

  • Tin snips

  • Sand paper

  • Hammer

  • Drill

  • Metal epoxy

Materials

Process

Prepare the wood by cutting, sanding, and applying a finishing wax using a rag.


Final Product

Here’s my paper prototype. I cut out the basic shapes of my portrait from construction paper and glued them all together.

Conclusion

Though I could only finish my paper prototype by today, I still plan on making an aluminum version of this piece. Here’s what I plan to do:

  • Use paper template to cut shapes into sheet metal using tin snips (the red ones in the shop are my favorite!)

  • Sand the edges of cut metal

  • Spray paint and hand paint a few of the shapes

  • I’ve decided against rivets for this piece because I feel like the pieces are too dainty. I’m choosing to assemble the portrait using this epoxy.

  • Then I’ll nail the image to the wood backing. Voila!

Resources

https://www.youtube.com/watch?v=yFX_9UsoxWk

https://www.youtube.com/watch?v=1tIcVNrE2MM

https://www.youtube.com/watch?v=4eXnYqNkF2o

[ITP: Hypercinema] Synthetic Media

Group members: Olive Yu and Yuke Ding

Inspiration

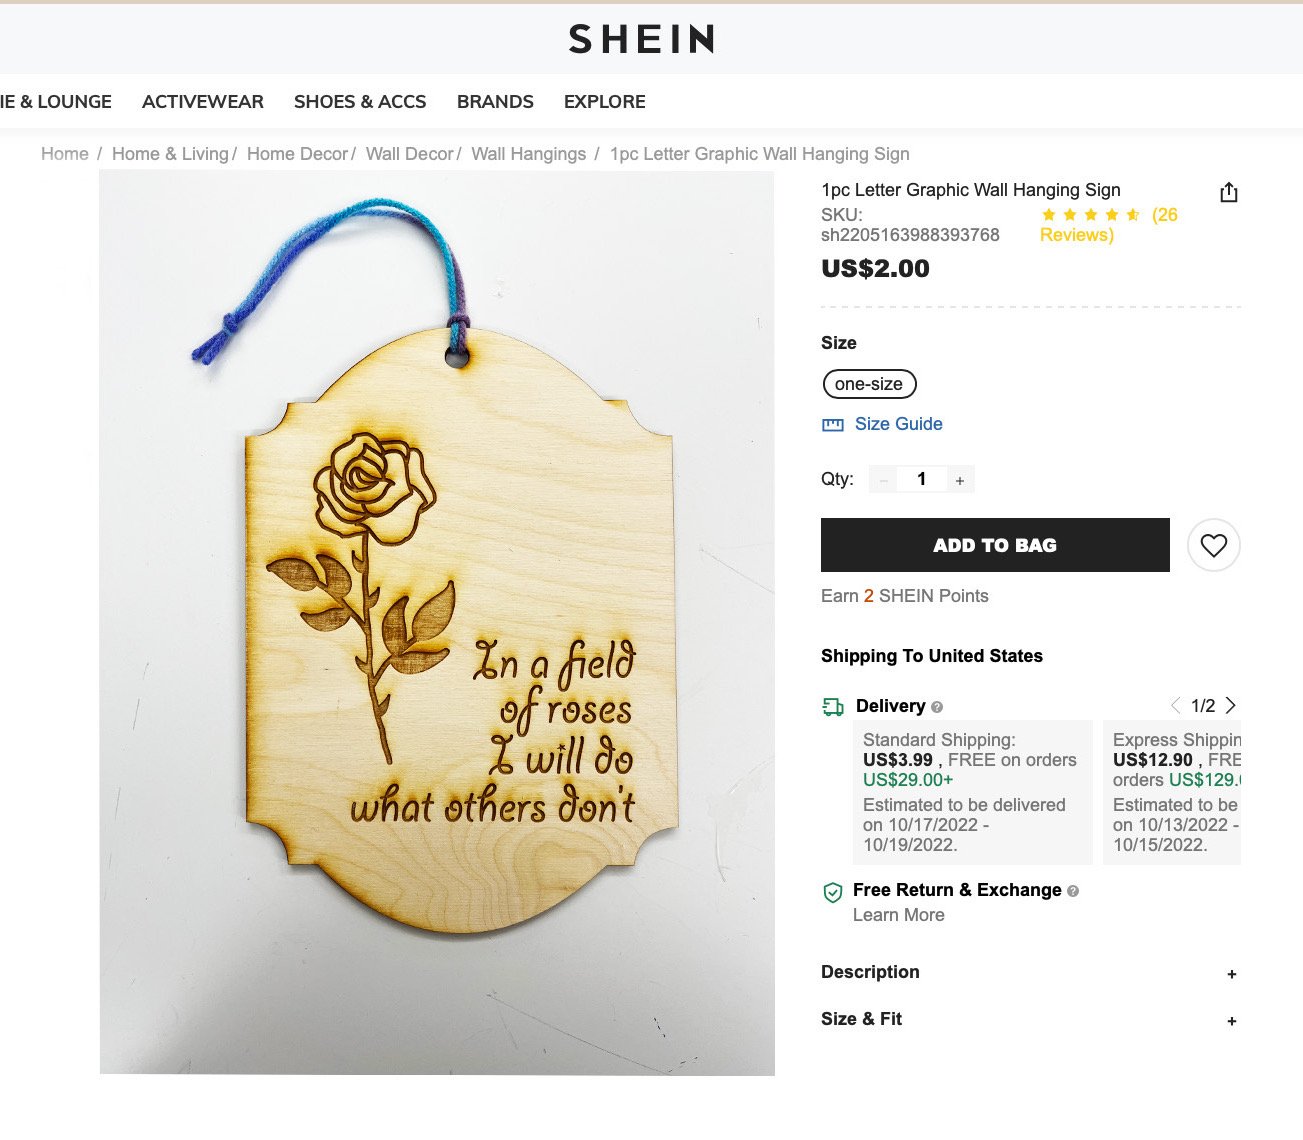
The inspiration for our synthetic media project are those cheesy wooden signs used for decor. The phrases written on them are sometimes so absurd that they already seem like AI wrote them. We wanted to see what phrases we could generate that were just strange enough to be believable inspirational or personalized decor.

Process

First I went through Hobby Lobby’s site of existing signs for sale and compiled a data set of phrases. You can find my data here if you’re curious what kinds of quotes Hobby Lobby is putting on their decor. I intentionally skipped most of the religious ones. Then I uploaded the dataset to Runway ML’s GPT-2 model and saved the most interesting output. Below is a list of some of my favorite phrases that were generated:

  • Home is where you hang your crazy antlers Mubarak Mubarak

  • Keep up all the good and bad things Act like a noble heart

  • By doing what God is all you have in front of you right now

  • I’ve never loved you so much, because we have zero friends

  • ((please don’t)kinship lilac lipsticks sneakers LOL LOL lol

  • Feel your life amaze you and love so much more than you know

  • Pray about your education, and send ideas and ideas to work

  • My mother is brave. Those who inspire me to act as humans must

  • What you’re not good at? What you’re good at? What you’re good

  • Don’t be afraid of your goal ;) Gneromy サベー Mother is the evil

  • Beware of… well, just beware Socrates. Life is better with a cat

  • Give me a ride home I don’t know if you want my message or not

  • Doesn’t it make you bickering sometimes better than you think?

  • Happy construction Zodak’s achievement is his atonement

  • It’s simple and it helps you think about things.

  • Beware of, you can’t make things anymore Hit the hickering fun

  • Homestead is where you eat the food you go.

  • Not over the years I know of this, there is only one way.

  • Life will always be fresh and fun

  • For me, a proud camper lives here with his beaut

  • Love love football player god baseball player god baseball play

  • Phantoms, demons and demons are your specialty

  • In a field of roses I will do what others don’t

  • Love what you do Be fearless Be courageous All things make you

  • For dogs is play, be with them, hang out with them, read books

  • I feel how you feel in life. Unless you can be a dragon

  • What brings you into the world? What makes you different?

  • Hello Girl, I am the best person

  • Welcome to the house of the earth

  • Caring for your kids is much more motivating than shouting at them

  • One bad player makes me perfect. Three good players makes me per

  • Maybe there’ll be no love in heaven

  • You want to be more productive and productive, you want to be

  • The cottage is where I go to bed, you know that

  • Spice Extra garnet A bionic body will be easy to look at

  • Your most beautiful is your wildflowerosity

  • We all have a very good place where we sleep and sleep.

  • Be the people who you are. Somebody did a piece of serious shit

Then we realized that we would physically make these signs in the ITP shop. We each picked our favorite phrases to laser cut. I put my three favorites into Adobe Illustrator and tried to mock up some fictional signage. We each laser cut our signs on wood and added a bit of string for hanging.

Final Product

Conclusion

I feel like this project is a simple yet effective application of synthetic media. We took existing phrases and fed them into the GPT-2 model as a reference. It’s kind of crazy how real some of the generated text that came out sounds. Sometimes it’s really funny, or ominous, or doesn’t make much logical sense, but I think that kind of works for this application.

Resources

https://app.runwayml.com/models/runway/GPT-2

[ITP: Feeling Patterns] Assignment 1

Overview

Over the last couple of weeks I’ve been observing a lot of visual and auditory patterns of the city. I am brand new to New York and find myself anxious and overwhelmed with the stimuli. At the same time, recognizing patterns is comforting and roots my observation in the familiar.

I really wanted to create a visual or animation in p5 that resembled the prominent patterns I experience every day (subway coming or leaving, windows on tall buildings) but I did not quite get there.

Slit Scan Experiments

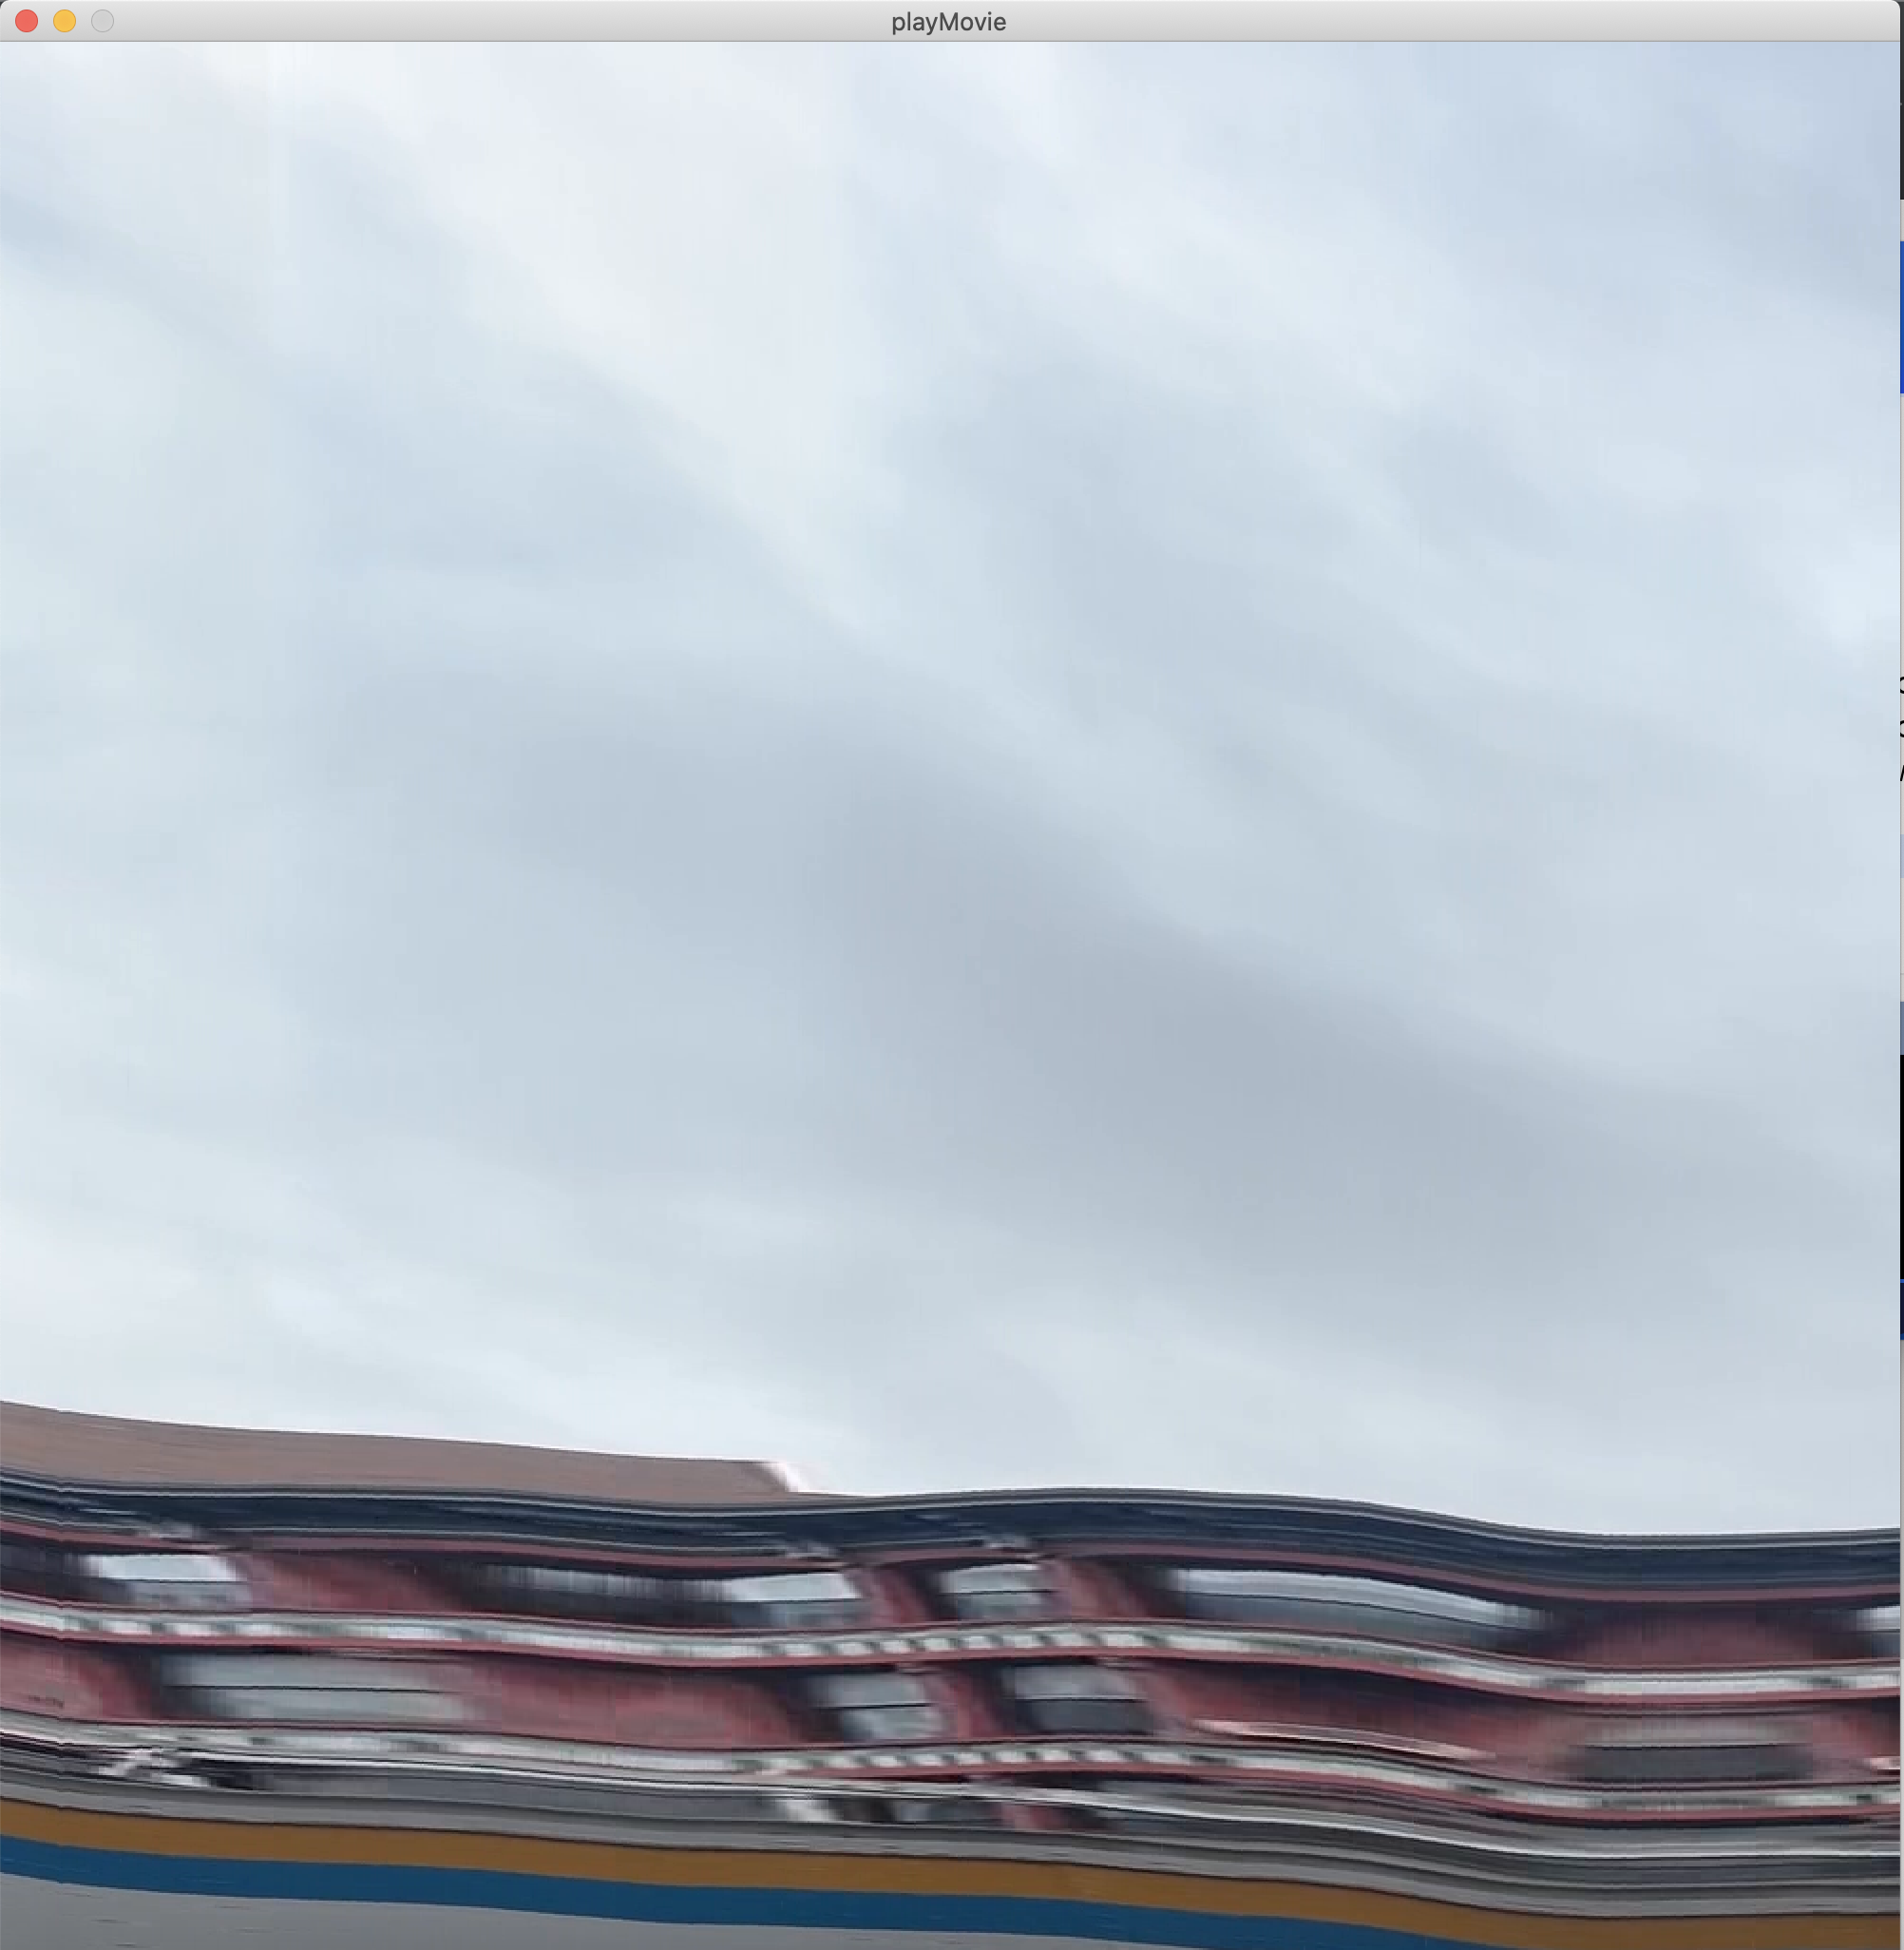
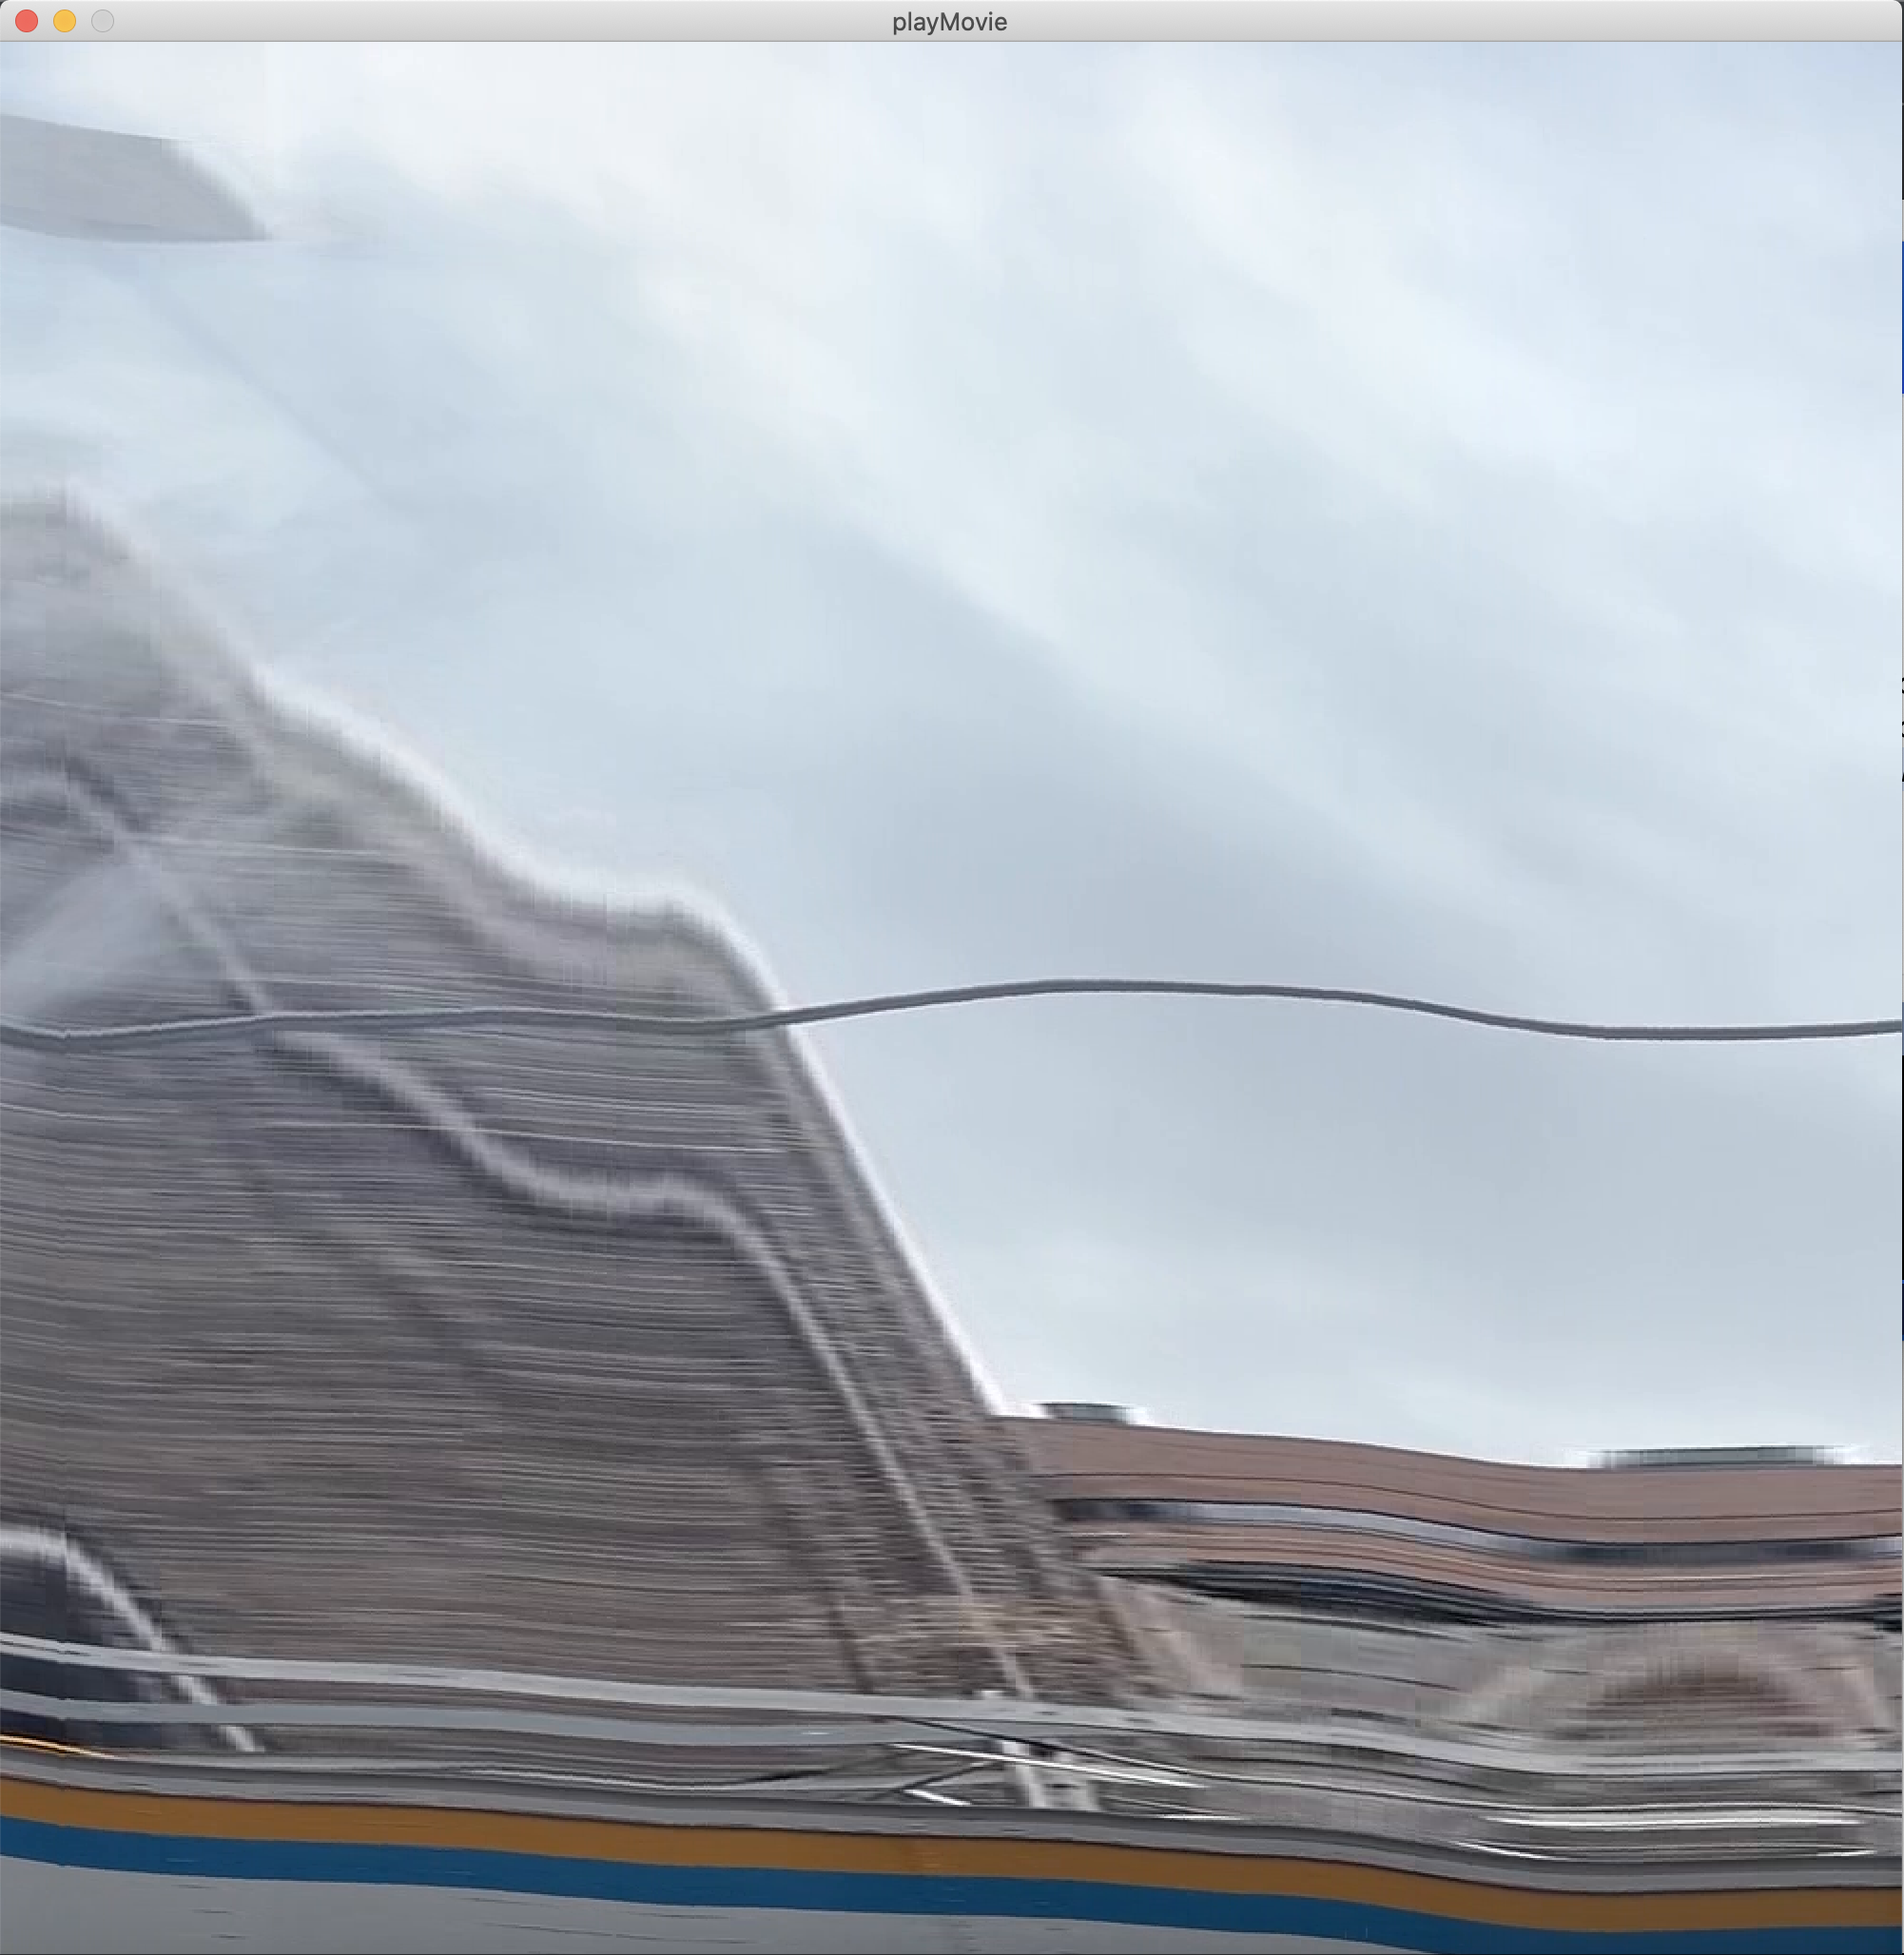
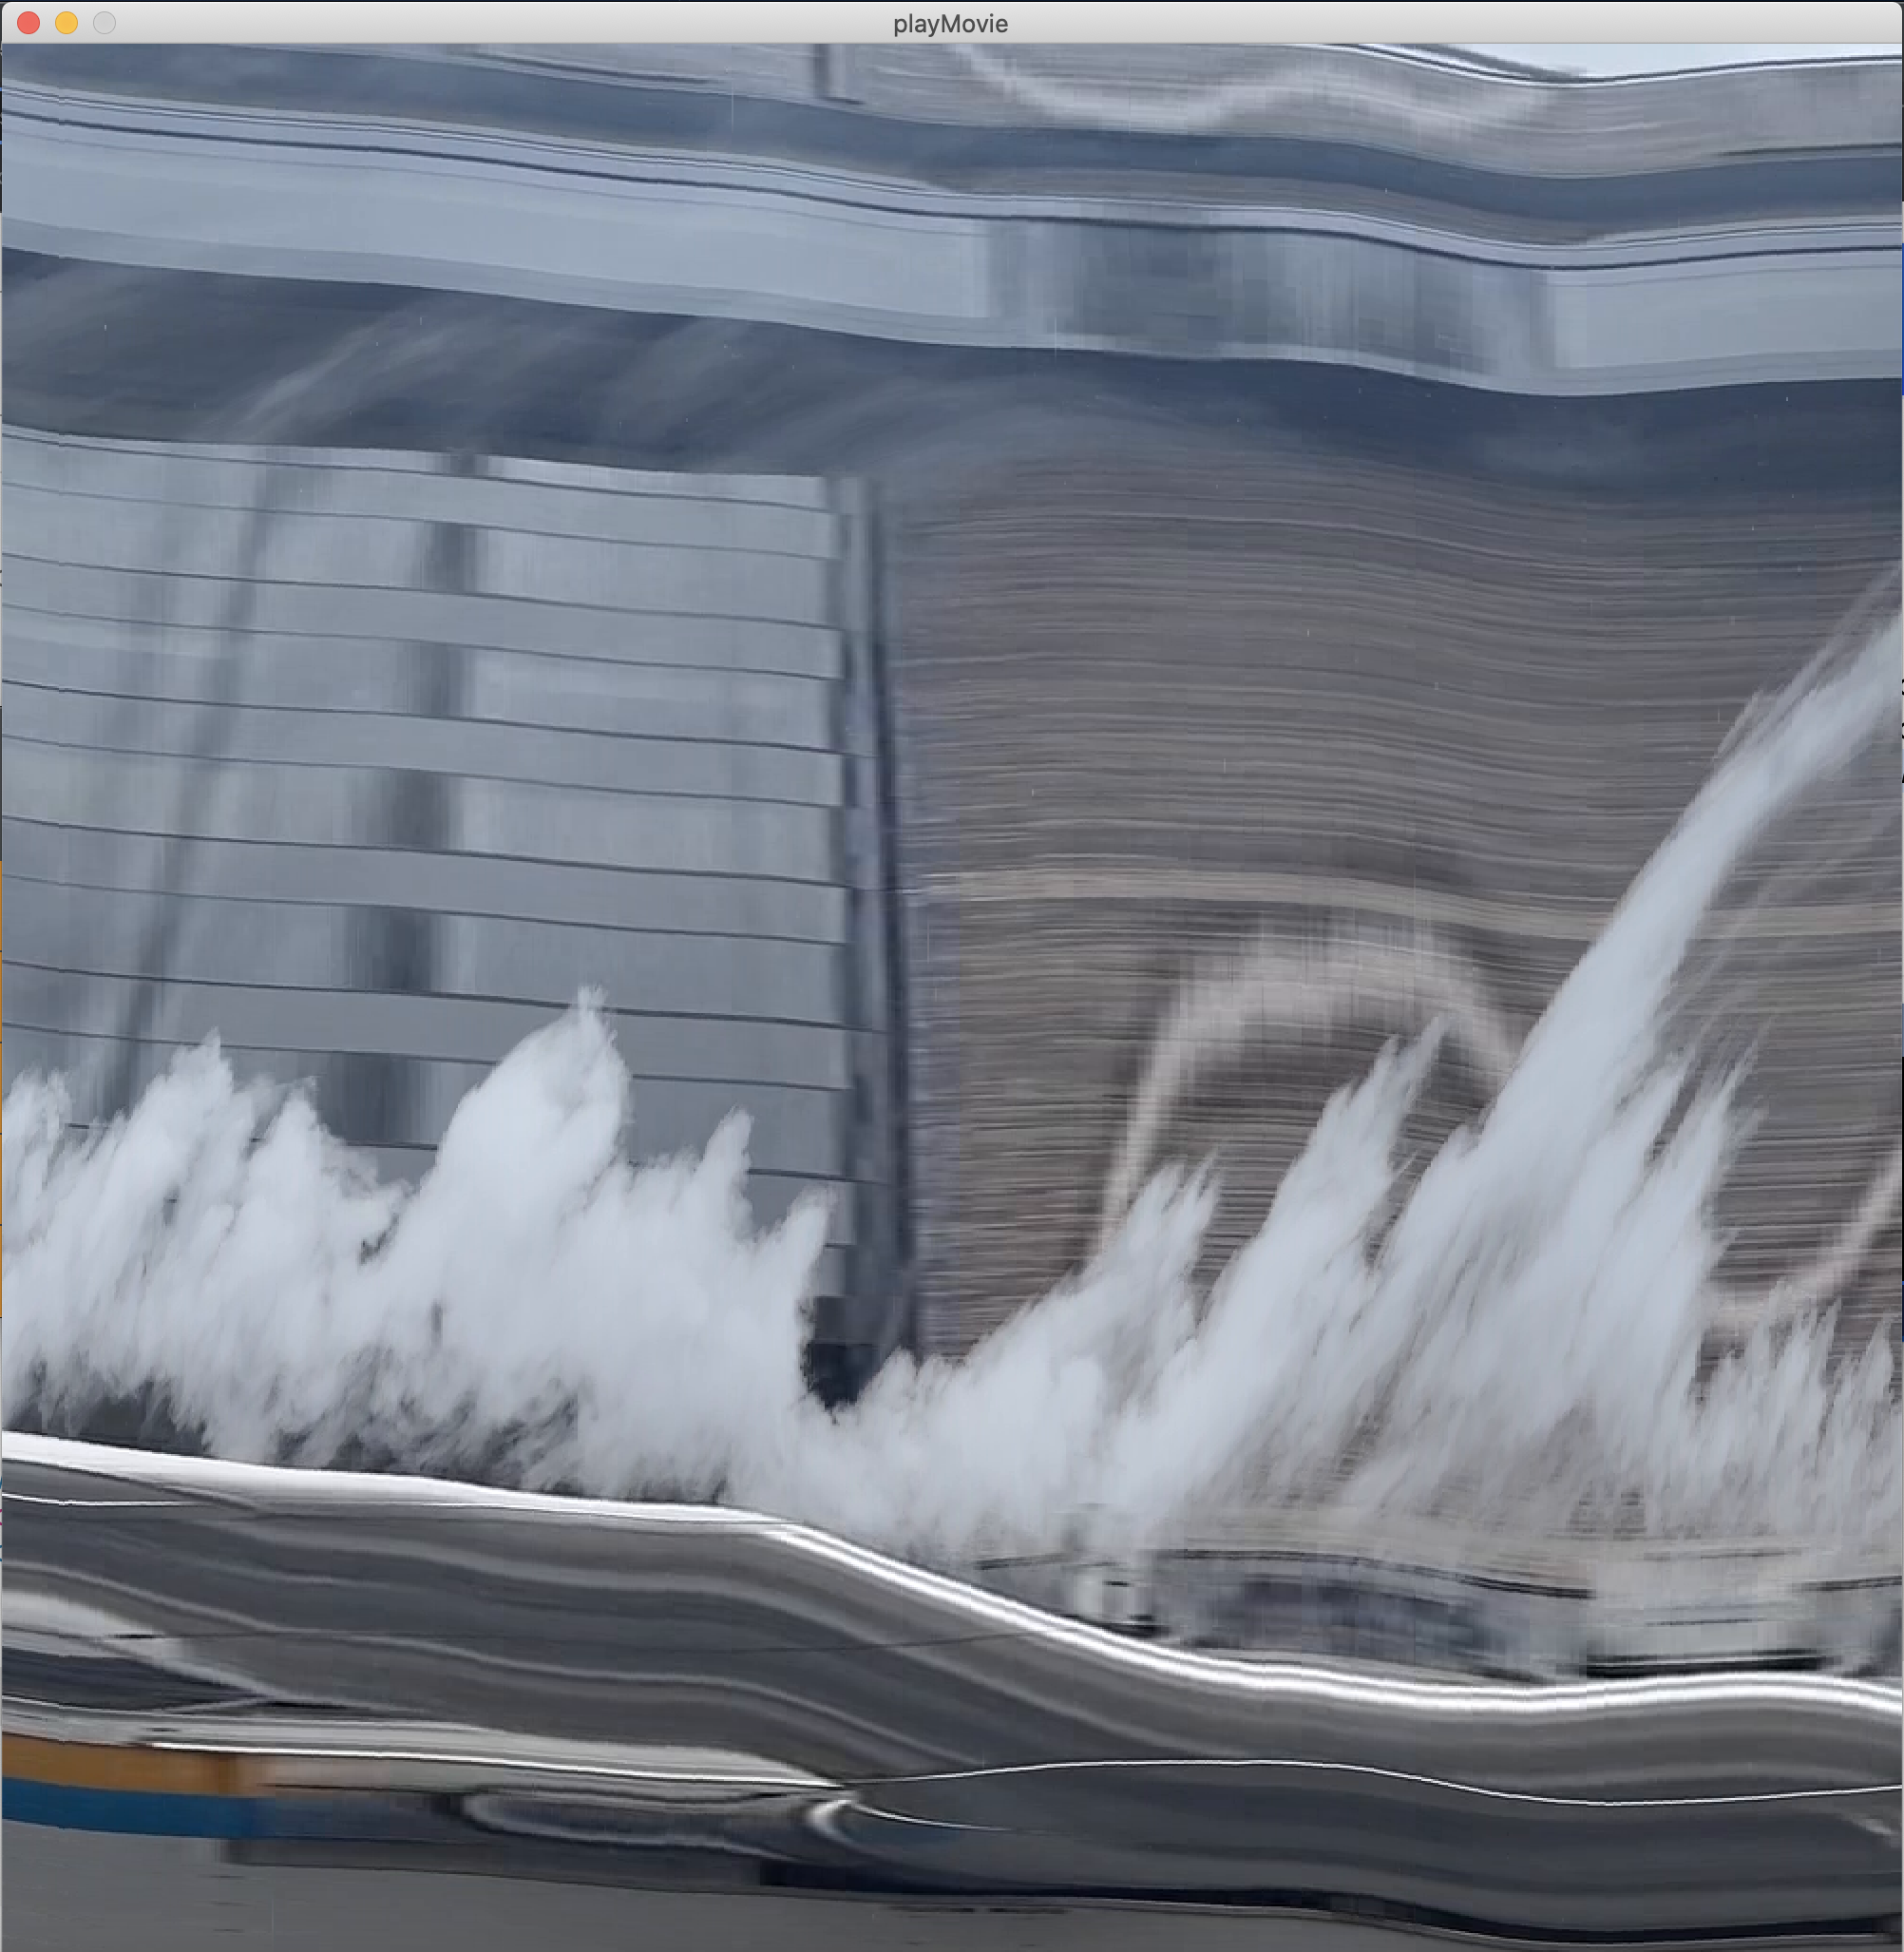
I was really inspired by this video that was shown in class so I wanted to start off my assignment with seeing what slit scan images I could generate from some of my observations.

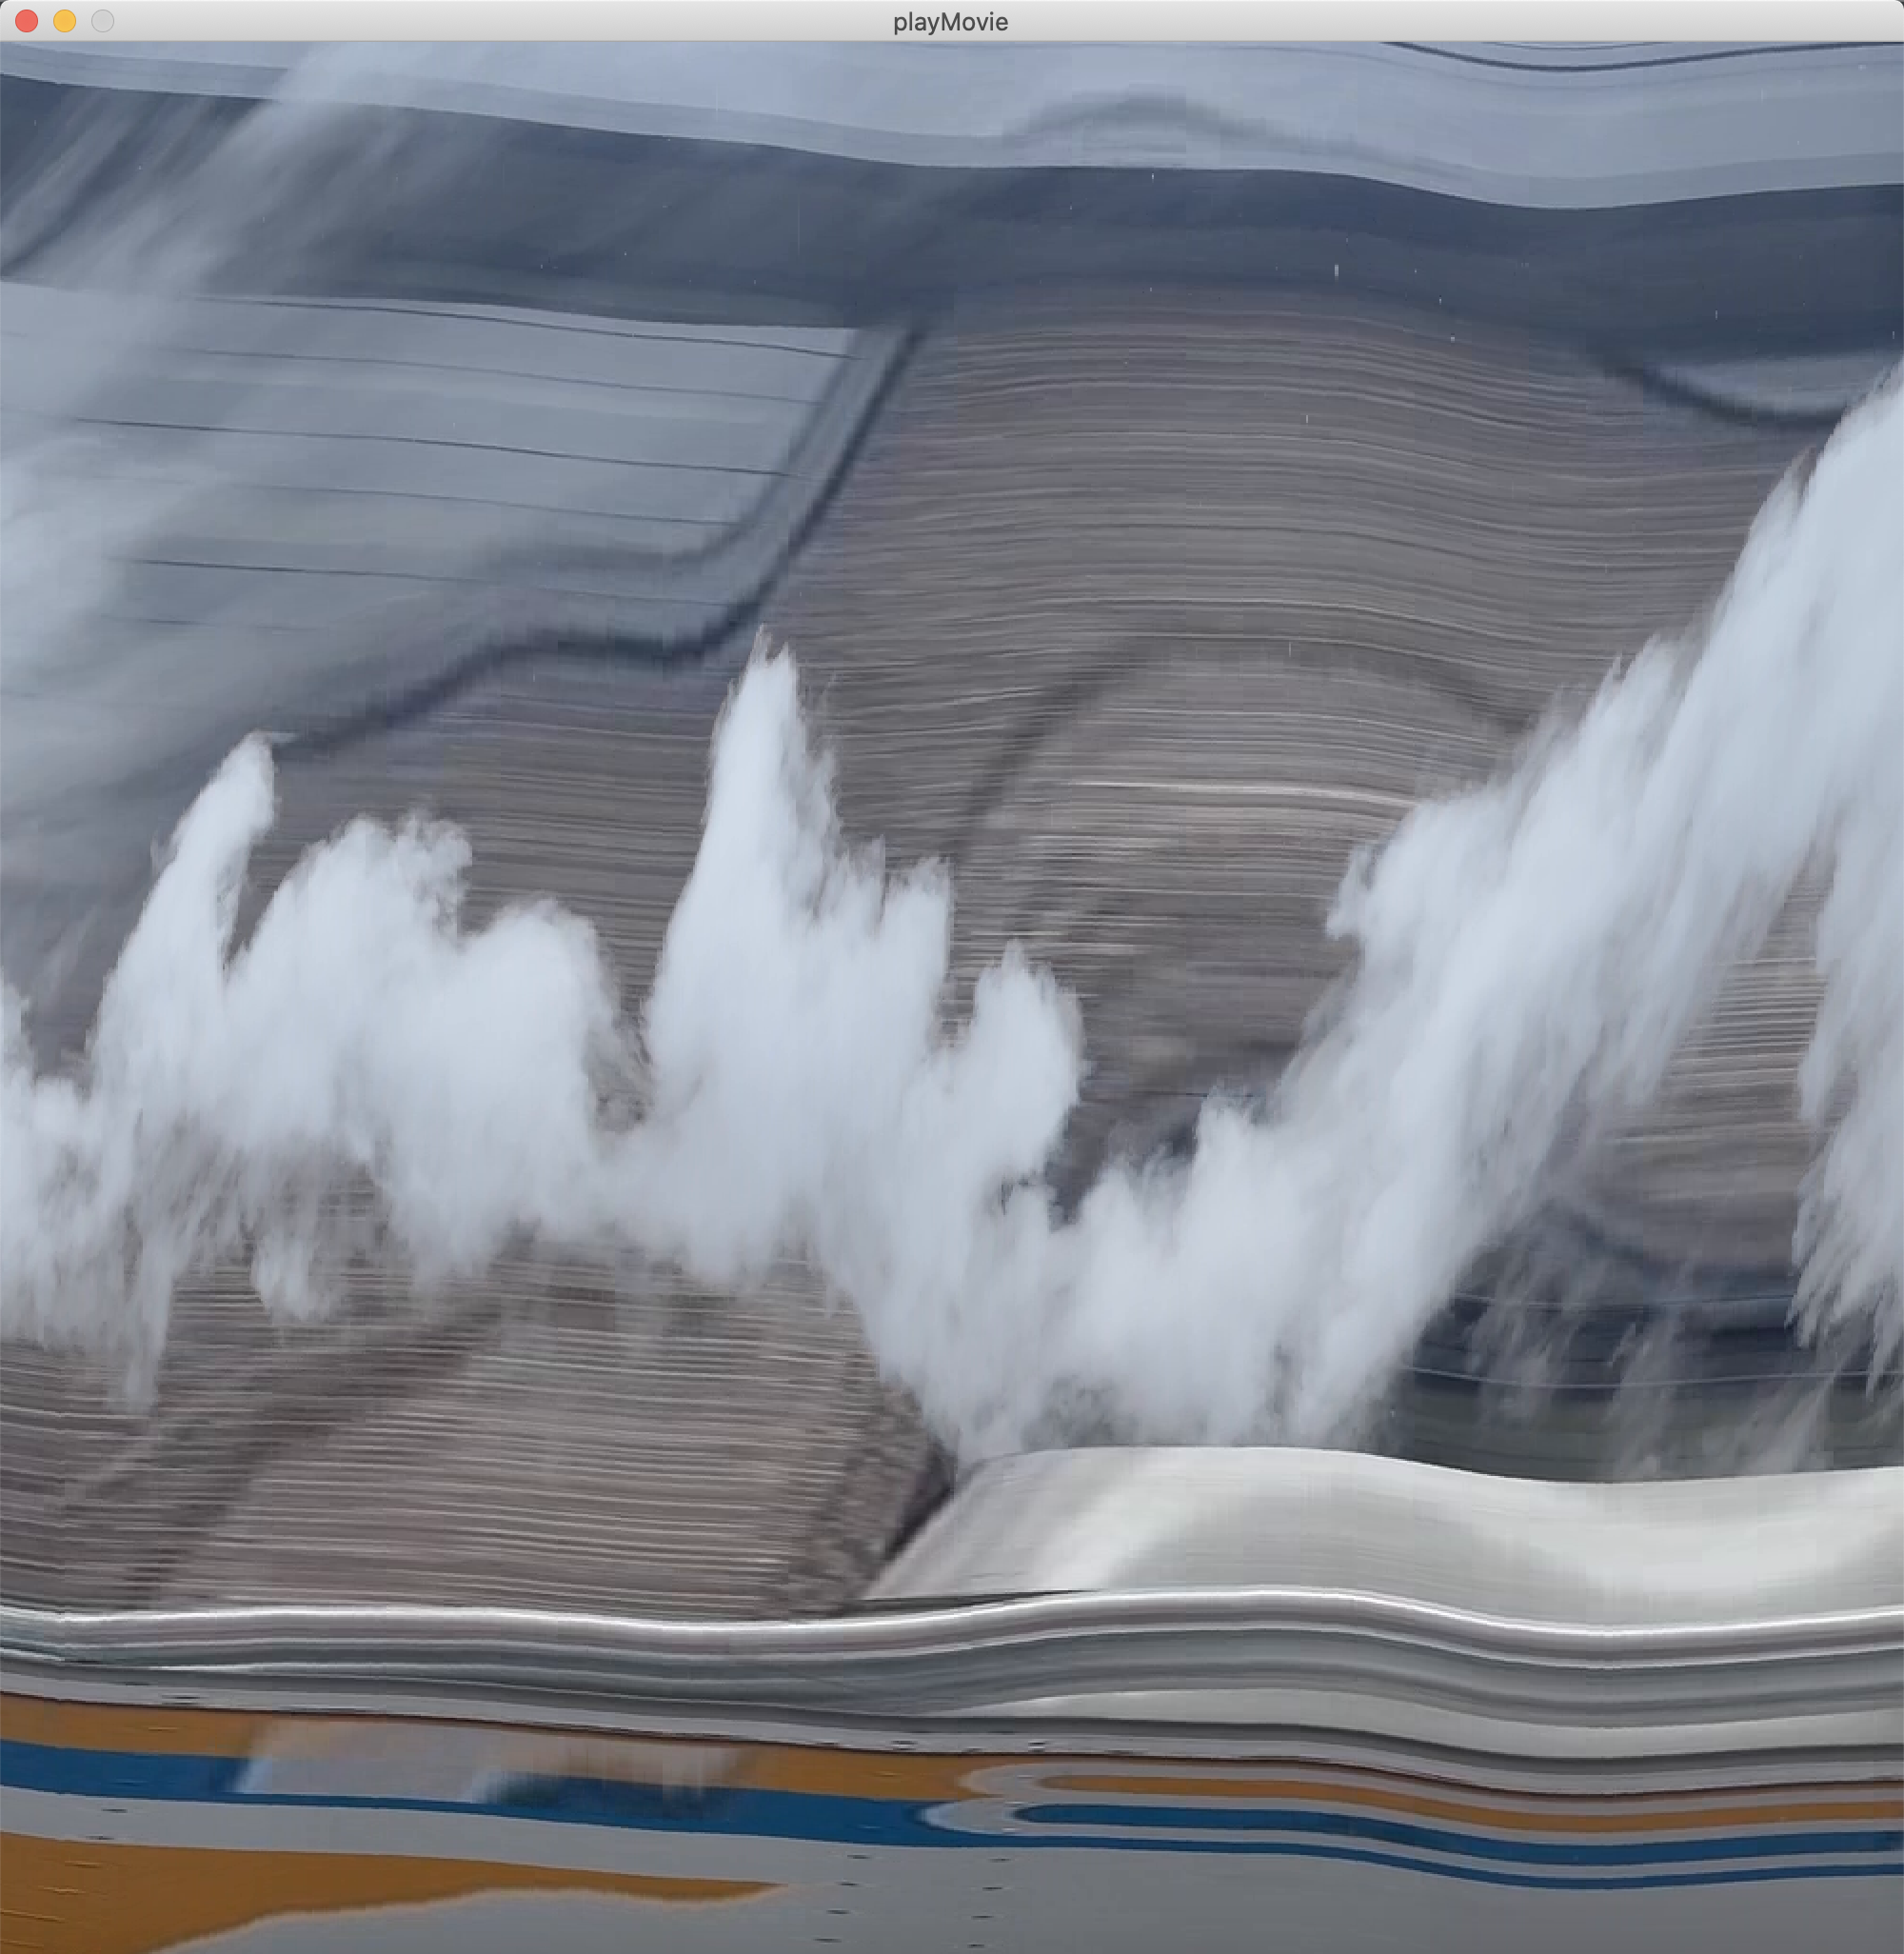
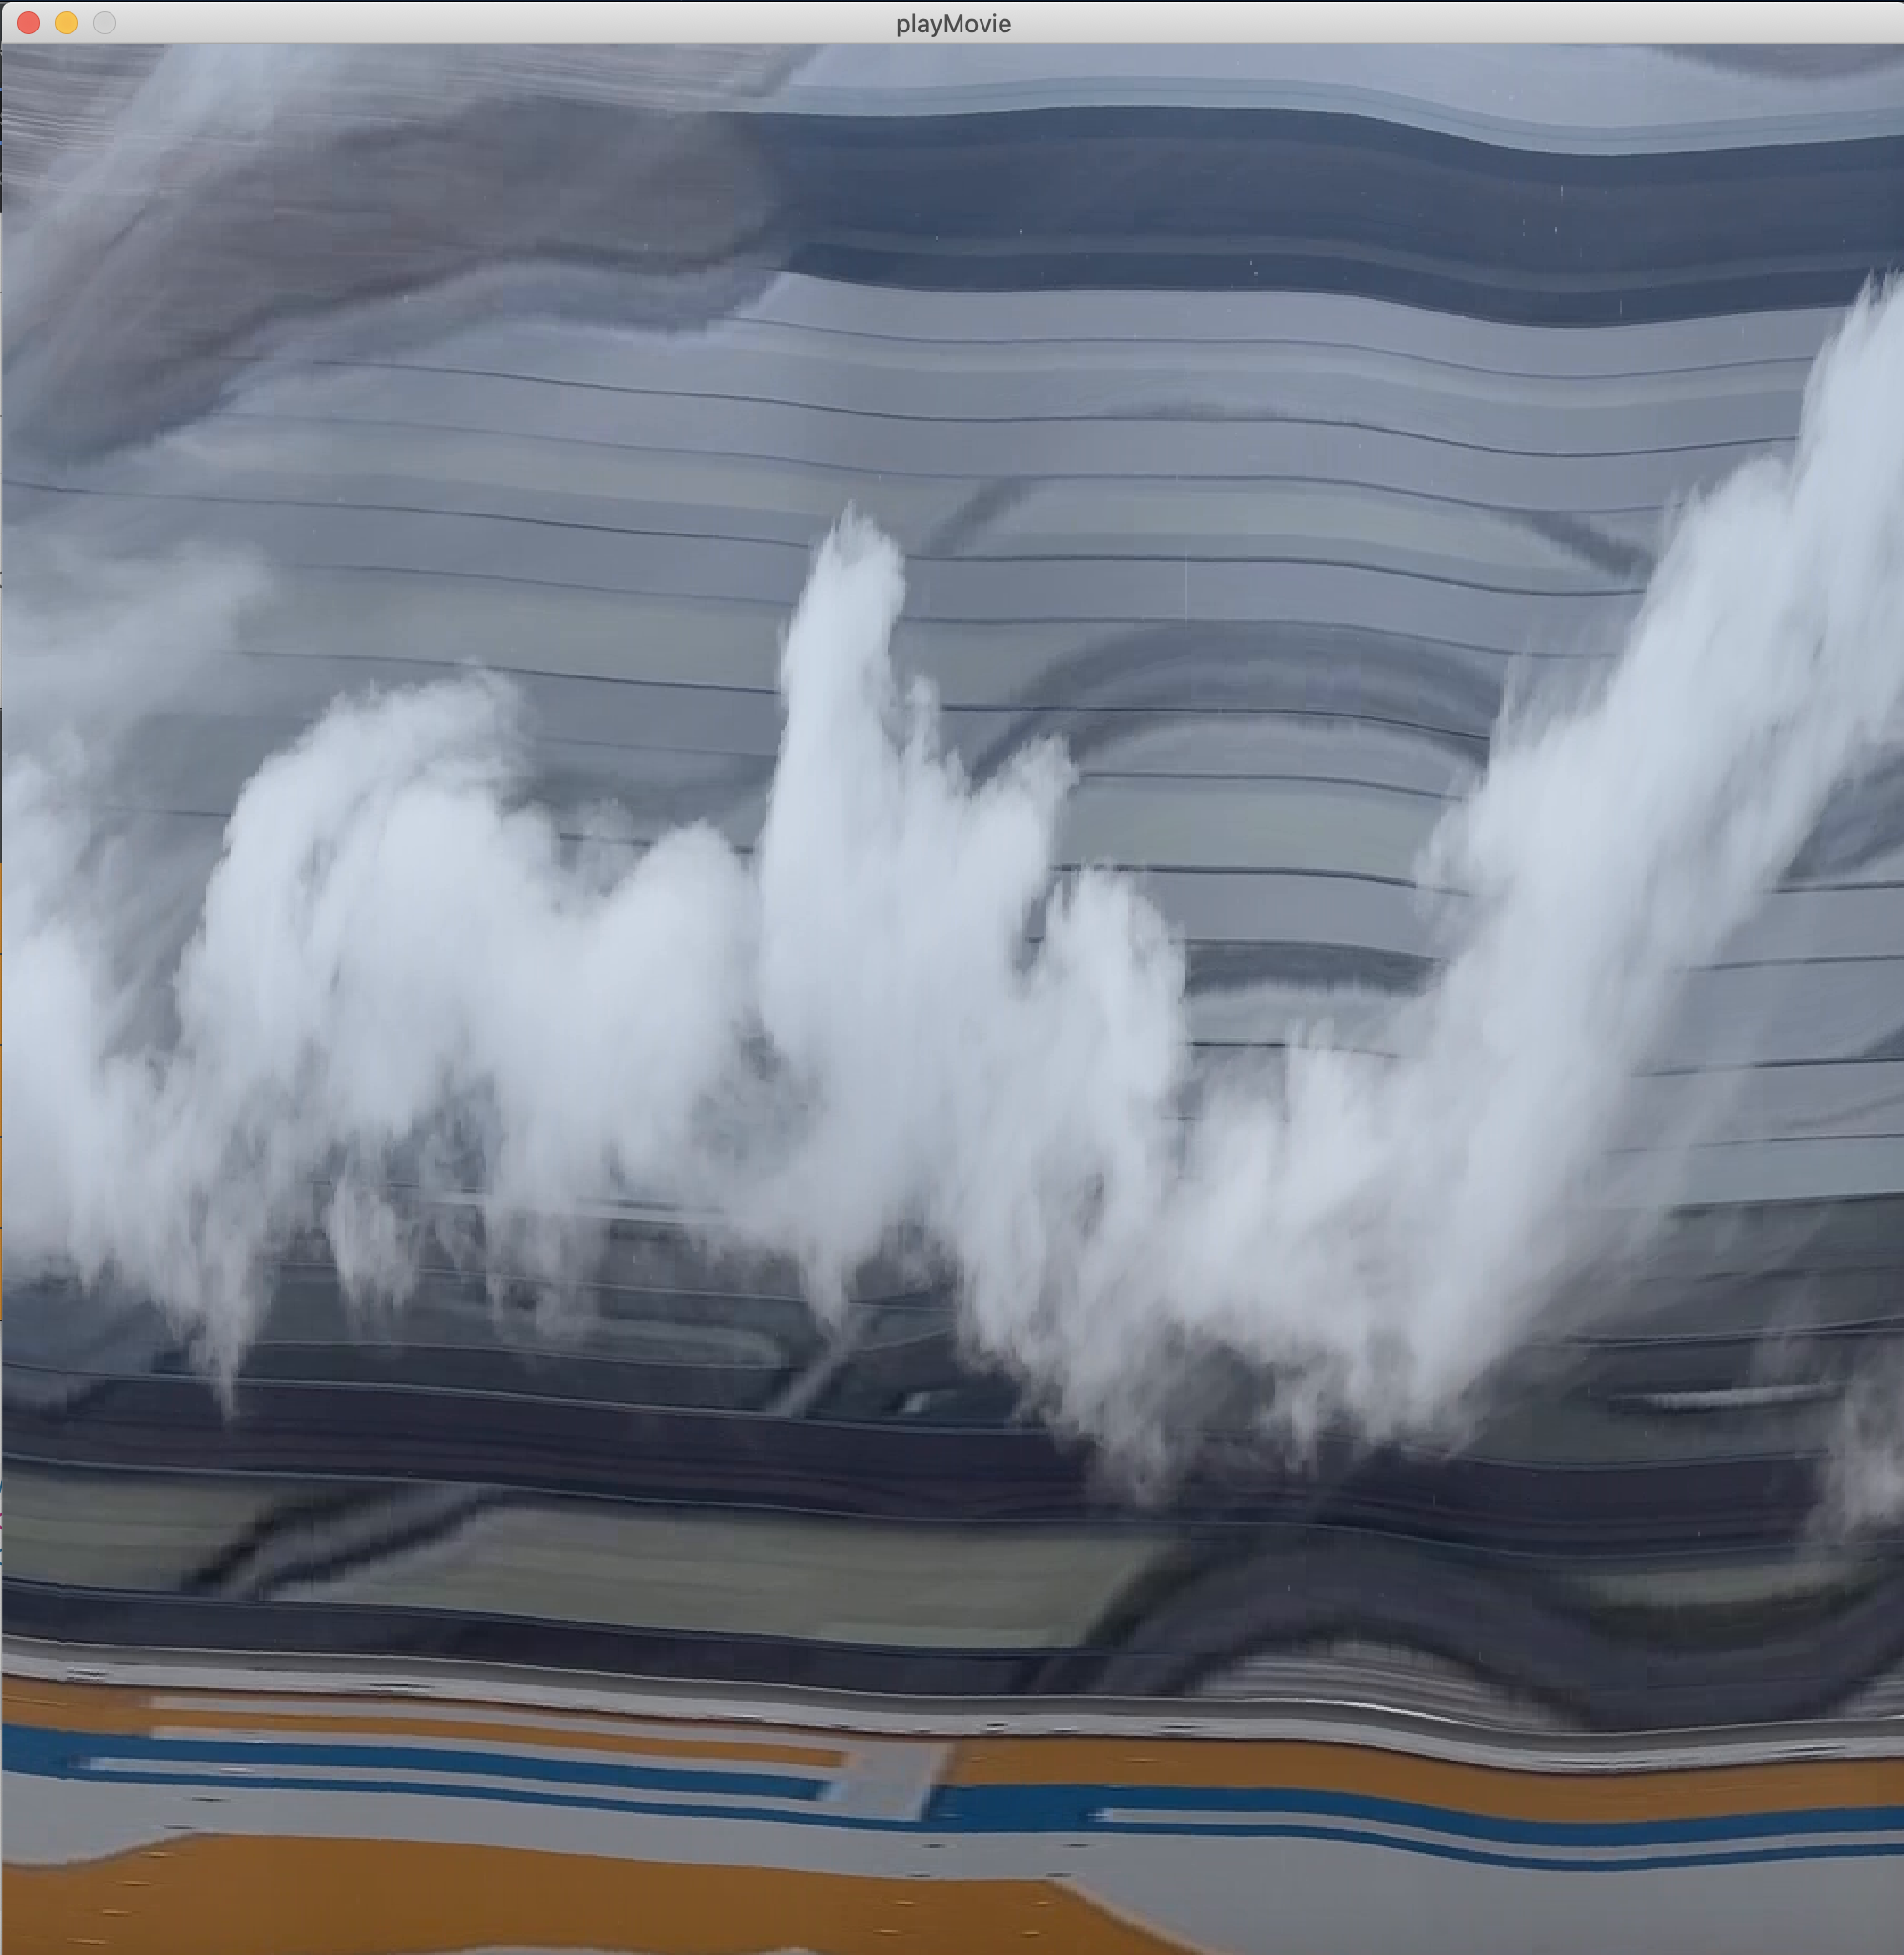
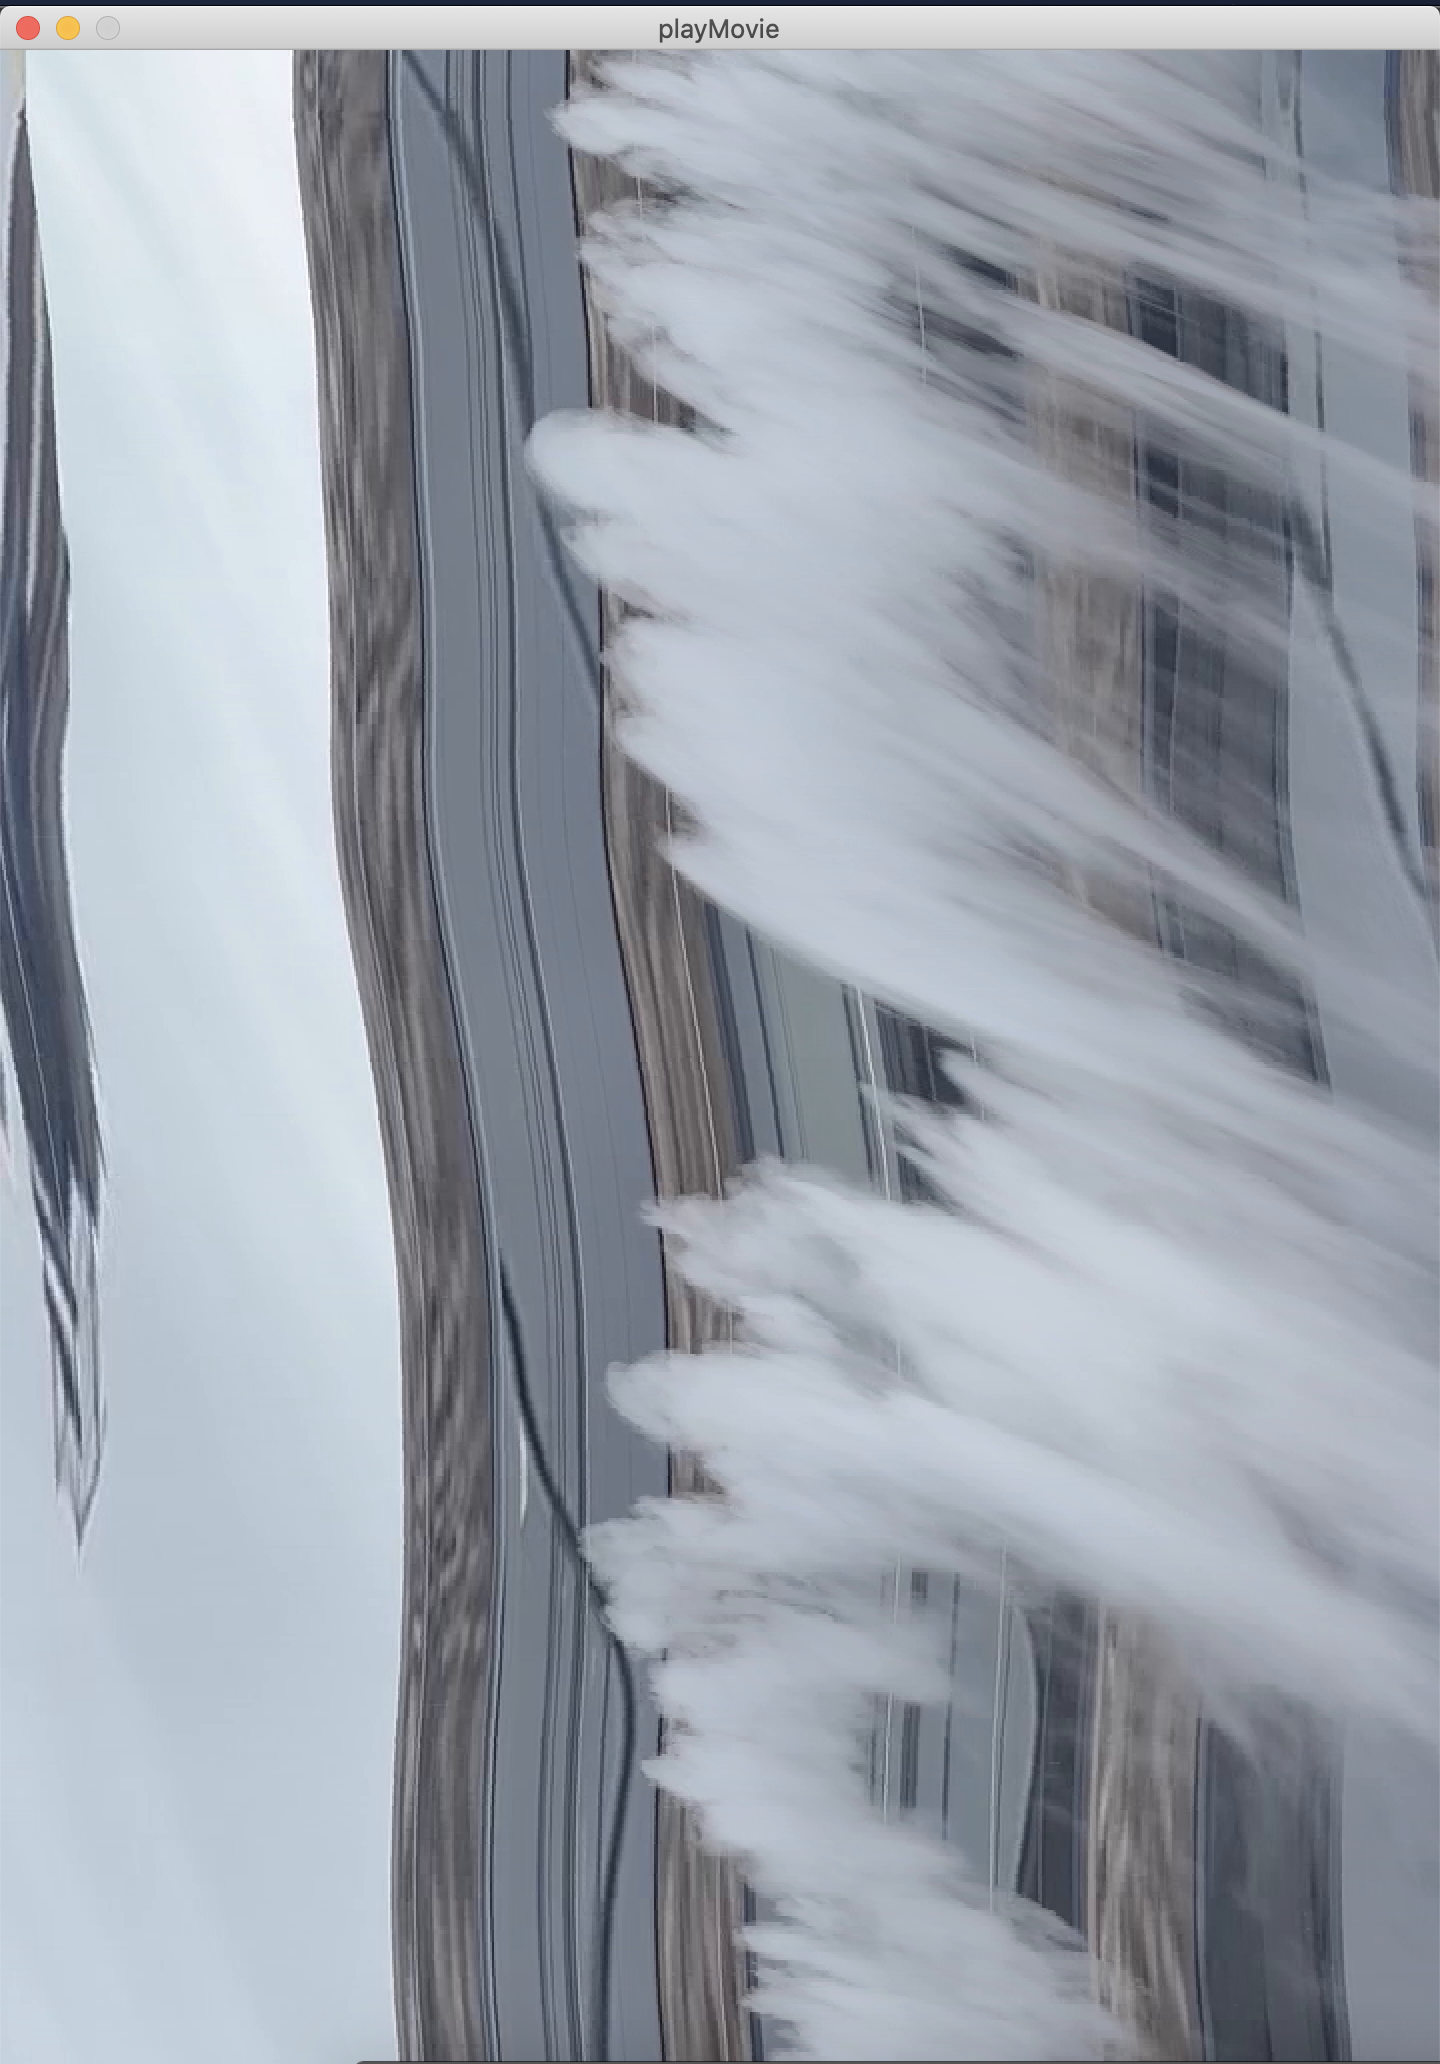
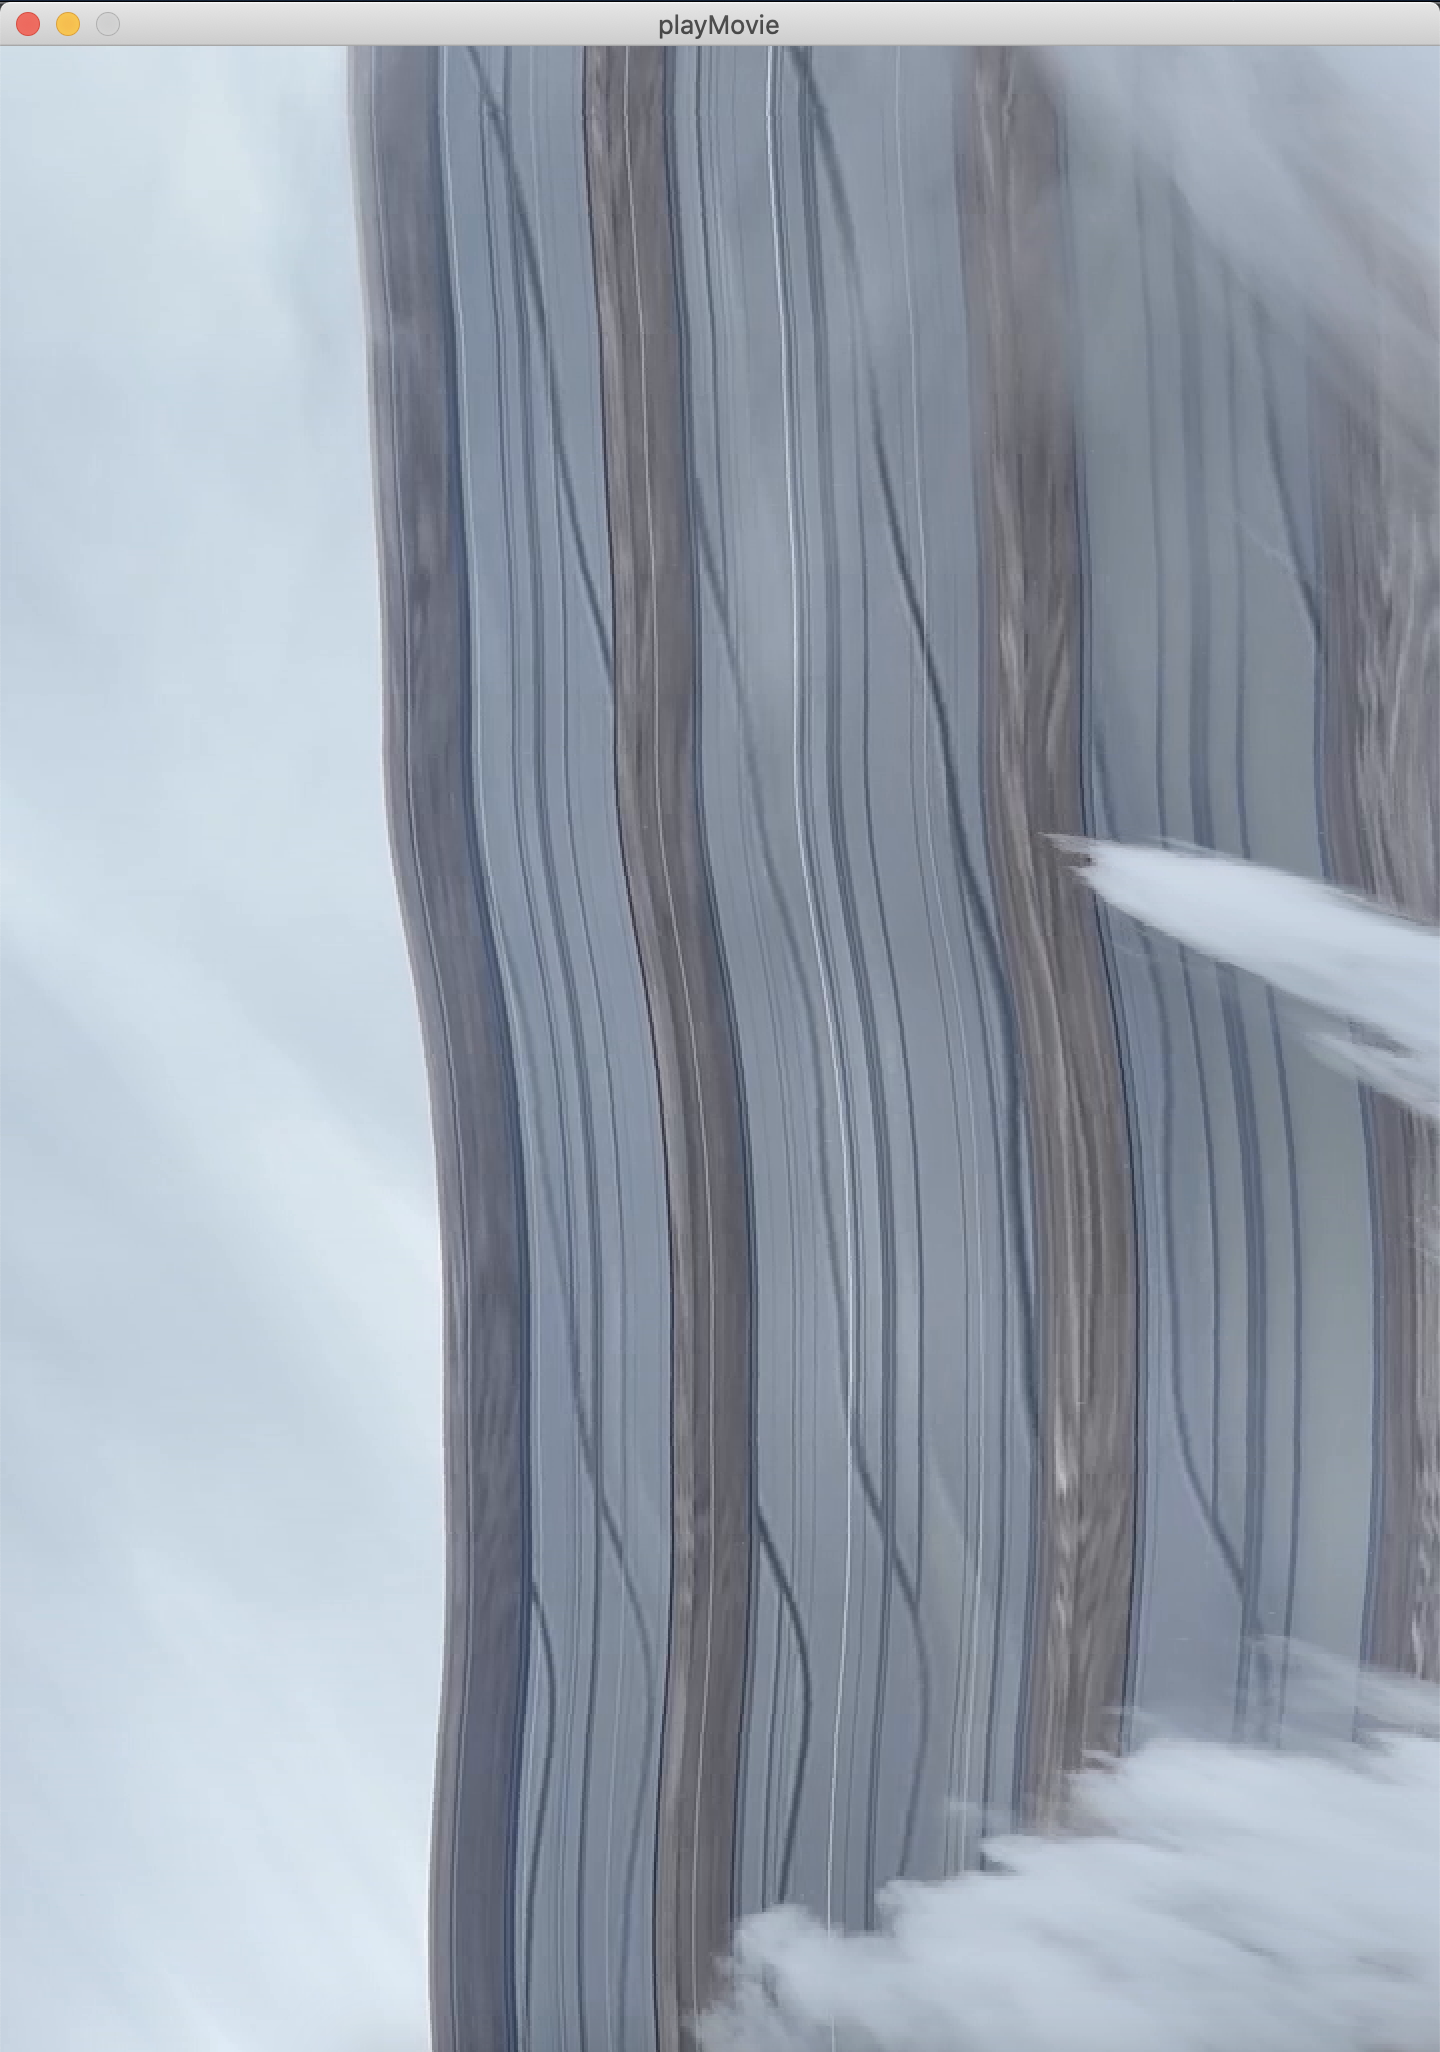
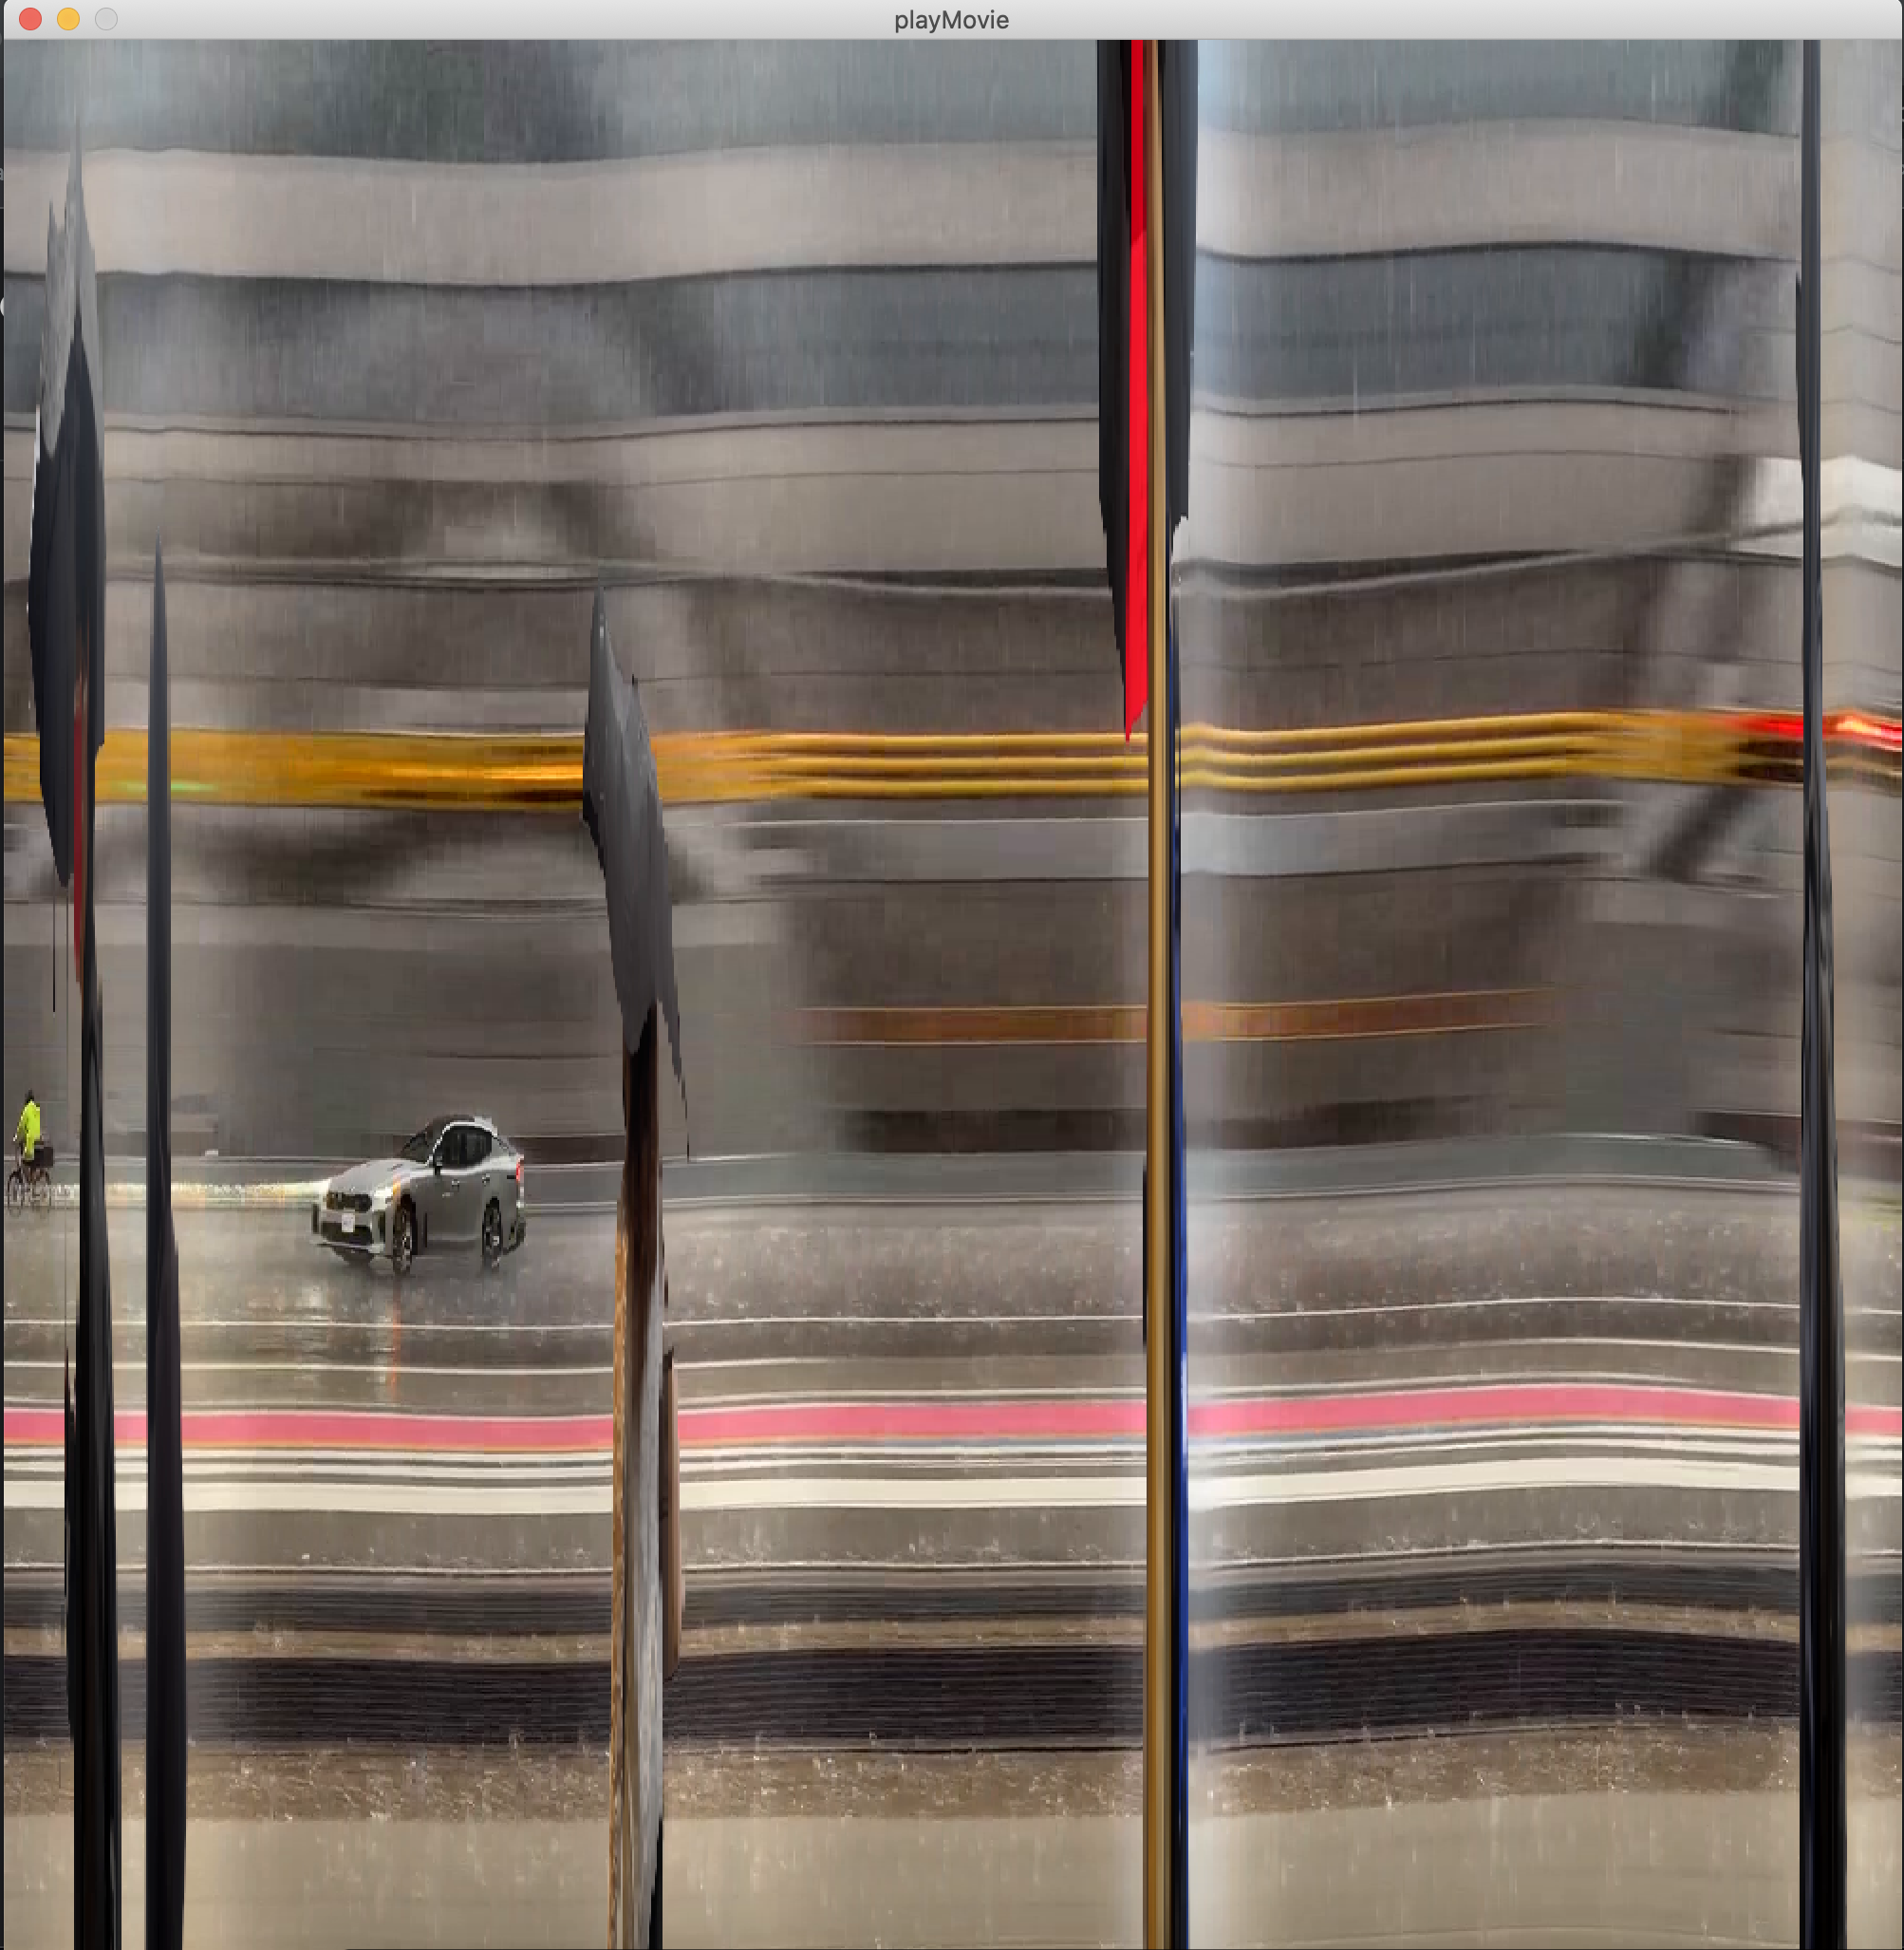
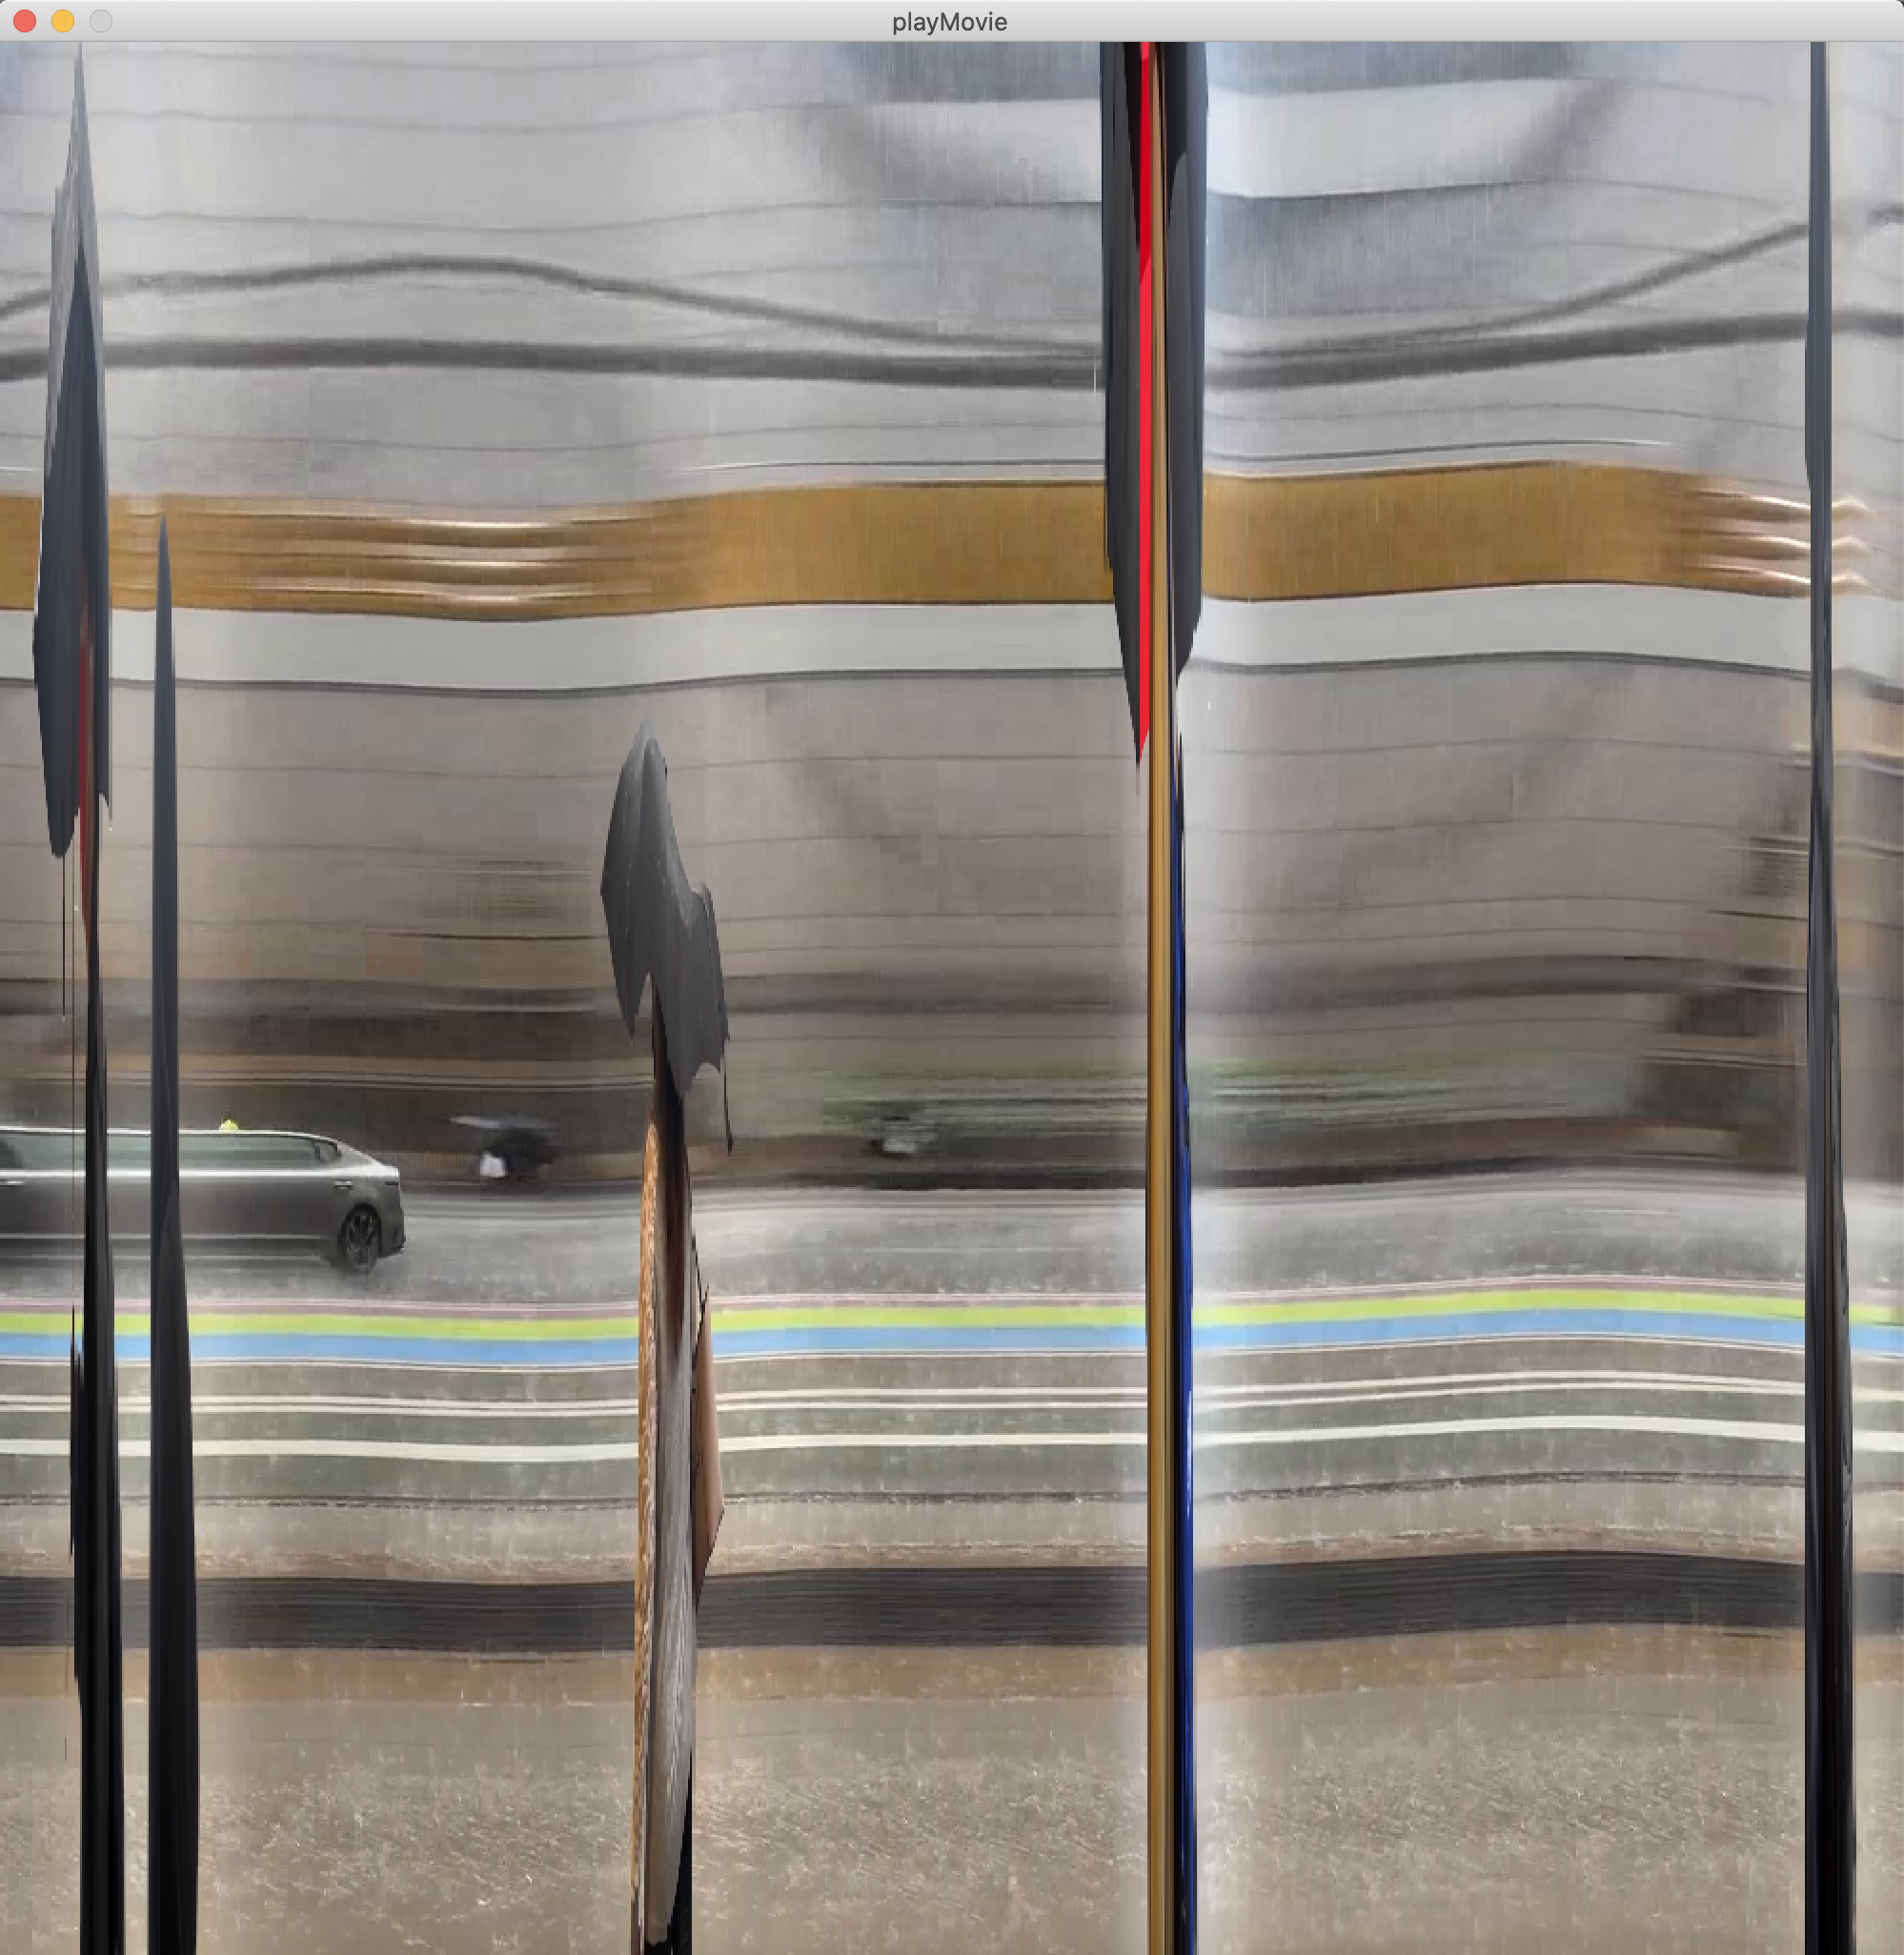
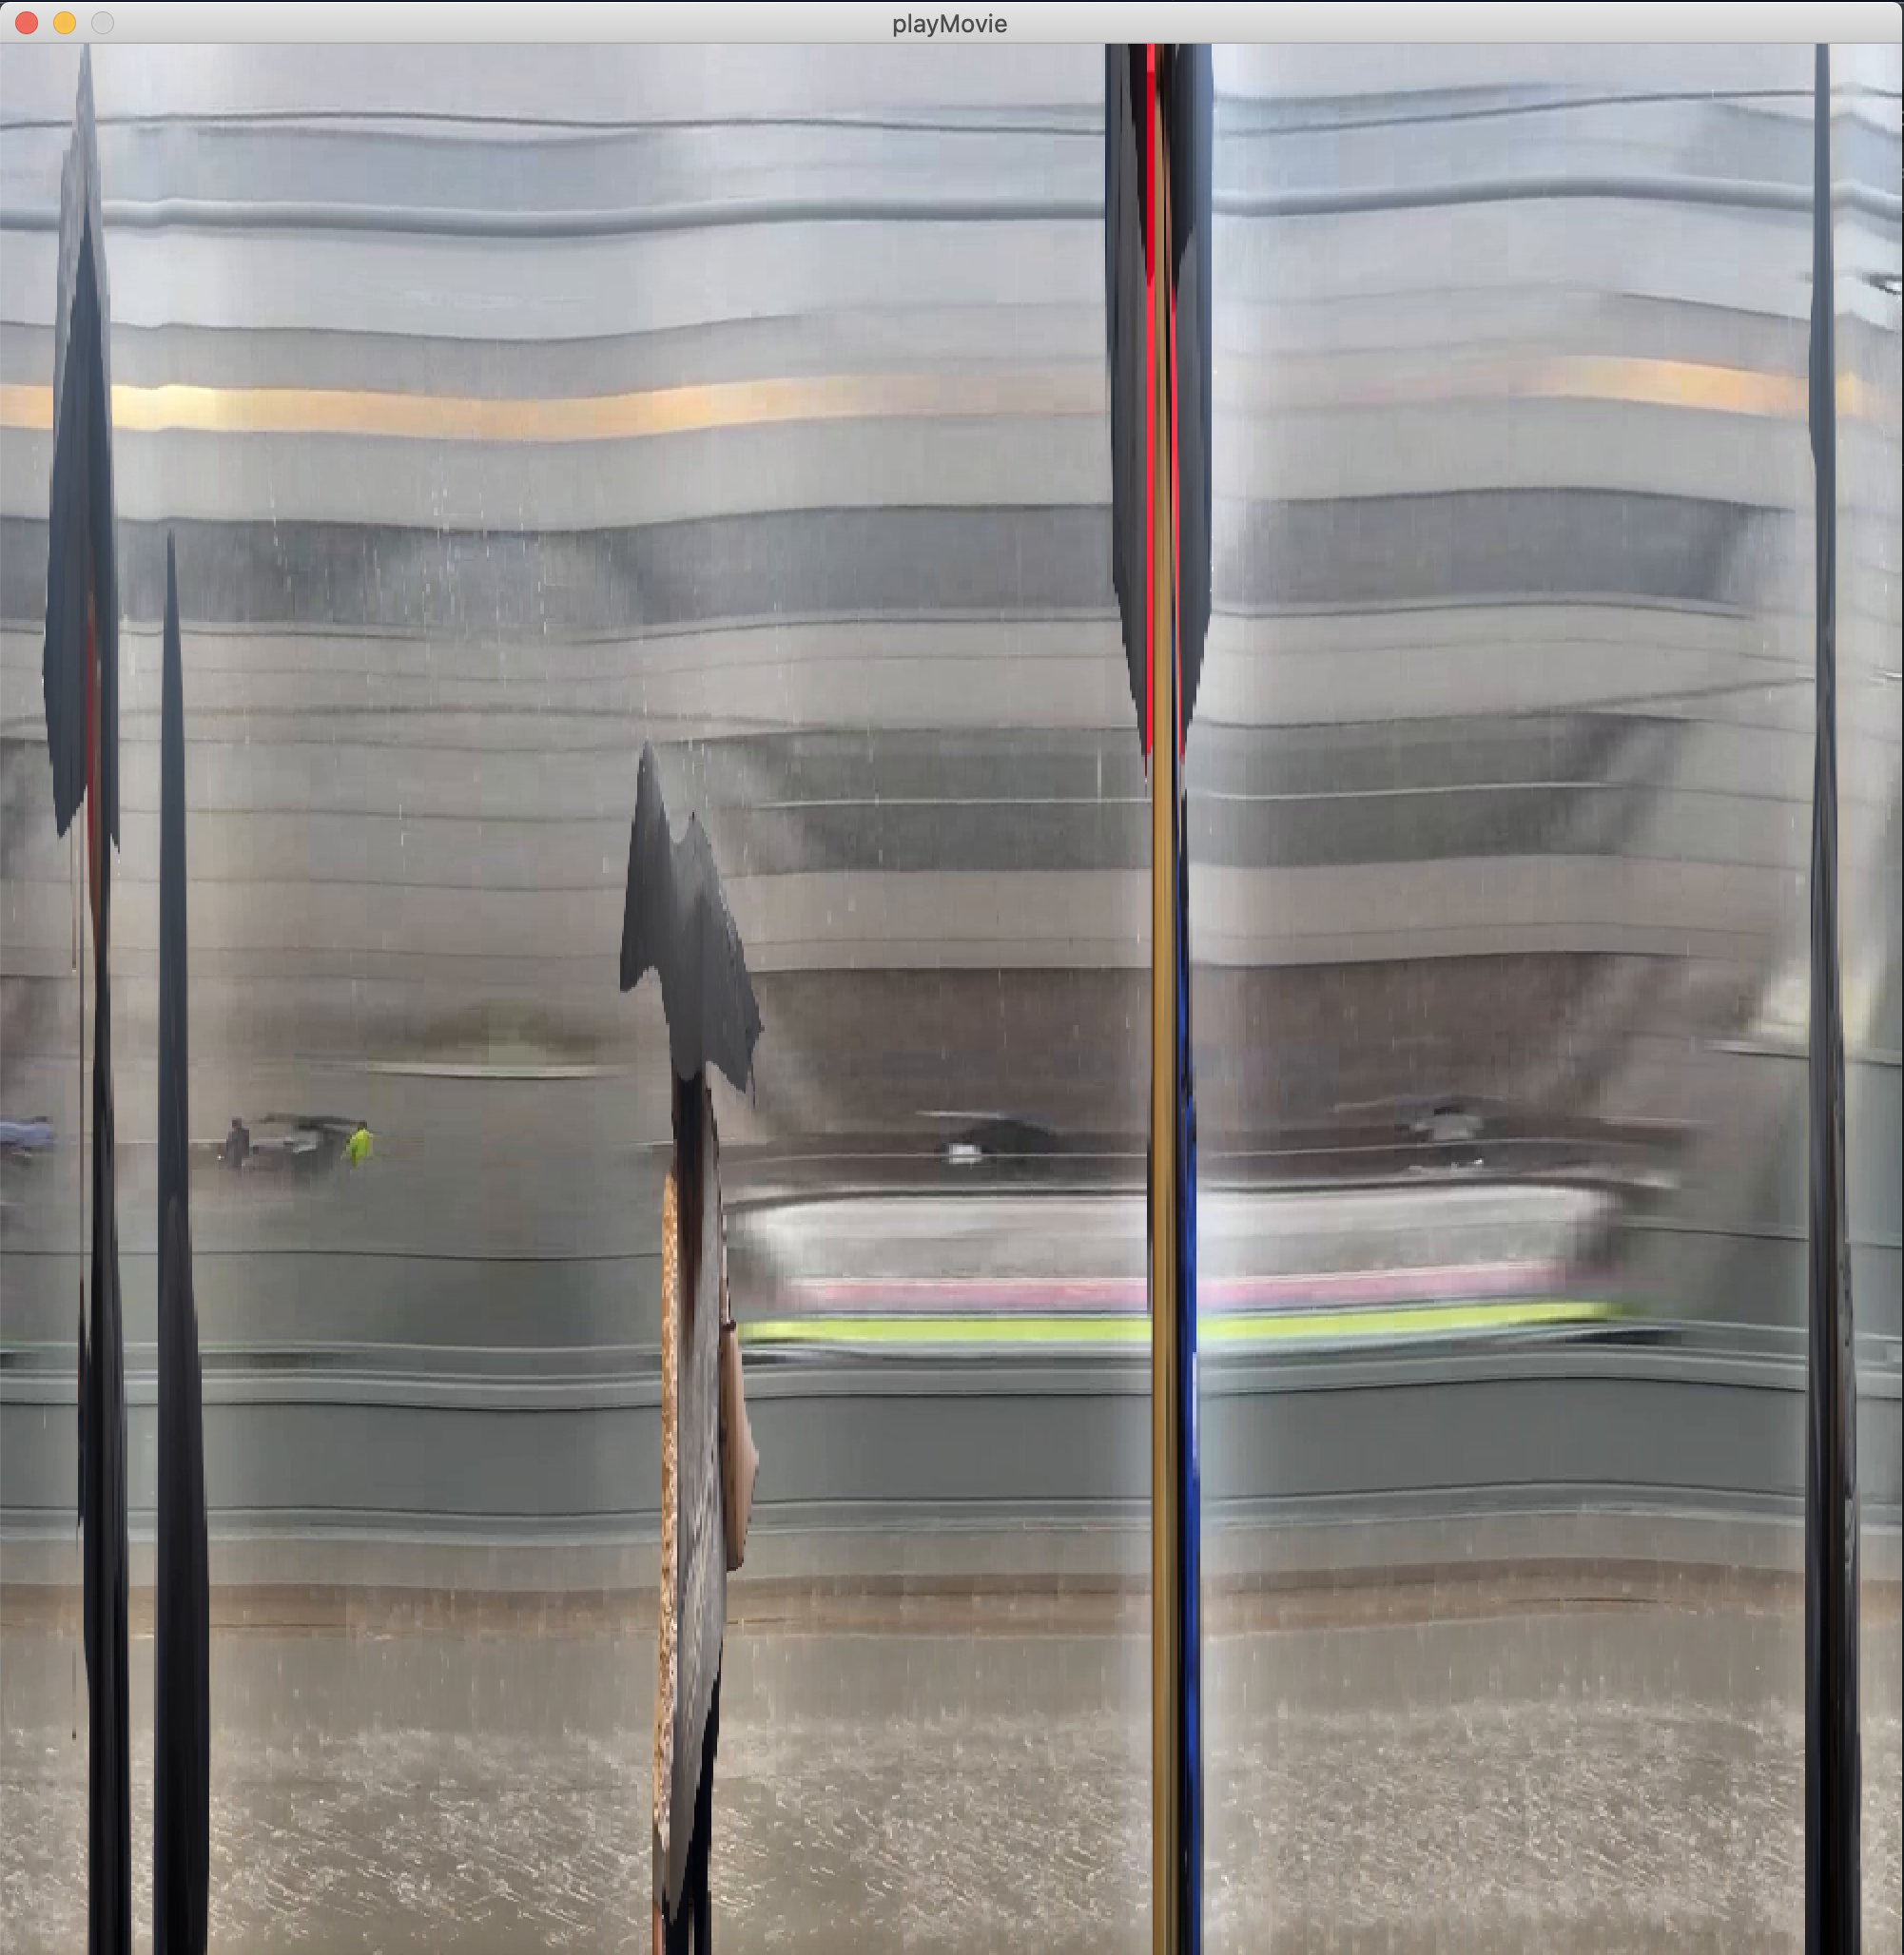
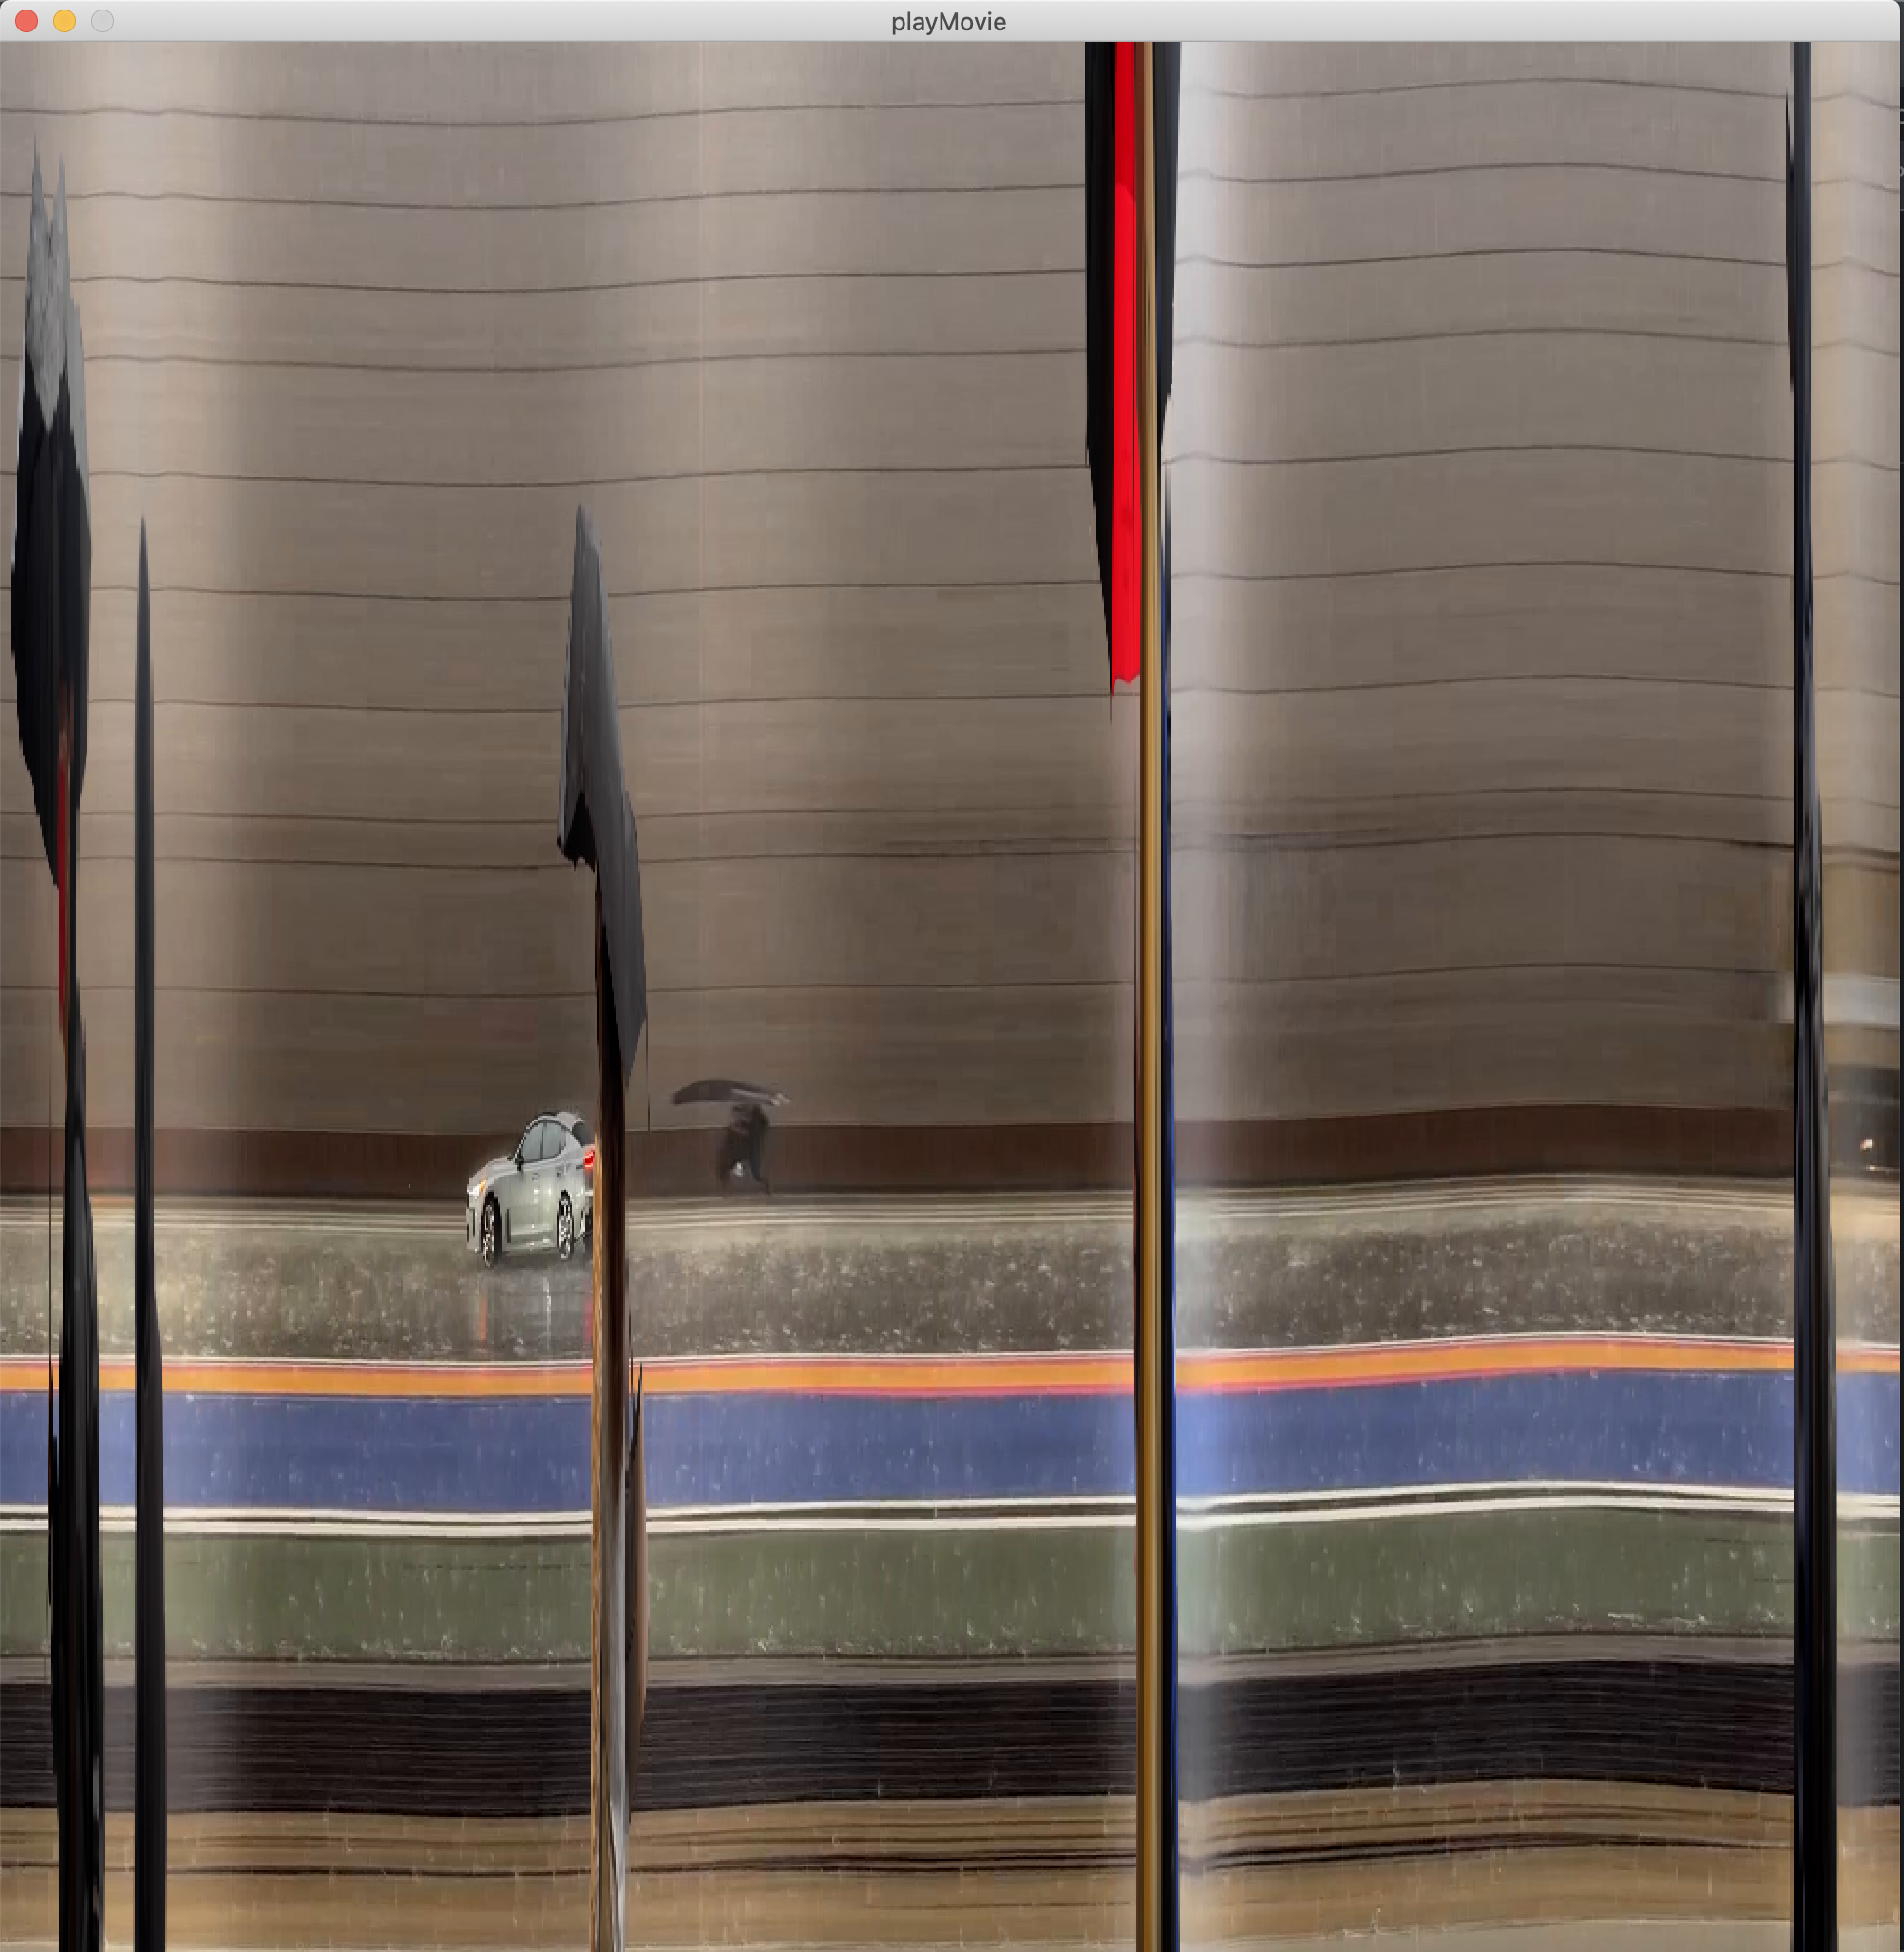
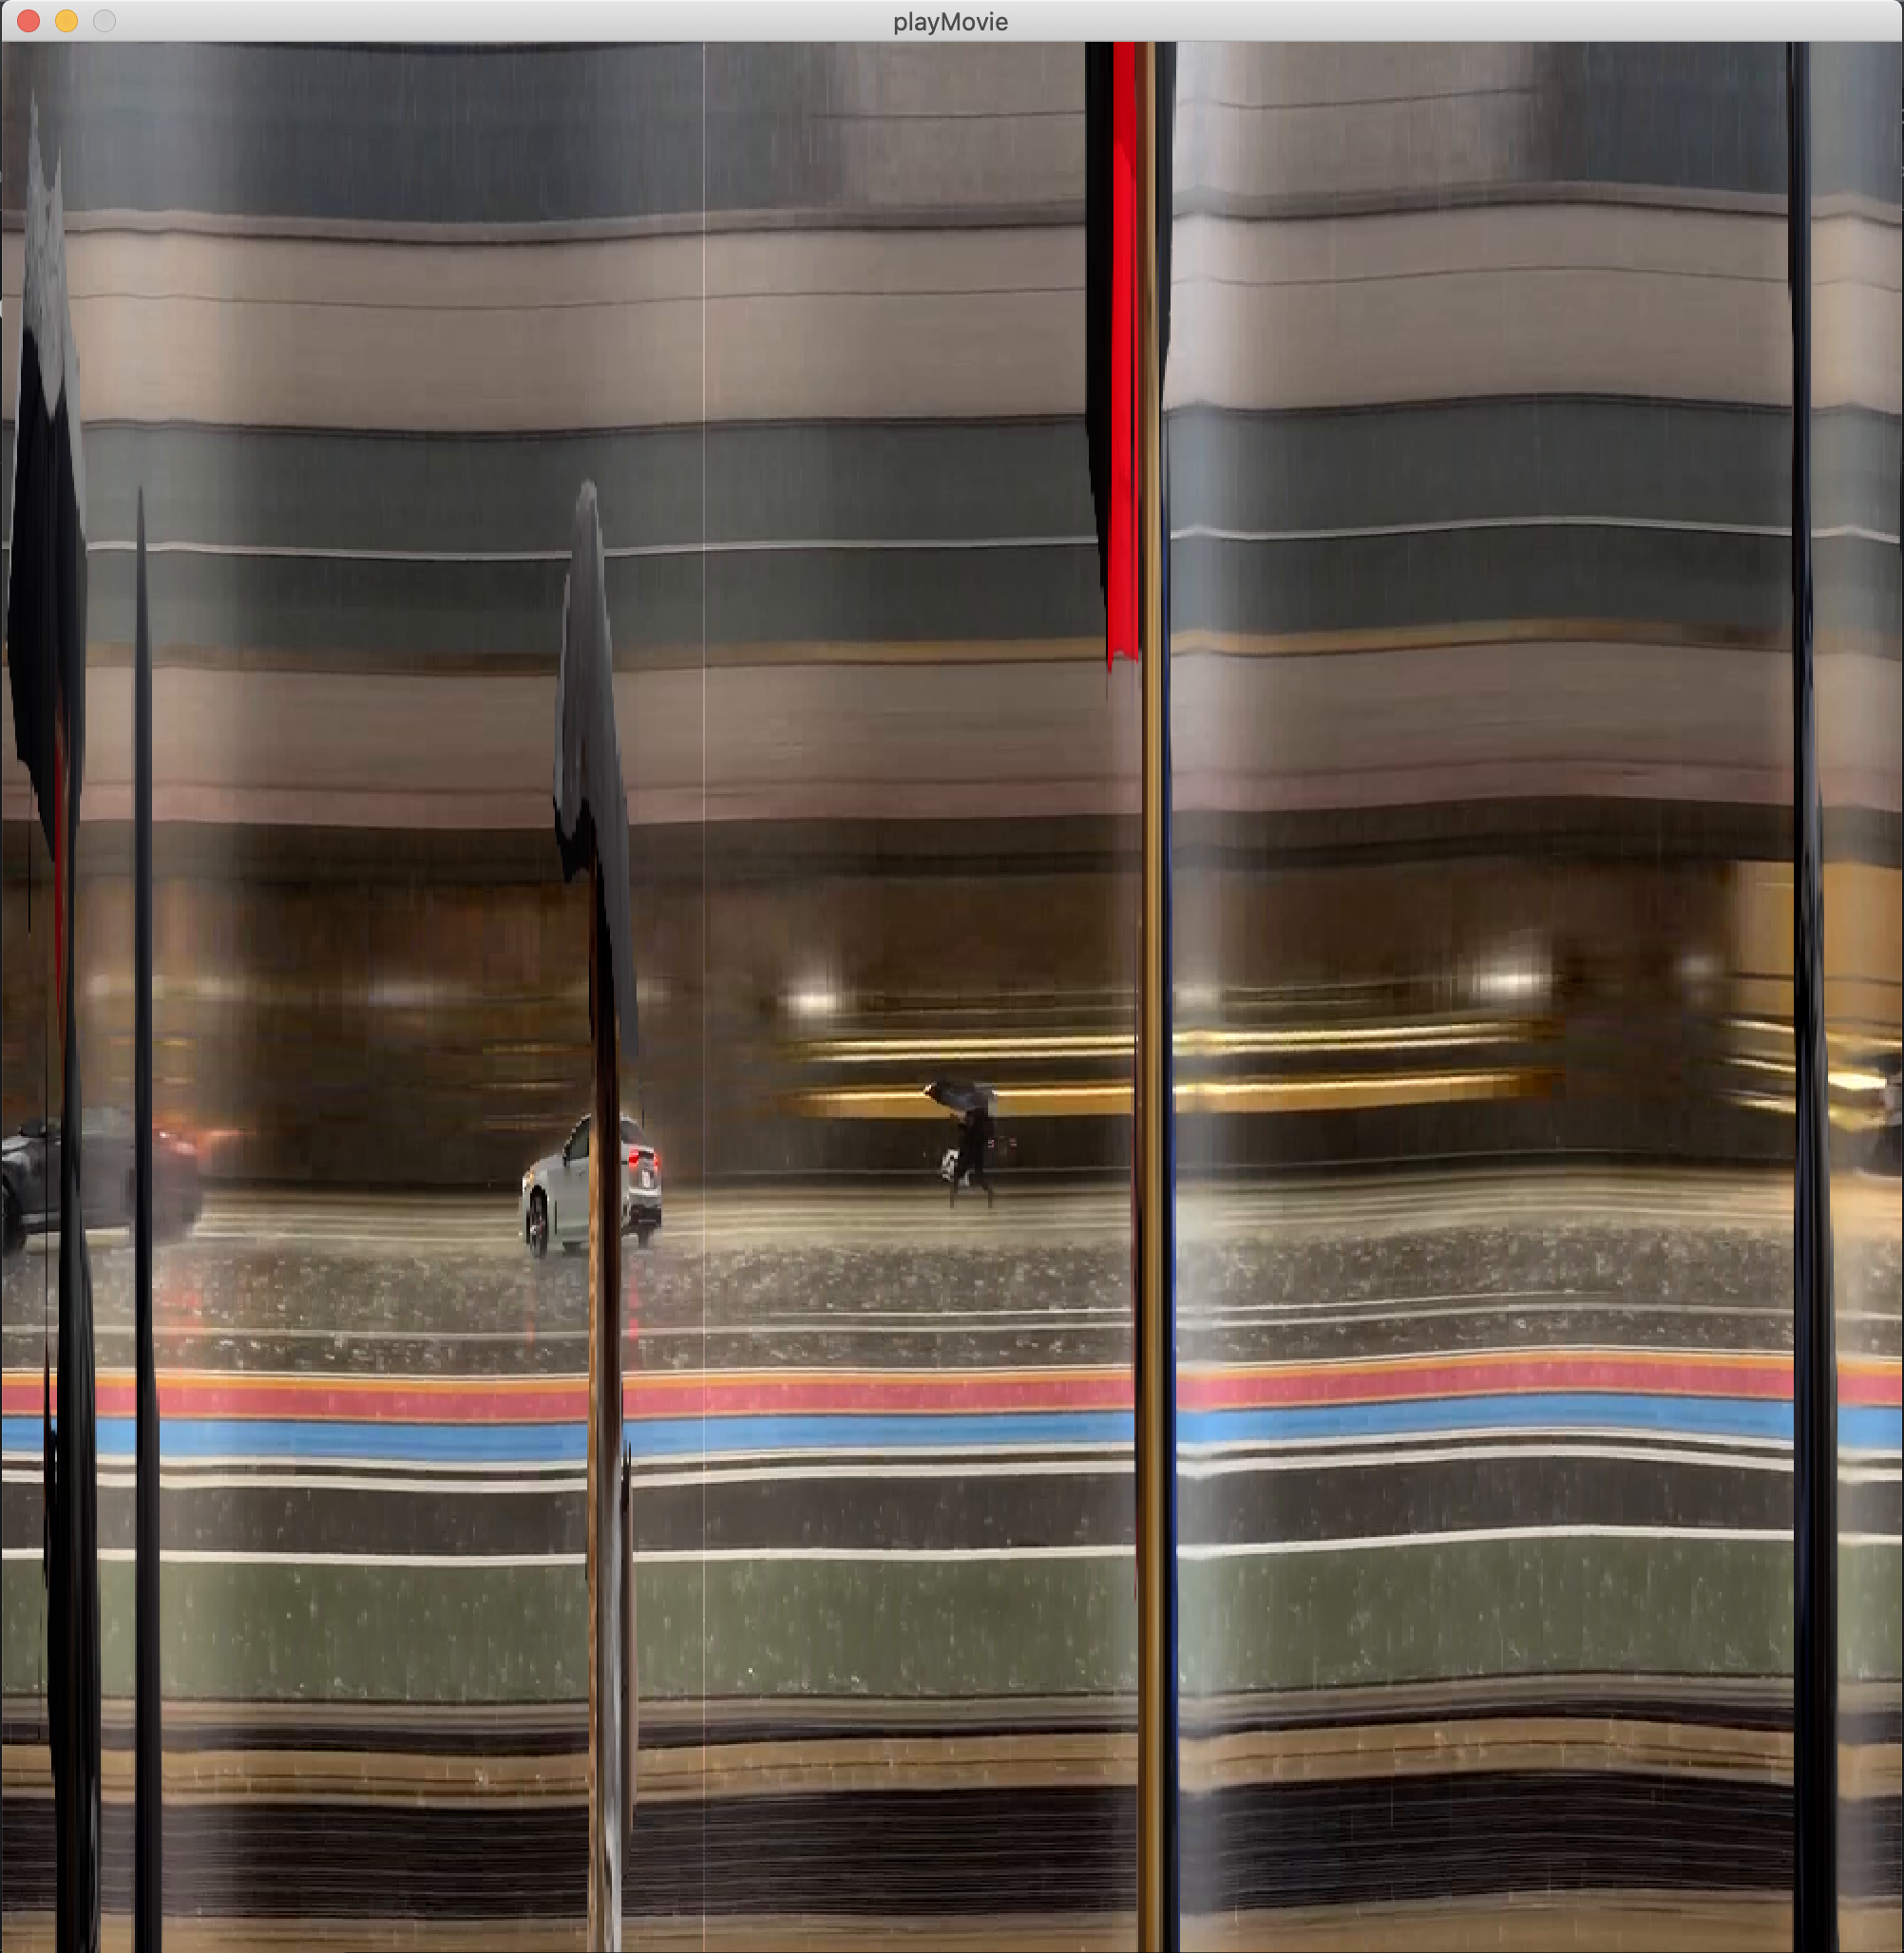
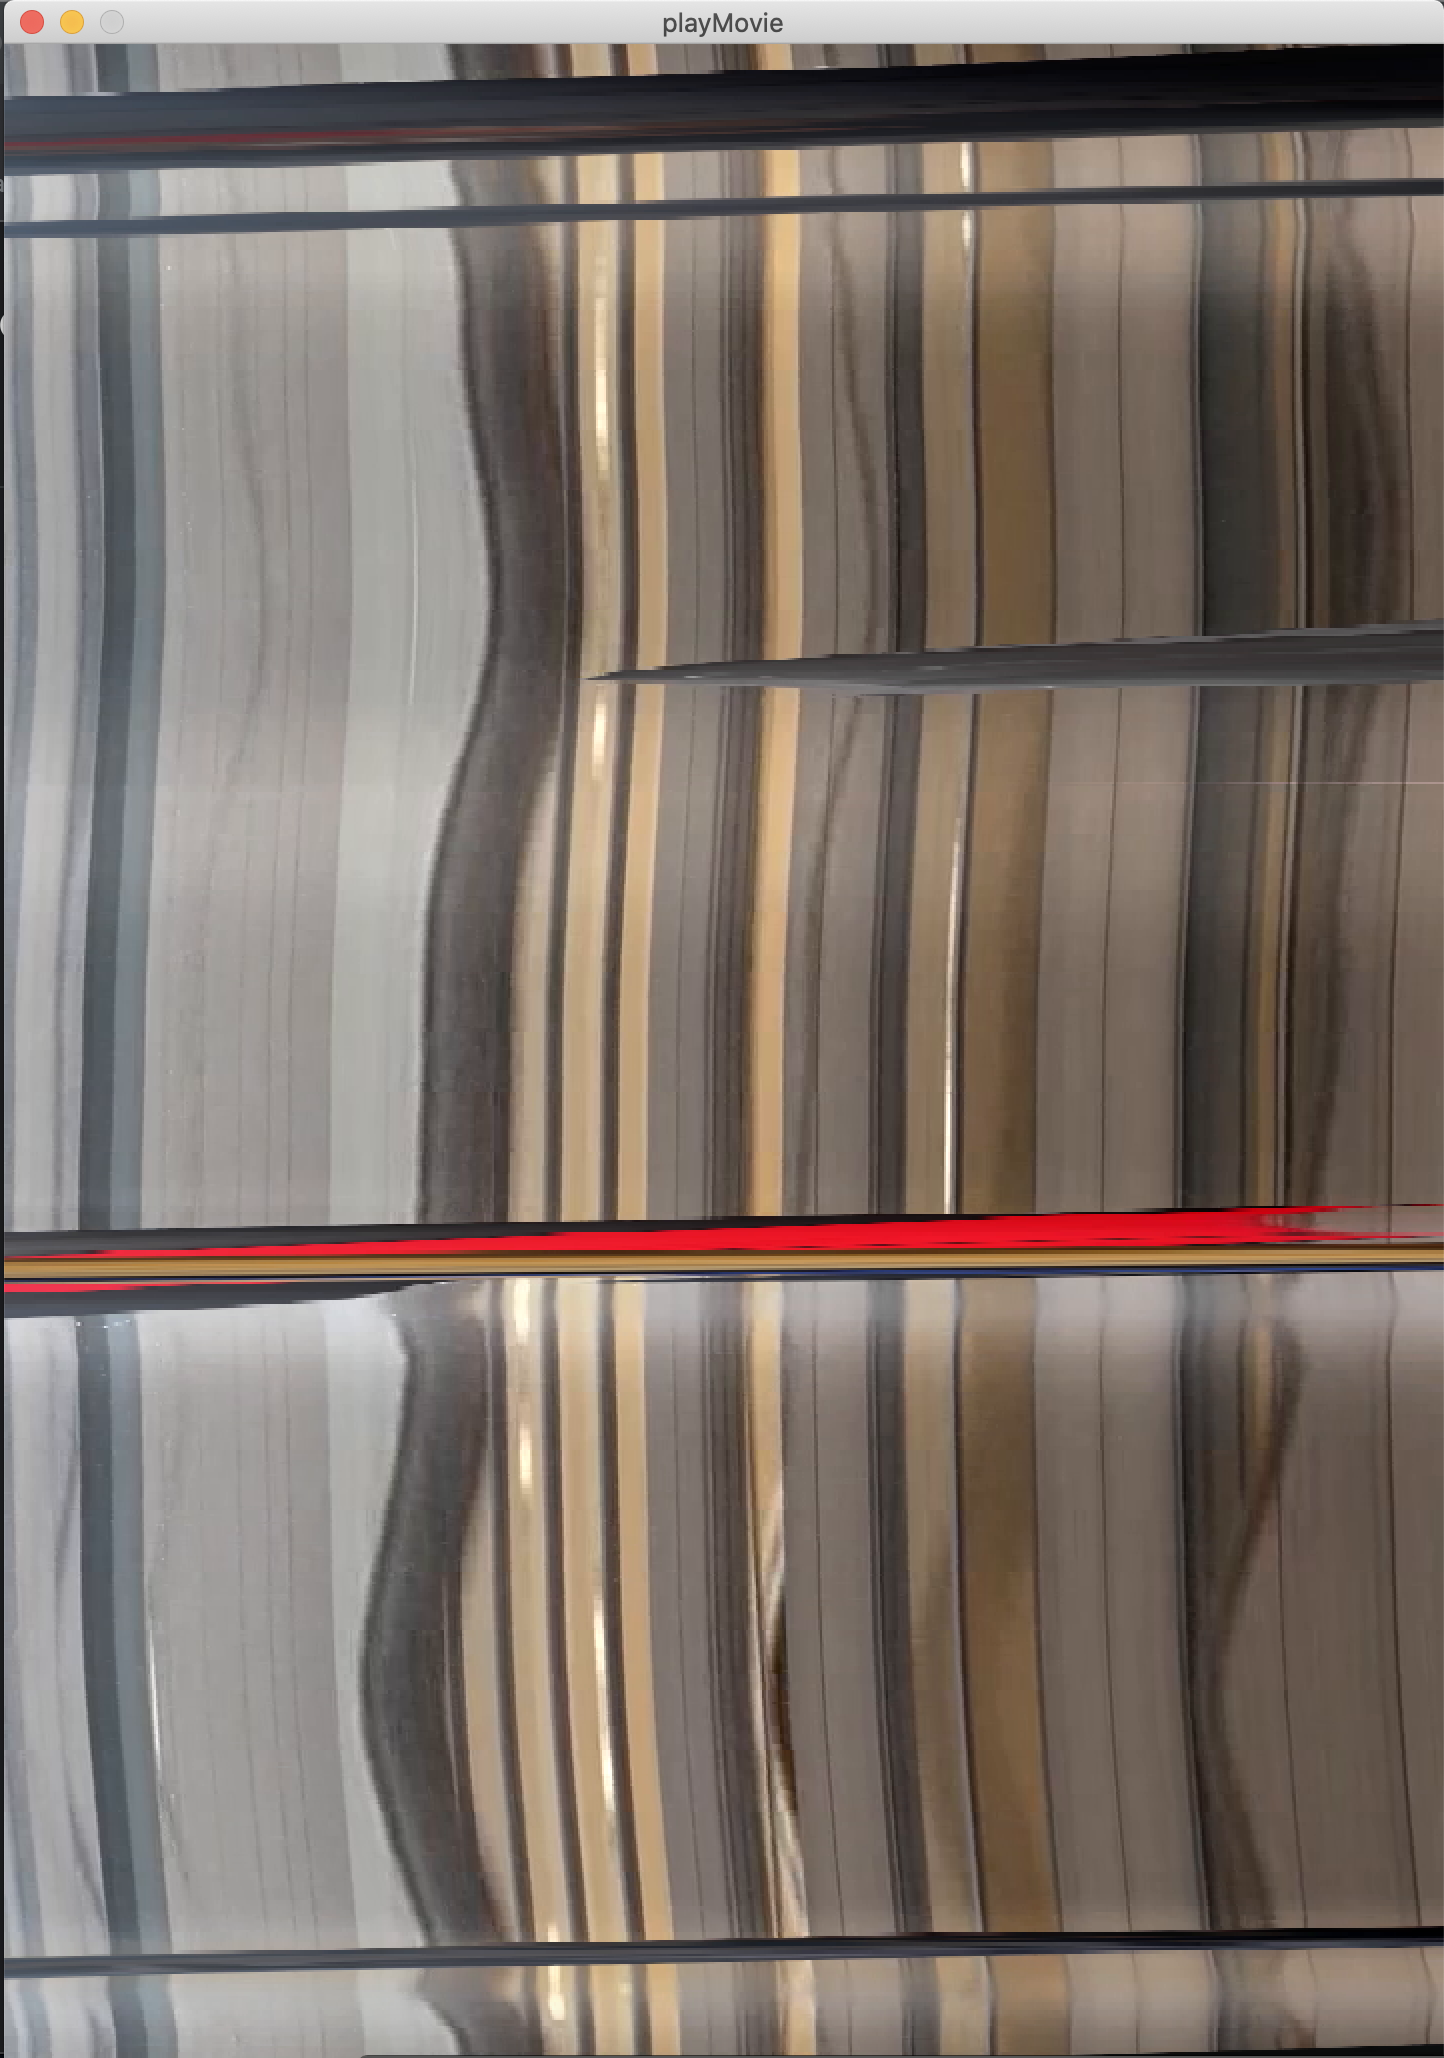
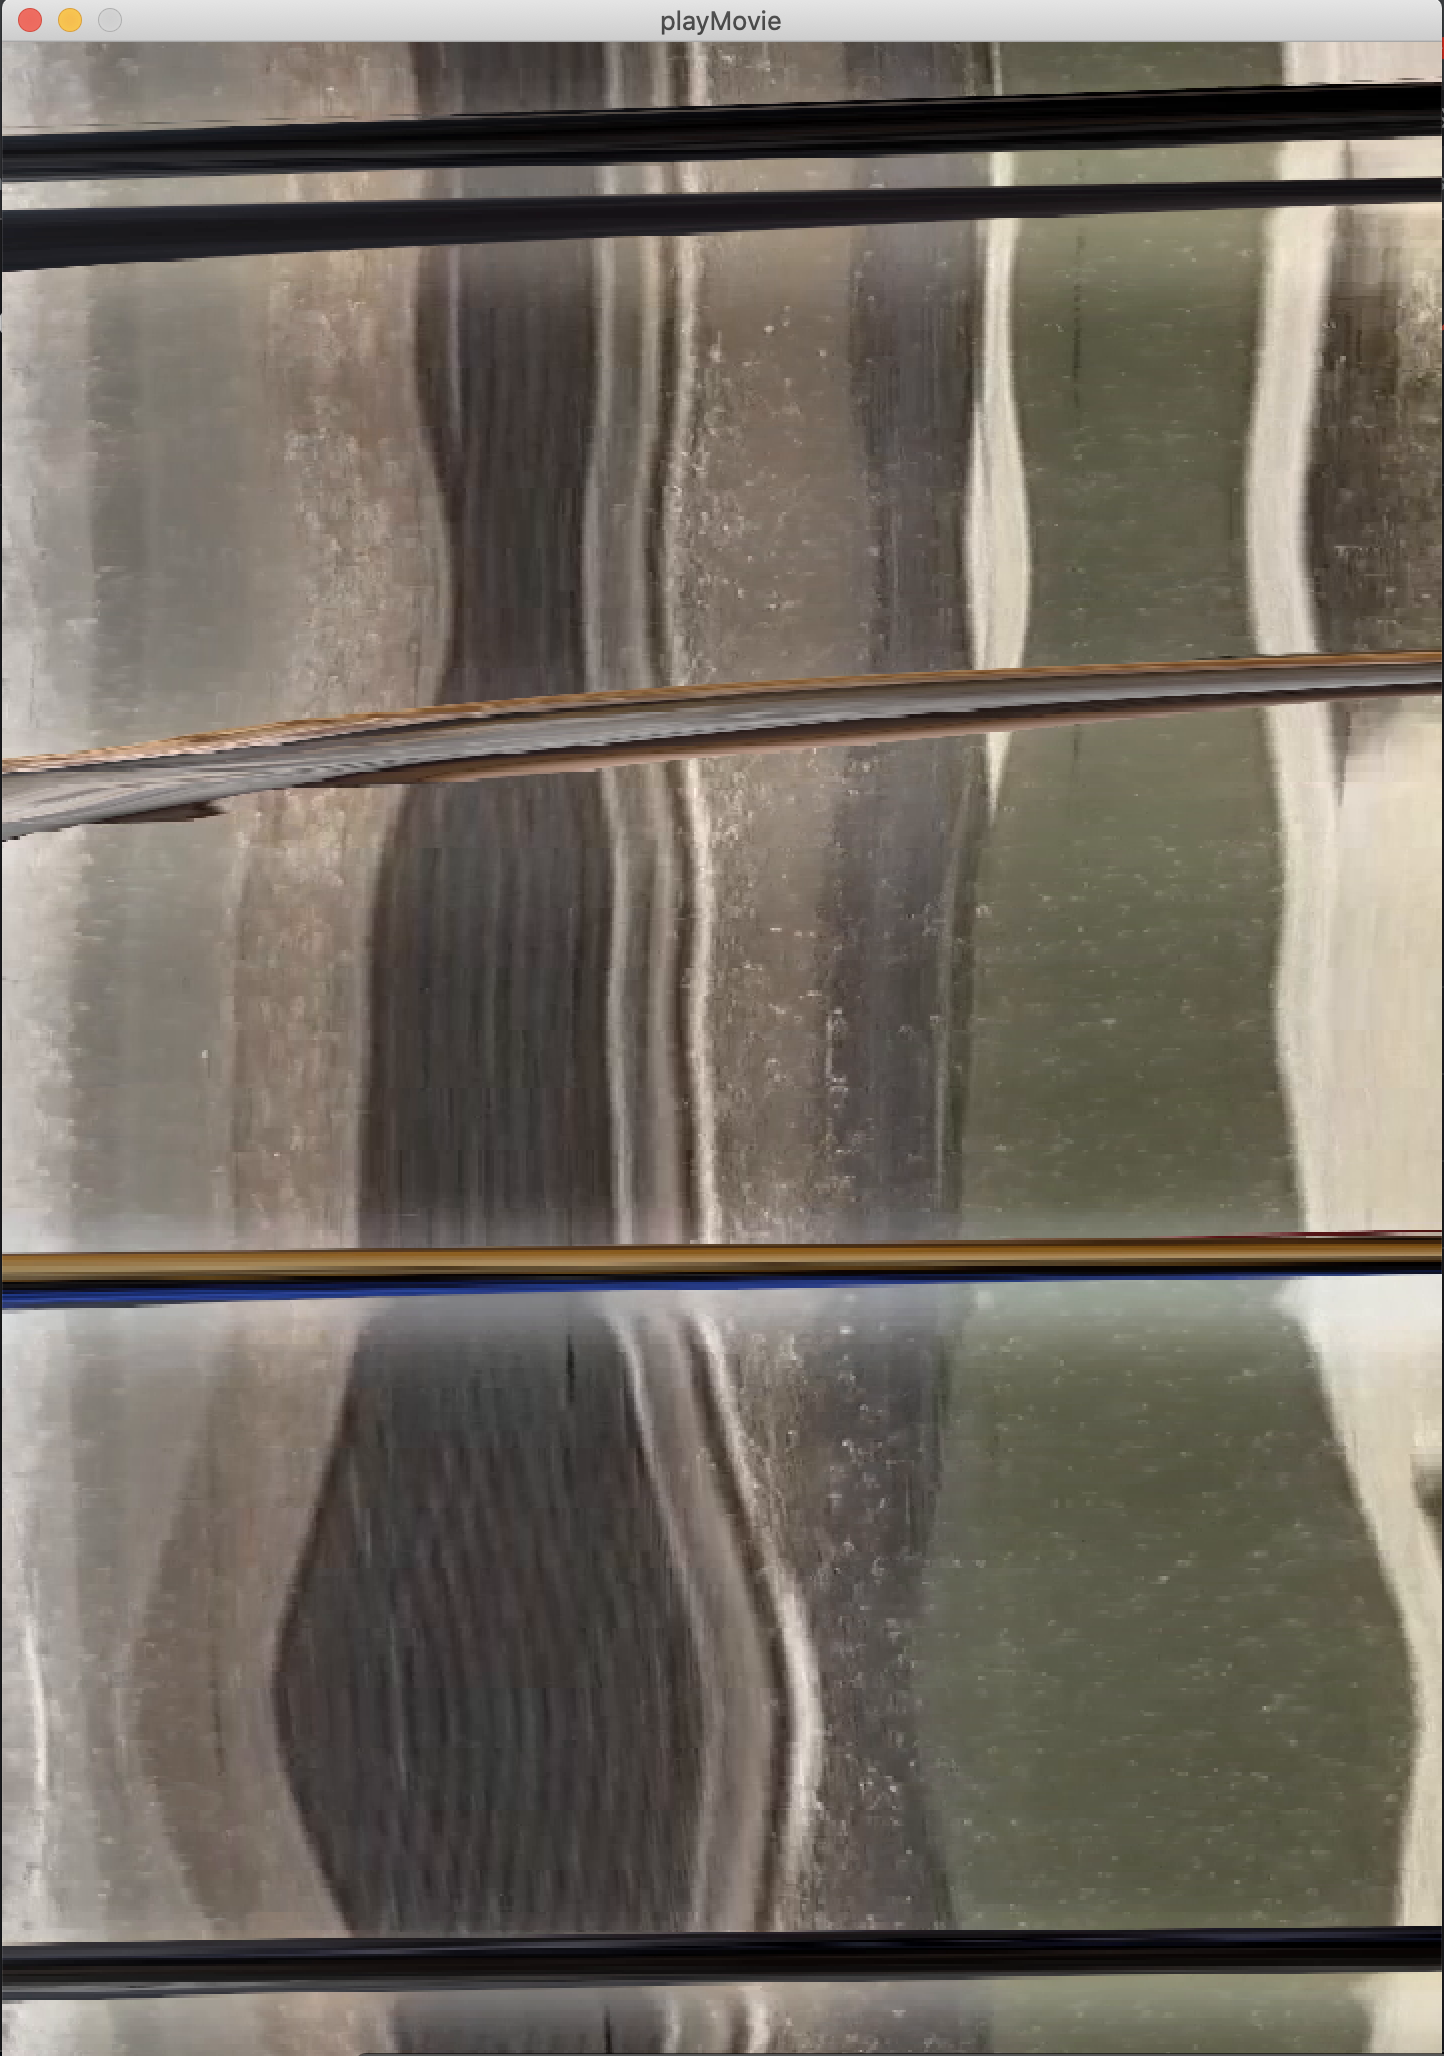
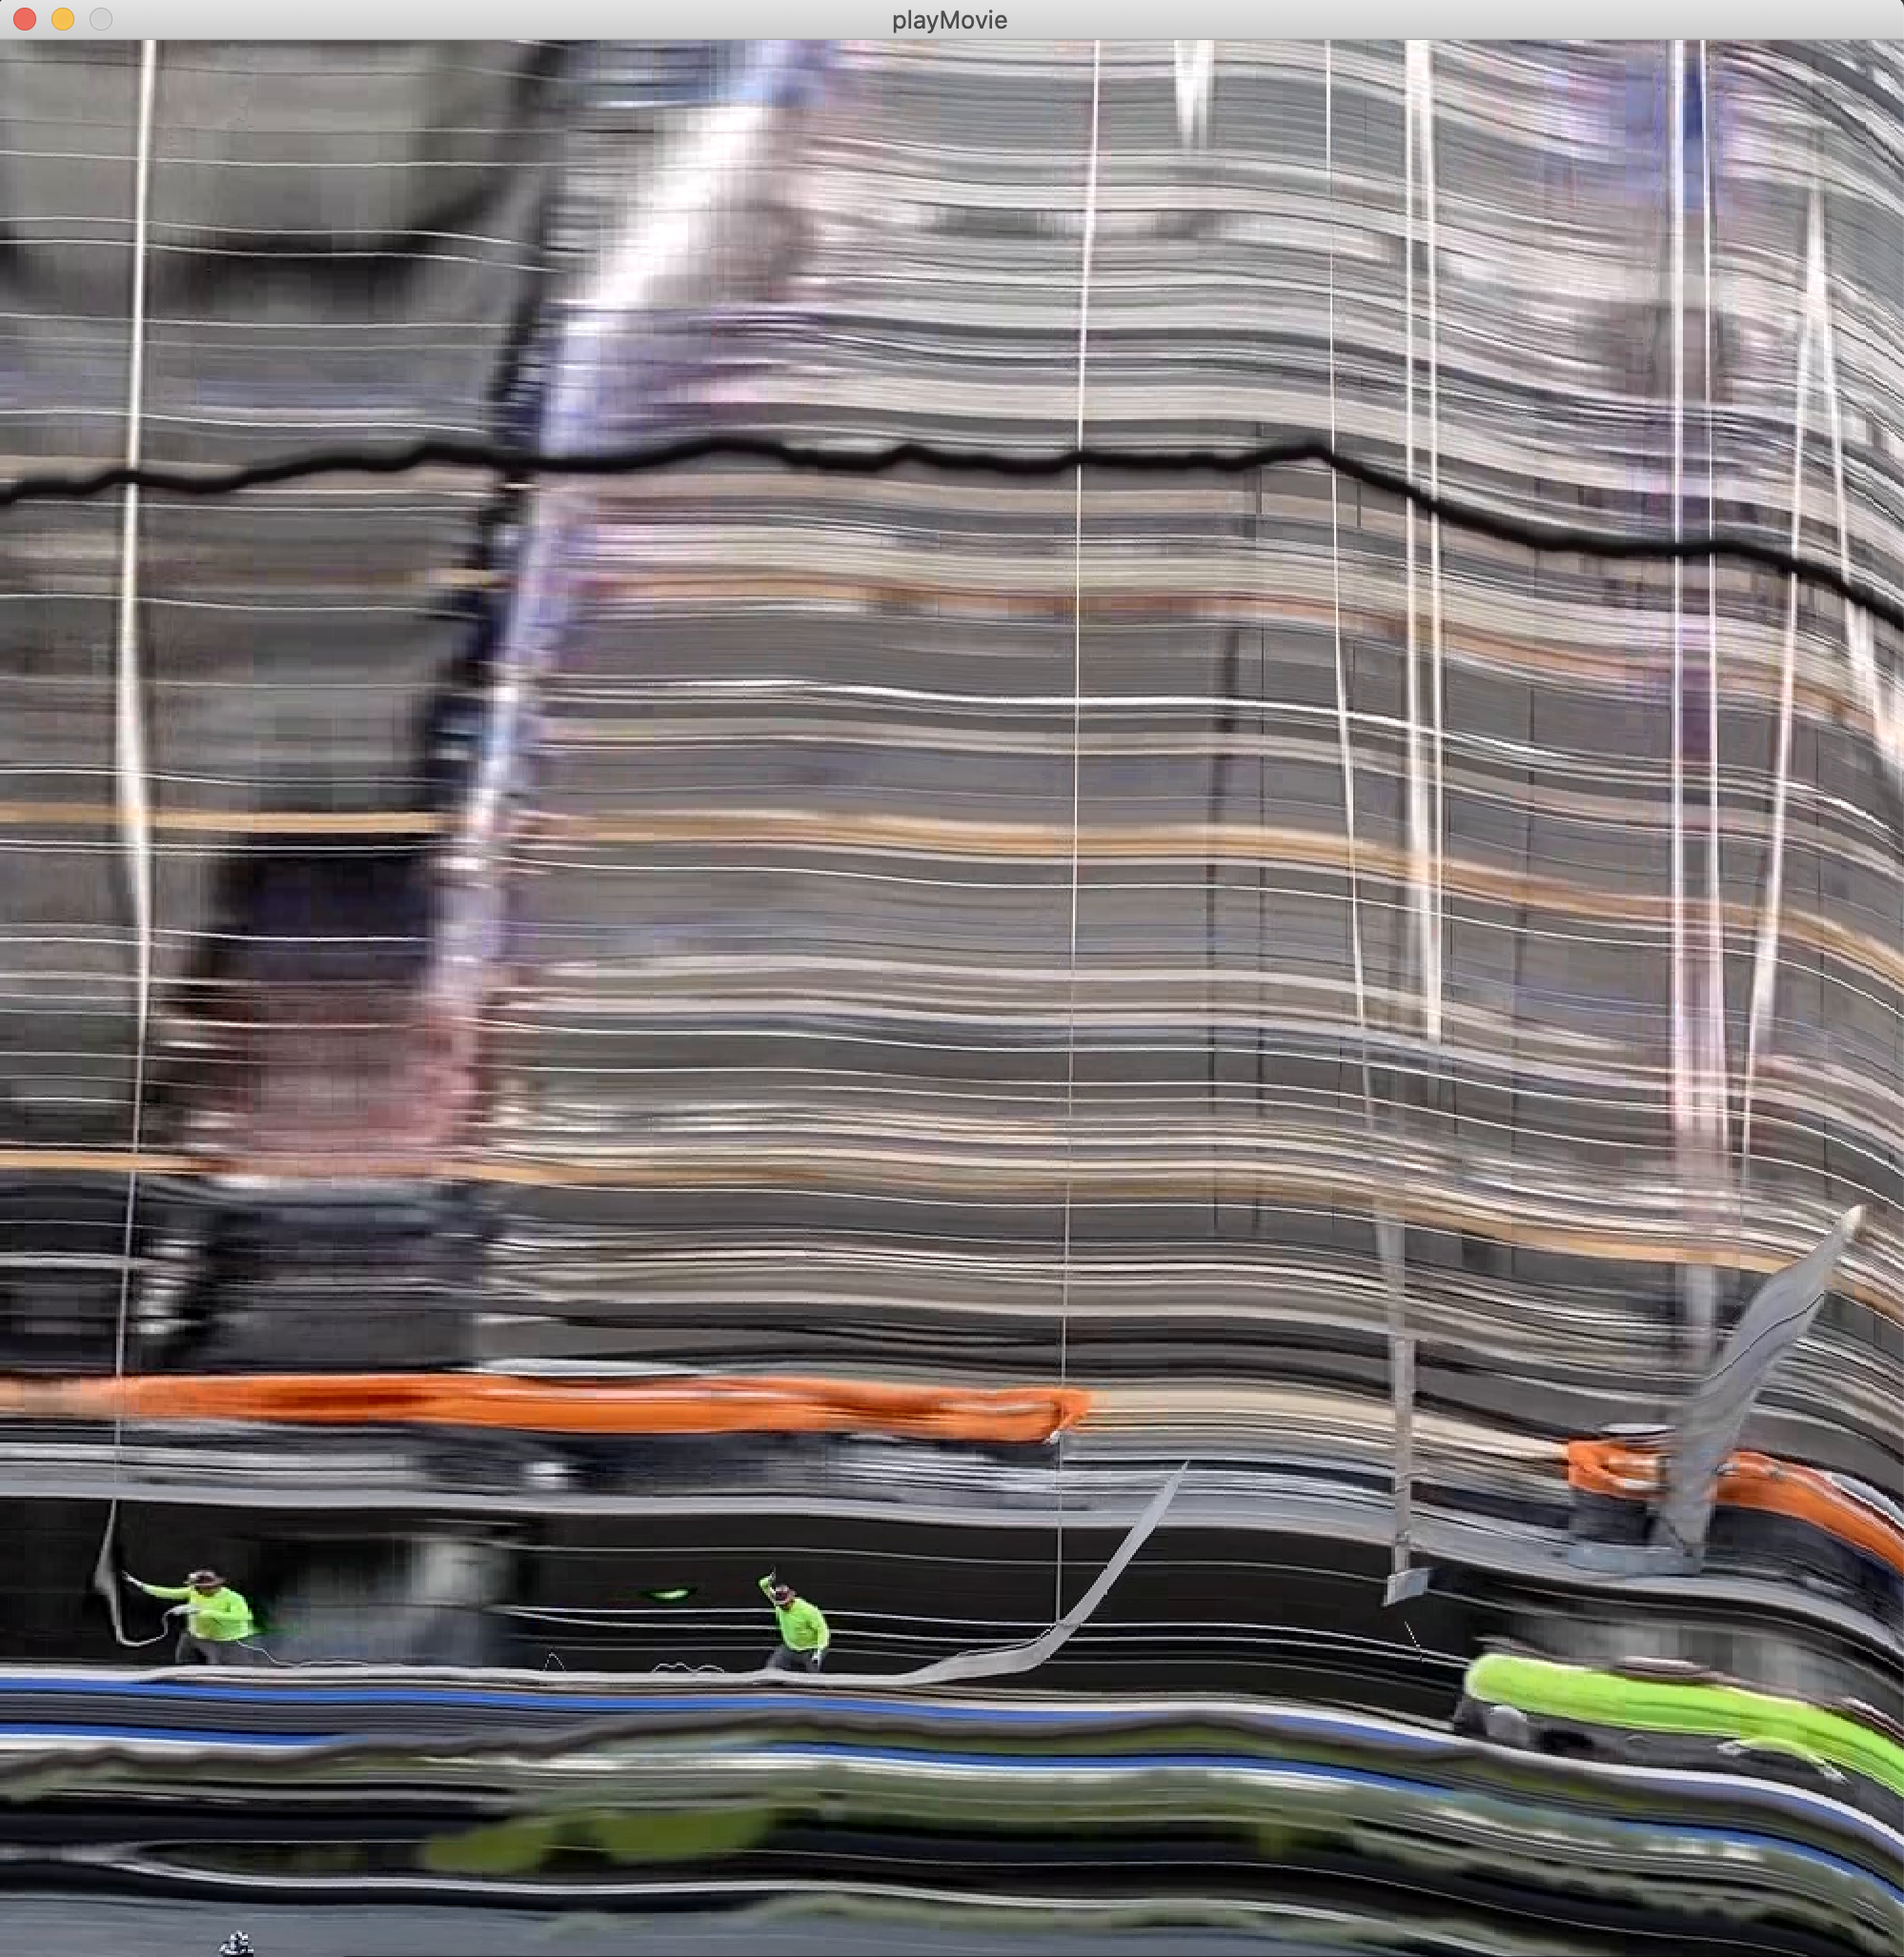
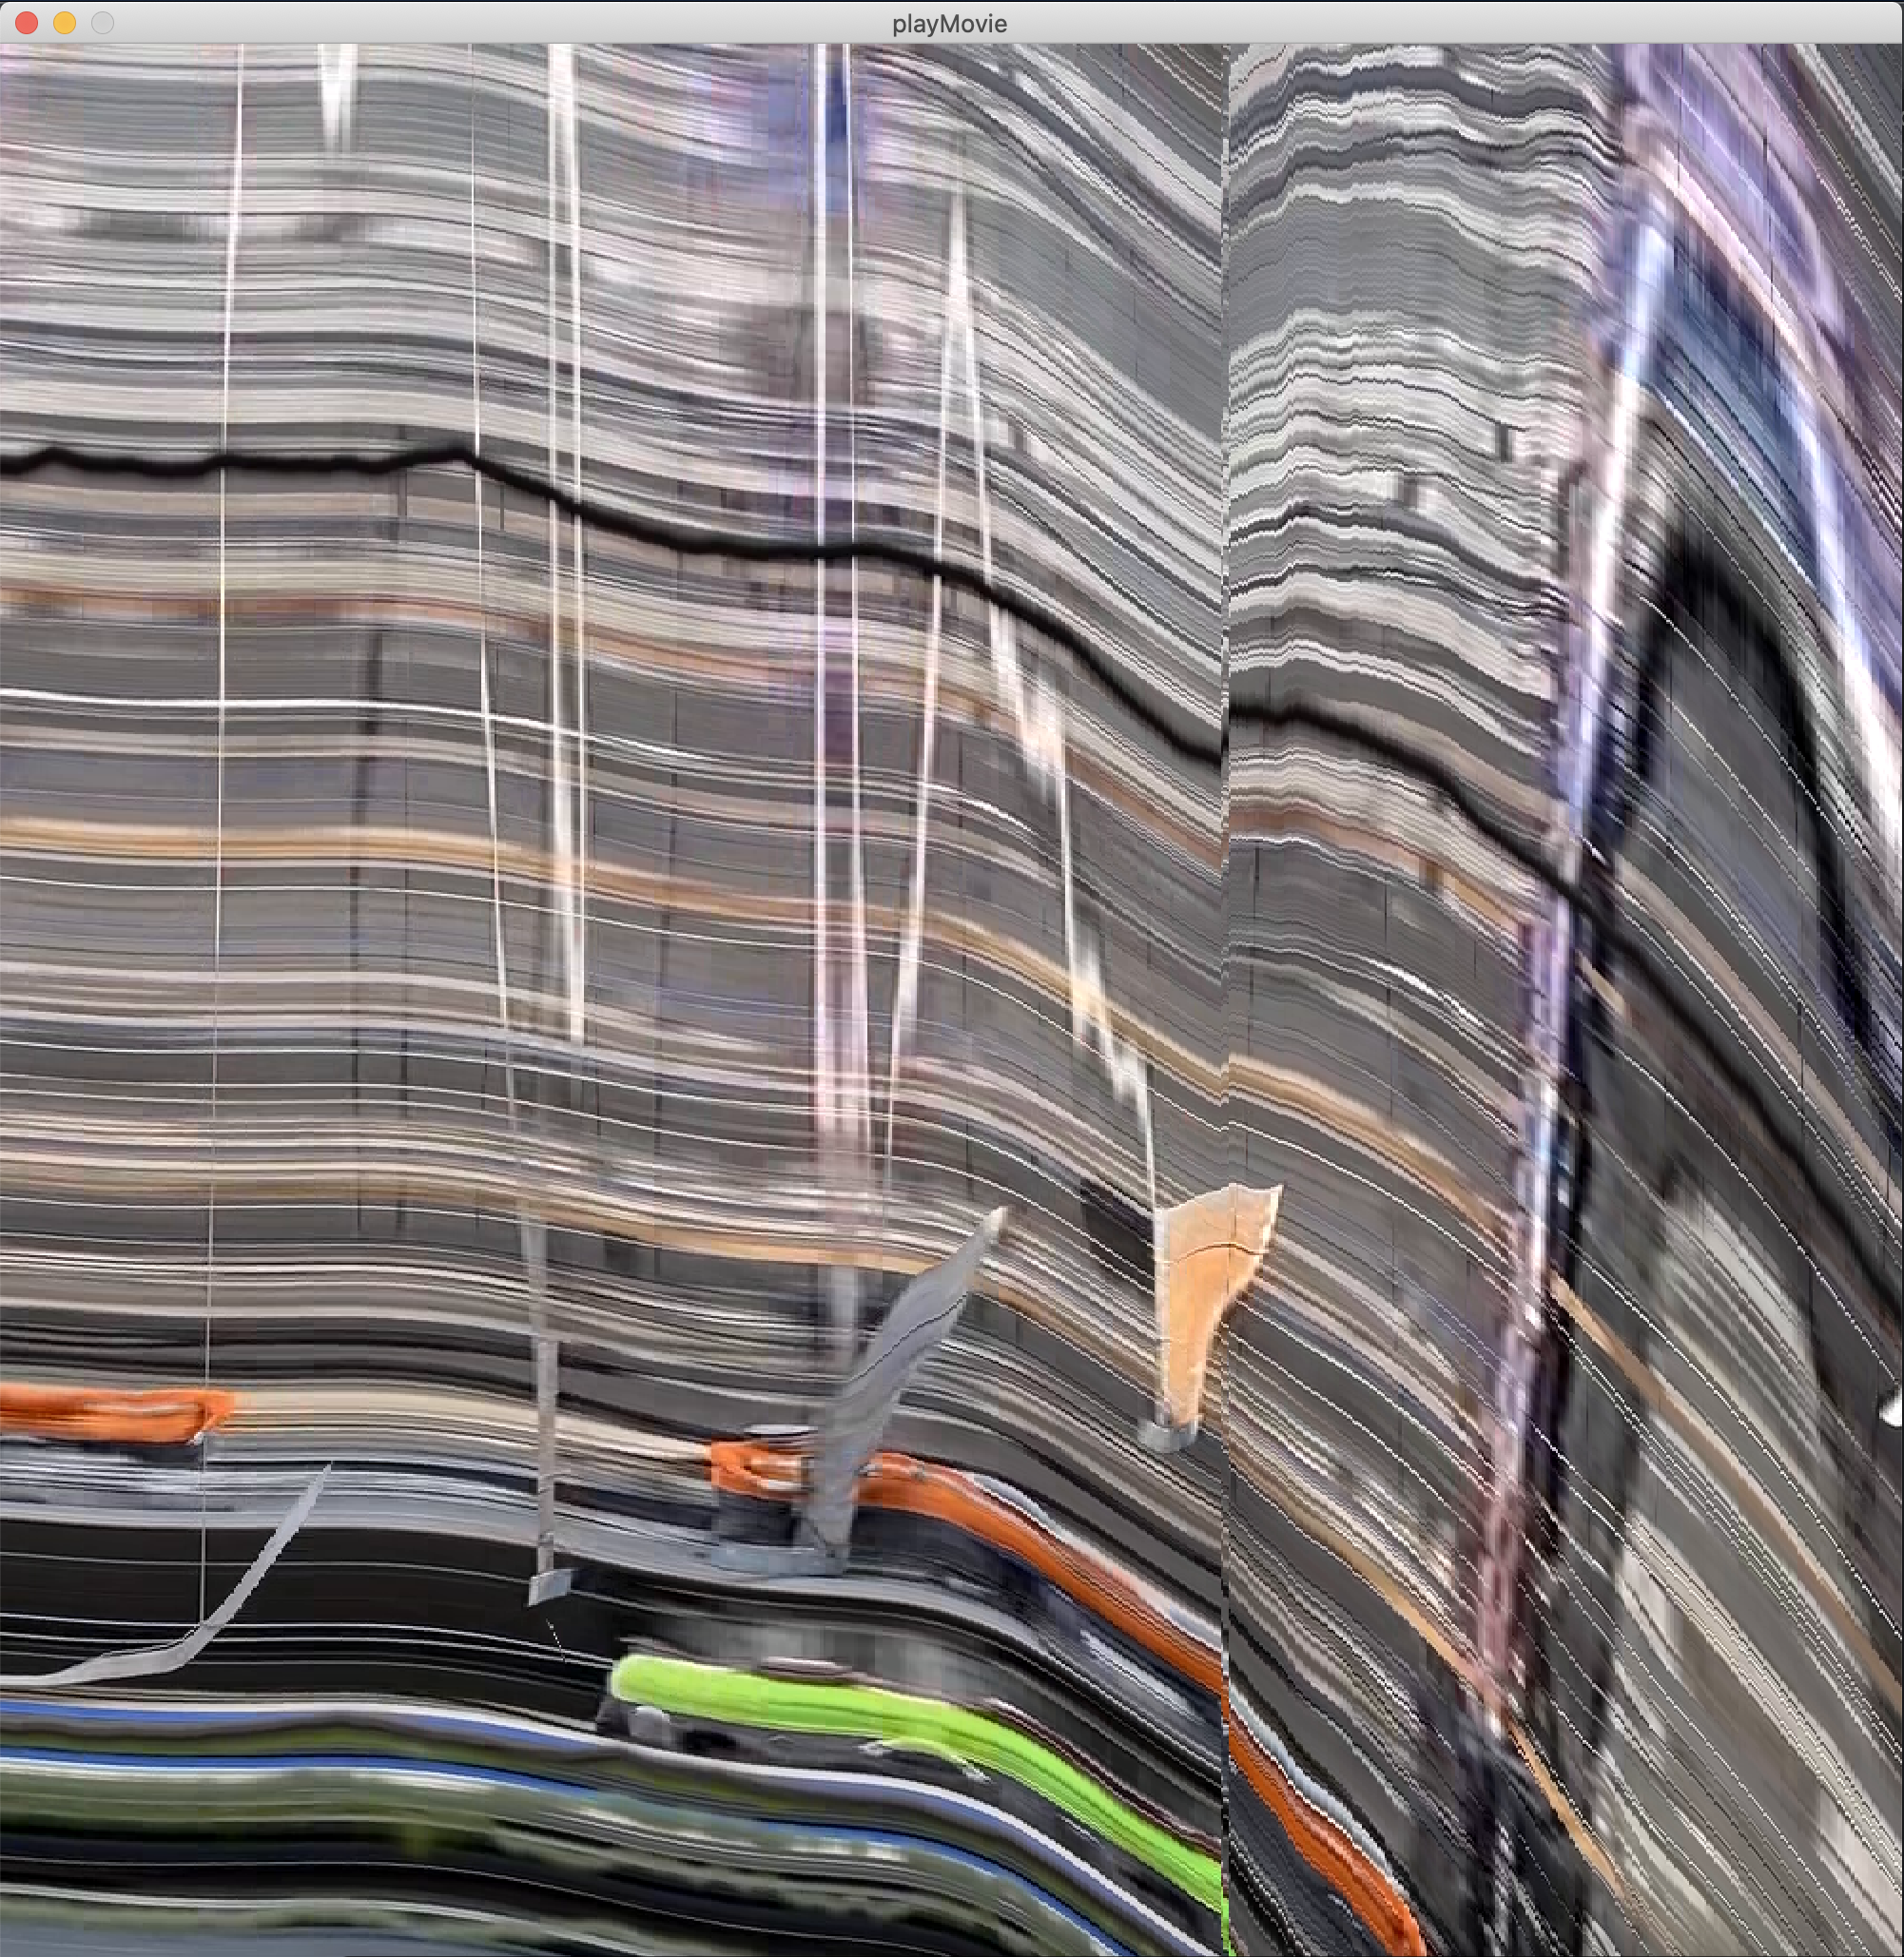
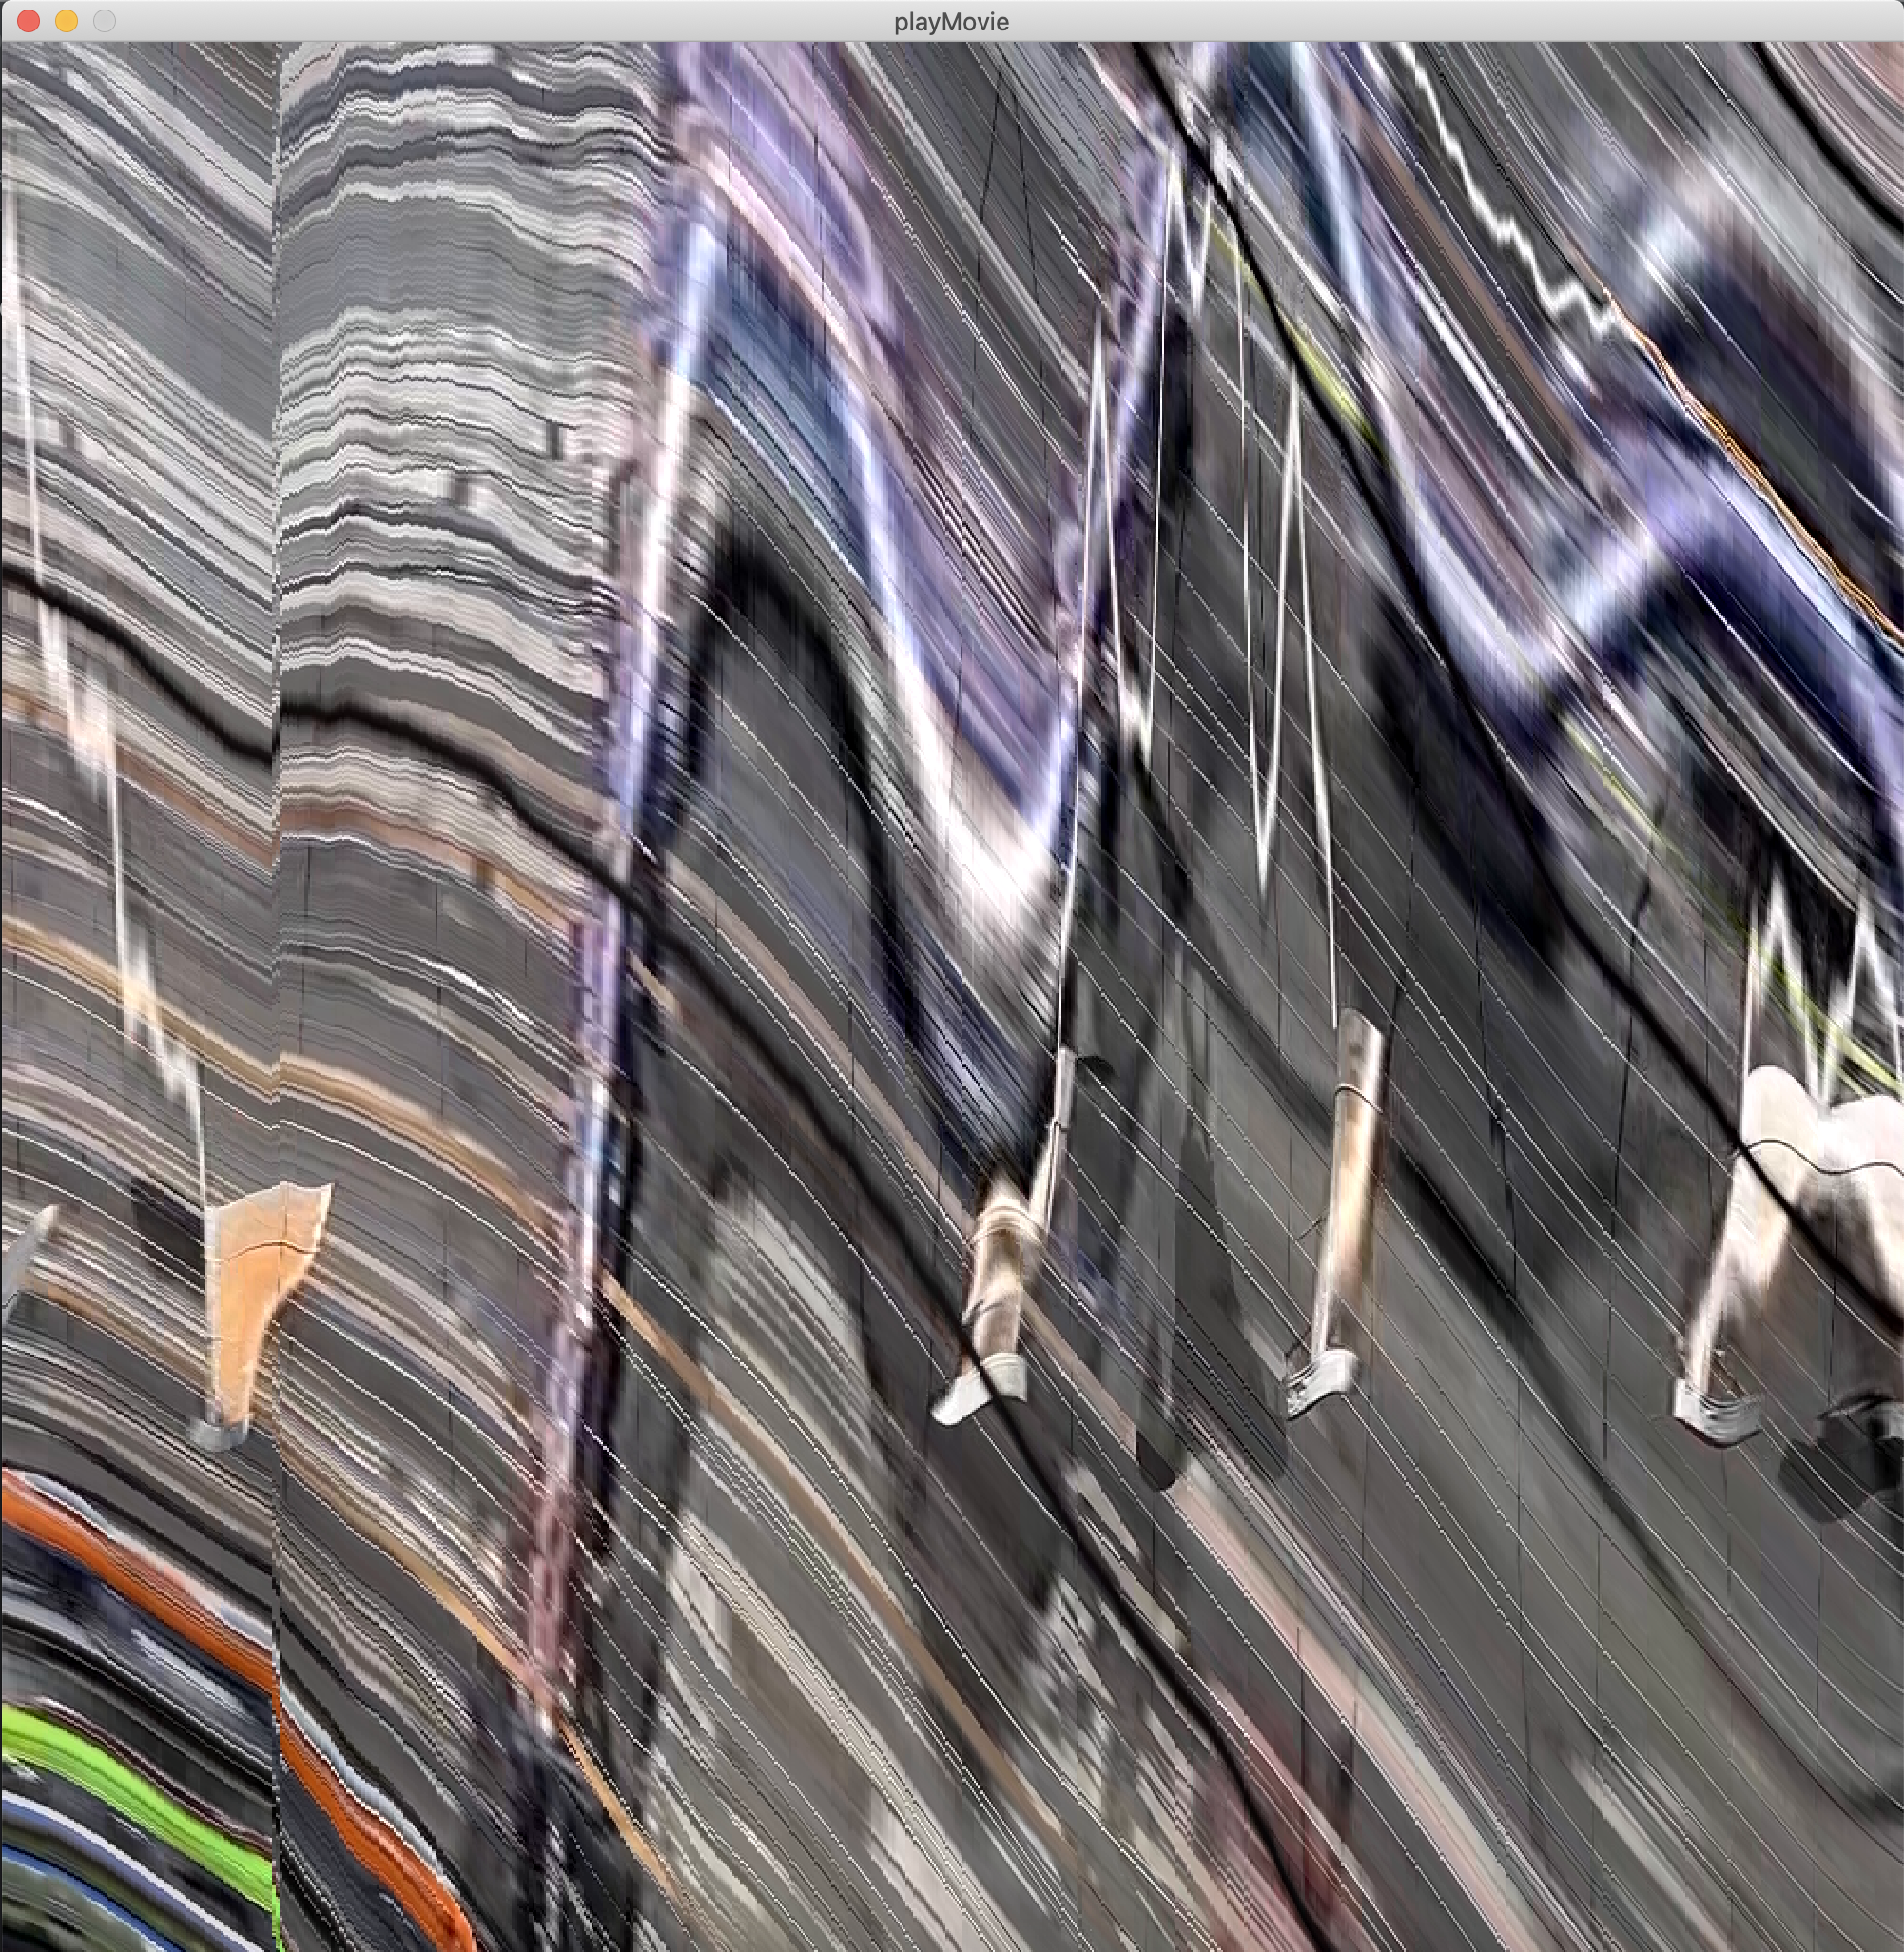
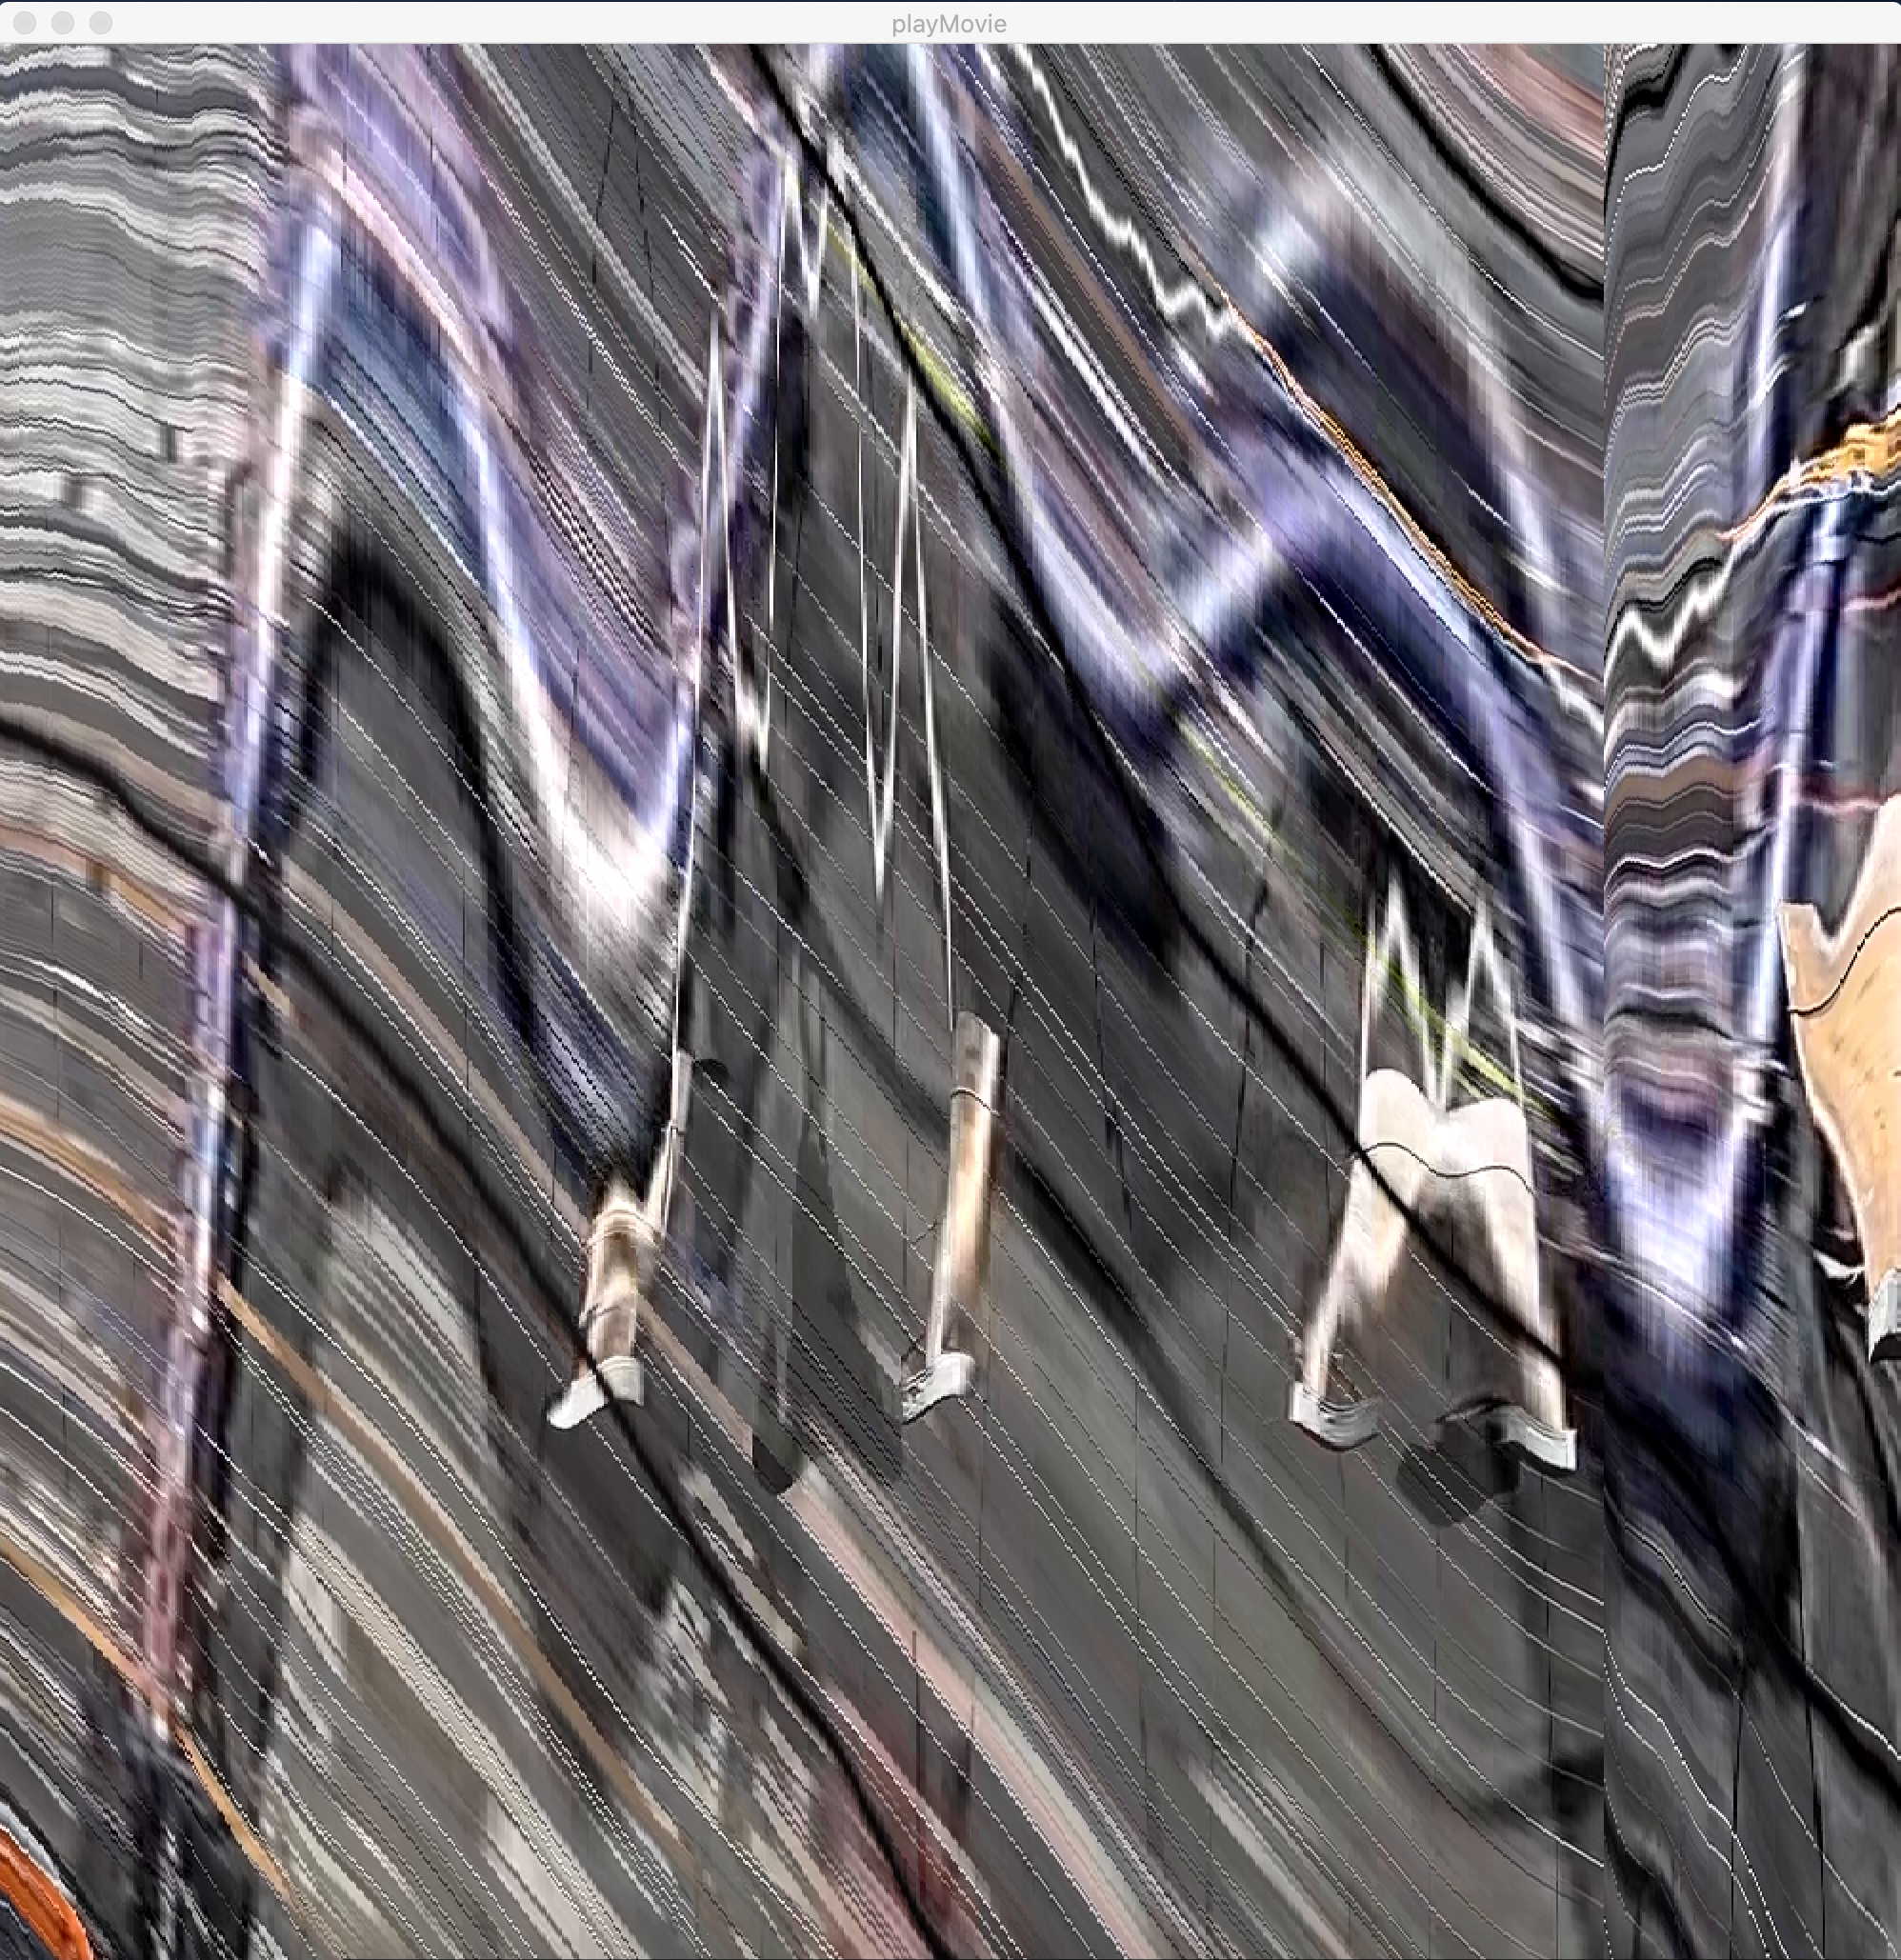
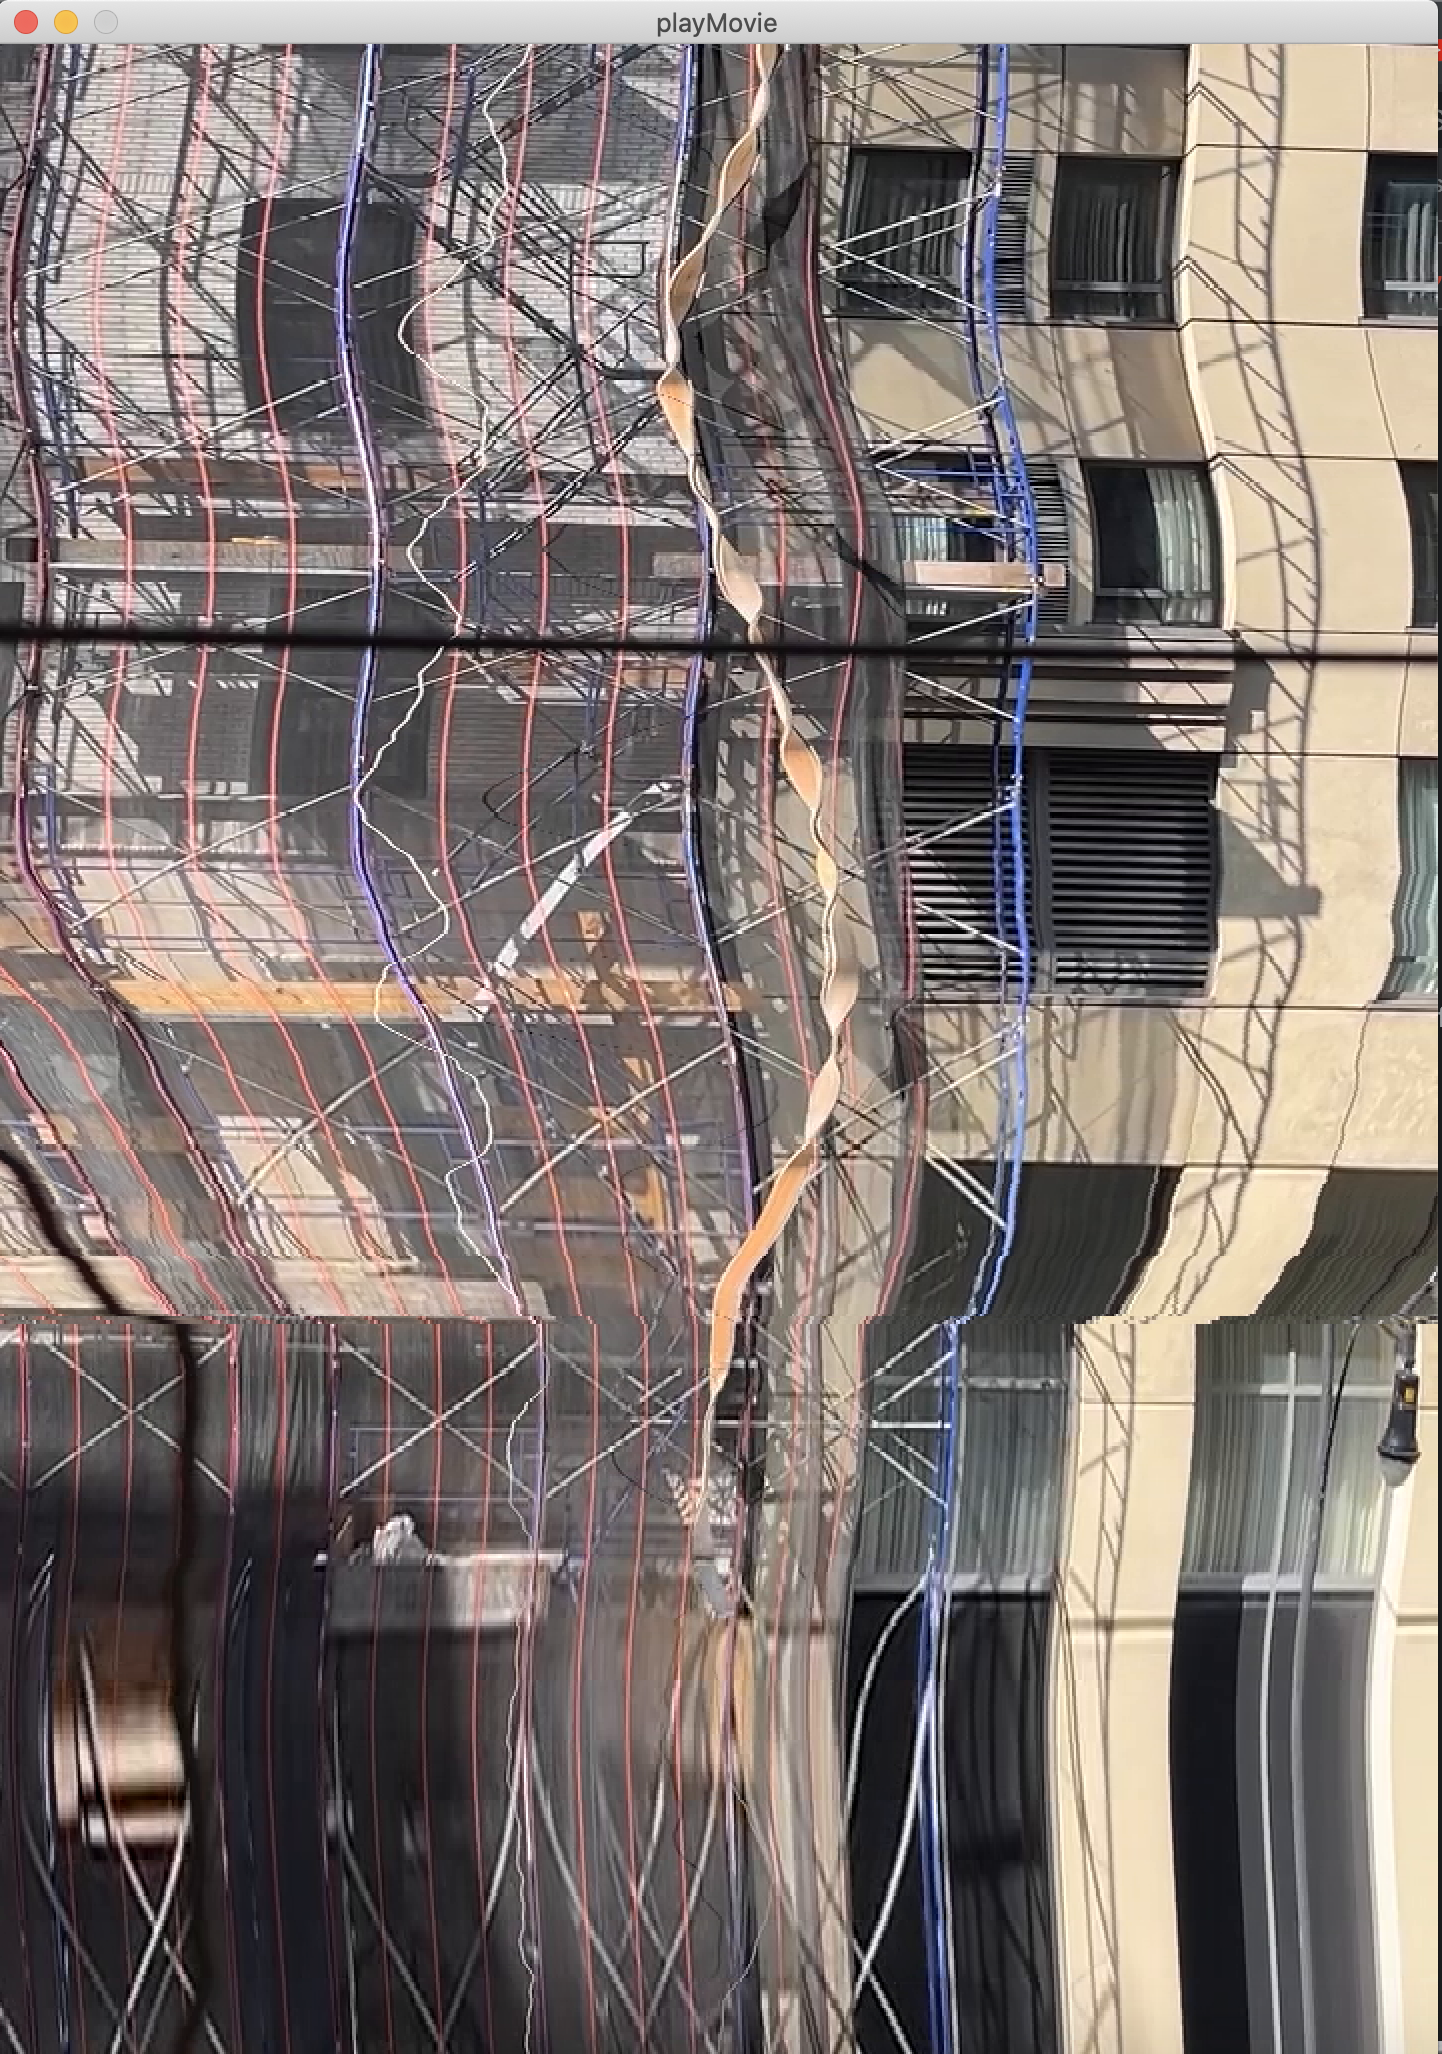
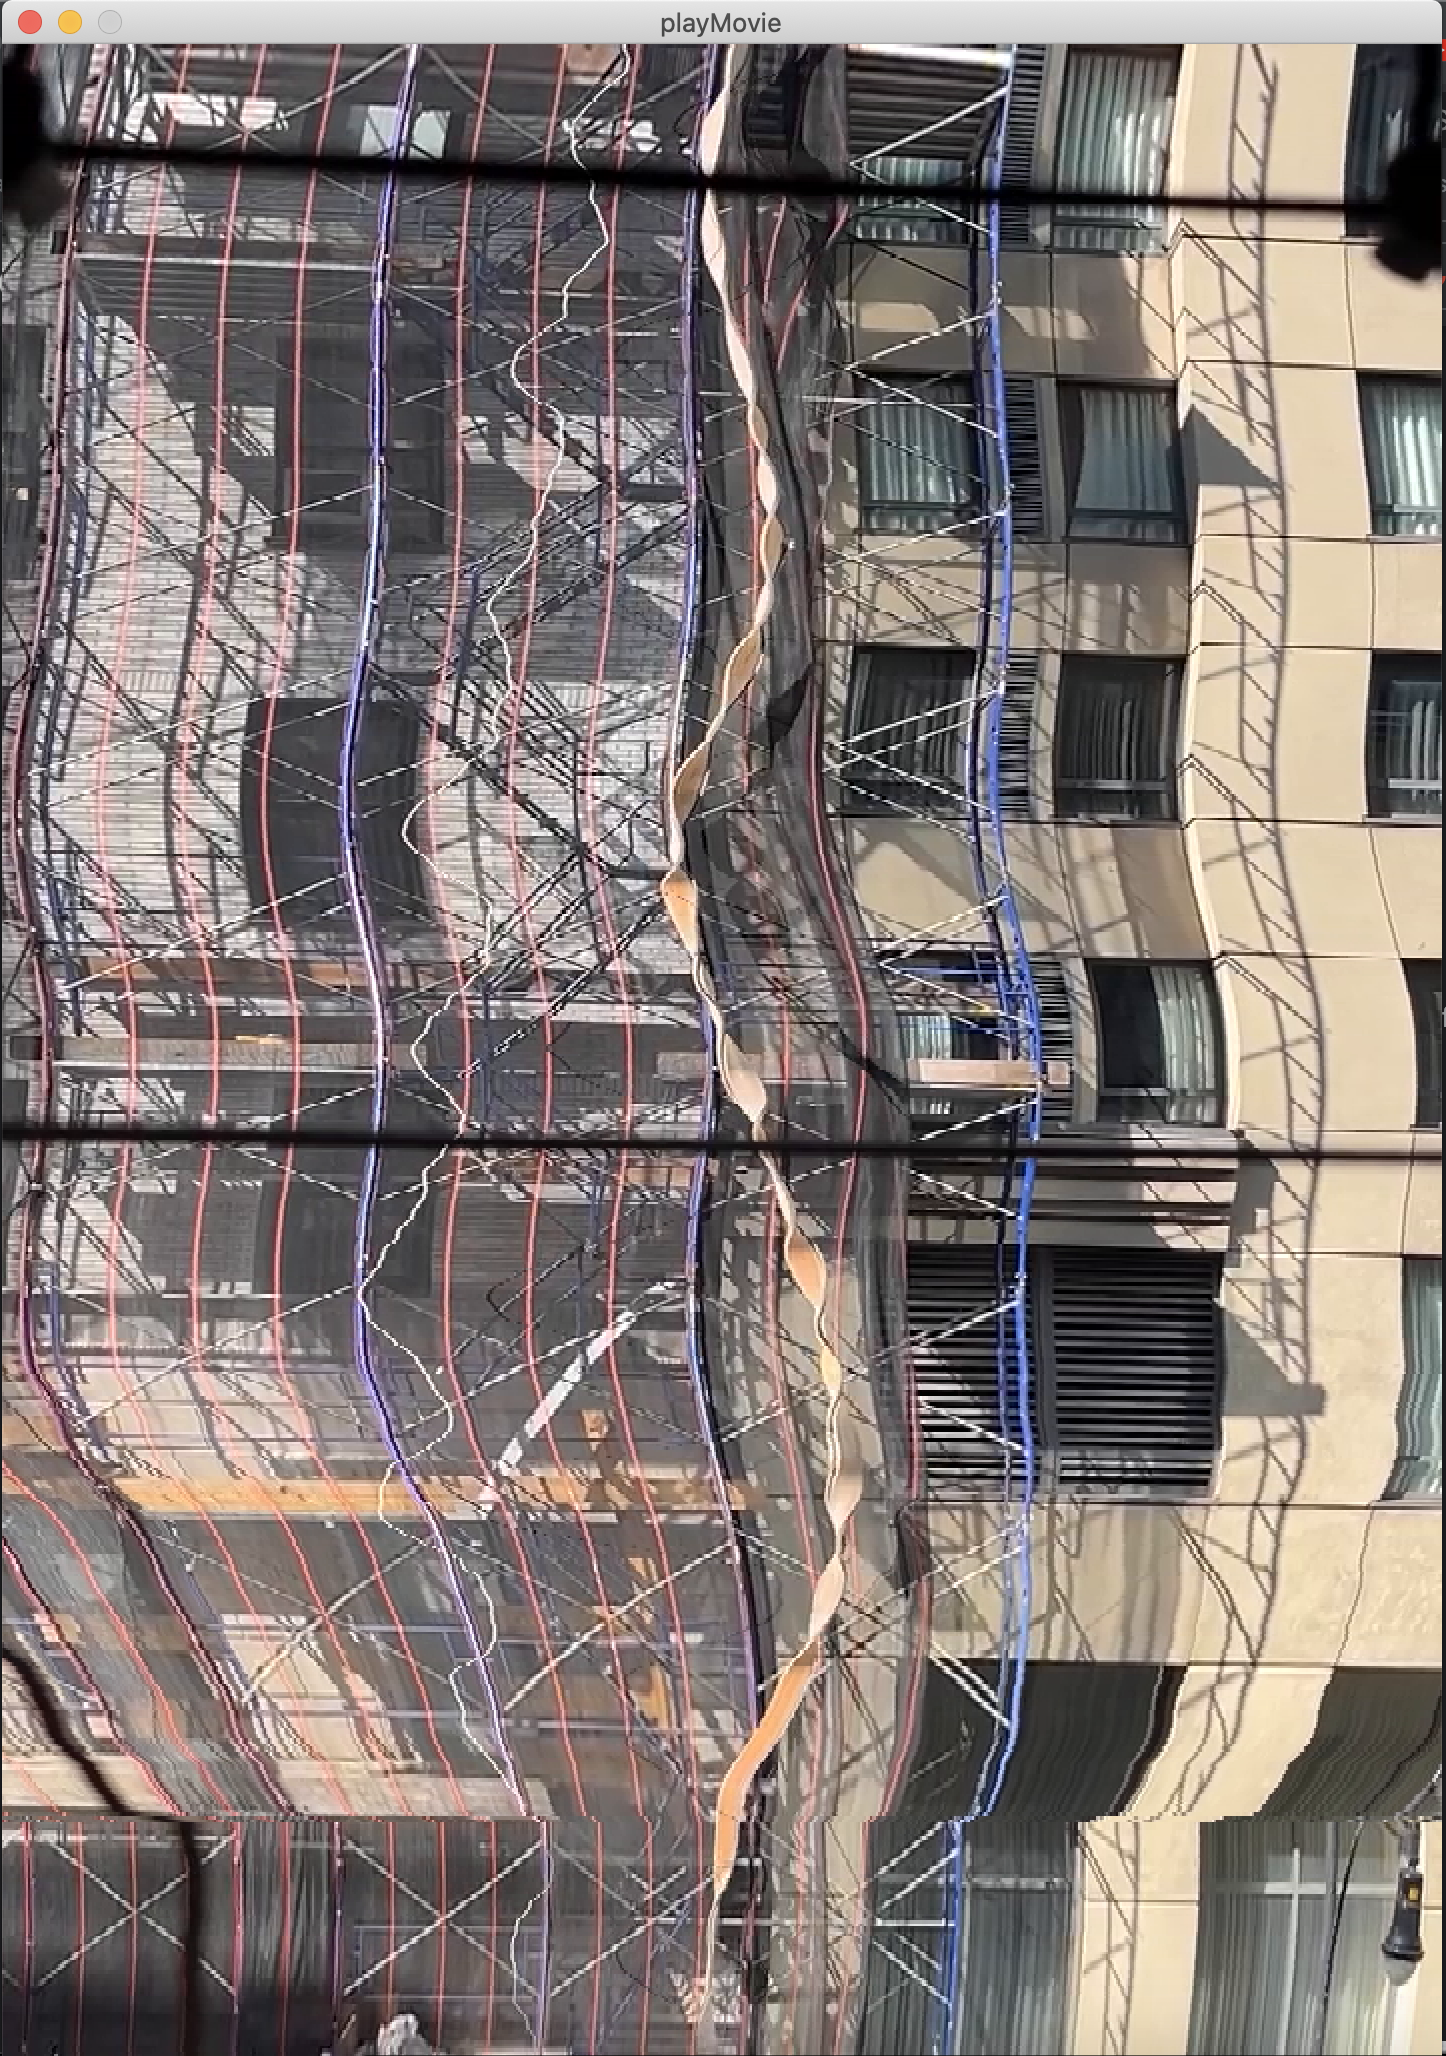
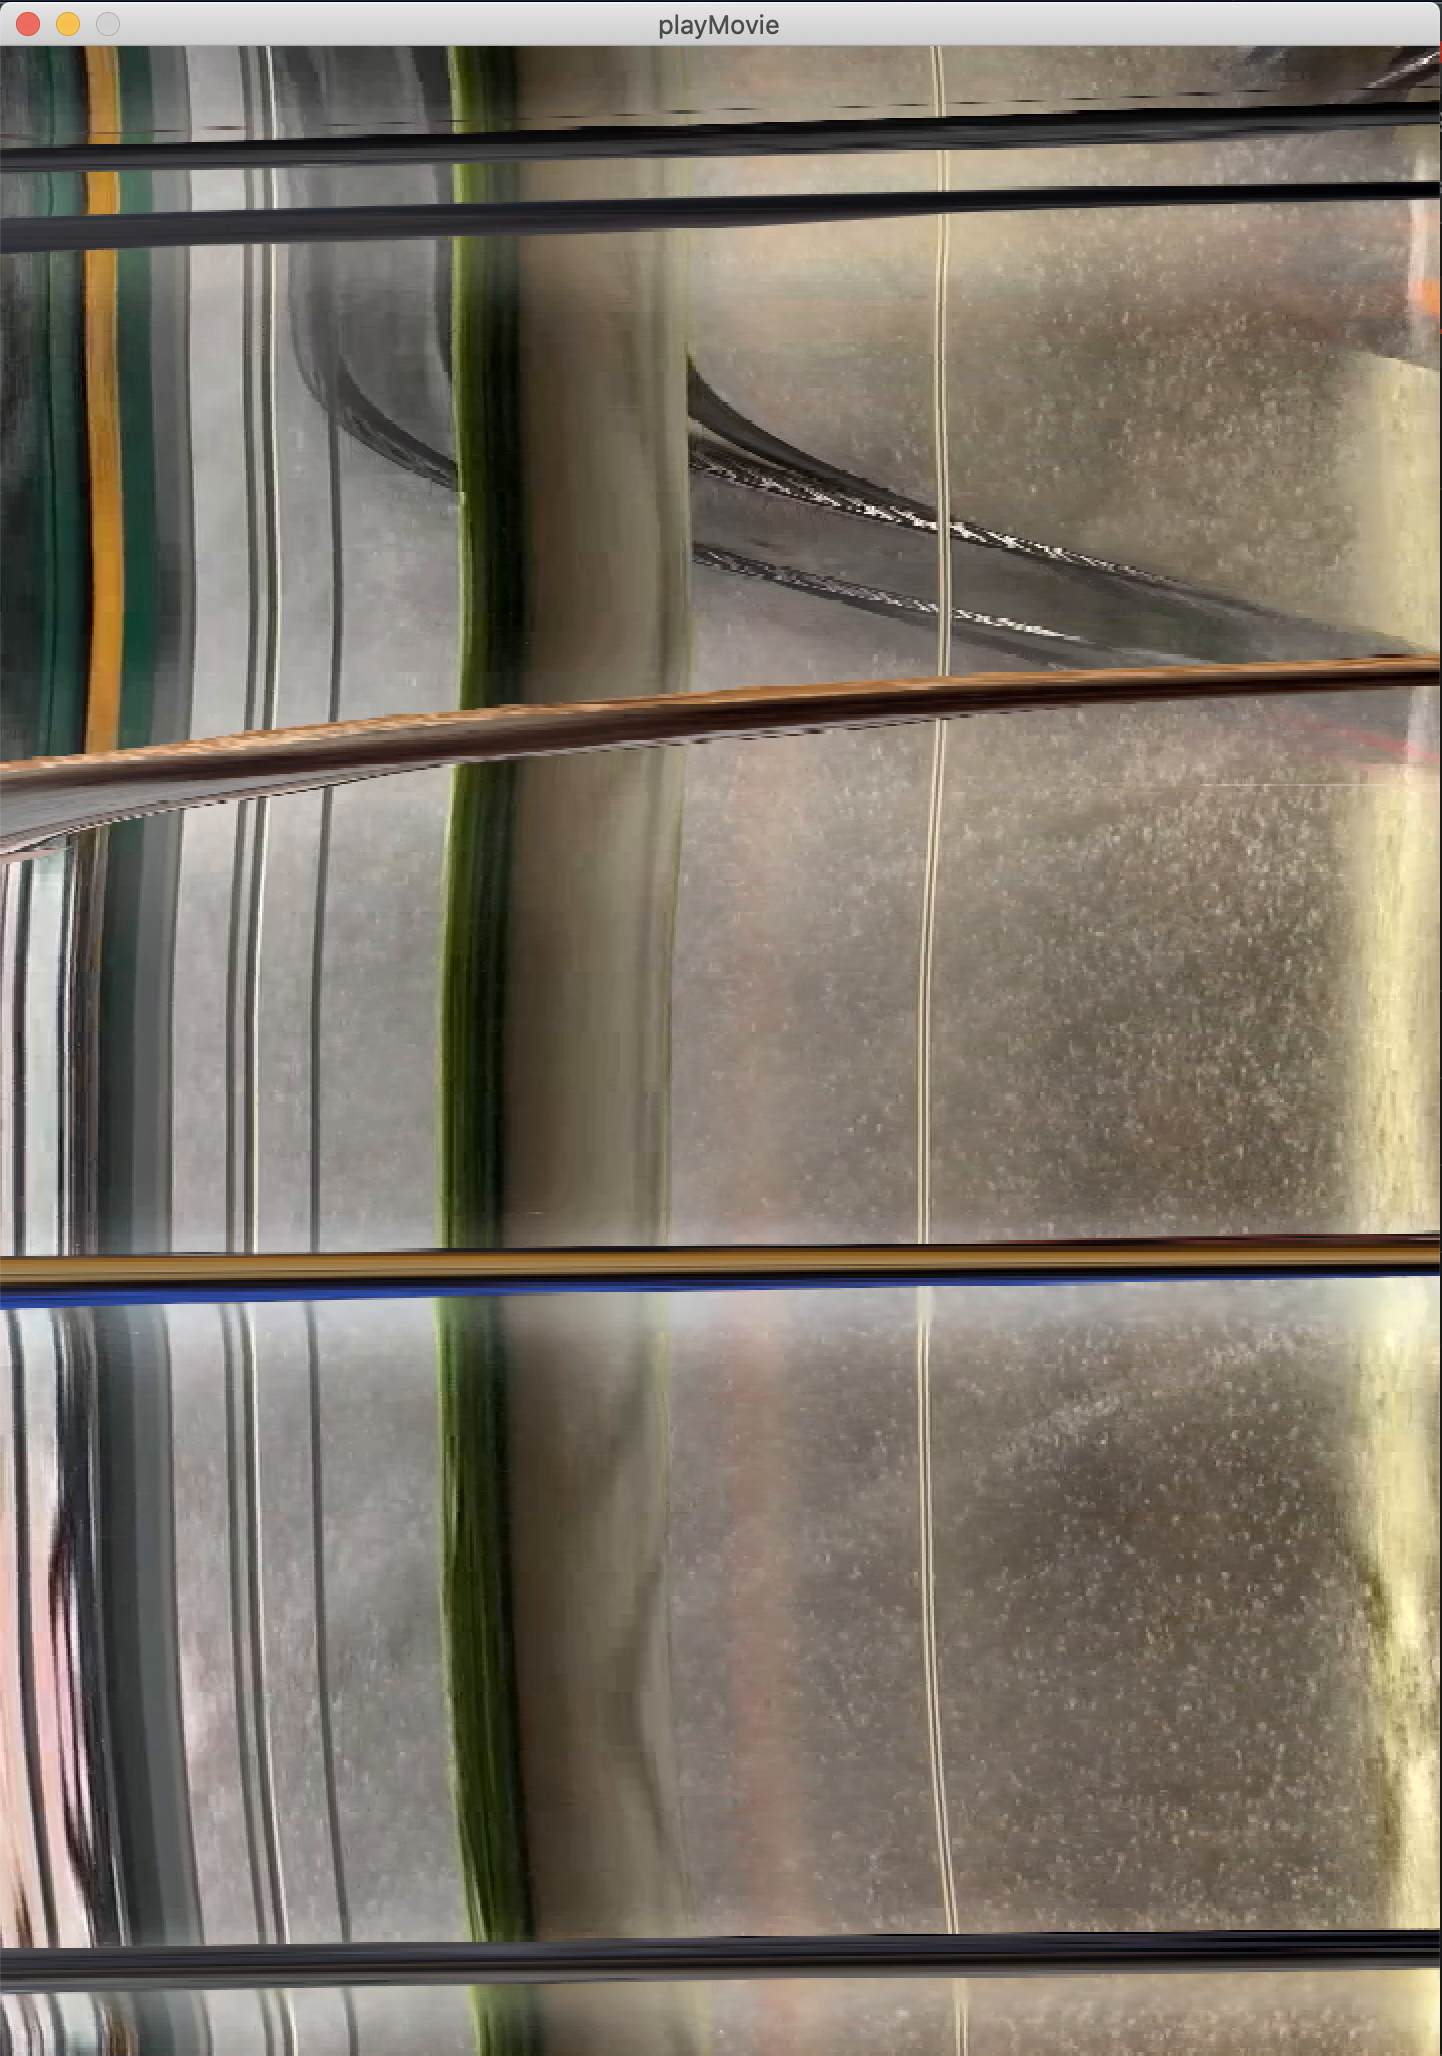
I didn’t anticipate this exploration to take as long as it did because I got really stuck on how to reference the Vimeo video in the p5.js examples. My videos were also way too large to upload to the p5 editor so I tried my best to recreate the slit scan code in Processing. I got this to work eventually.

Since I wrote the code myself I knew how to manipulate different configurations of the capture. I tried vertical vs. horizontal slit scan. I also scanned from different positions in the video, in different directions. It’s crazy how many different images you can generate from a single video.

Window Animation

Here’s my initial attempt at creating some NYC window patterns. Being pretty new here, I find myself looking up a lot and being captivated by the patterns of the buildings. How many windows are there in Manhattan?!

Originally, I had envisioned a sketch that started with a single window that exponentially multiplied to an uncomfortable number on the canvas, then the windows would disappear one at a time until we’re left with a single window. On future iterations, I’d like to make the “lighting” functions interactive with the mouse position.

Conclusion

I would have really liked to get to trying the frame differencing code as well. I’m not quite sure what outcomes I would get because the three videos I used here don’t have a distinct background. I could also try filming with a tripod and not using any extra zoom to get a stable clip. I feel like videos like that create the most clear and interesting frame difference images.

Also, I’d like to continue with some of the basic geometric animations. It would be cool to see how much real life experience I can evoke with simple shapes/images/sounds in p5.js. Could I simulate the bustle of people on the street? Can a code snippet make you feel like you’re in the subway? It could be interesting to experiment with.

Reference

https://processing.org/reference/

https://p5js.org/reference/

https://www.youtube.com/watch?v=nJWV7X7df9w

https://www.youtube.com/watch?v=WCJM9WIoudI

[ITP: Fabrication] Don't Press The Button Enclosure

Inspiration

In class we looked at so many different types of project enclosures, all inviting the viewer to press, switch, open, close, whatever. I wanted my enclosure NOT to invite the viewer to press the button. Because I’m me, of course I wanted something to happen when the button was inevitably pressed, so I began spinning a story...

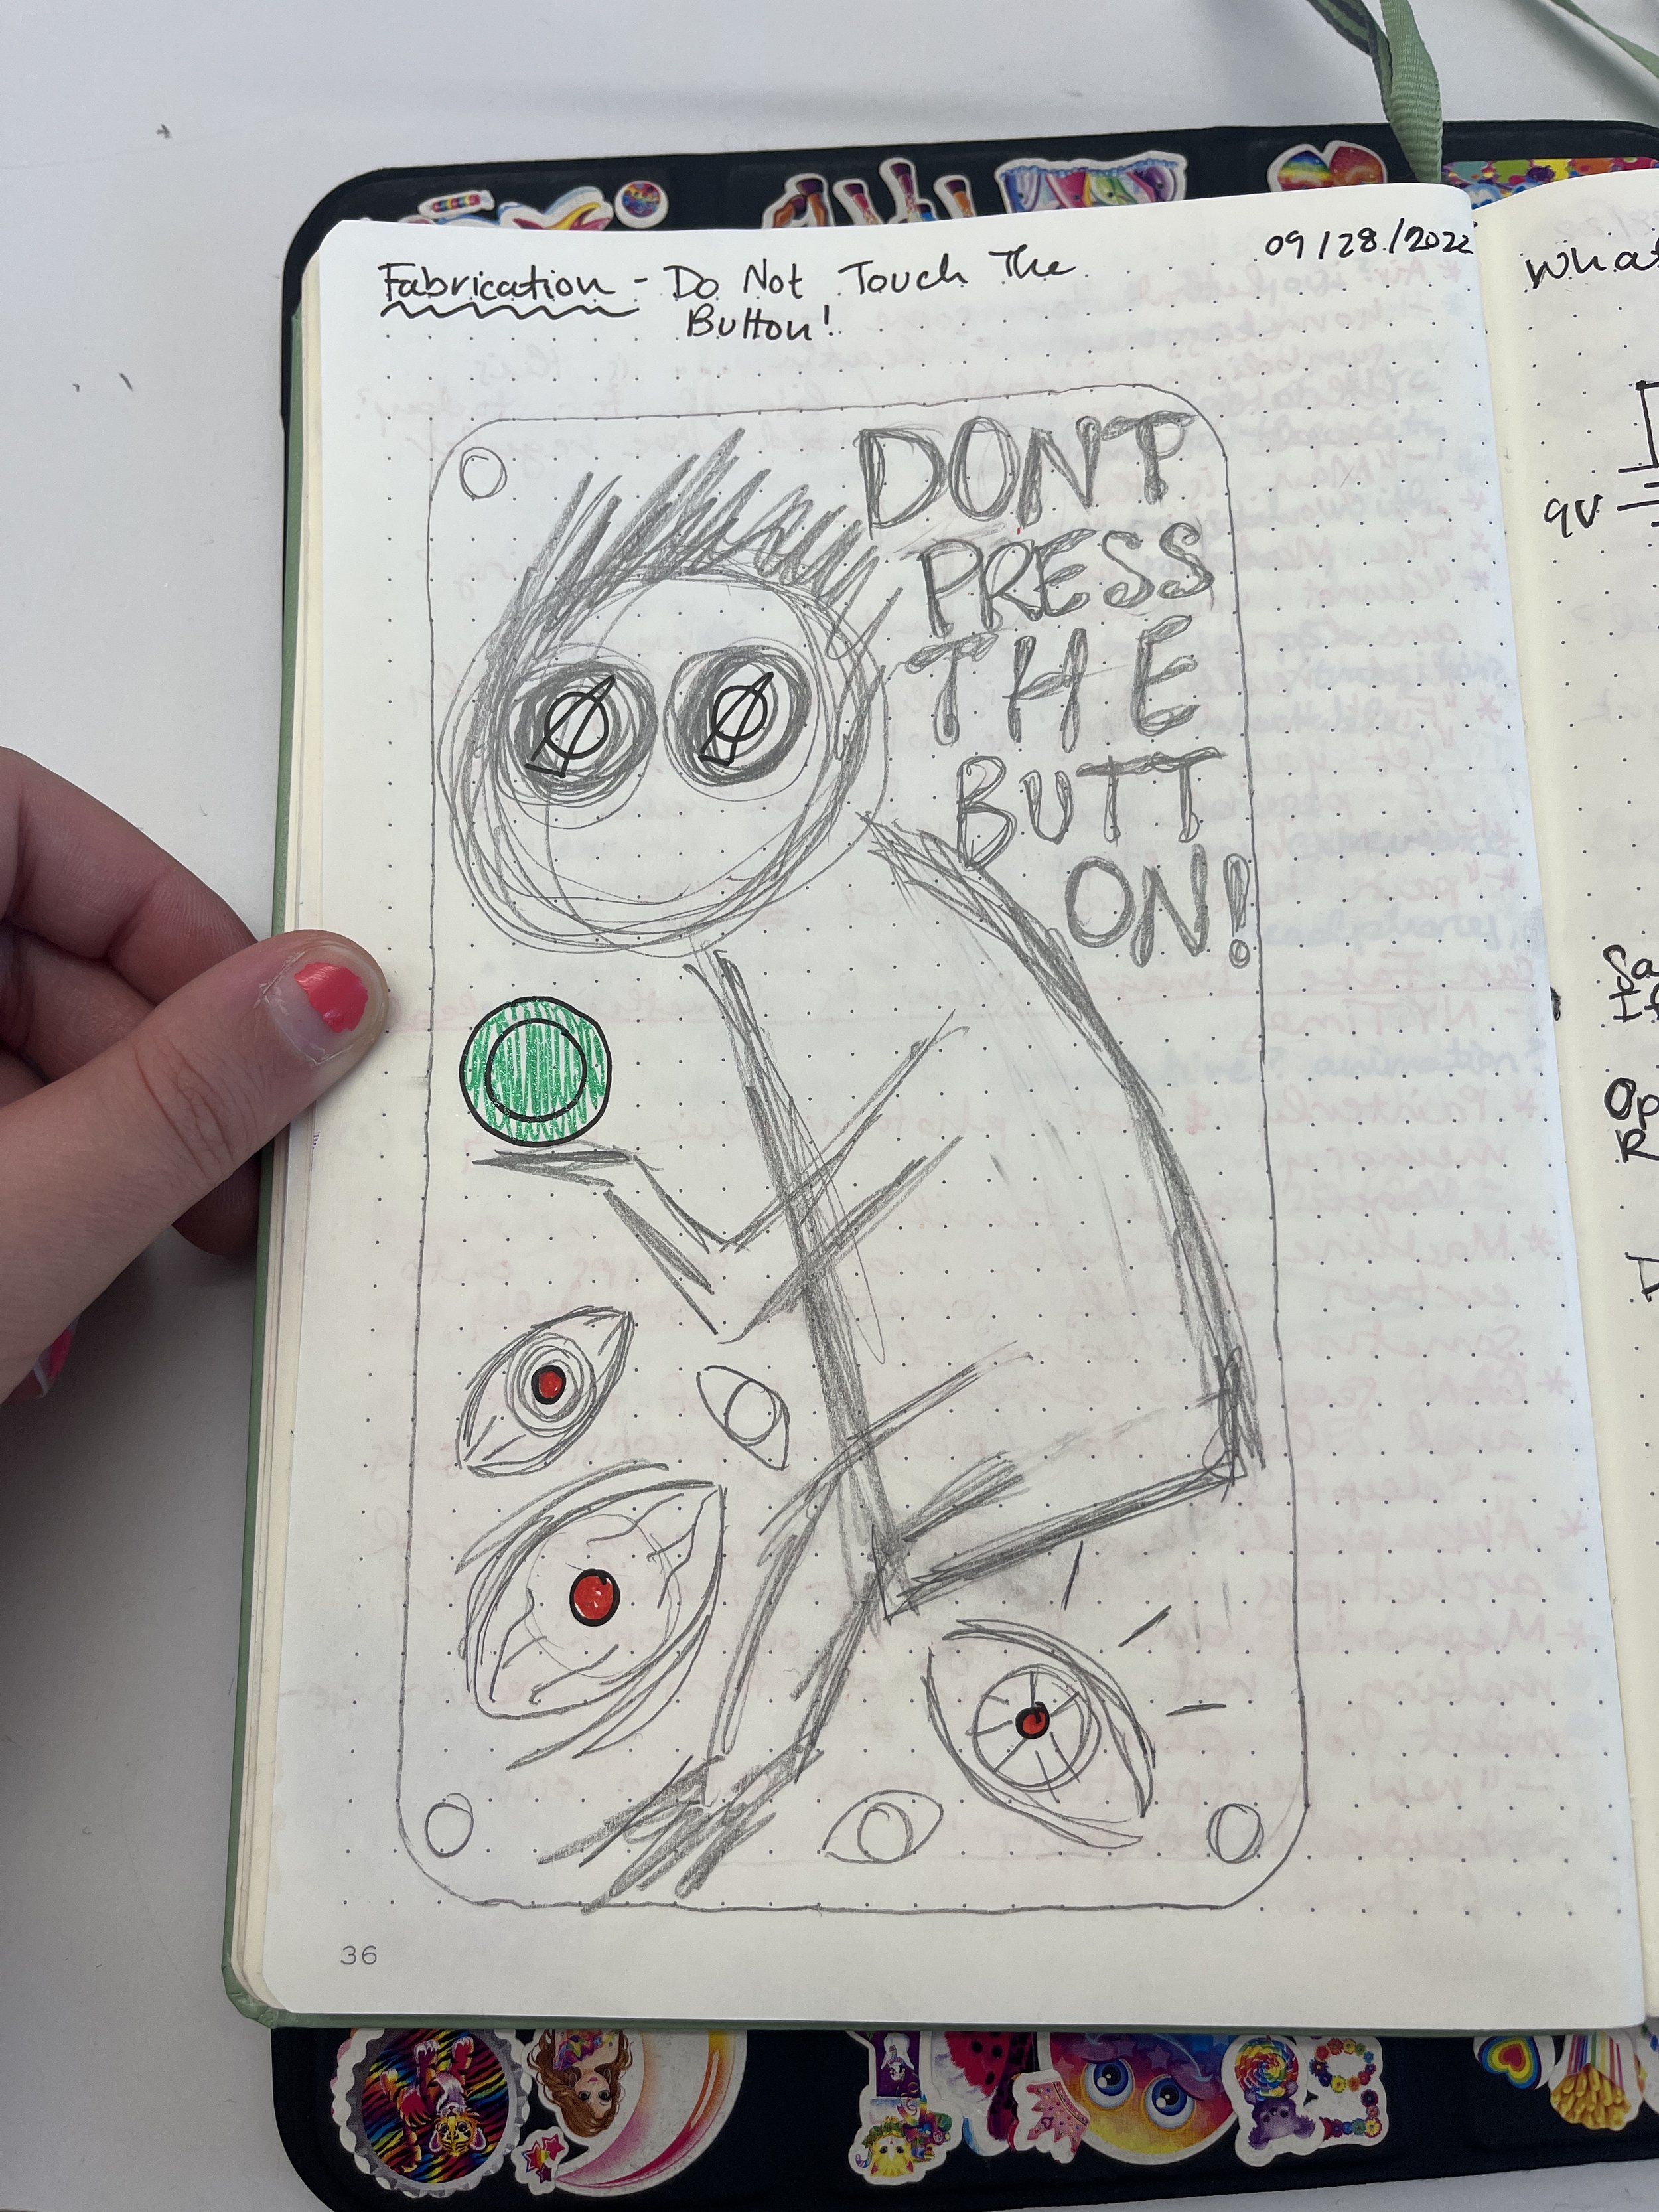
I like adding an illustrative element to my projects sometimes so I thought of a sad, weird, squiggly guy begging to not press the button. At first I wasn’t sure where I dug this imagery up but Olive reminded me my drawing was very Salad-Fingers-esque; a YouTube series from my childhood that apparently still haunts me.

Drawings

Materials

Circuitry:

  • Breadboard

  • 9V battery

  • Barrel jack

  • x2 2.5k ohm potentiometer

  • x2 white knobs

  • x2 100 ohm resistors

  • x3 red LEDs

  • Green push button

  • Wire

  • Heat shrink

Enclosure:

  • Wood from the free shelf

  • x4 1.5 inch stand offs

  • x8 6-32 screws

  • Tacky putty


Tools

Enclosure:

  • Laser cutter

  • Tape measure

  • Calipers

  • Dremel

  • Hex key

  • Clamp

Design:

  • iPad and Apple Pencil

  • Illustrator

Circuitry:

  • Wire cutters/strippers

  • Tweezers

  • Soldering iron

  • Hot air gun

Process

First things first, make sure my engineering background hasn’t failed me: prototype the complete circuit to go along with my drawing. Here, a 9V battery is powering my circuit. Pressing the button turns the three red LEDs on. Two potentiometers change the brightness of the LEDs.

Electronics prototype

Once the electronics sanity-check was completed, I could work on getting my drawing into Illustrator. I started with drawing two rectangles that would fit the breadboard. Then I transitioned to my iPad and the trusty blob brush tool to hand draw the engravings on the box. Then I measured my panel mount components with some calipers and added holes to place them on the surface. Ctrl+P on the Epilog <3.

Illustrator drawing

Laser cut enclosure faces

Next, I tore my electronics from my prototype and got them ready for mounting. I soldered wires to the two potentiometers and the LEDs. To mitigate bare leads touching each other, I heat shrinked the LED legs. Now I was ready to install my electronics on my enclosure! Or so I thought…

Ummmmm SO WHAT THE HECK ARE THESE?! I never noticed this little nub, but I guess panel-mount potentiometers have this indicator to identify their orientation. Not sure I really get their use, but this was getting in the way of installing the dials on the top face. Ideally I would have laser cut a hole for the nub to slot into but at this point I just went in with a Dremel and made some extra nub space. It’s not perfect, but it works!

Last but not least, I attached the retro white knobs to the potentiometer dials. I needed a super small hex key to tighten the set screw. I fixed the breadboard and battery onto the bottom plate with some tacky putty. Then I plugged all my wires back into my bread board circuit and screwed the top plate into place. Voila!

Final Product

Conclusion

In class last week we learned that project enclosures should be 1. easy to open 2. easy to modify 3. easy to make multiples 4. cheap. I think I hit basically all of those requirements. I only spent like $12 on the batteries, but I am very privileged to have access to the ITP shop where it’s stocked with all the supplies and tools I could ever need.

In the future, I’d like to add rubber feet to the bottom of this enclosure. I’d also like to take a good quality video showing how my project works (or shouldn’t?! Don’t press the button!). I also feel like I should revisit my circuit. Ideally, I’d like the knobs to dim the LEDs even more but my brain hurts too much right now to figure out why my circuit doesn’t work right.

Resources

https://learn.adafruit.com/all-about-leds/adjusting-brightness

[ITP: Hypercinema] Synthetic Media Example

I do not really follow the trend of AI generated art; I generally prefer my art made by humans... but can you really tell the difference? I wasn’t familiar with synthetic media until just recently but I realized that I’ve been exposed to much more synthetic media than I thought. Synthetic media is the artificial production and manipulation of data and media by automated means such as for the purpose of misleading people. Here’s the general approach:

https://vriparbelli.medium.com/our-vision-for-the-future-of-synthetic-media-8791059e8f3a

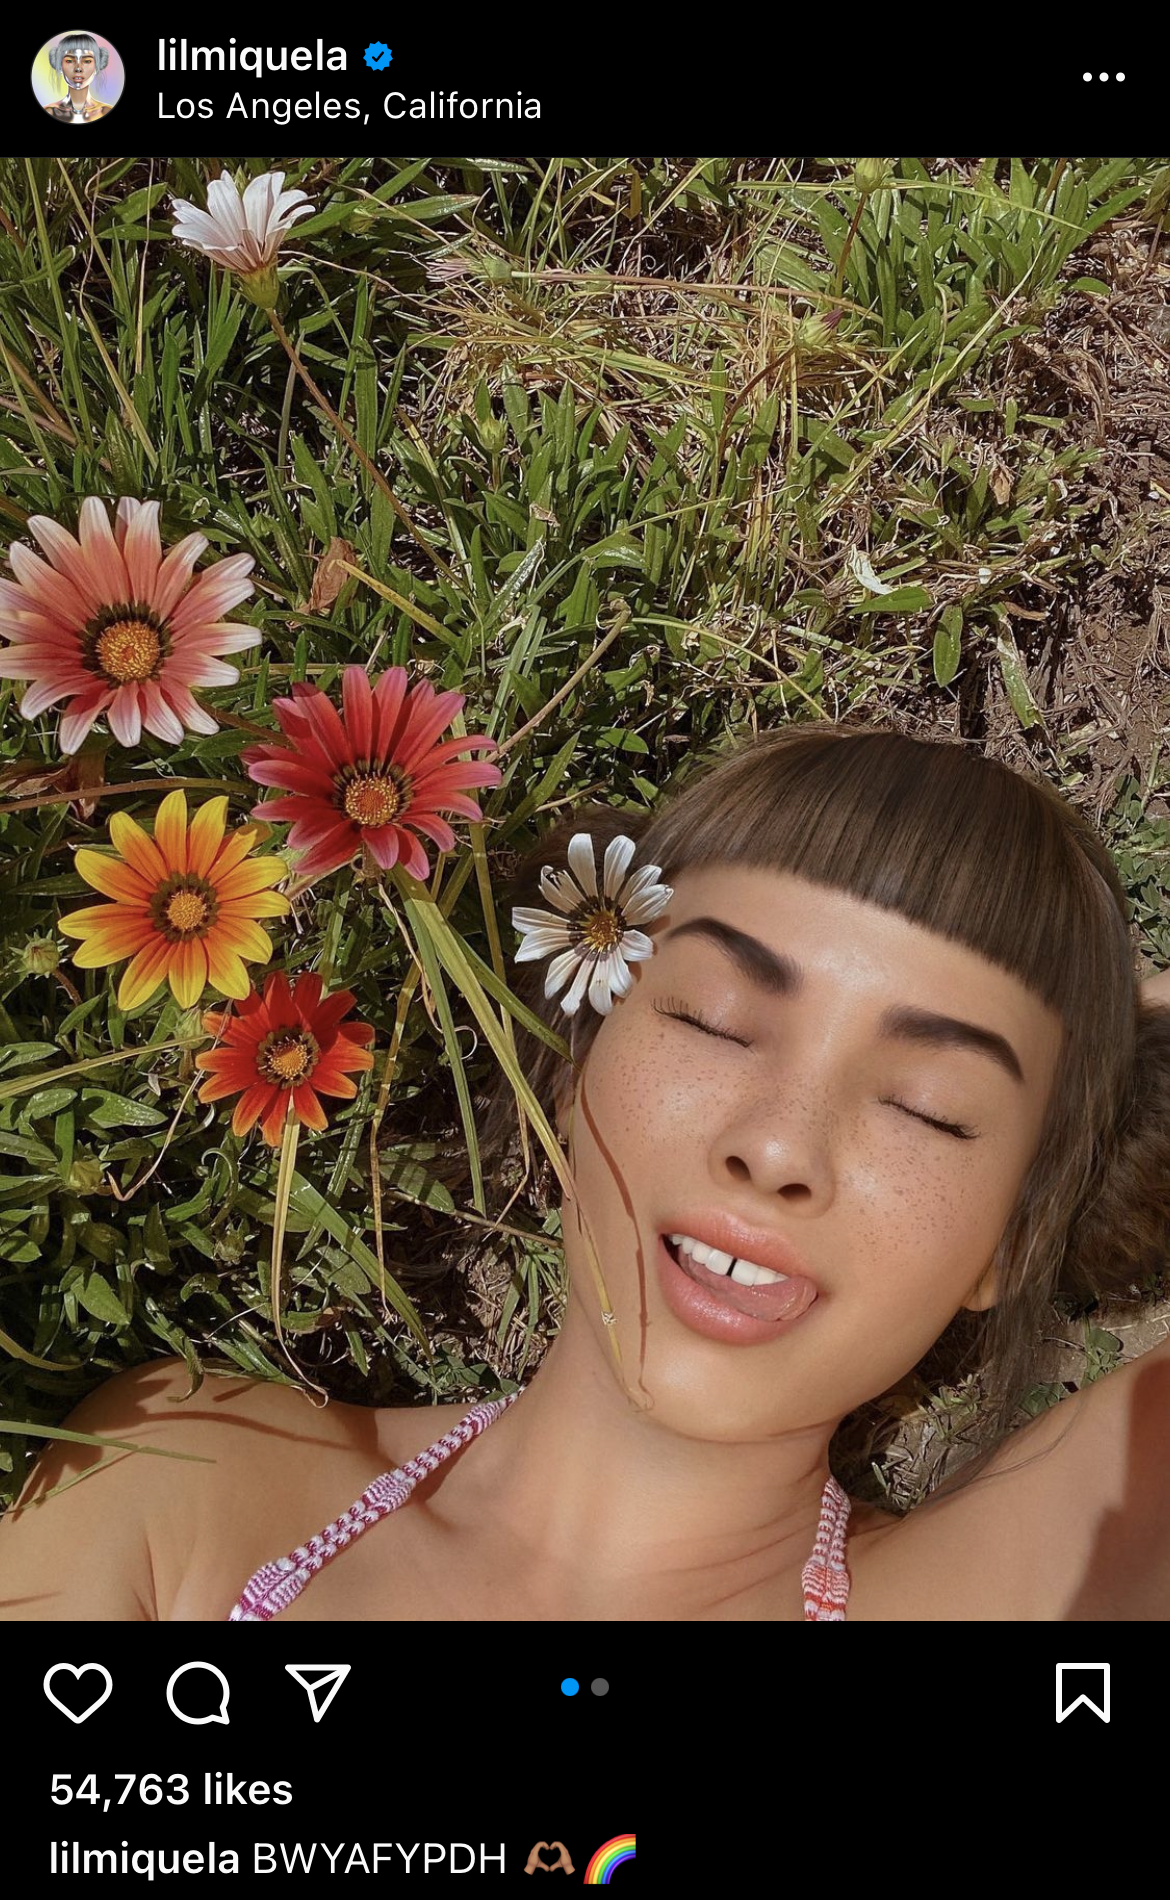
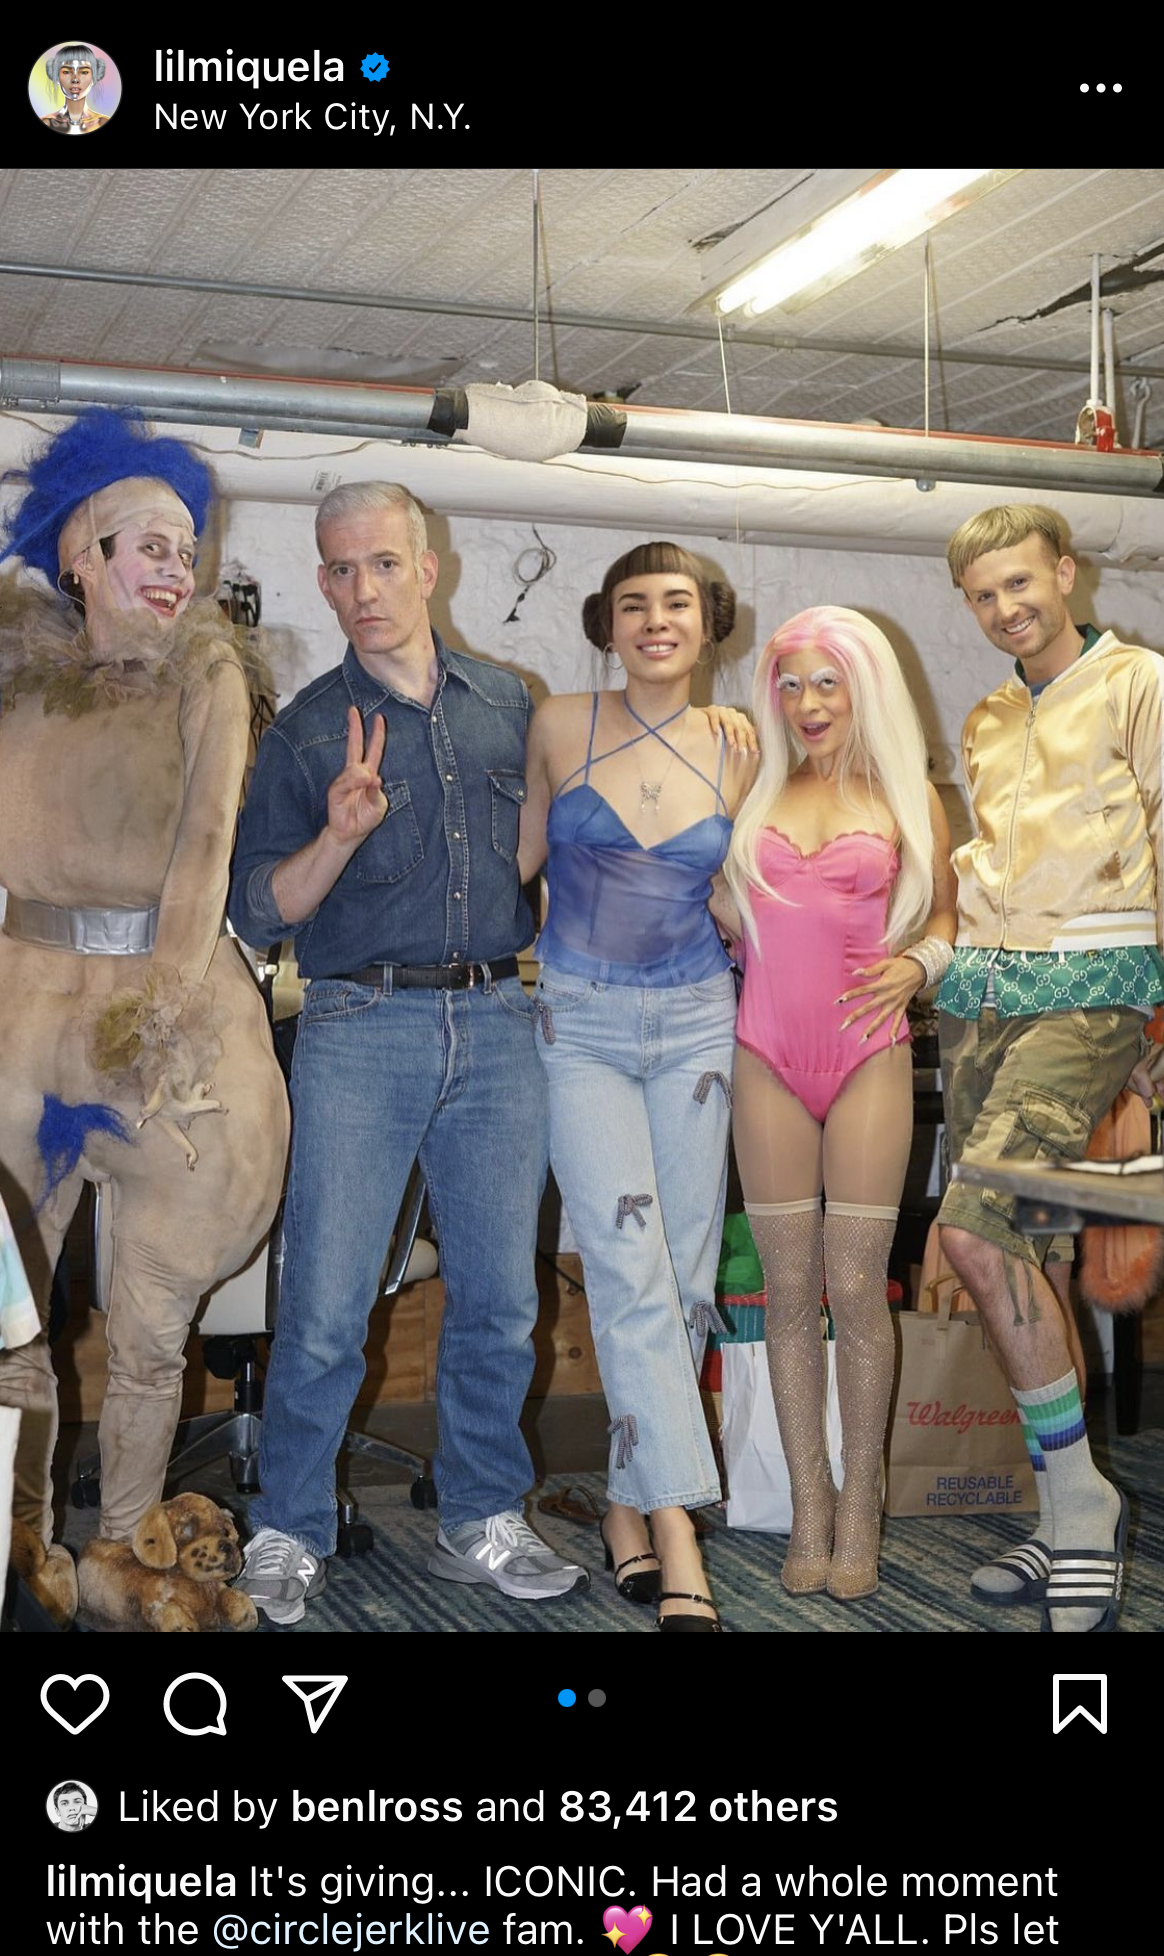
For being such a hater I can’t believe I didn’t realize that I follow a piece of synthetic media on Instragram: @lilmiquela. She is a robot living in LA with real-life friends. Of course she’s VERIFIED. I was totally perplexed and fascinated when the evil Insta algorithm recommended her account to me, I just had to see what she was up to. Her account is just like any other influencer’s. She advertises products, drops singles, and lets us into her fabulous life that she shares with her human, celebrity, and robot friends.

I consider the Miquela account synthetic media because she’s a computer generated robot/person/account; she’s not real (right?!). I always just assumed that the people that run her account set up these shoots using a live model to stand-in for her body and then superimposed a computer-rendered image of her face with the matching facial expression. I’m not really sure how they do it. I feel like the way this account is being run currently is really fun, light-hearted, and kinda artistic. It’s entertaining to see what the life of a robot amongst humans could be like. This robot imitating life is a quirky piece of speculative design.

I imagine people do fall for her advertising tho. Influencers do influence and we live in a time where people do what strangers (or even robots) on the internet tell them to do sometimes. I feel like as long as the messaging of this account doesn’t change I think this kind of synthetic media can be harmless.

Resources

https://en.wikipedia.org/wiki/Synthetic_media

https://blog.paperspace.com/2020-guide-to-synthetic-media/

https://www.instagram.com/lilmiquela/

[ITP: Feeling Patterns] Pattern Observation Week 2

Below are two patterns I observed this week around 370 Jay St.

The sounds of rain is one of the most well-loved patterns. This example has both auditory and visual patterns. I guess the rain falls under both auditory and visual pattern. The thunder and the beeping of the crosswalk are also consistent patterns. The cars passing and people walking by happen at regular intervals as well.

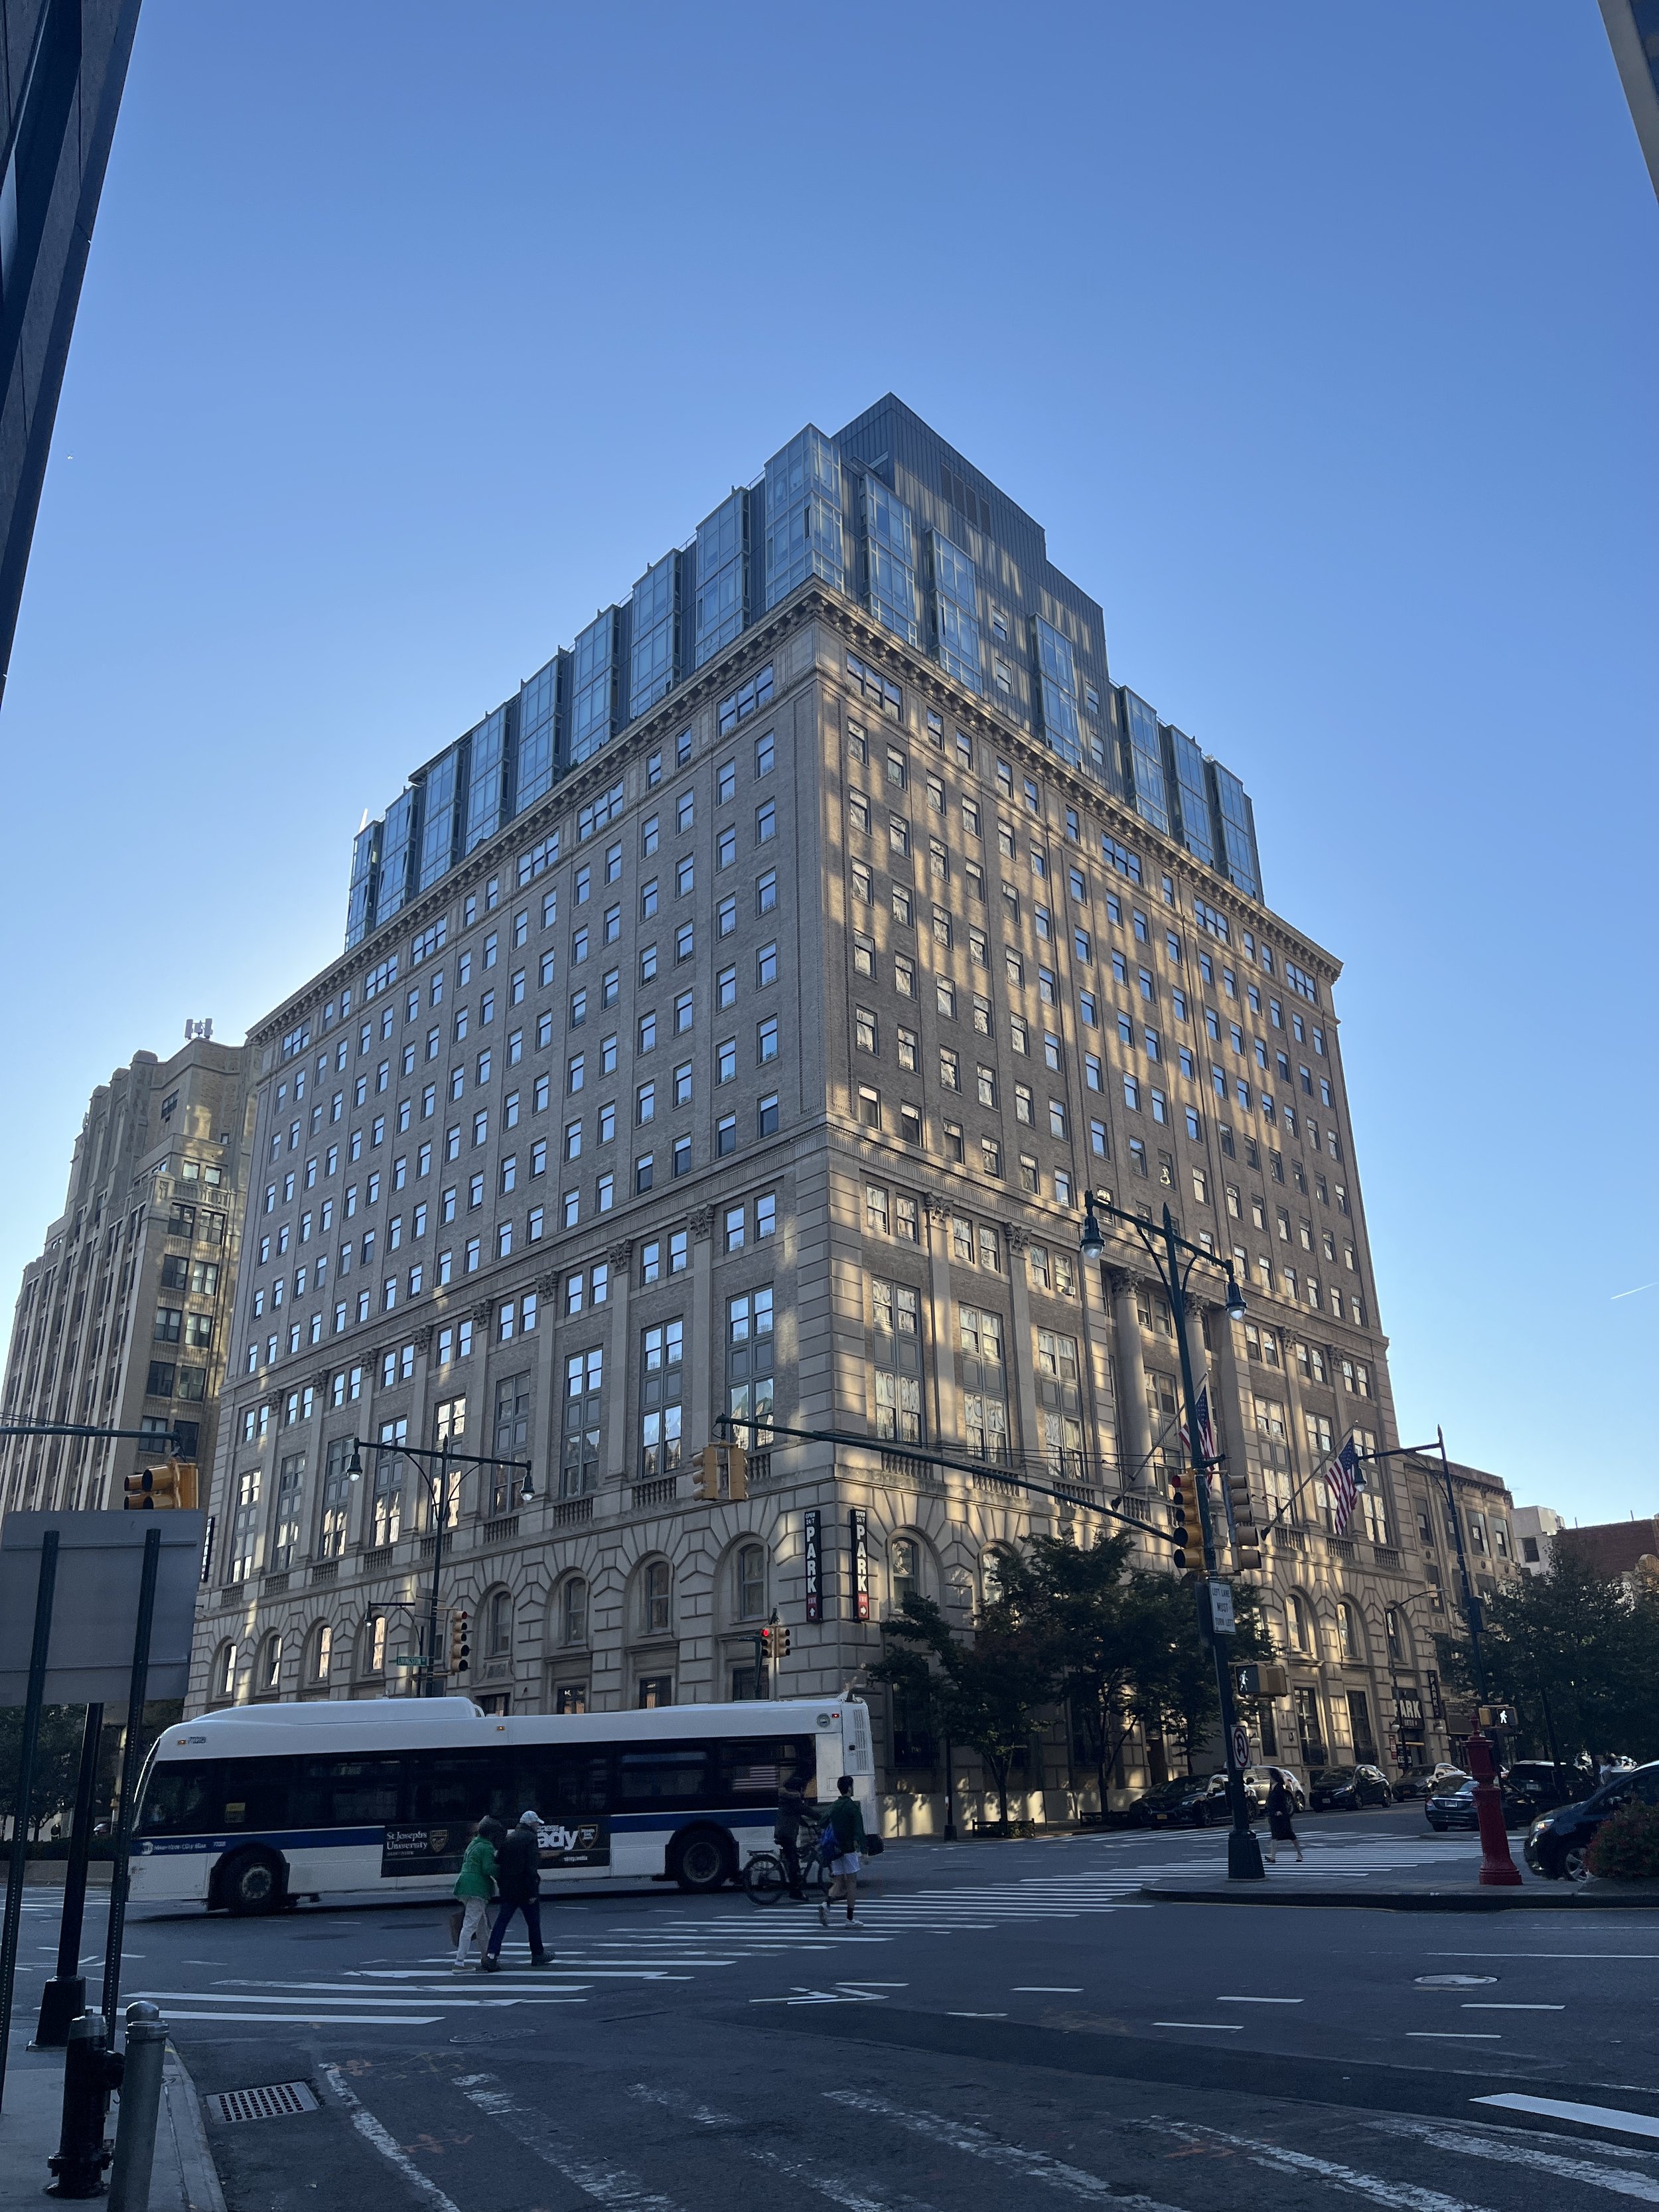
We know that I was standing in front of an NYU building in Brooklyn, but even without the context it is apparent that the people are walking with a purpose, some in a hurry even. For me it evokes the pattern of the day, or even life. People in NYC are always busy, with places to go, things to do, but what is it good for? What’s the larger purpose? I think the rain kind of reinforces this dark and gloomy concept.

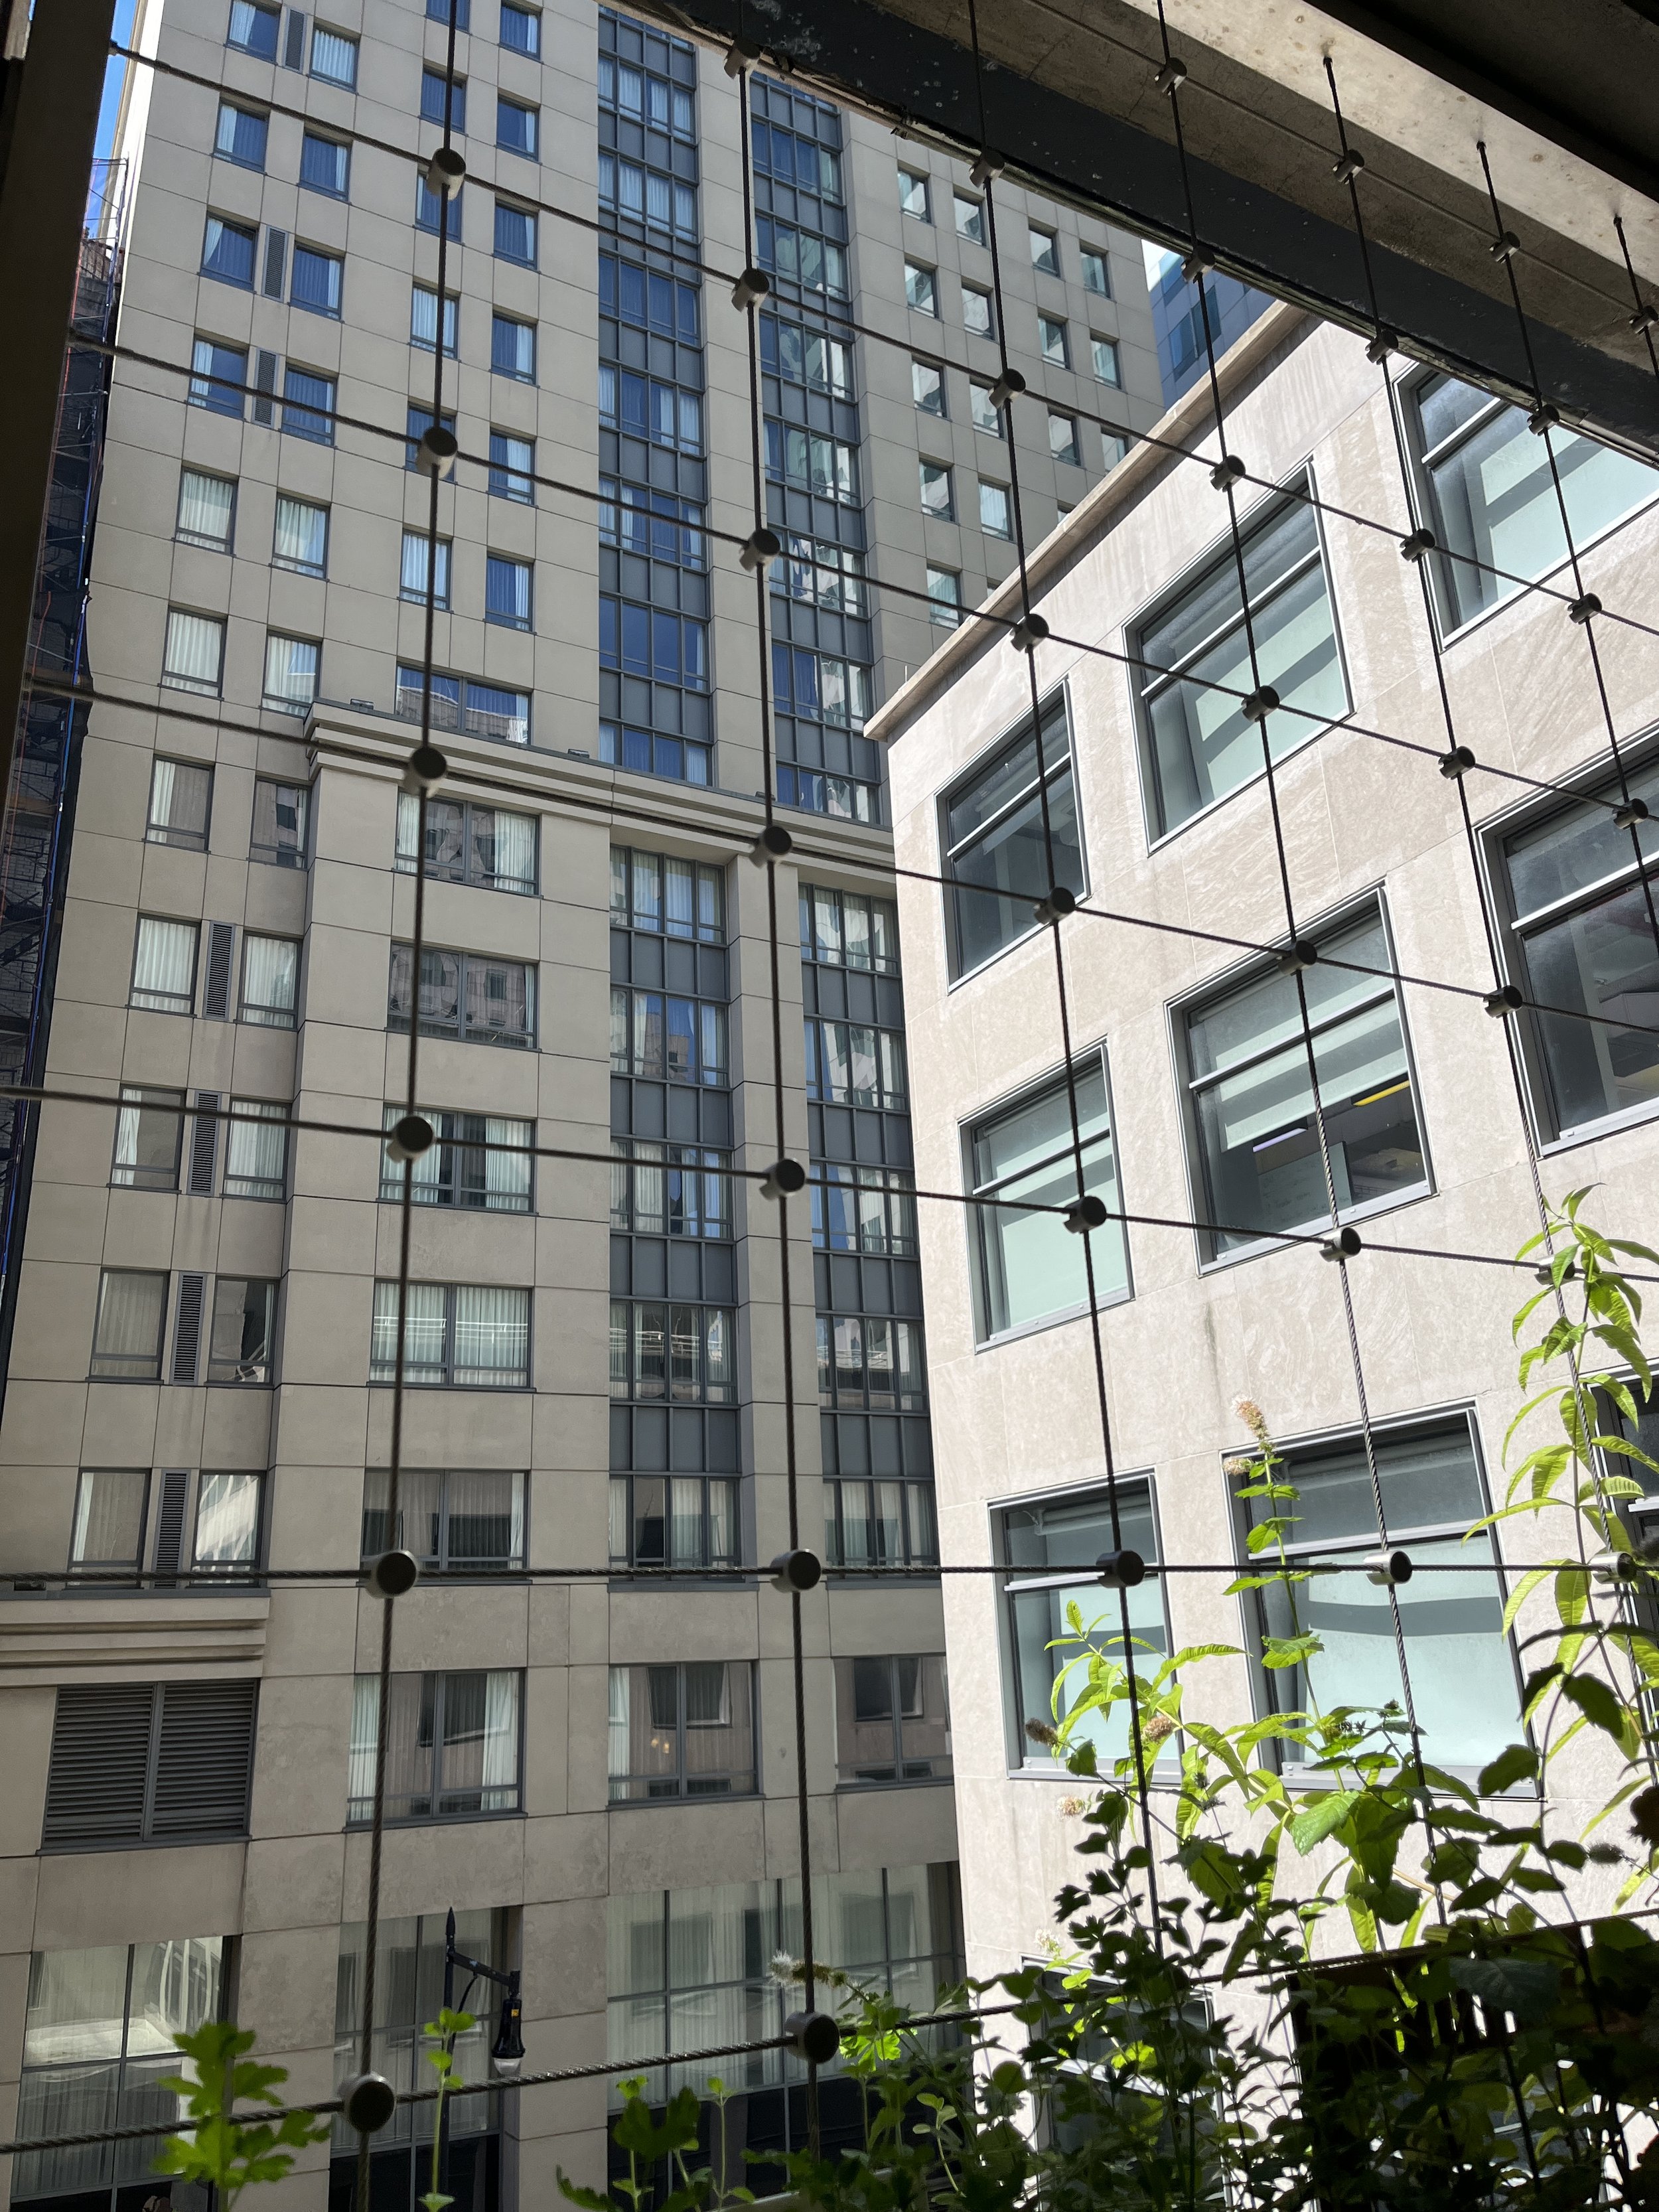
On one of my breaks between class I watched this construction crew transport a stack of wooden planks up to what looks like the eighth floor. It was a repetitive process of loading the plank, signaling ready, lifting, grabbing plank, signaling ready, and dropping down the line. What I like about this pattern is that from the ITP herb garden it was barely perceptible. I often like to look over the balcony but generally there is pattern overload; I’m glad I caught this!

This pattern specifically makes me feel excited, on the edge of my seat. I’ve never seen construction materials transported like this before. There was a lot of anticipation for me: will the board make it? Will it fall down? Will the guy at the top be ready? There’s a lot of communication needed for this pattern to be repeated correctly and there could be large consequences if the pattern breaks. I also really love this lifting contraption, it reminds me of one of my favorite works by Trey Duvall.

[ITP: Understanding Networks] Traceroute

Traceroute

Background

Traceroute is simple tool to show the pathway from a web address or computer on the local network to a remote server. It can be used to compile a complete route list, analyze route timing, check if you can reach a certain target, or diagnose slow routers or broken connections. Below I’ve posted the results from tracerouting some of my most frequented sites. I then put the traceroute output into a mapper to visualize the path.

In the terminal output, the asterisks (*) mean that there’s a problem with the route to the host. I’m not really sure why there are so many of them in some of the traceroute output.

East Coast Communications

Gmail (mail.google.com)

Spotify (spotify.com)

Youtube (youtube.com)

West Coast Communications

Digital Ocean (digitalocean.com)

Instagram (instagram.com)

What is going on on the corner of Broadway and Chambers St?!

Many of my traceroute queries ended up pointing to the same address in NYC (amazon.com, hulu.com, itp.nyu.edu, netflix.com, priyankamakin.com (squarespace site), sparkfun.com). Looking through the output, I couldn’t find one IP address that was common to all paths but it seems as tho all the routes have the following hops: 138.197.248.x, 138.197.251.x, and 138.197.244x. I am not quite sure what this means at the moment.

Here’s where it gets a bit more interesting!

My mom’s website (imakinations.com)

My dad’s website (gopiezo.com)

We’re going international! I called up my dad and he reminded me that his website was created and hosted by a company called SCAD media. According to him, they’ve got a location in Dresden, Germany. If you look closely at this map, the path doesn’t quite get there.

My dad’s OTHER website (ultrasound-power.com)

This site is also by SCAD media but the path is completely different. I am not sure why the two maps look so different.

Conclusion

It’s pretty helpful visualizing the traceroute output with the mapping tool. It helps me better understand how the wireless communication is happening. Looking through my output, I’m not sure I came across any autonomous systems (AS).

I did come across an error repeatedly. When I tried tracerouting sites like itp.nyu.edu/classes/undnet and instagram.com/priyankasomething the terminal responded with “Cannot handle “host” cmdline arg…”. I am not exactly sure why the traceroute tool does not work for more specified urls.

Firewall logs

I realized that last week I forgot to check my firewall logs after setting up my uncomplicated firewall. I did this activity today, so here’s a little summary.

Parsing through my ufw.log file I found out that there have been 4691 attempts to connect to my computer since I last turned it on. Using the “cat”, “grep” and “wc” (word count) applications I also saw that there were 109 attempts to connect from IP “89.248.165.108".

I was also able to use the “sed” command to replace spaces with commas in my log file and copied it into Google Sheets to be able to look at it a bit better.

Network Spotting

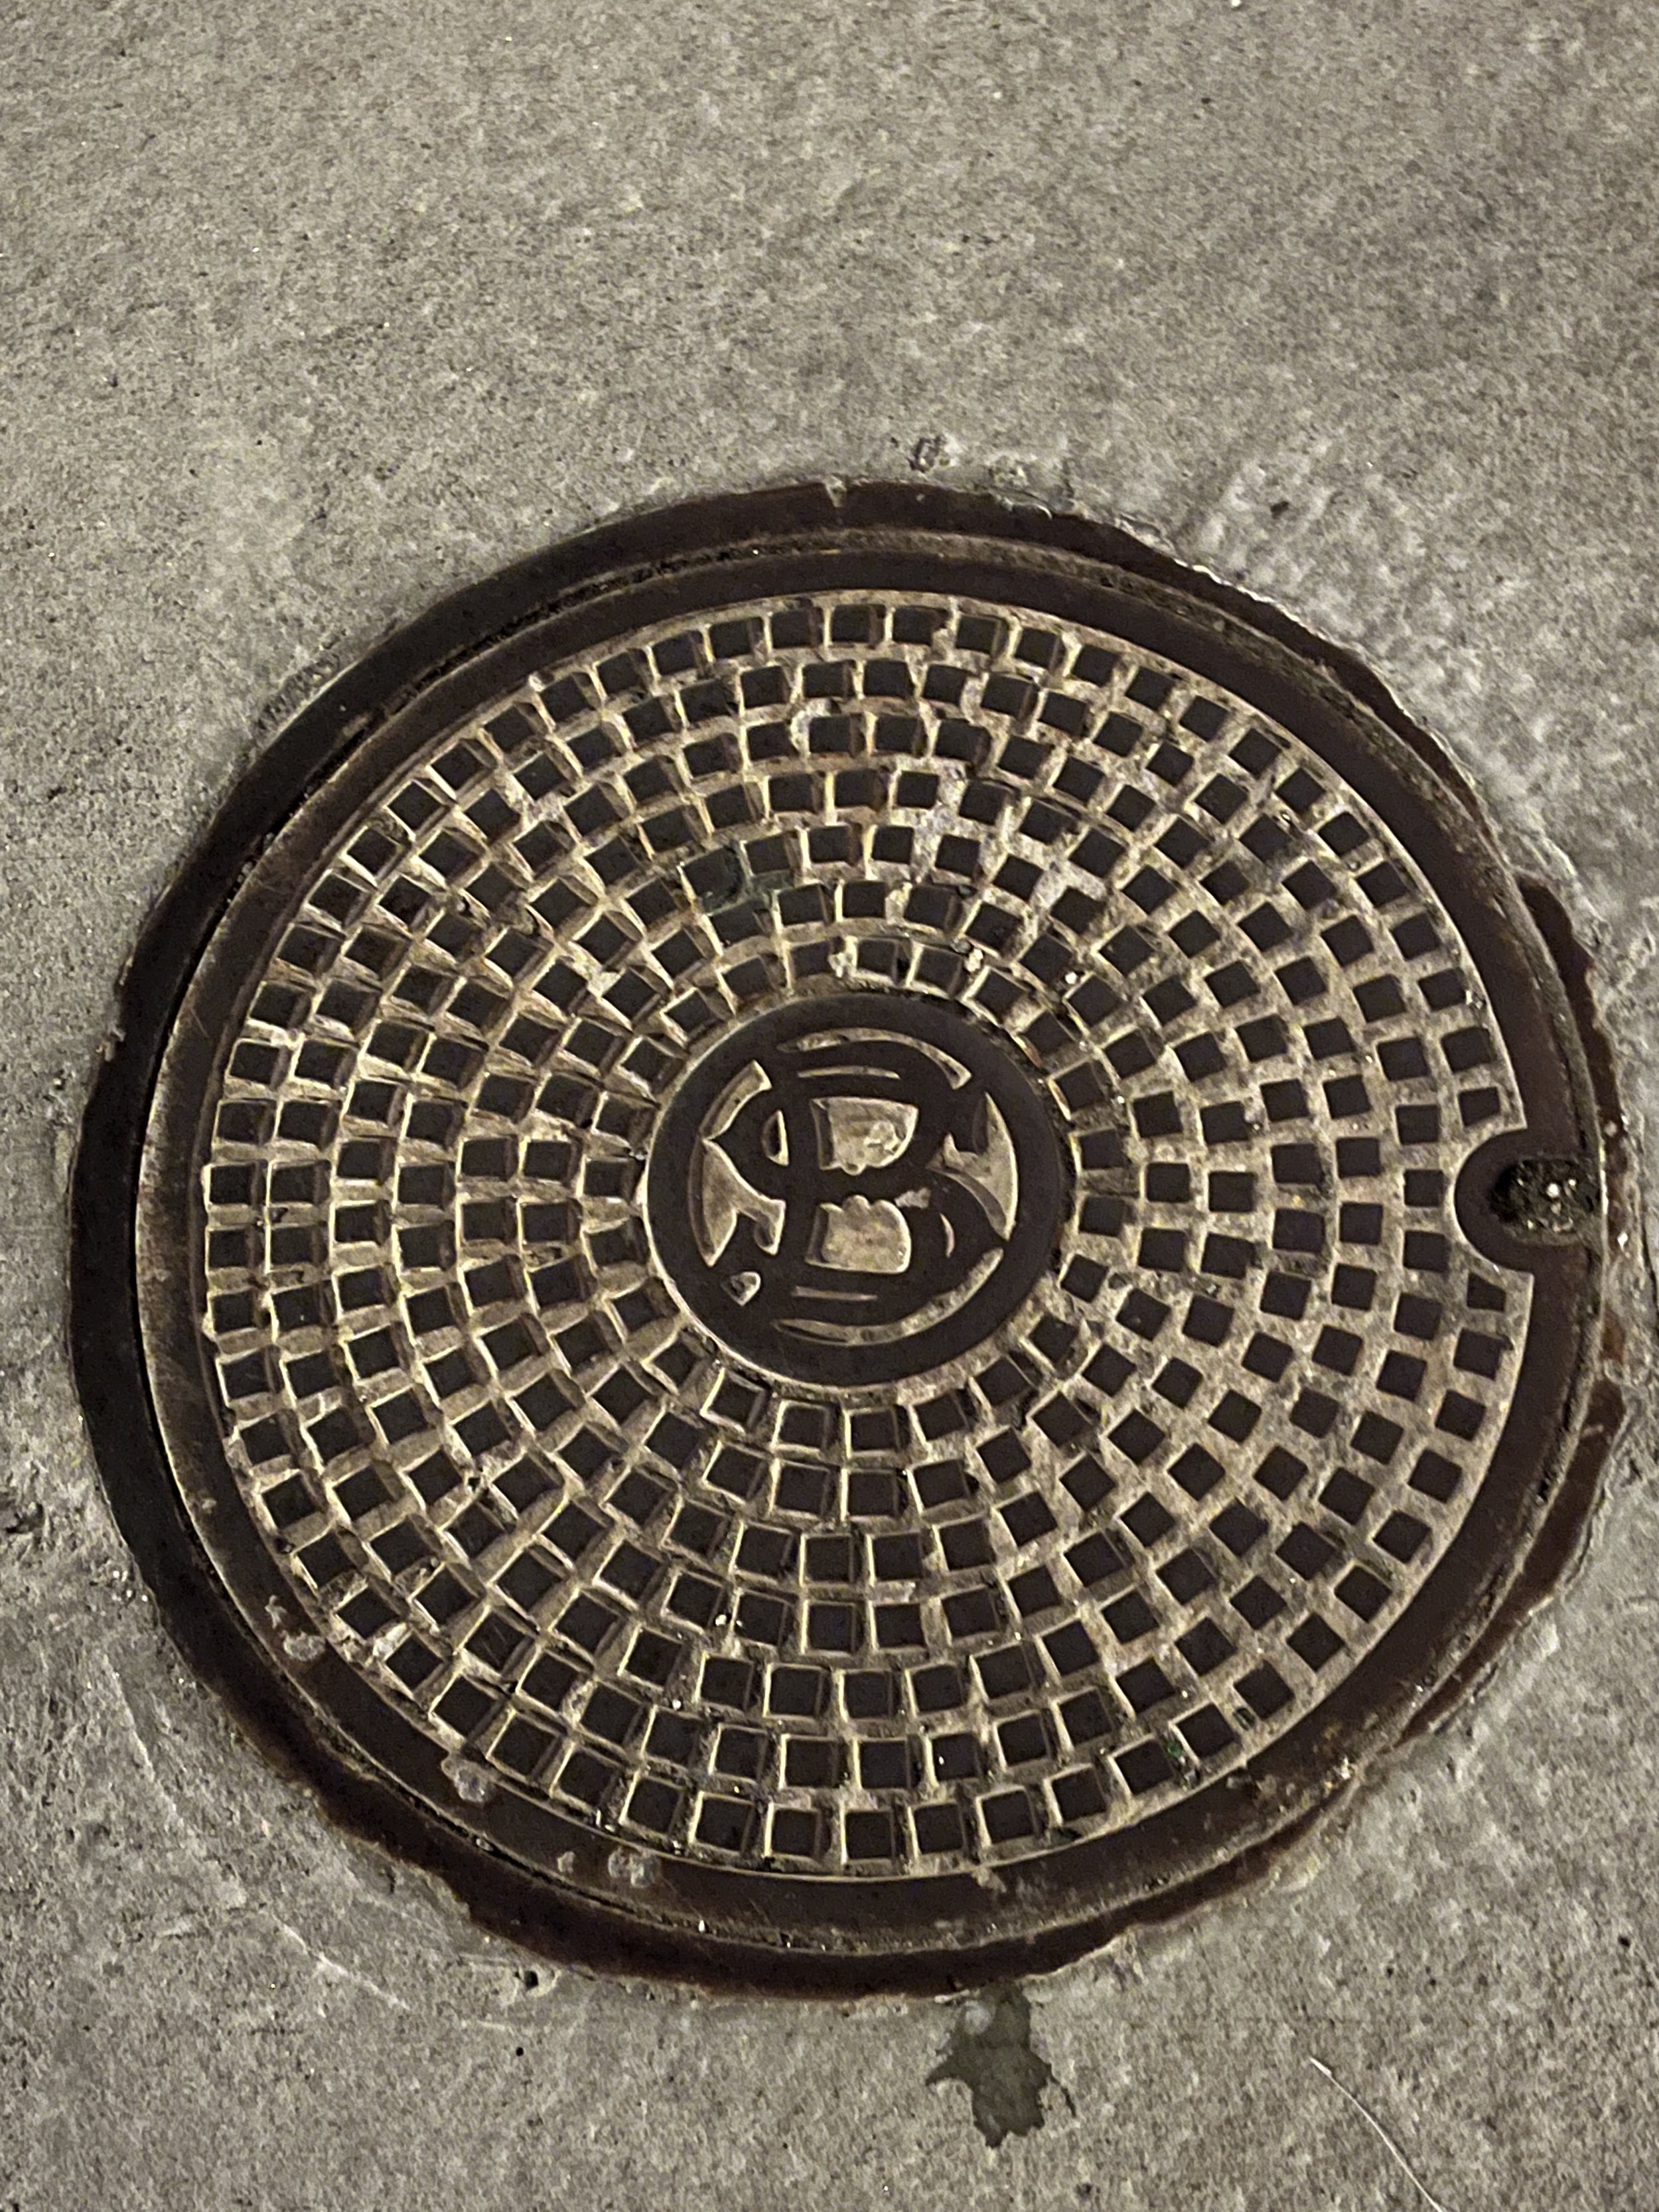
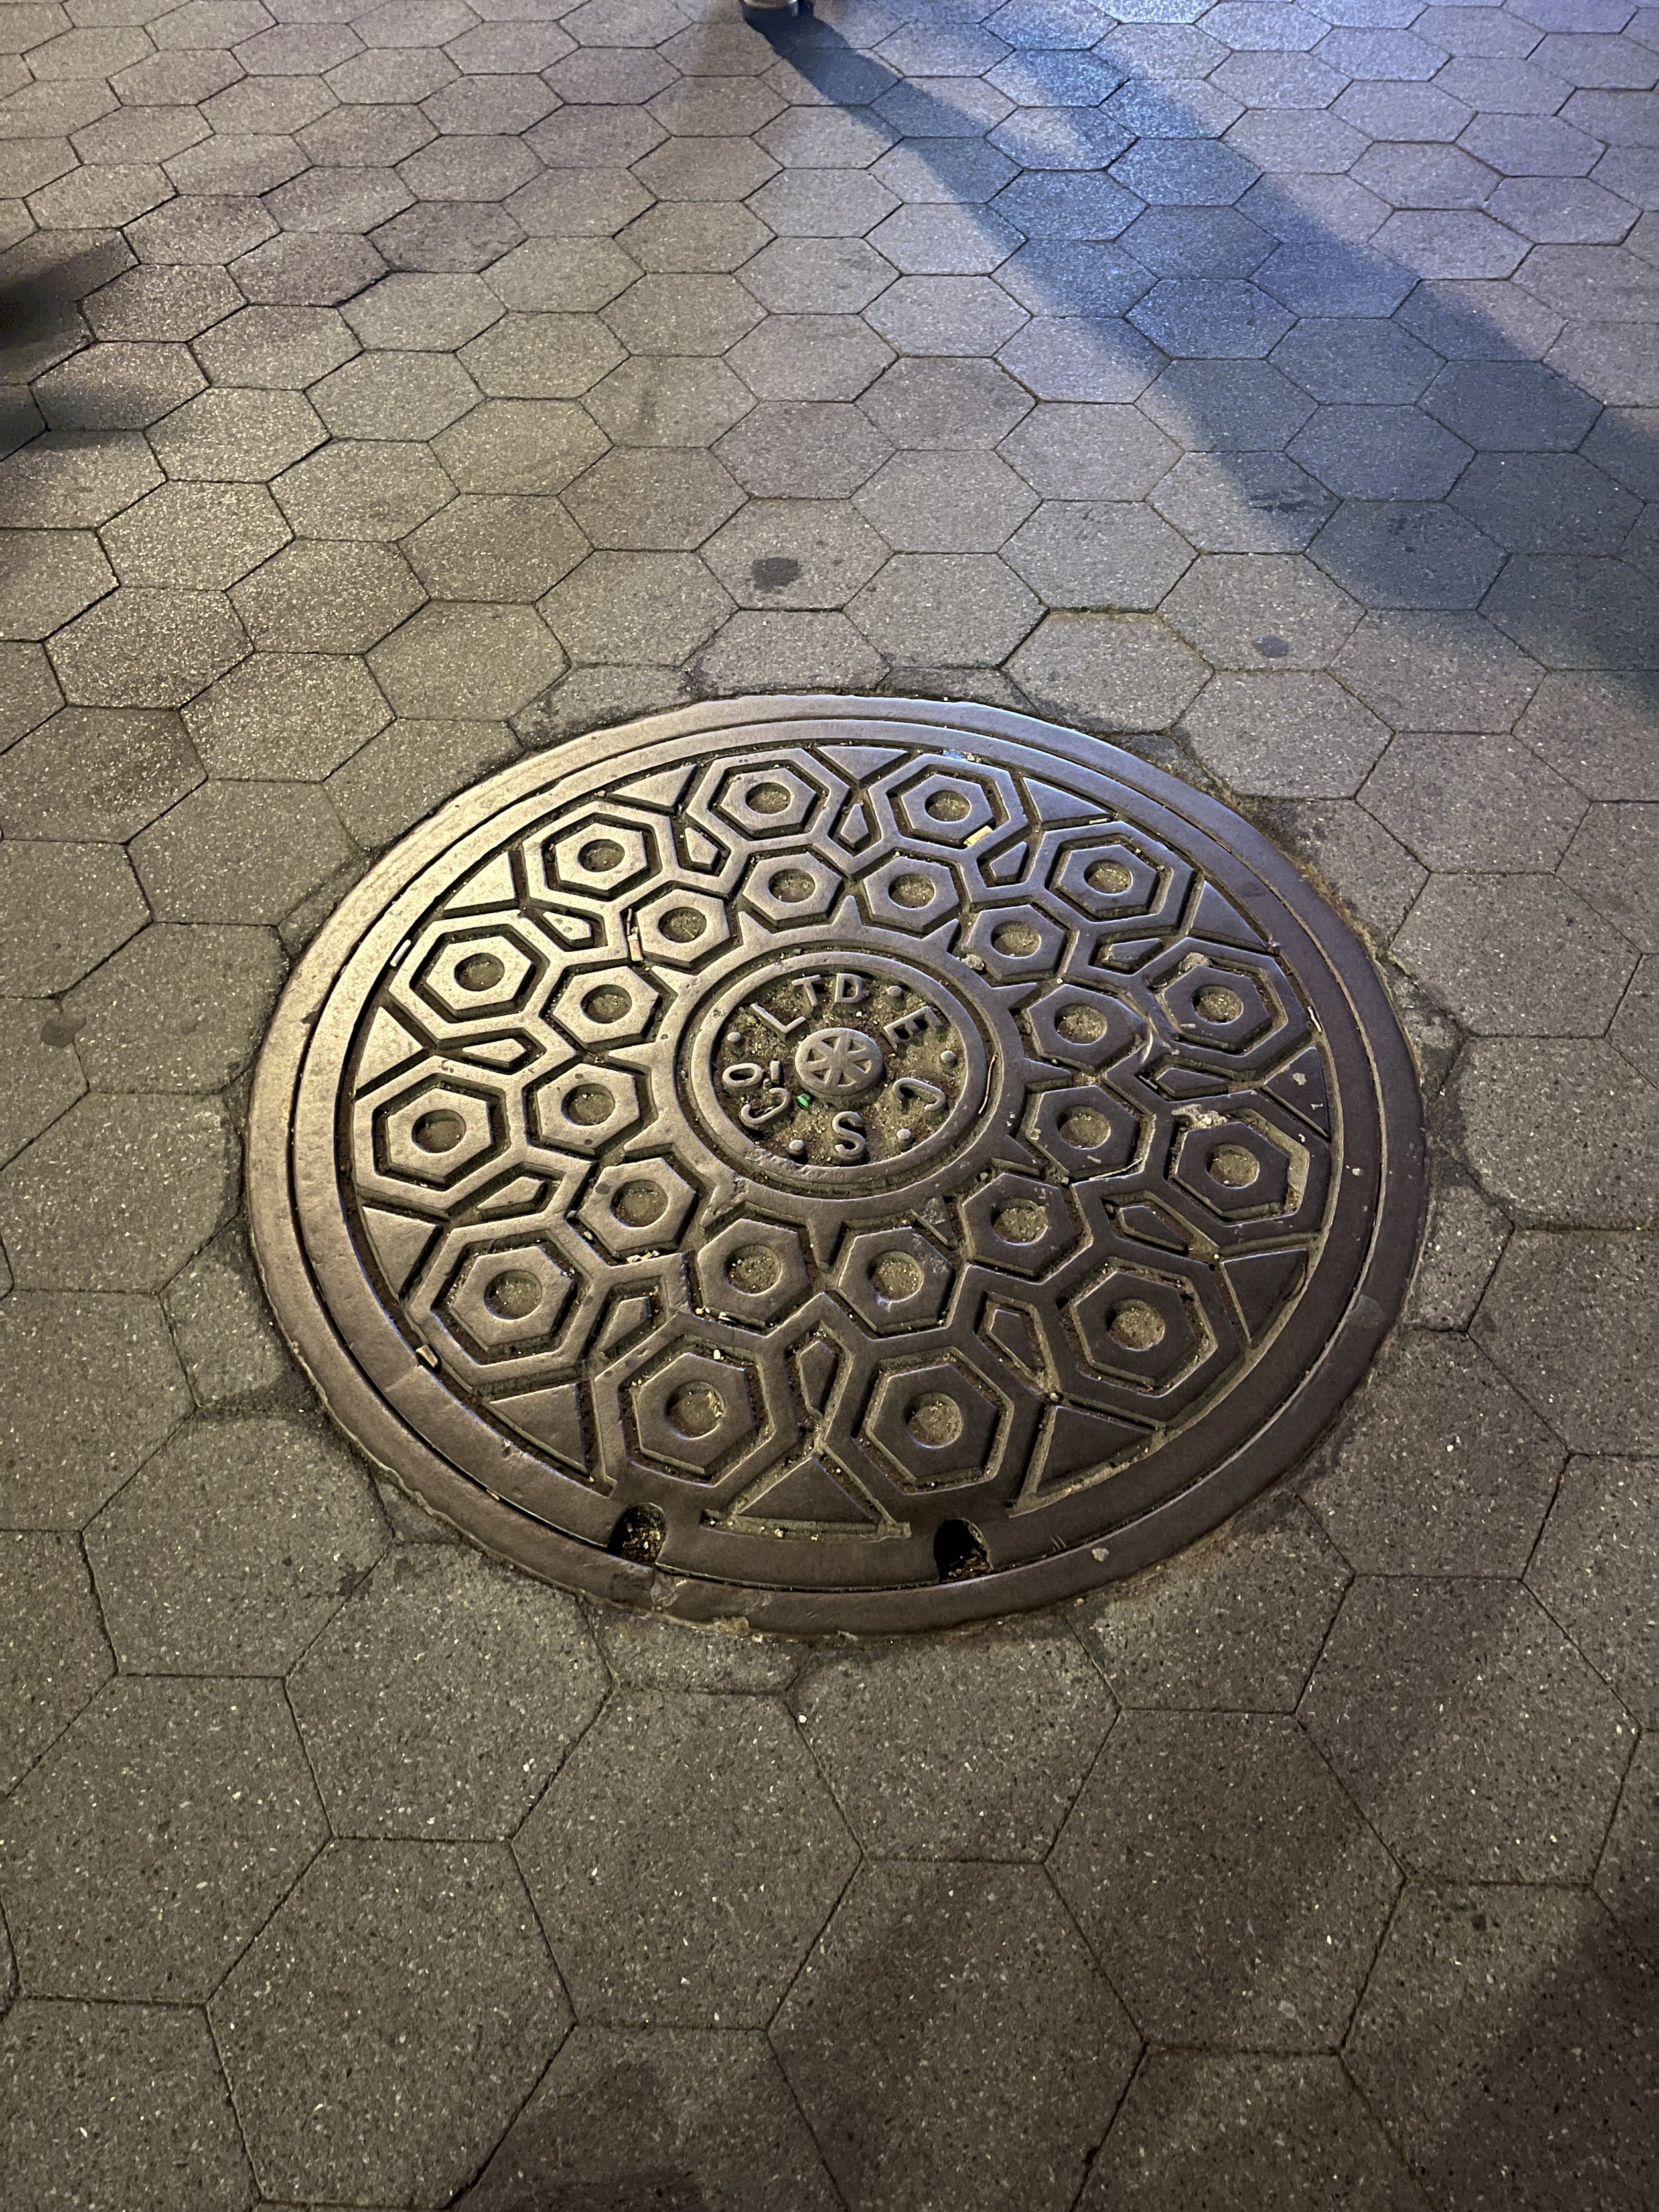
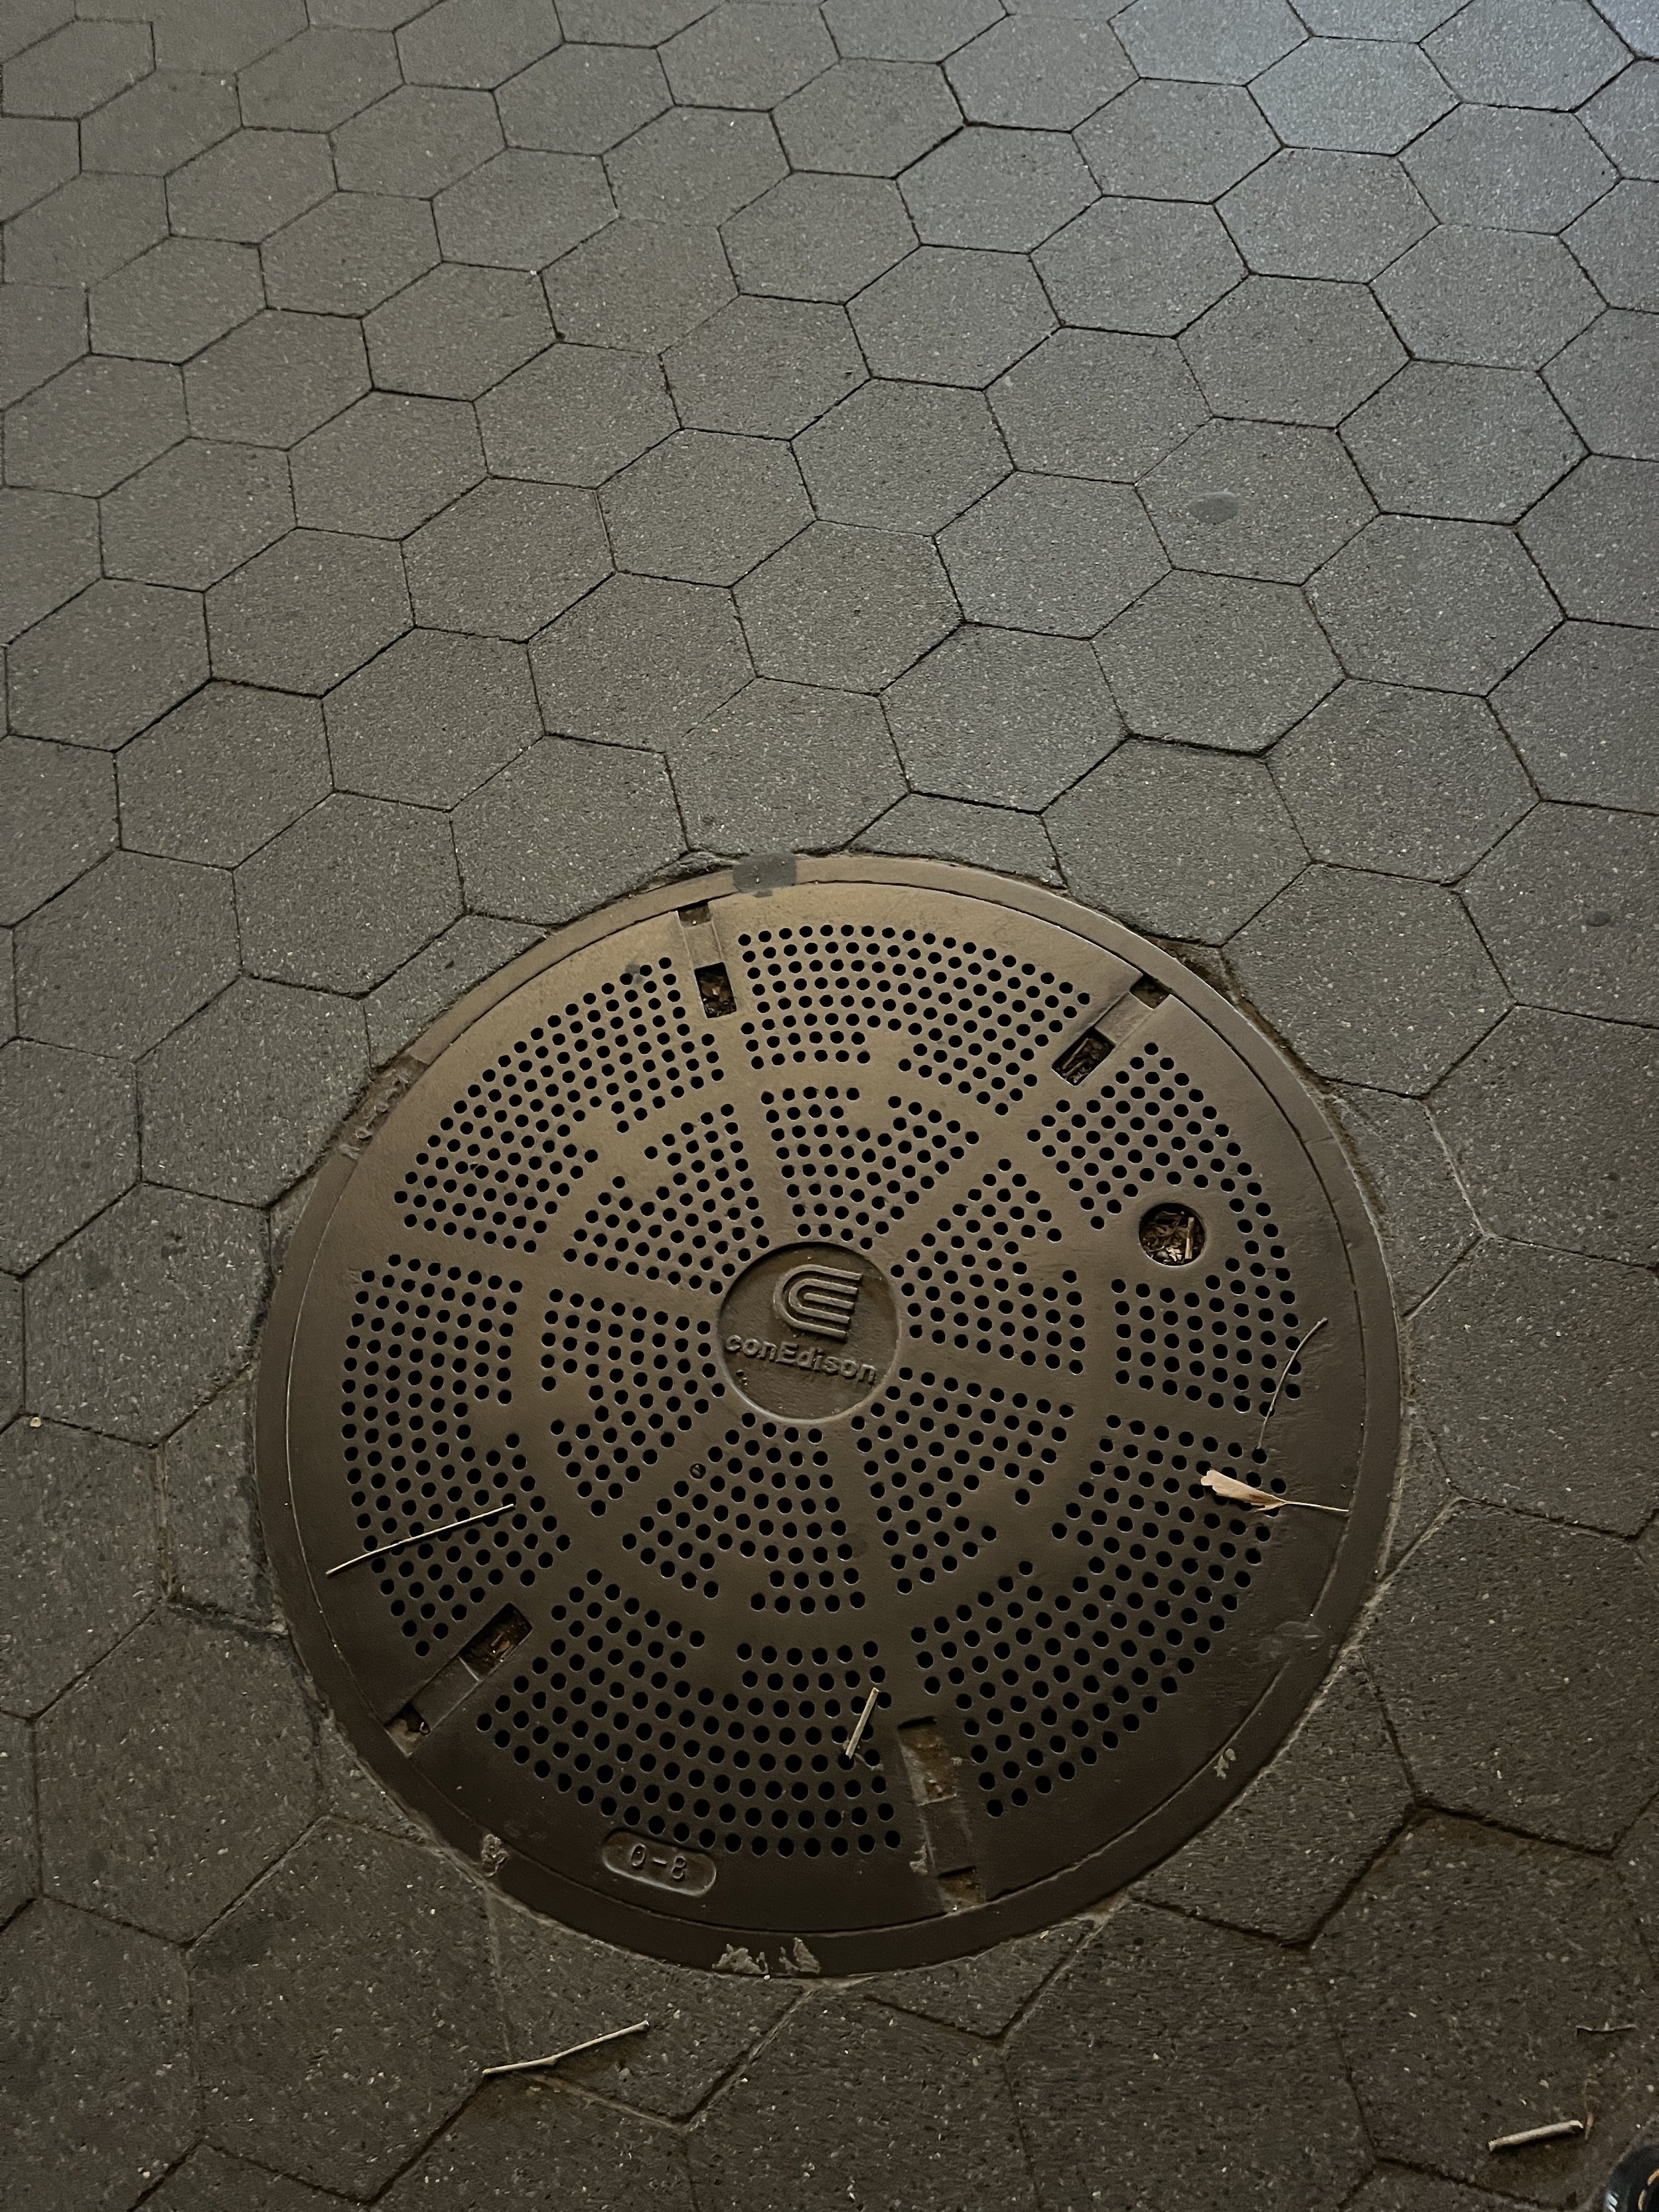
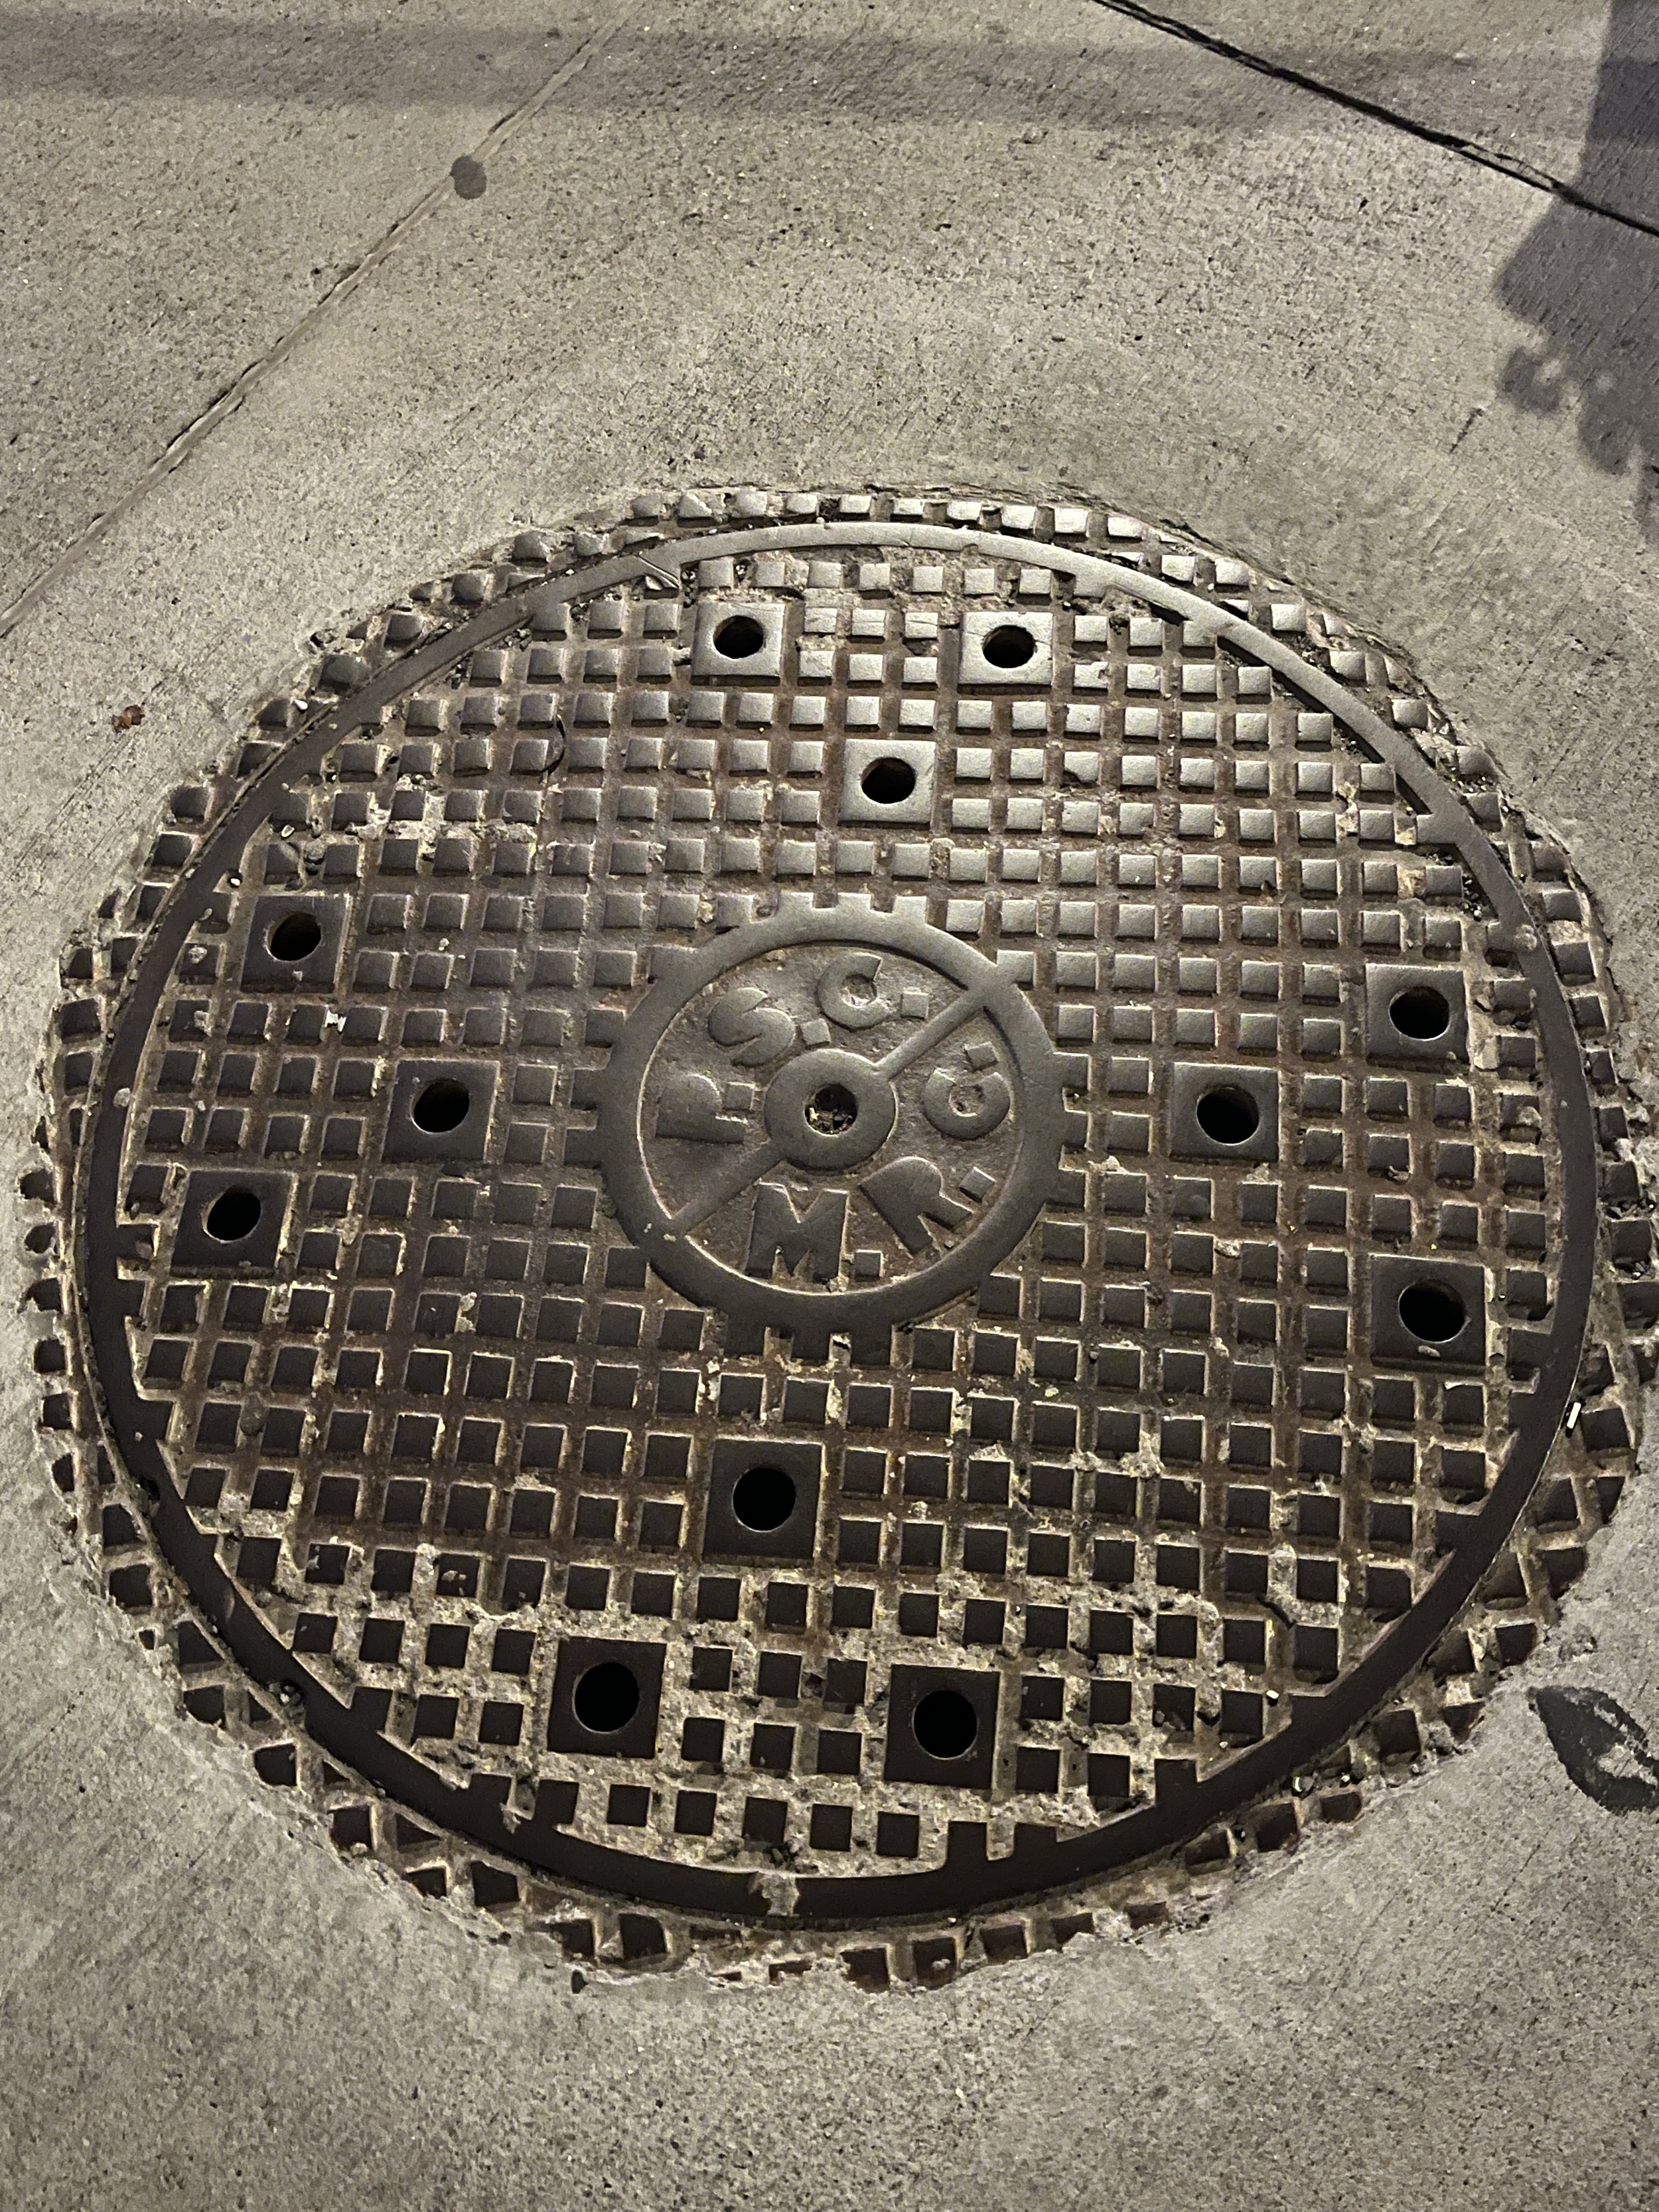
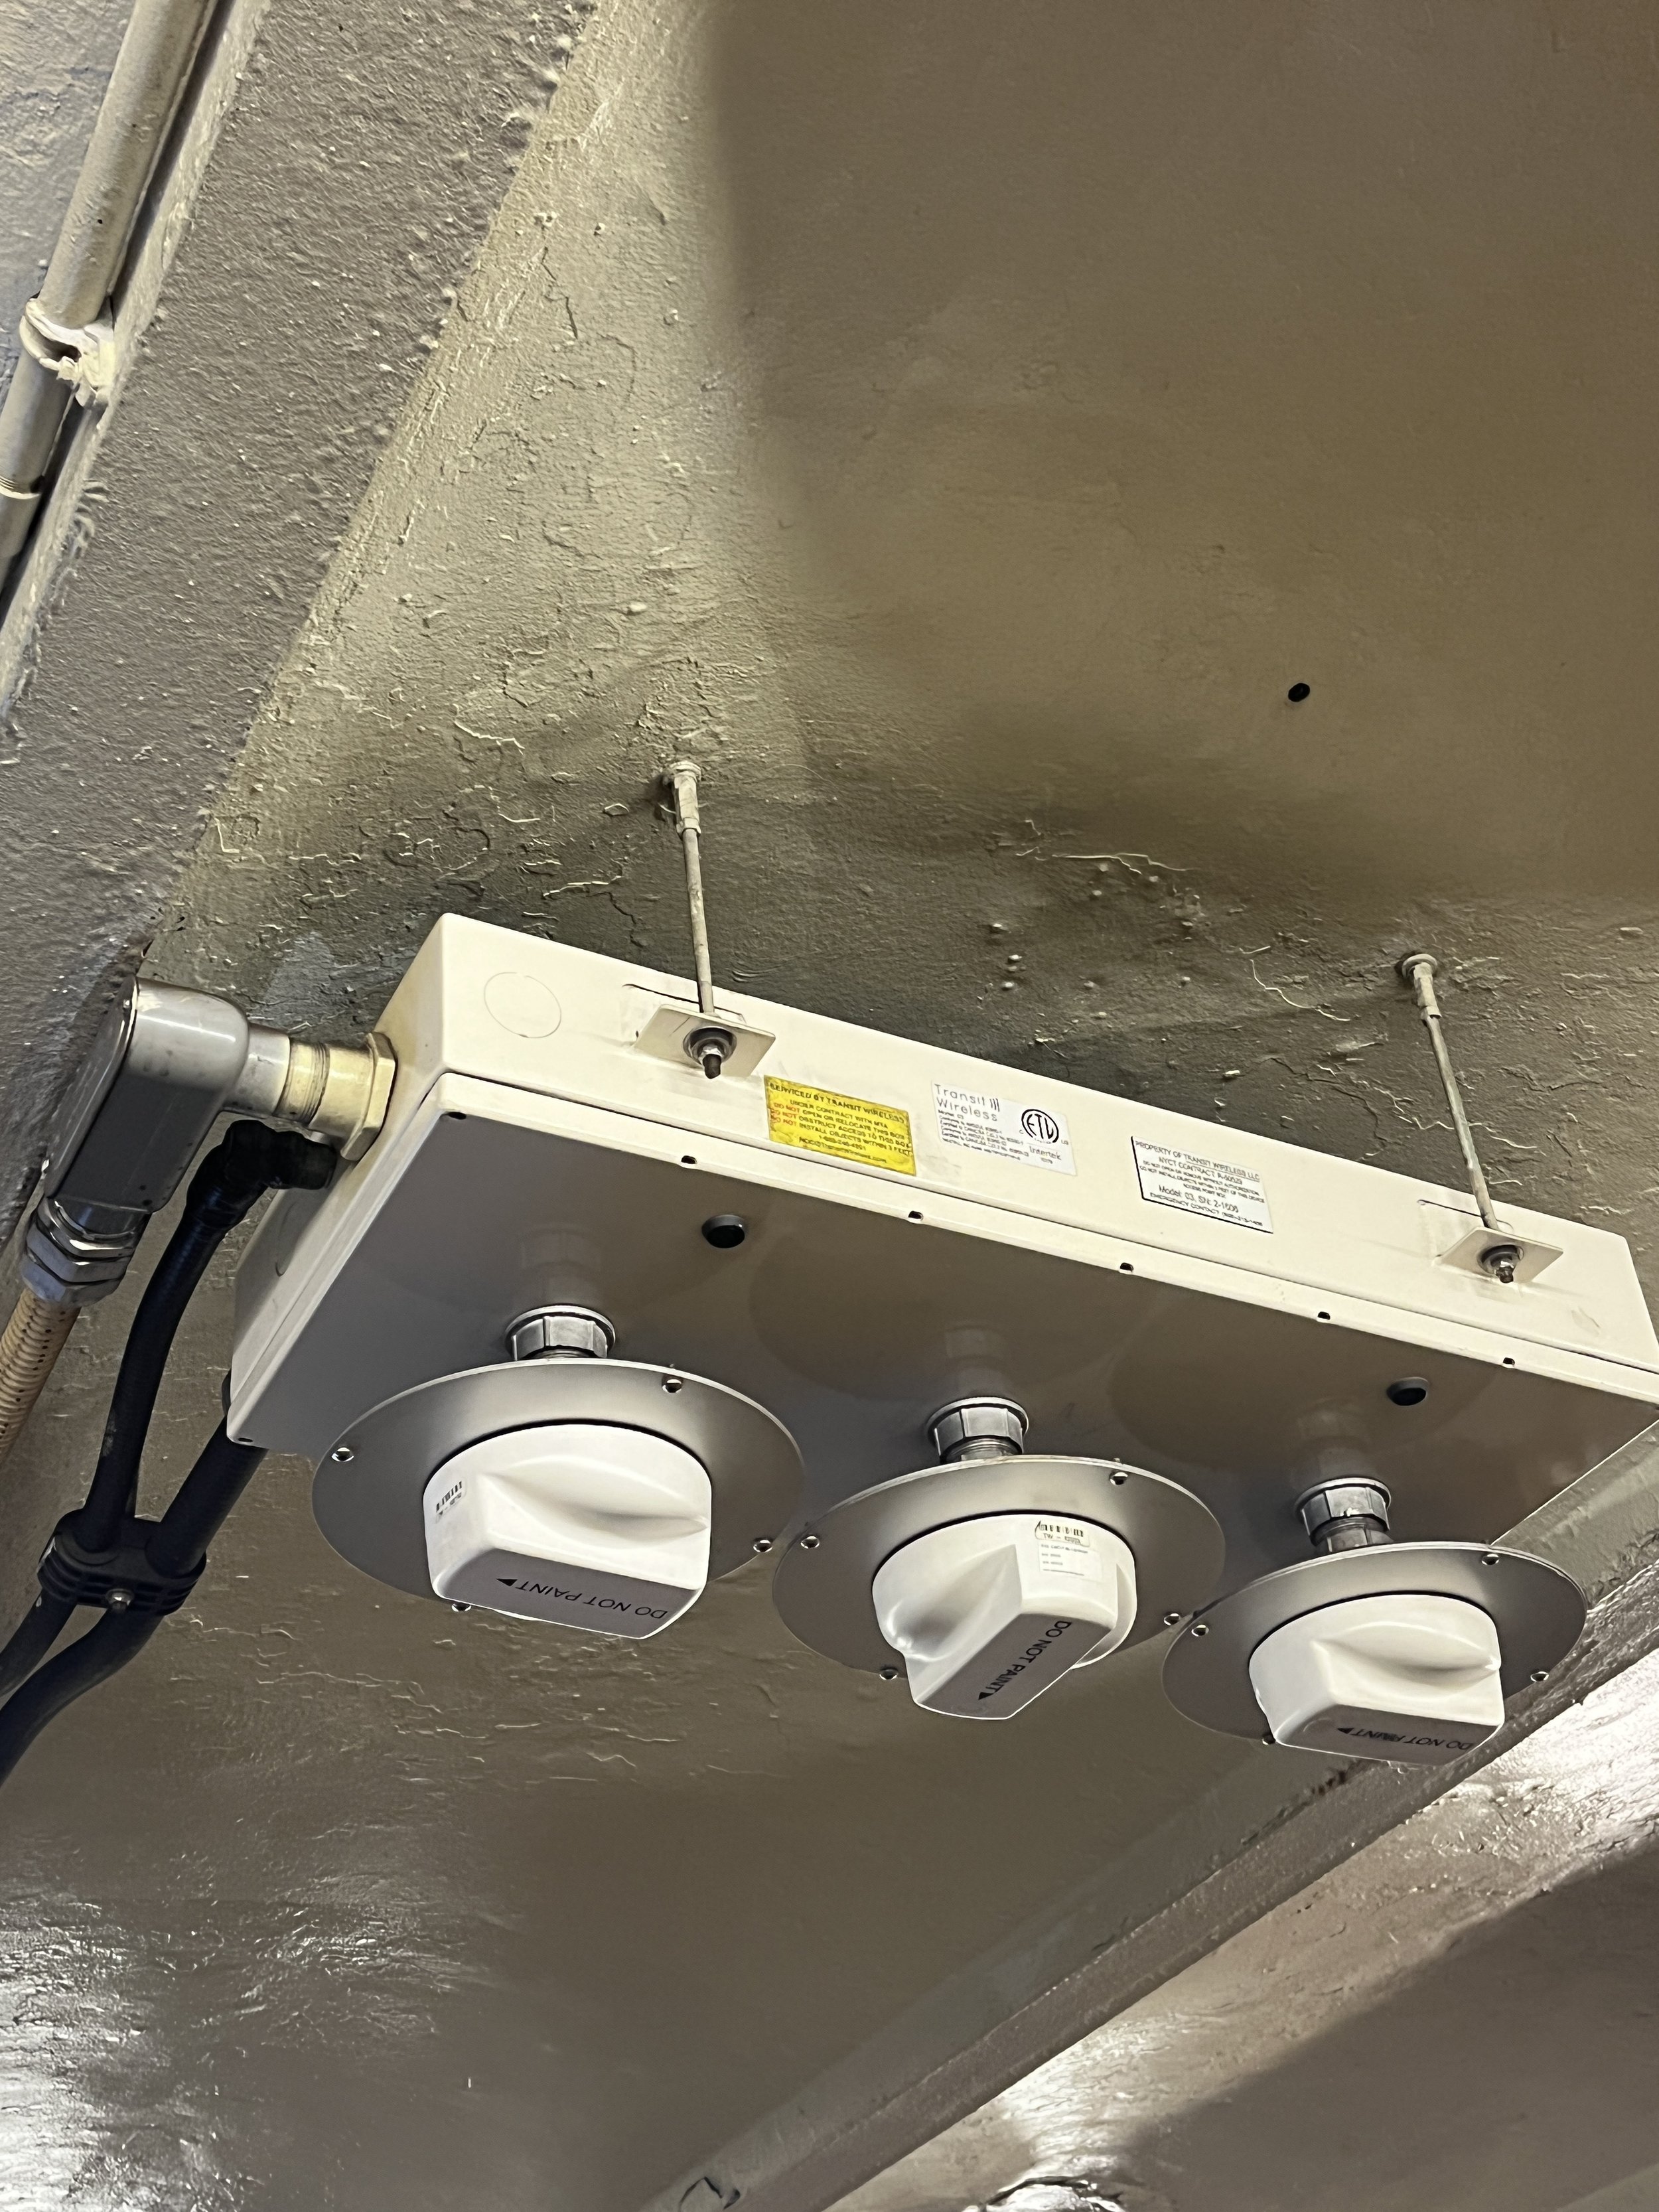
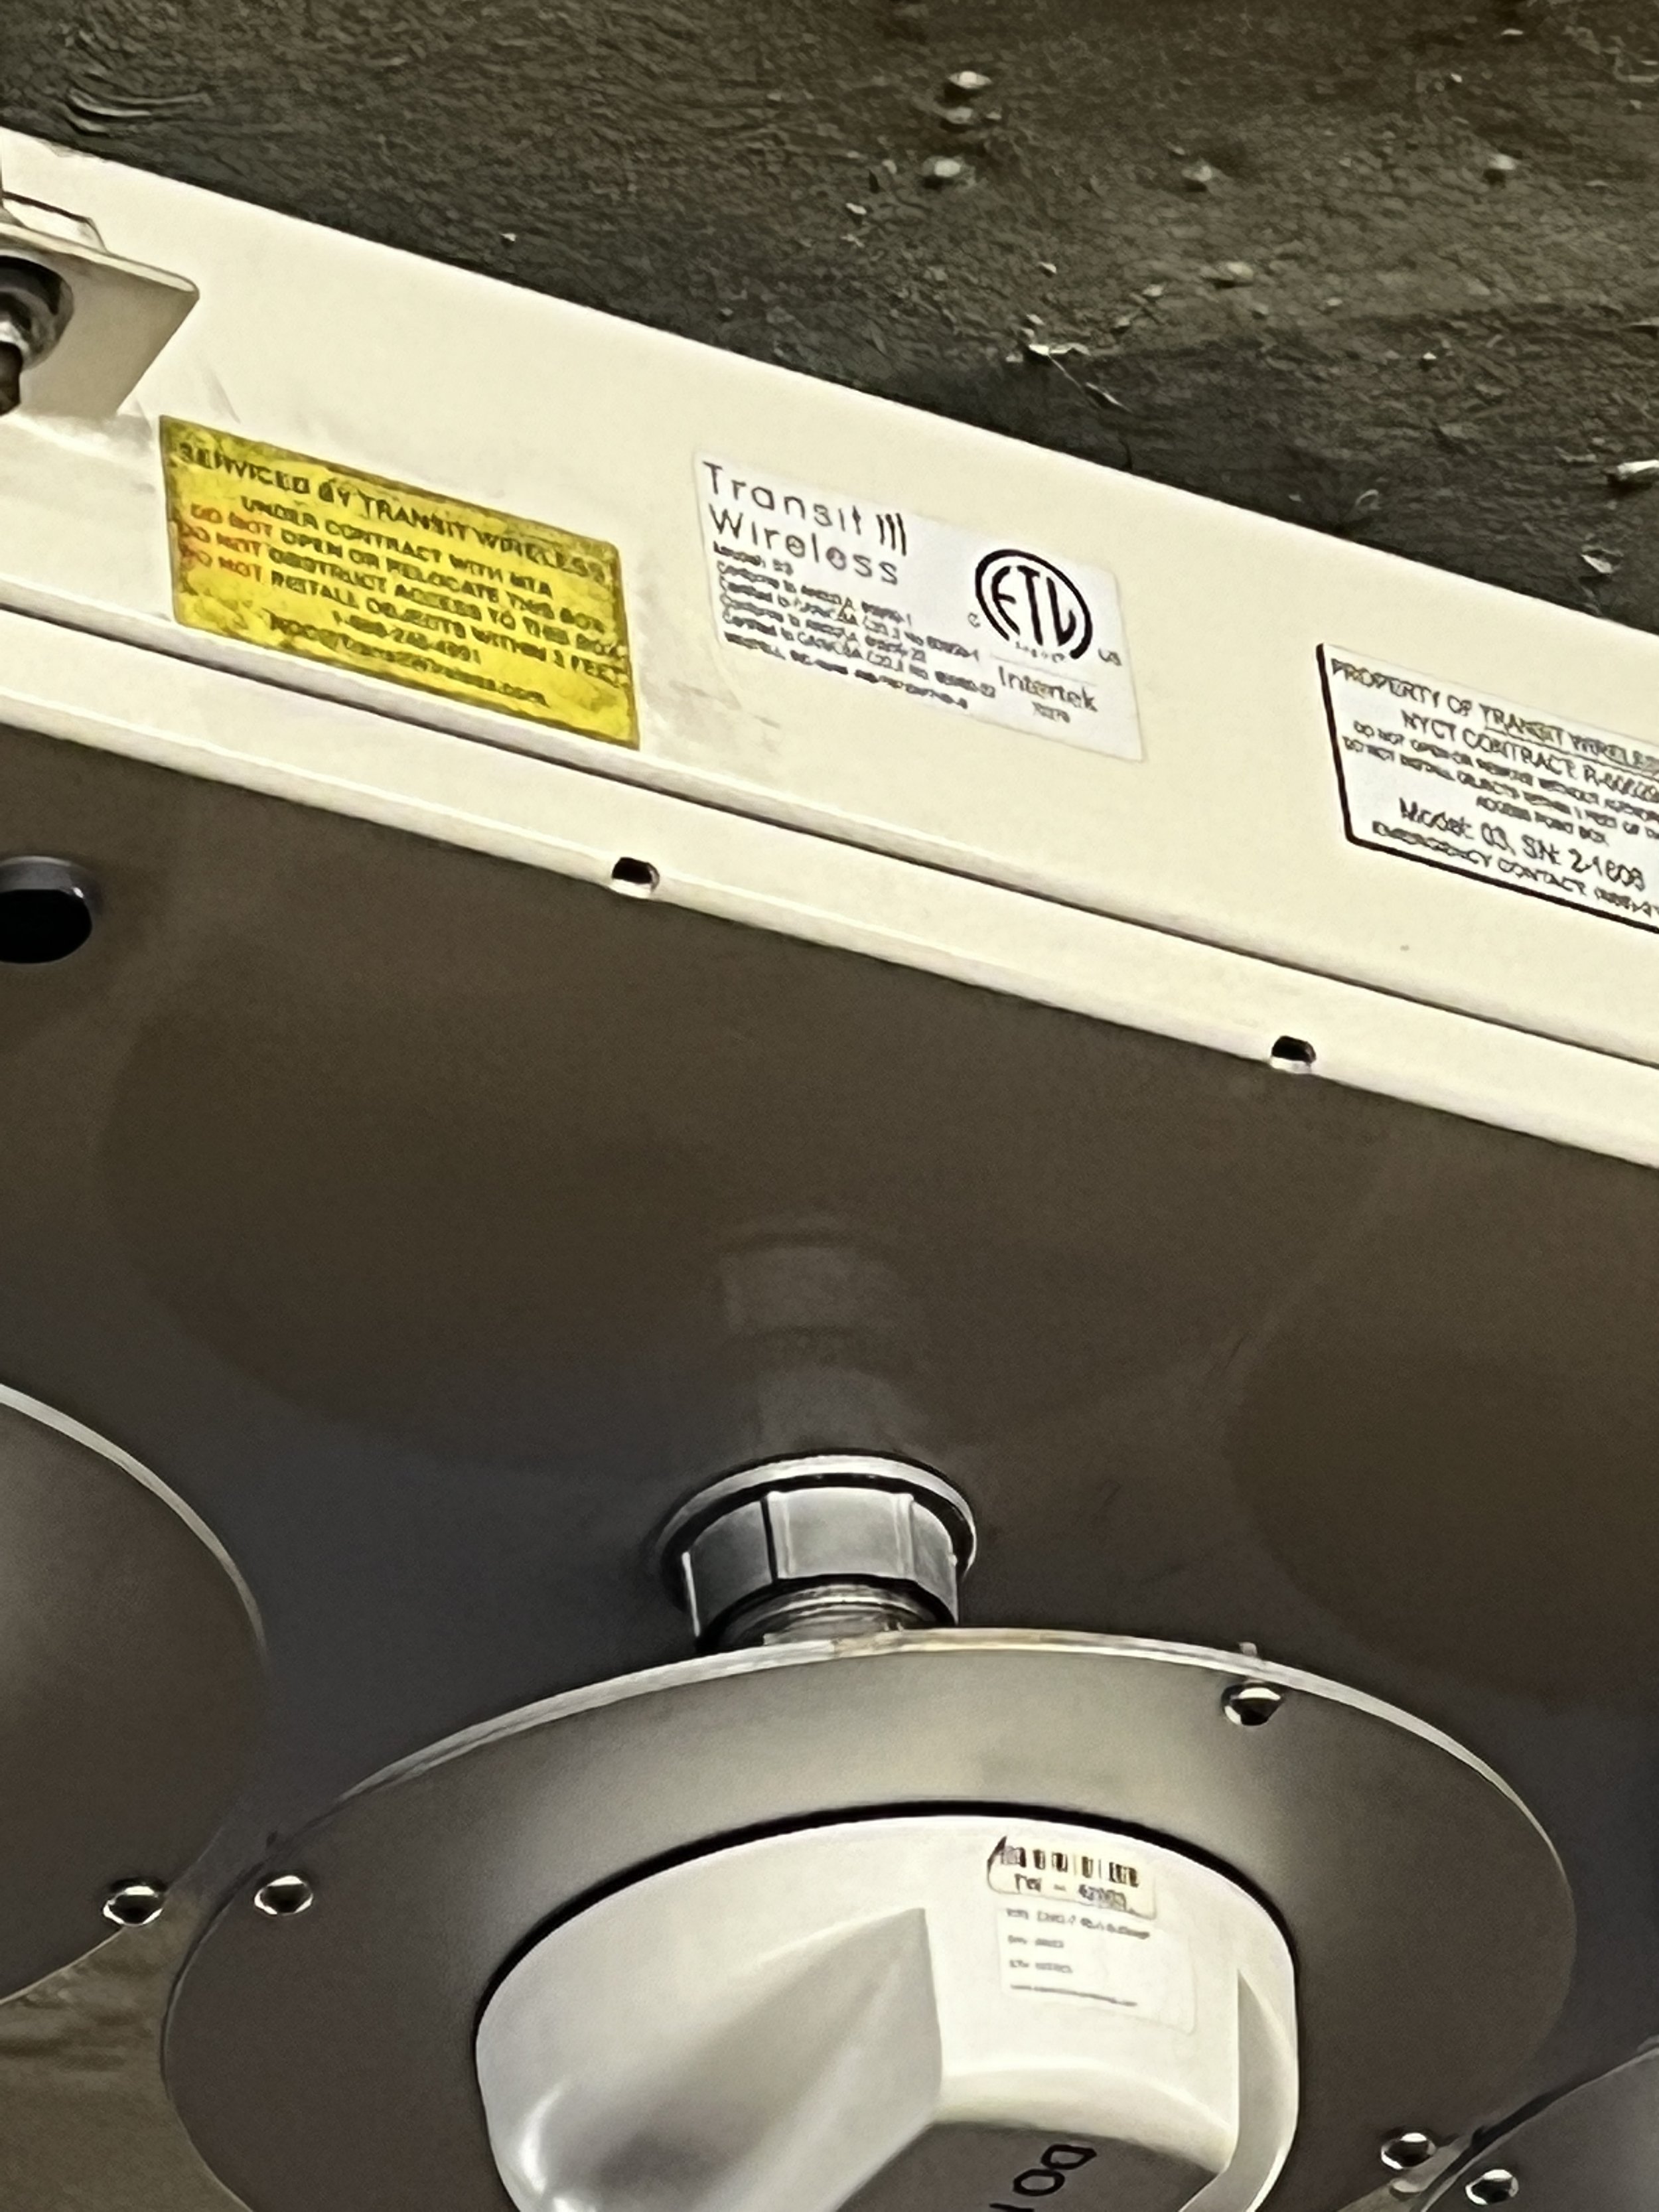
So these are some networks I spotted on my walk back from Little Italy to my apartment near Washington Park this weekend. It looks like the first picture of a manhole cover is labeled “BS”. Referencing Ingrid Burrington’s “Networks of New York”, I couldn’t find a description of that abbreviation, but a quick google search shows that “BS” stands for “Bureau of Sewers”, so not exactly an access point to the wireless network… But the next manhole cover is illustrated in her book: “Empire City Subway” which had the New York Telephone Company as a primary shareholder.

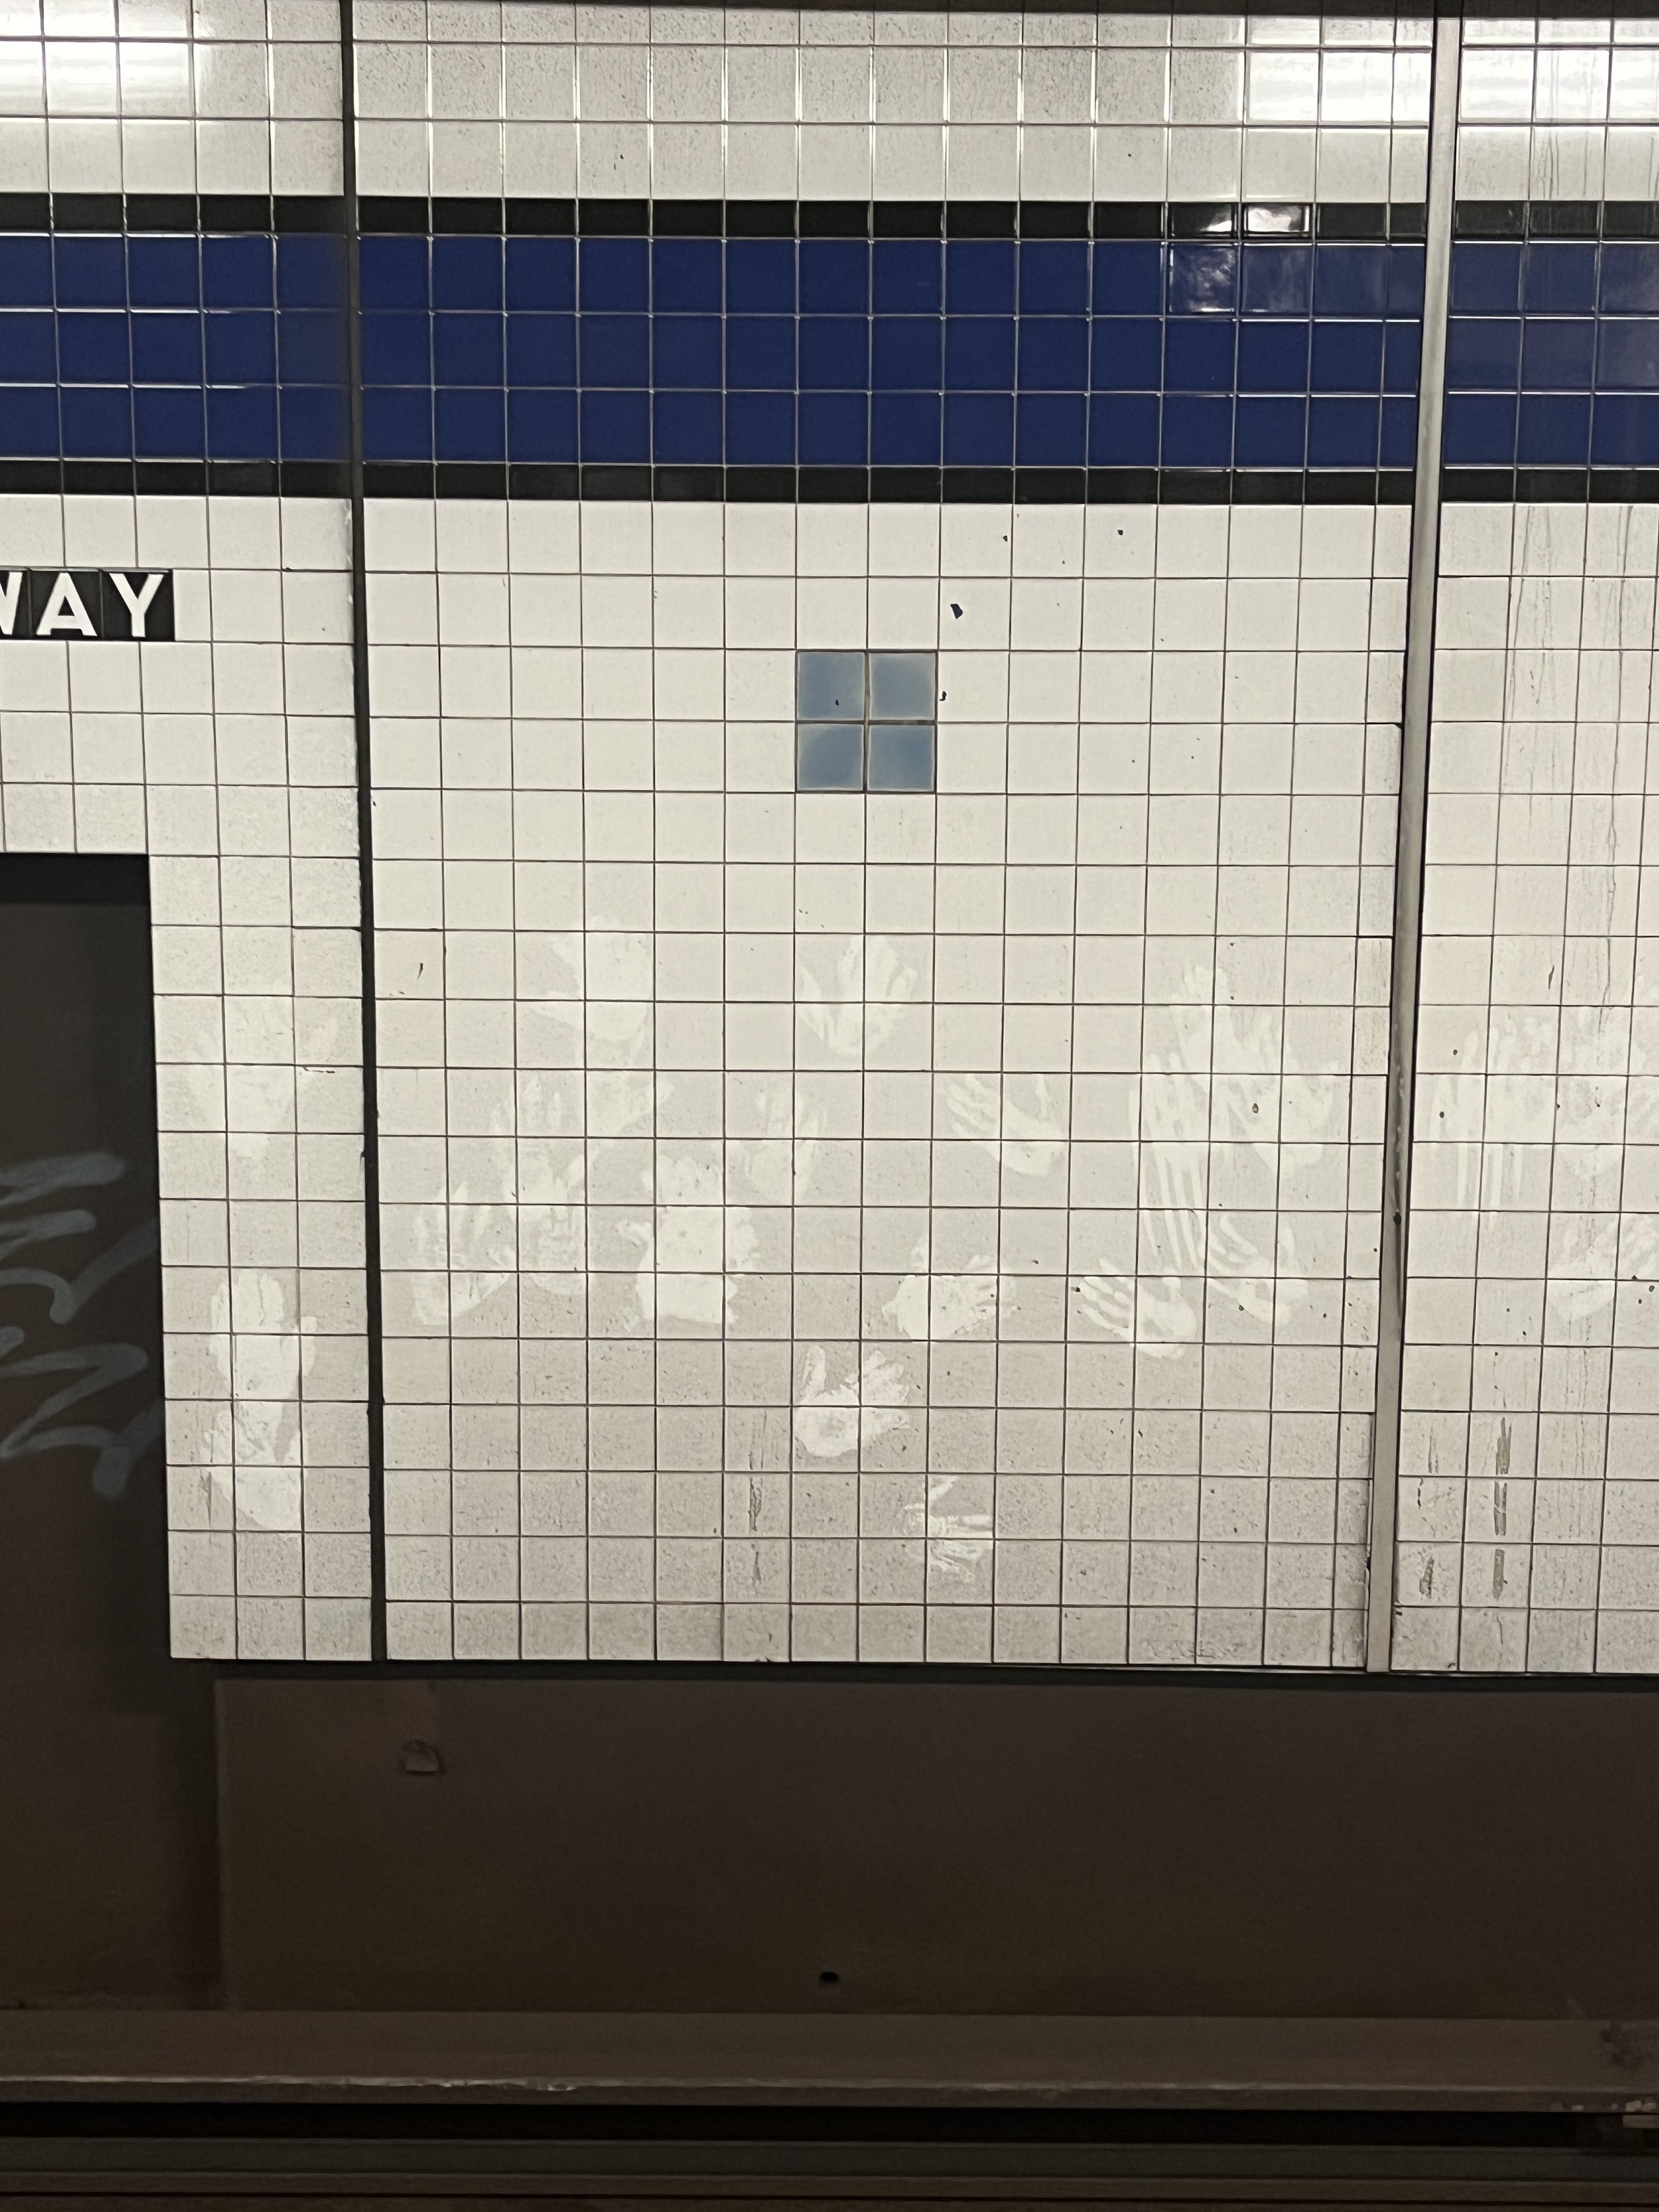
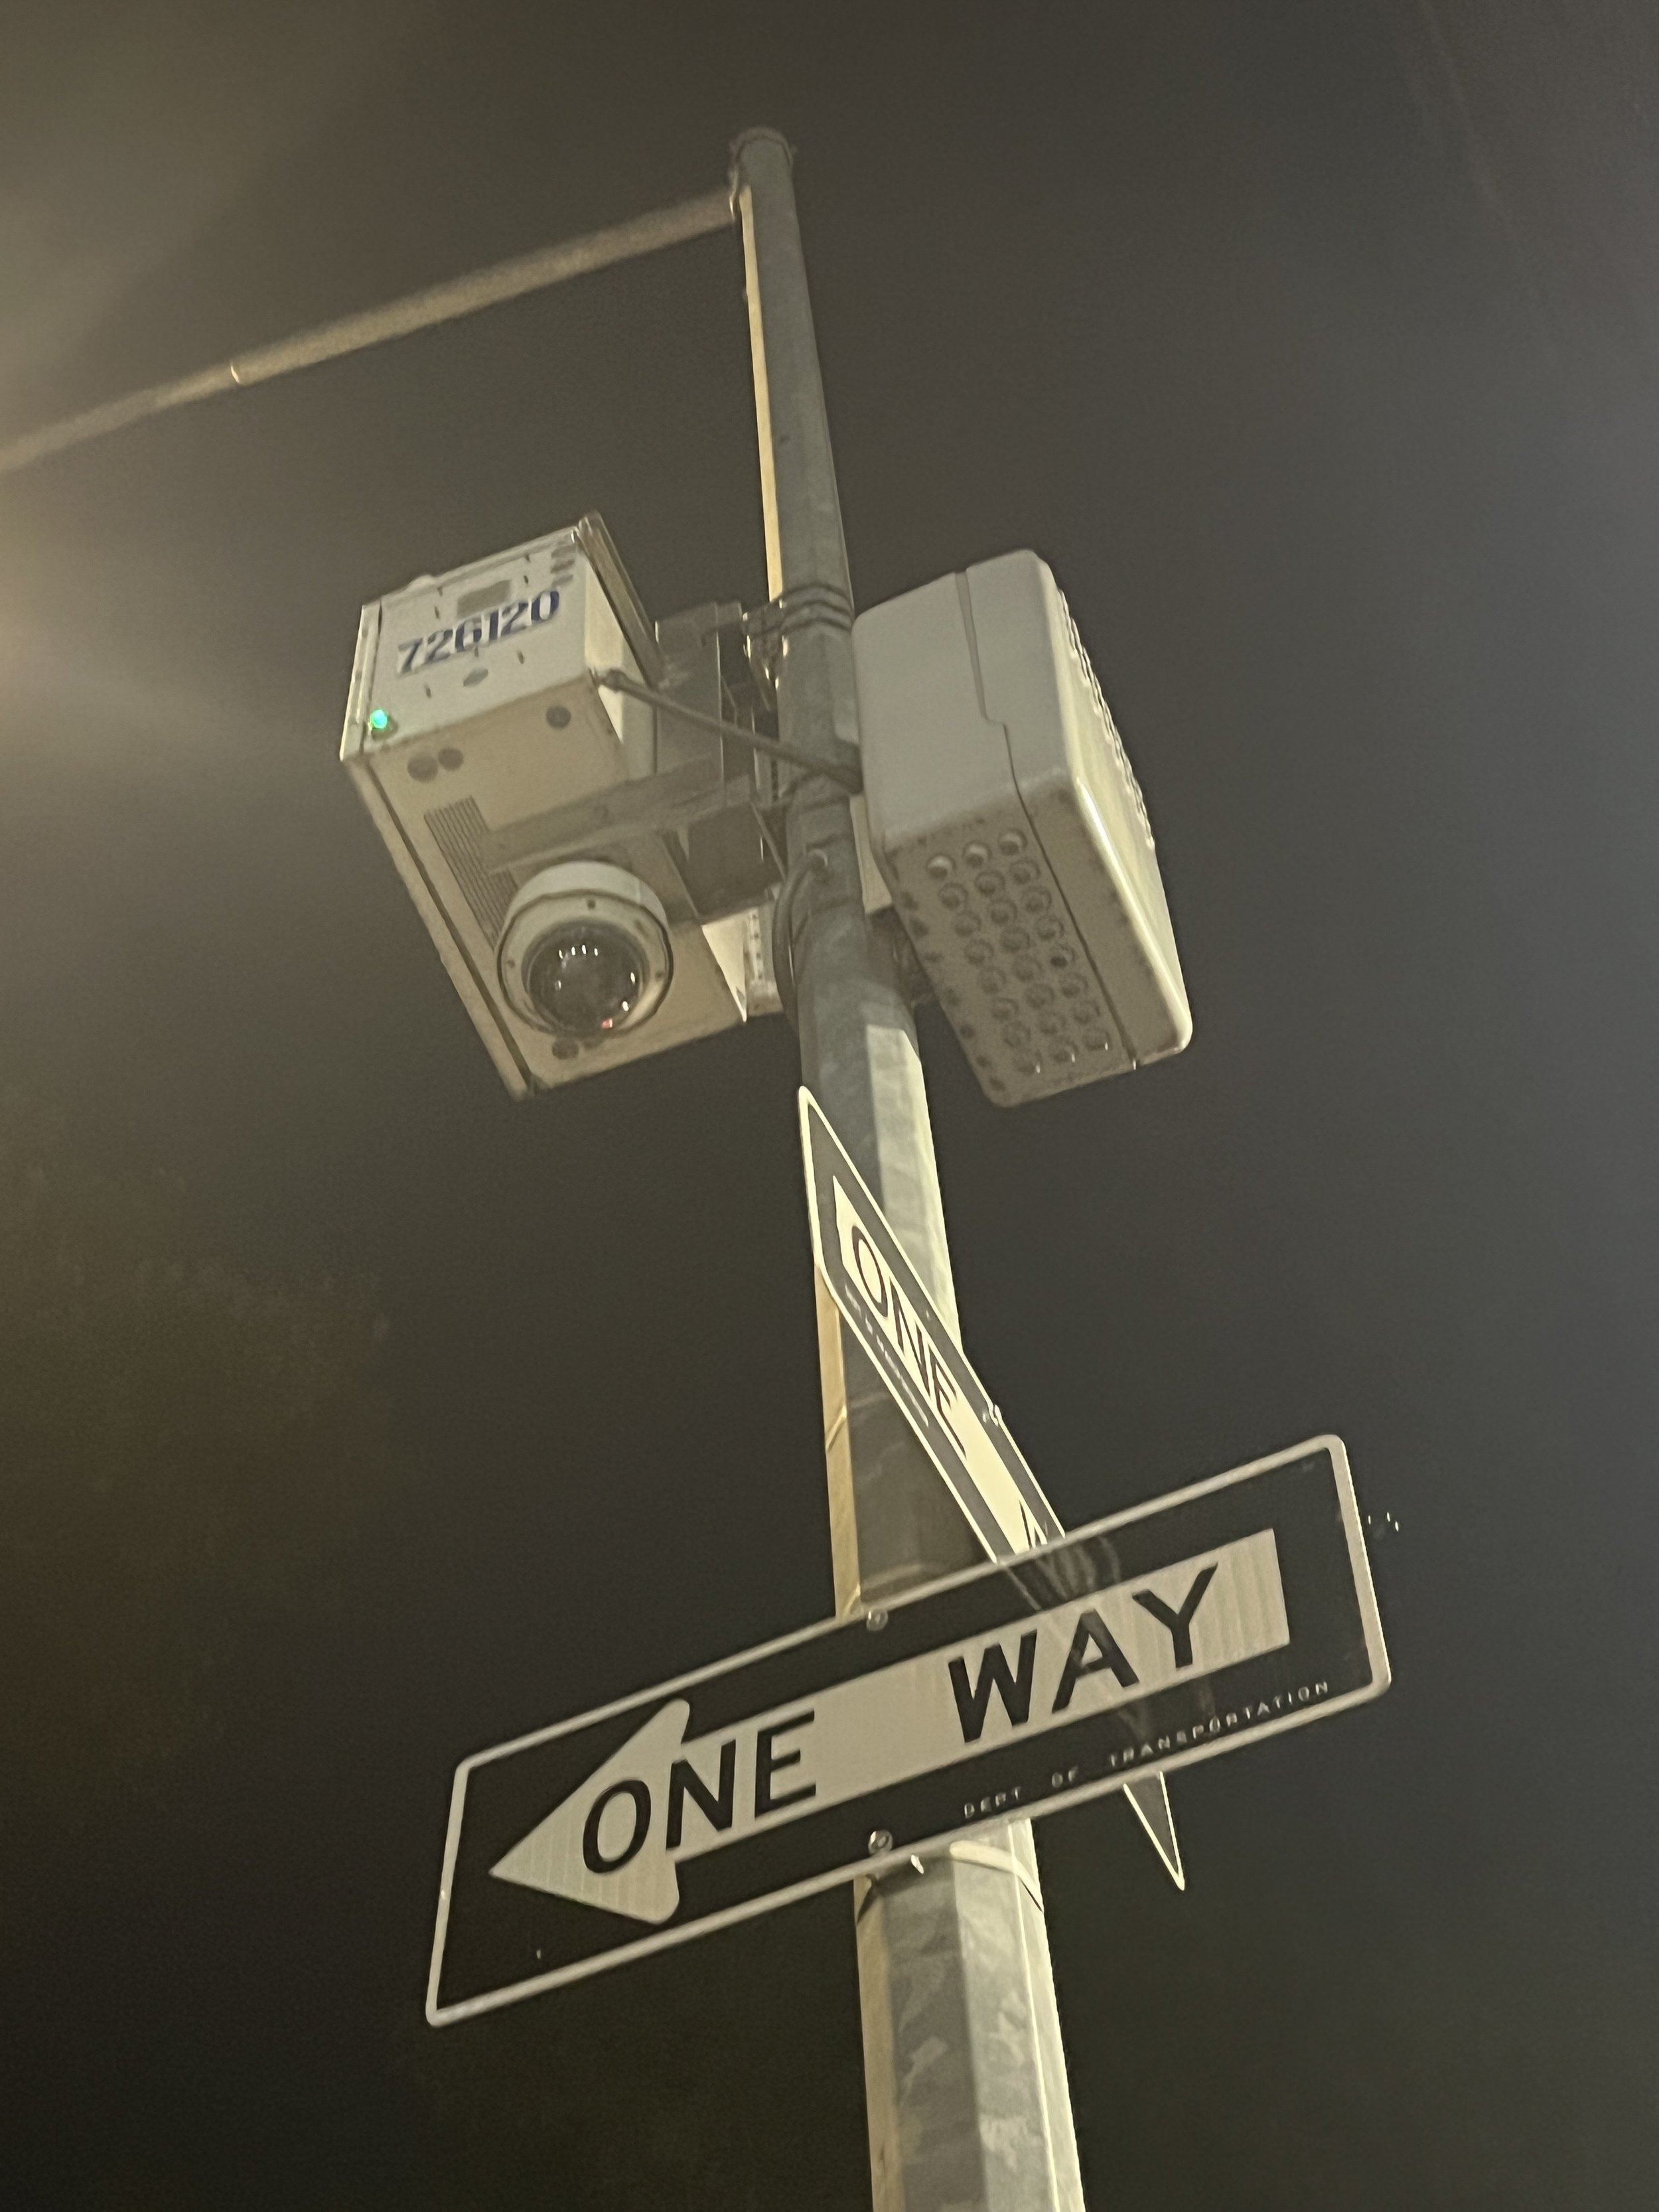
I also came across an NYPD security camera (“Networks of New York”, pg 94). The last two images are from a subway station and I think that’s the underground wireless network.

[ITP: Fabrication] Don't Fall in Love with the Laser Cutter

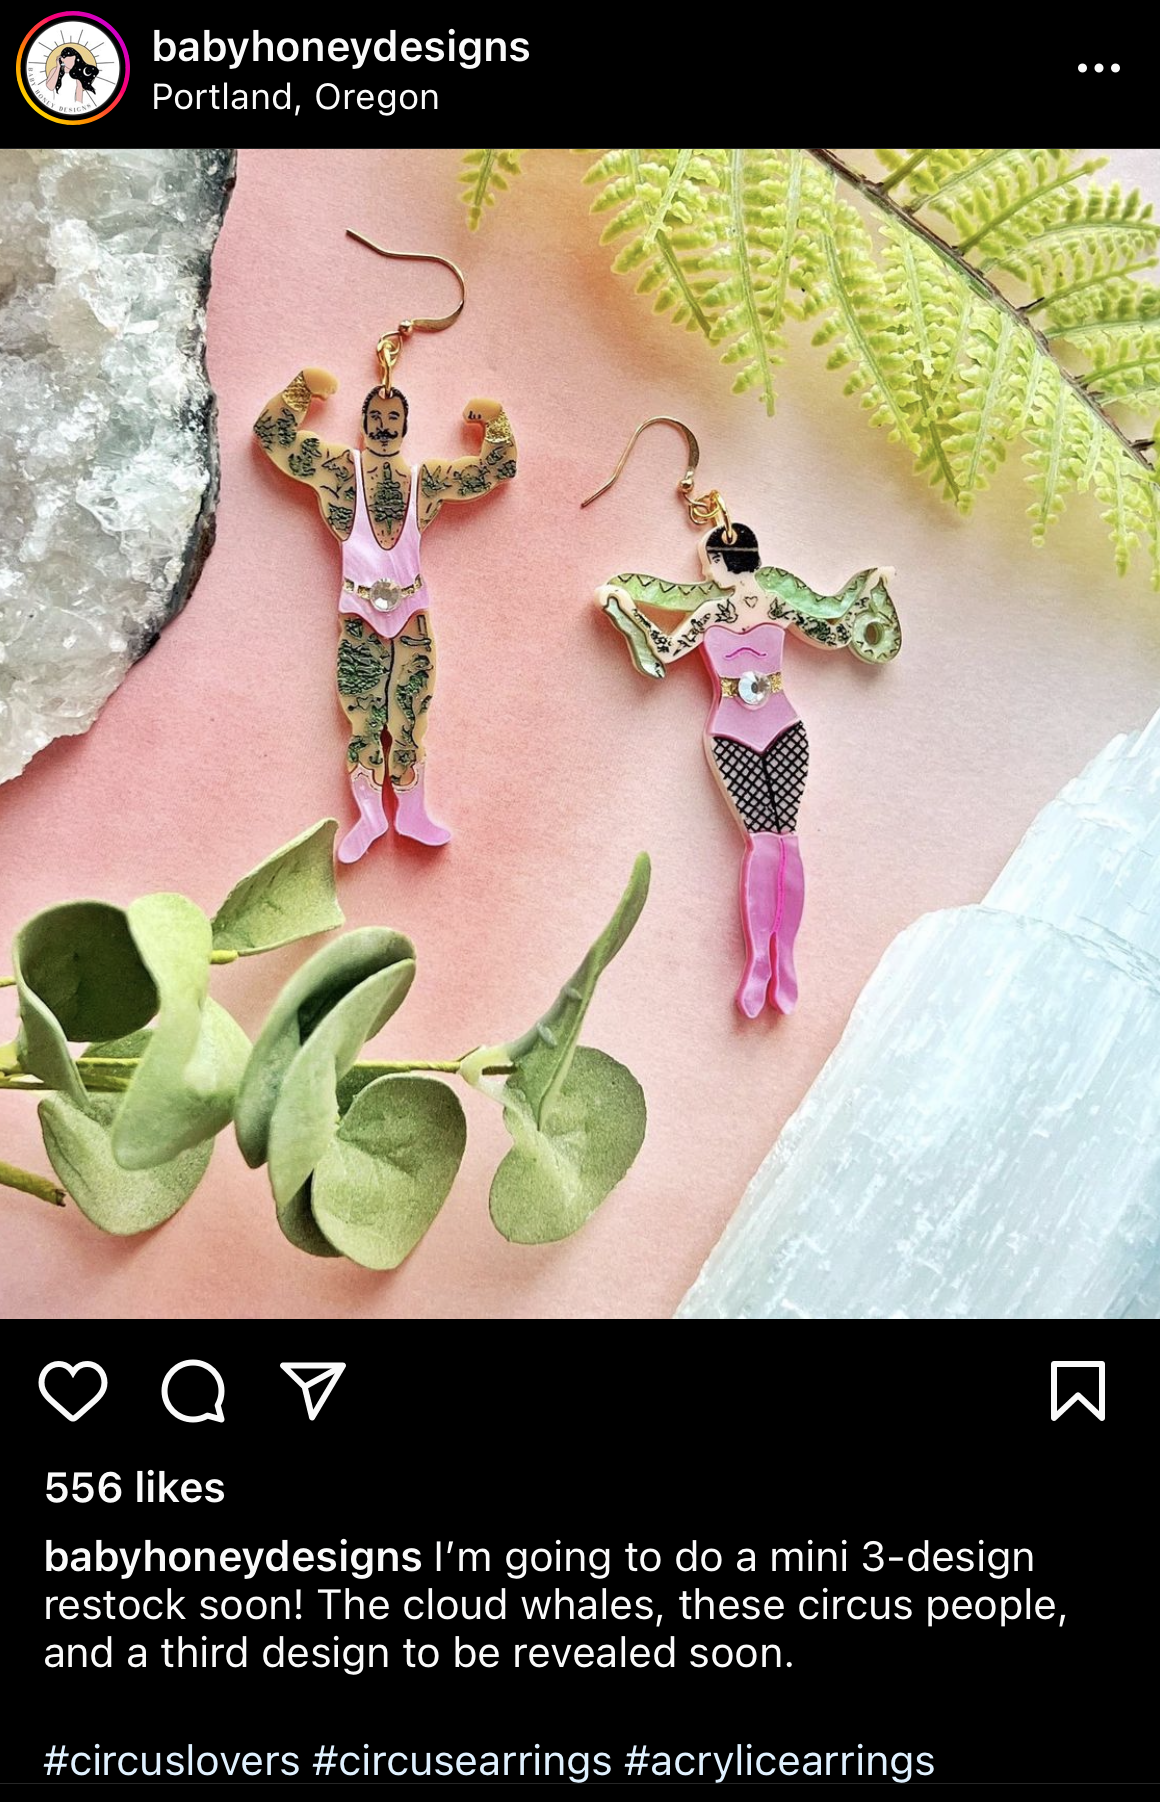
Acrylic earrings from @babyhoneydesigns, Portland, Oregon

Inspiration

Unfortunately, the laser cutter and I are already … in LOVE! I’ve used it as my trusty sidekick in some past projects.

I personally feel like using the laser cutter itself when working with acrylic is not the hard part for me. What stumps me most is drawing up what is in my head; I don’t feel Illustrator is intuitive at all and every little line takes a Google deep-dive for me. I wanted to use this assignment to finally learn the infamous pen tool.

By now you know I’m into everything kitsch and wonderful. I’ve done some experiments in jewelry making before and I’ve always been inspired by @babyhoneydesigns’s jewelry creations. I always find myself asking “How the heck did they do that?!”

Drawings

Illustrator drawings

Moully reference image (from “Bee and Puppycat”)

Dolphin reference image

Materials and Tools

Materials

Tools

So I found a pretty great 12 x 12” 1/16” piece of acrylic on the material shelf in the shop. I also was excited to have an excuse to get to Canal plastics. I picked out the prettiest plastic I could find! And as always I visited the Brooklyn Michaels to put the finishing touches on my project: earring hooks and some jump rings.

The only tools used to create my earrings were the Epilog Engraver, my computer and iPad to create the Illustrator drawings, and some pliers to attach the jewelry hardware.

Process

After I had all my materials gathered, I was ready to tackle Illustrator. I started by watching some tutorials and drawing the outlines of my reference images. I primarily used the pen tool and shape builder tool. The outlines need to be cut (vector) by the laser cutter so they need to have no fill and must be a line width 0.001.

I tried monkey-ing around with the live paint tool to get my fills correct, but in the end I couldn’t really get it to work the way I wanted it to. I moved to a process I am used to doing by drawing the fills by hand using a pen and my iPad. It’s important to use the blob brush tool (and not the paintbrush tool) to create shapes with a solid fill color. For these shapes to be engraved (rastered) by the laser cutter they need to have no line and a black fill.

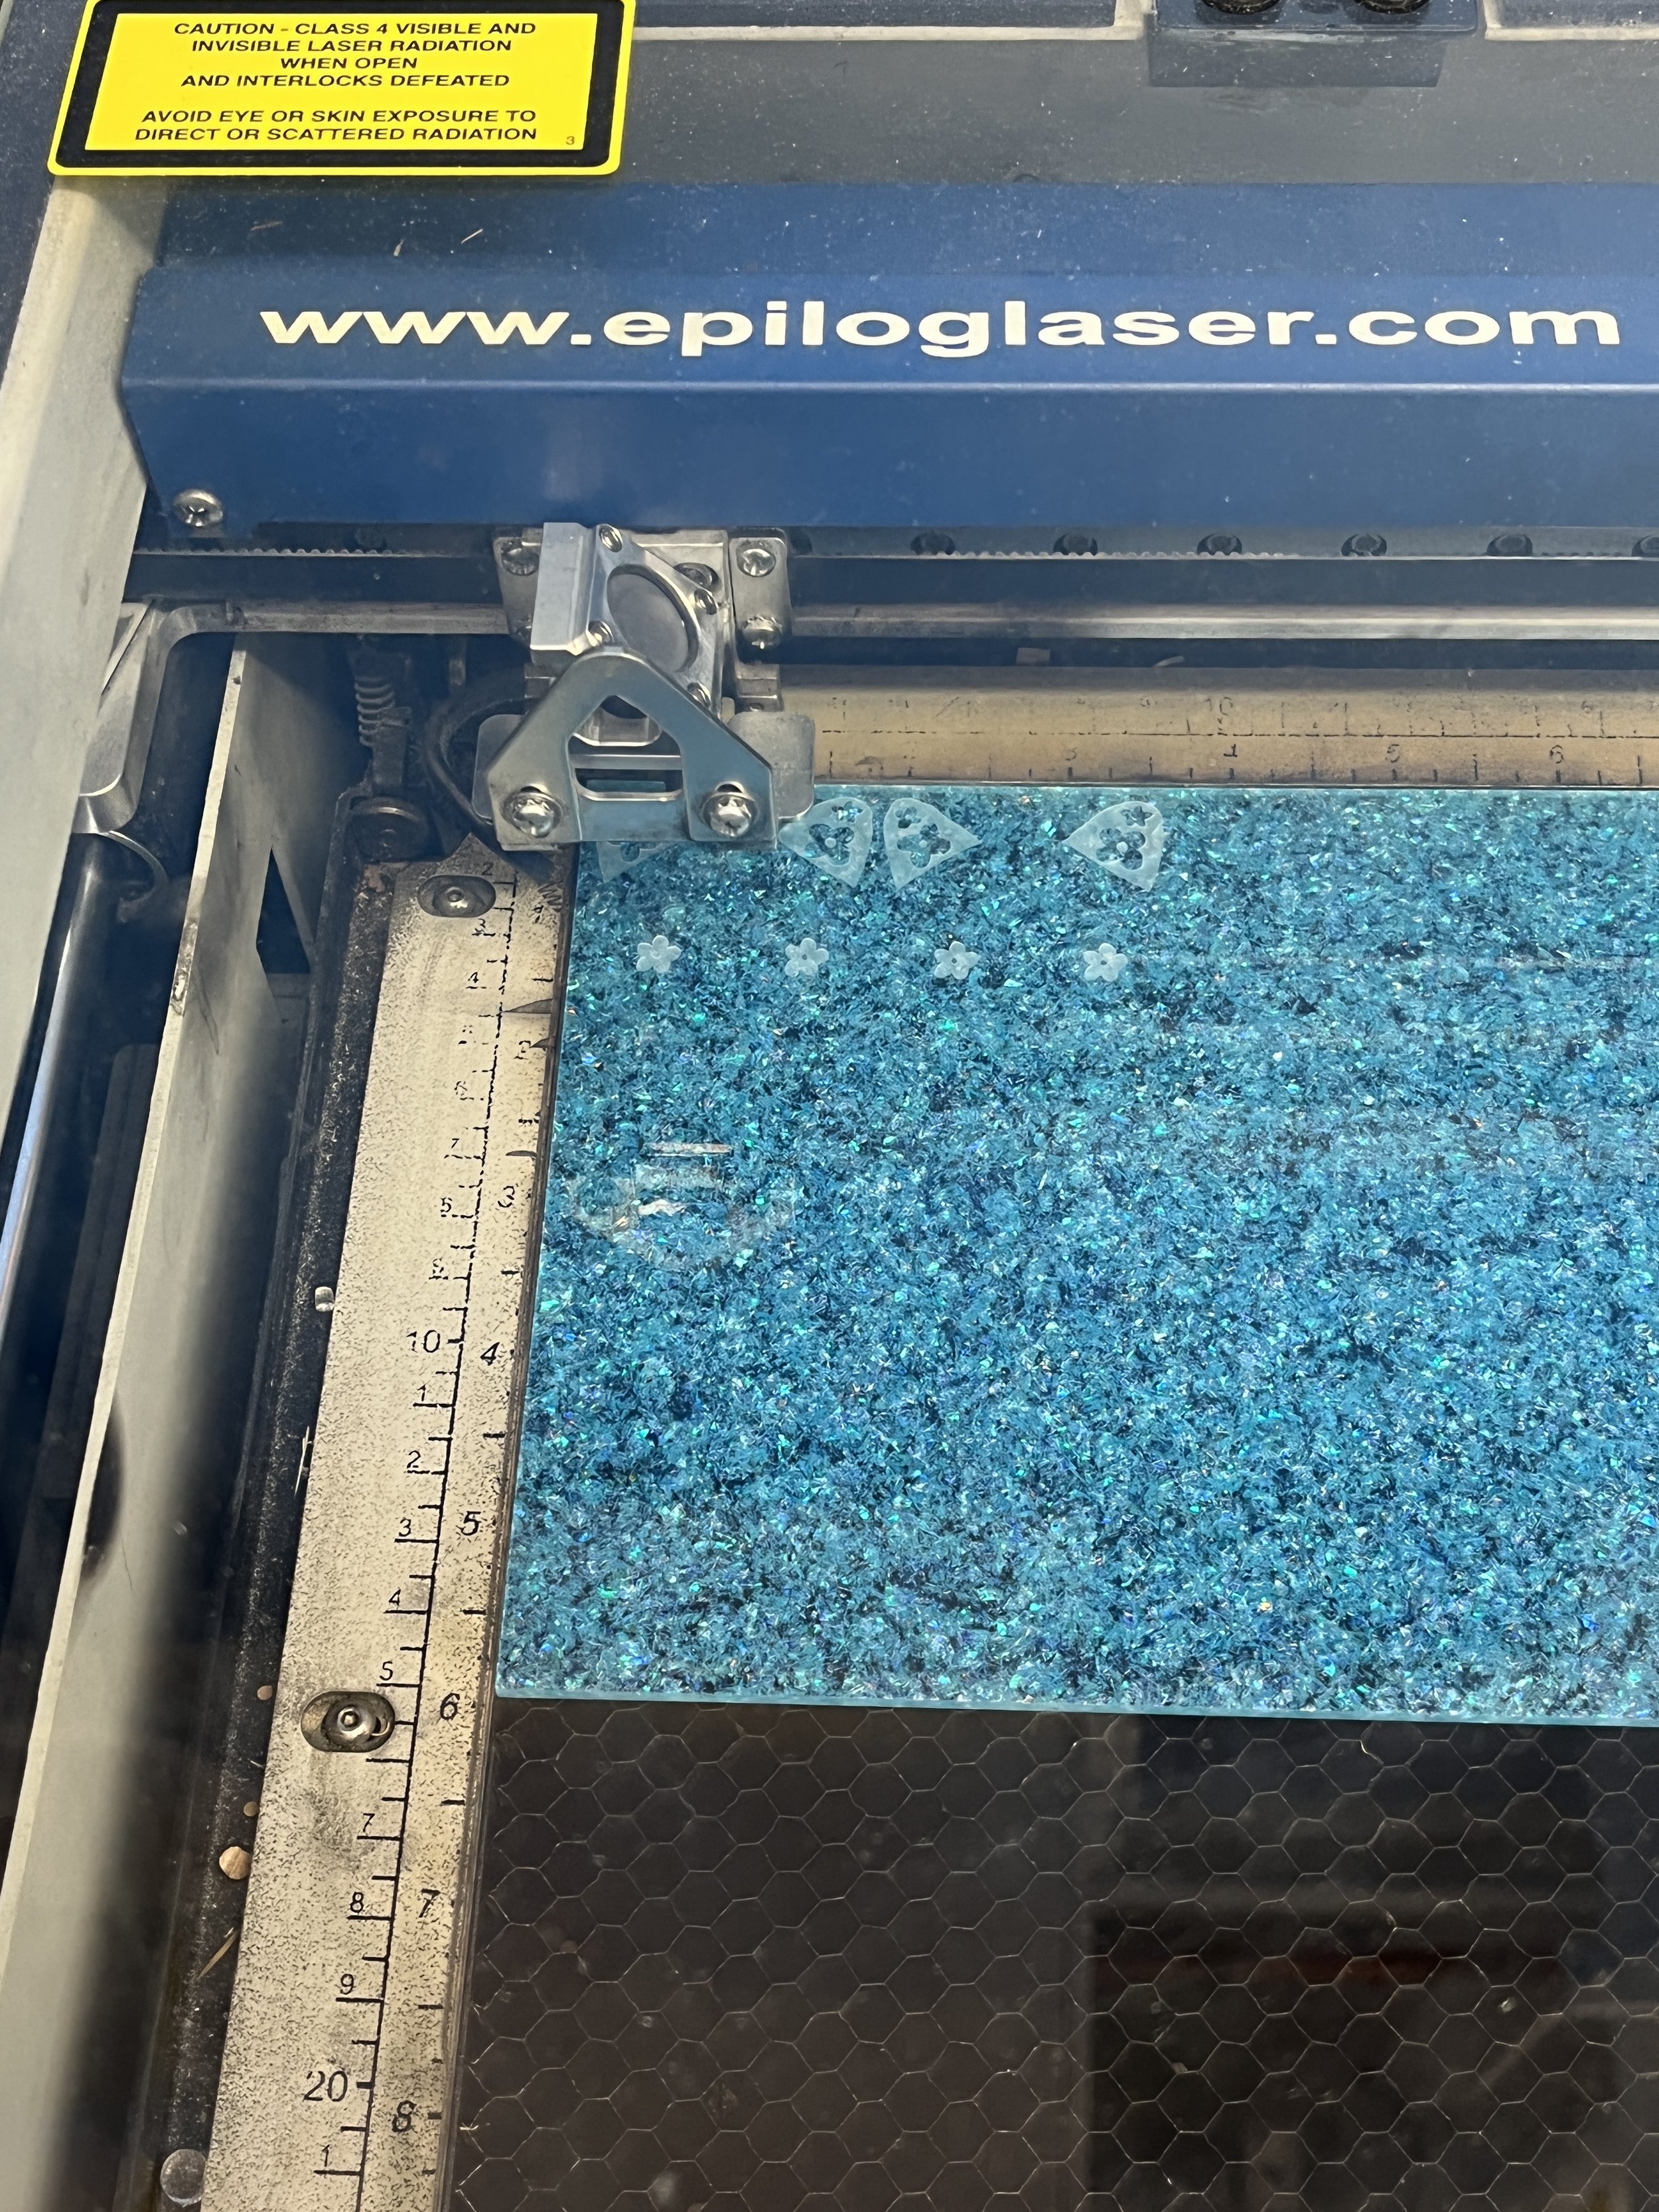
Then I could jump to the laser cutter. I loaded my acrylic into the bed and then printed my image. Engrave first, then cut! One thing I’ve always wondered is if the protective film of a piece of acrylic needs to be removed before cutting. I asked Julia in the shop and she said if it’s paper you can cut with it on, but my pink and blue sheets of acrylic had a plastic film on it and that needed to be removed.

Test cutting

Laser engraving

Final Product

Moully and dolphin earrings

Conclusion

The laser cutter and I are going strong! I love that I can draw anything with a stylus and it gets engraved or cut exactly as I’ve drawn it. And I’m aware of the fact that acrylic is bad for the planet, but I just love the material! It’s colorful, shiny, glowy. It just really captures the eye.

Here are a few things I learned from this project:

  • The engraving does not show up as well on the blue, sparkly acrylic. Maybe that’s because the color is a bit darker?

  • The engraving (fill) and cutting (lines) do not need to be on separate files or even layers! The Epilog software takes care of doing one at a time if that’s what you choose.

Resources

Some tutorials I used to make my drawings in Illustrator:

https://www.youtube.com/watch?v=cik1Ed9gzLE&t=460s

https://www.youtube.com/watch?v=_q2QsS1cUwU

[ITP: Hypercinema] Sound Vacation

Group members: Yizhi Liu and Joann Myung

Assignment and Ideation

For this week’s Hypercinema assignment my group and I decided to create a sound vacation in Adobe Audition. After some brainstorming we landed on a three-part vacation through all of our hometowns. So that we could all learn the software each of us were responsible for out part. Here’s a bit on my process!

Assignment details

My initial brainstorming

So I like to say that Boulder, CO is my home. Anyone that’s been there knows that it’s a very laid-back, natural, magical, and unique place. The first thing to do was to think about what Boulder sounds like.

Here are some sounds I thought of:

  • Boulder creek

  • Rustling trees, wind

  • Birds chirping

  • Rising sun and mountains

    • What would sound-less sounds sound like?

  • People

    • Kids playing in the water

    • Chatting in a coffee shop

  • Bikes, beer, hiking?!

What’s the feeling or mood?

  • Homey, dreamy, comfy, cozy, peaceful, whimsical

Process

Since I wasn’t sure how I would get nature sounds in the city, I started by browsing for free sounds on freesound.org. That’s where I found the bird chirps, wind chime, low hum that is supposed to symbolize the steadiness and strength of the mountains, amongst many other sounds. I only used sounds that were licensed under creative commons in my project.

Next, I ran around The Battery with a Zoom recorder hoping I could get some nature sounds in New York. To recreate the creek that runs through Boulder, I recorded the water and a fountain but neither of those sounded very creek-like. I got some pretty good chirpy-bug clips but I didn’t realize how hard it would be to get an isolated sound in the city; there’s always a helicopter flying overhead or construction going on or a walking tour going by.

There’s a pretty big coffee and beer culture in Boulder and Trident Booksellers is a staple. It was absolutely my favorite place to hang out in town and I spent most of my time there. I had a long recording of ambient cafe noise on my computer for a project I did in my undergrad, so I was excited to use an authentic clip in my sound journey.

Audition

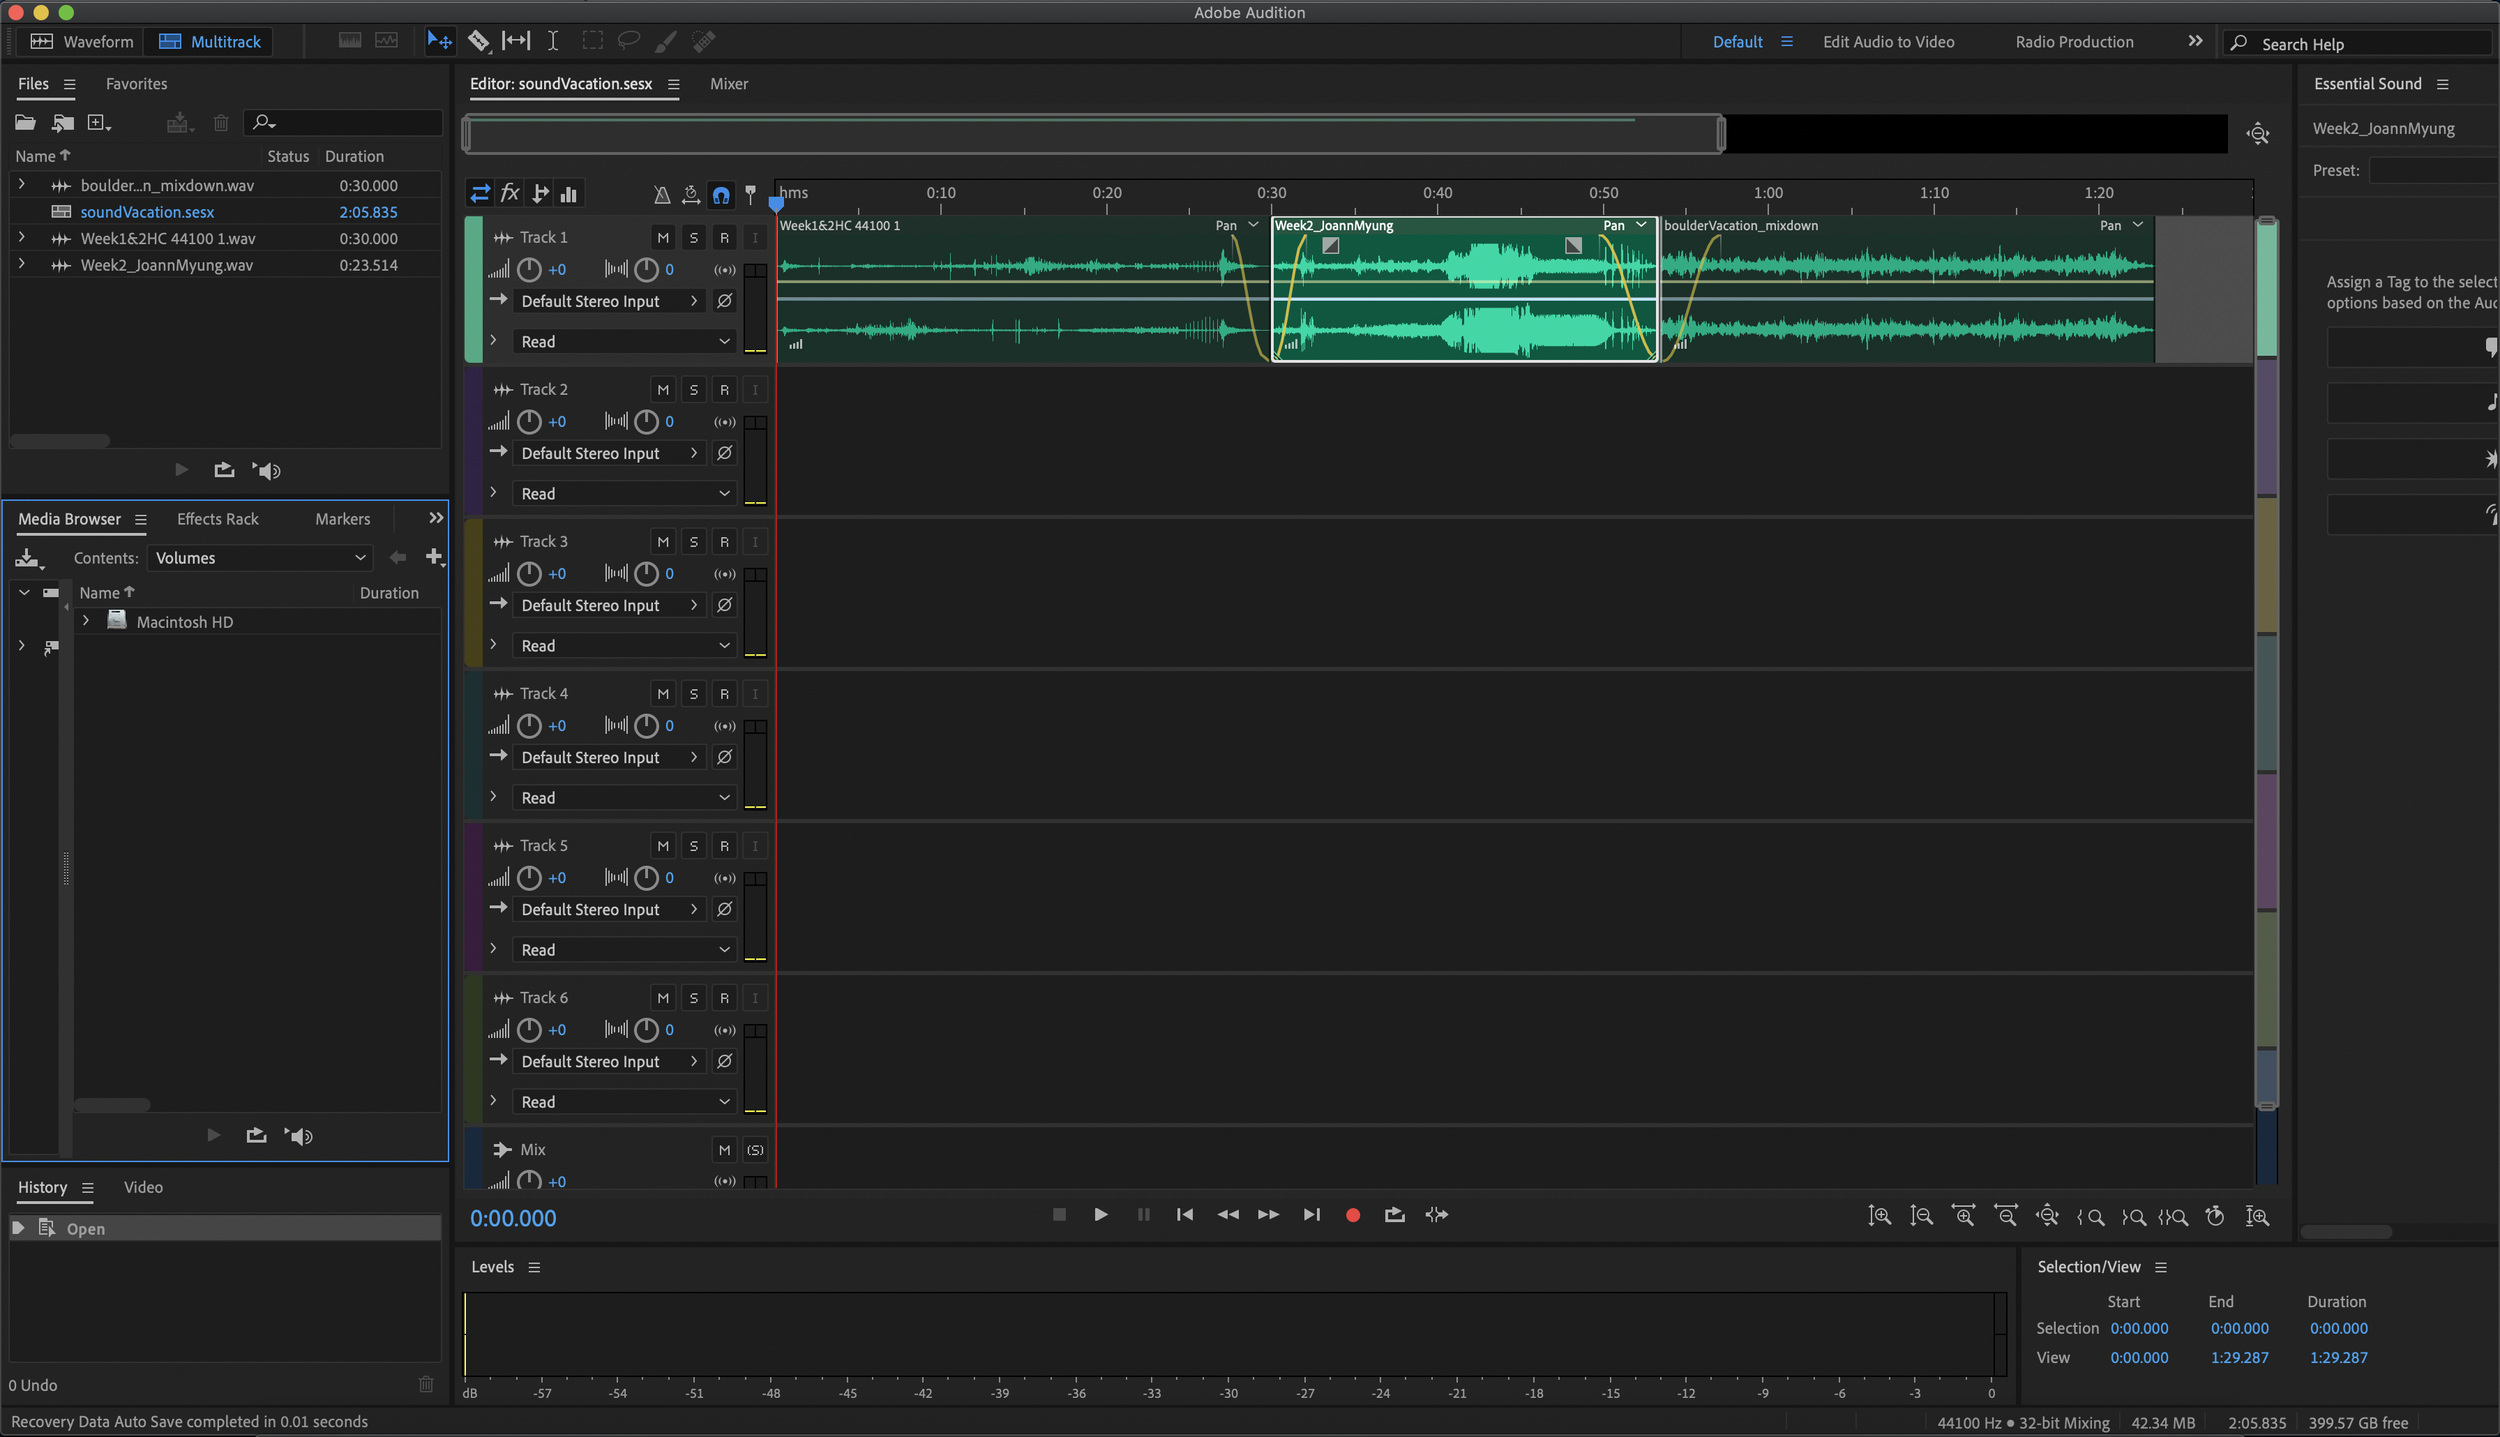
At this point, I had more than enough files for a 30 second composition. I parsed through my zoom files, trimmed them, and decided which sounds to use. I wanted the mountain humming and the wind (chimes) to be a major theme of my sound vacation and I liked the mix of natural and some unnatural sounds. I also added some film photos I took of my town to our presentation as an added visual.

Bringing it all together

Joann, Yizhi, and I all met up to put together our separate parts. We mixed together our individual vacations in Audition and added some fading to transition between movements. Here’s a link to our presentation.

Final Product

My Boulder “staycation” mix in Audition

“Staycation” photos

Here are some snapshots of my contributions to the group project. I uploaded my sound vacation to Boulder to Soundcloud. You can also access all my files, sound clips, and Audition sessions at this GitHub repo. Sound clips I got from freesound.org are named “FS-x”.

Conclusion

I’m not really a big music-making person, but I am pretty proud of what I came up with for this project. I feel like I planned out and thought about every step of the process. I had a lot of fun exploring the Battery and getting down to the water. It may have taken me much longer to get down there if it wasn’t for this project. I also like that I could repurpose some of my own old photos that I haven’t had a chance to use for a photo project yet.

[ITP: Fabrication] Boxes update!

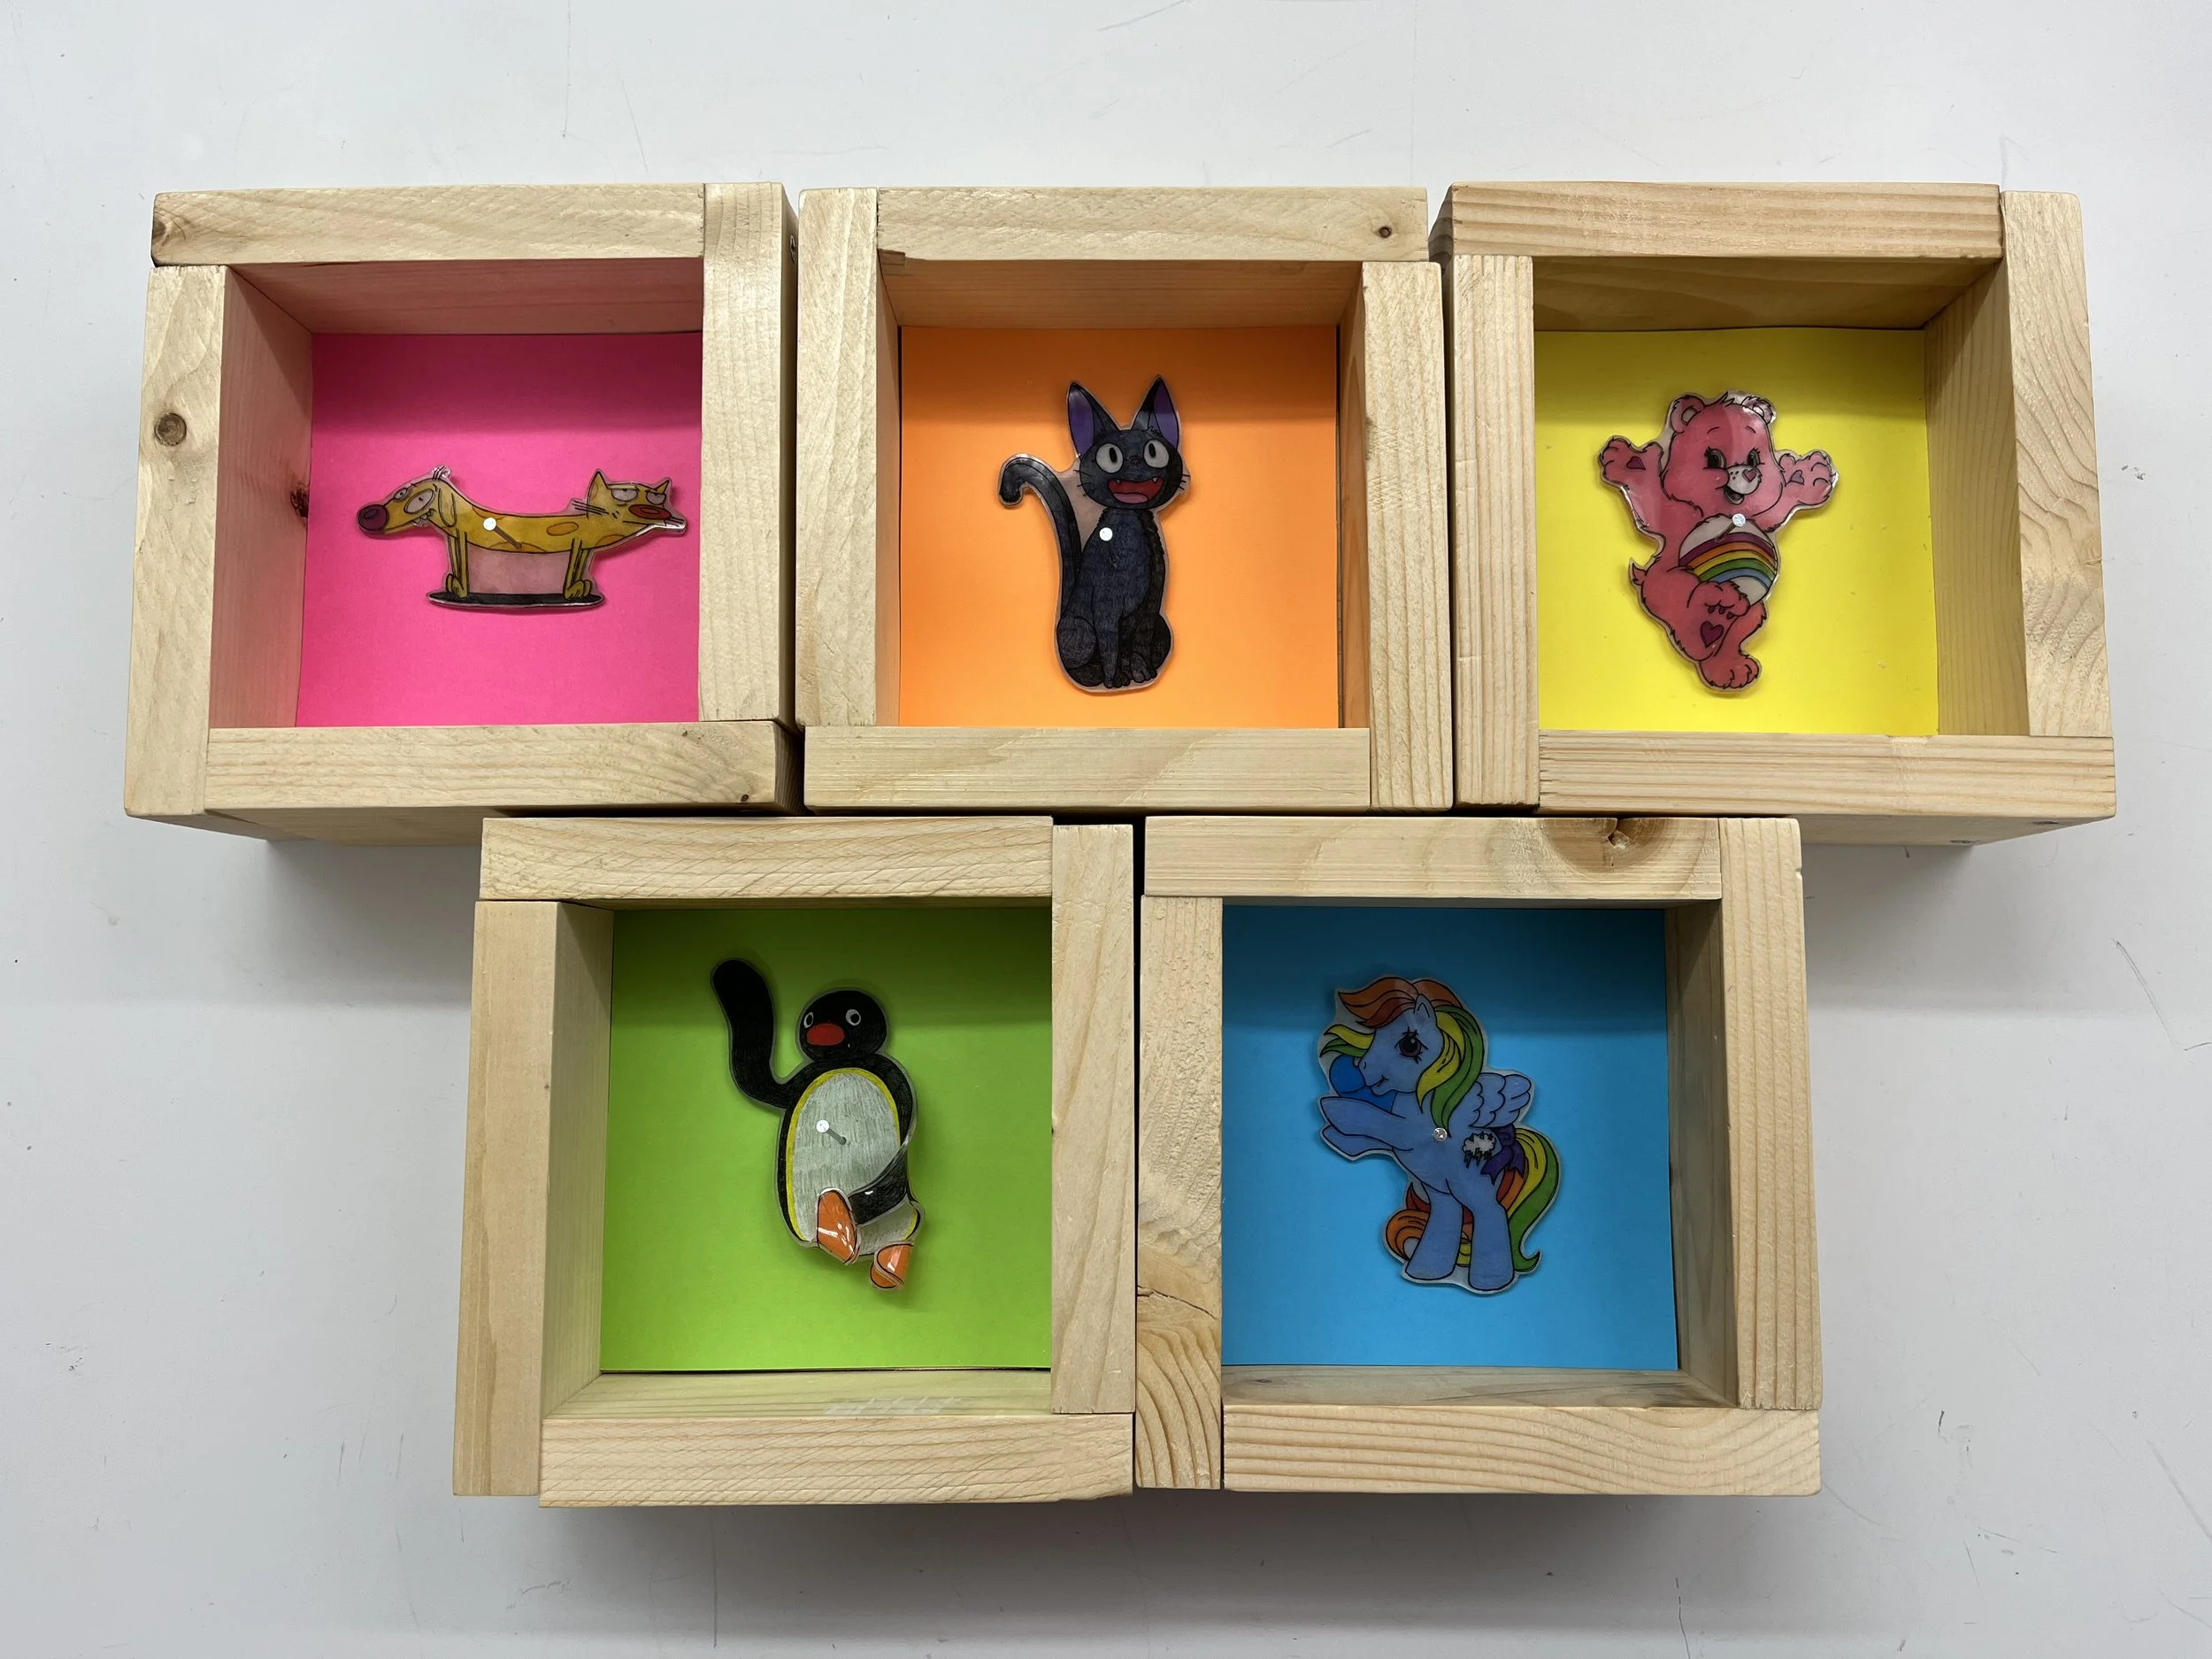
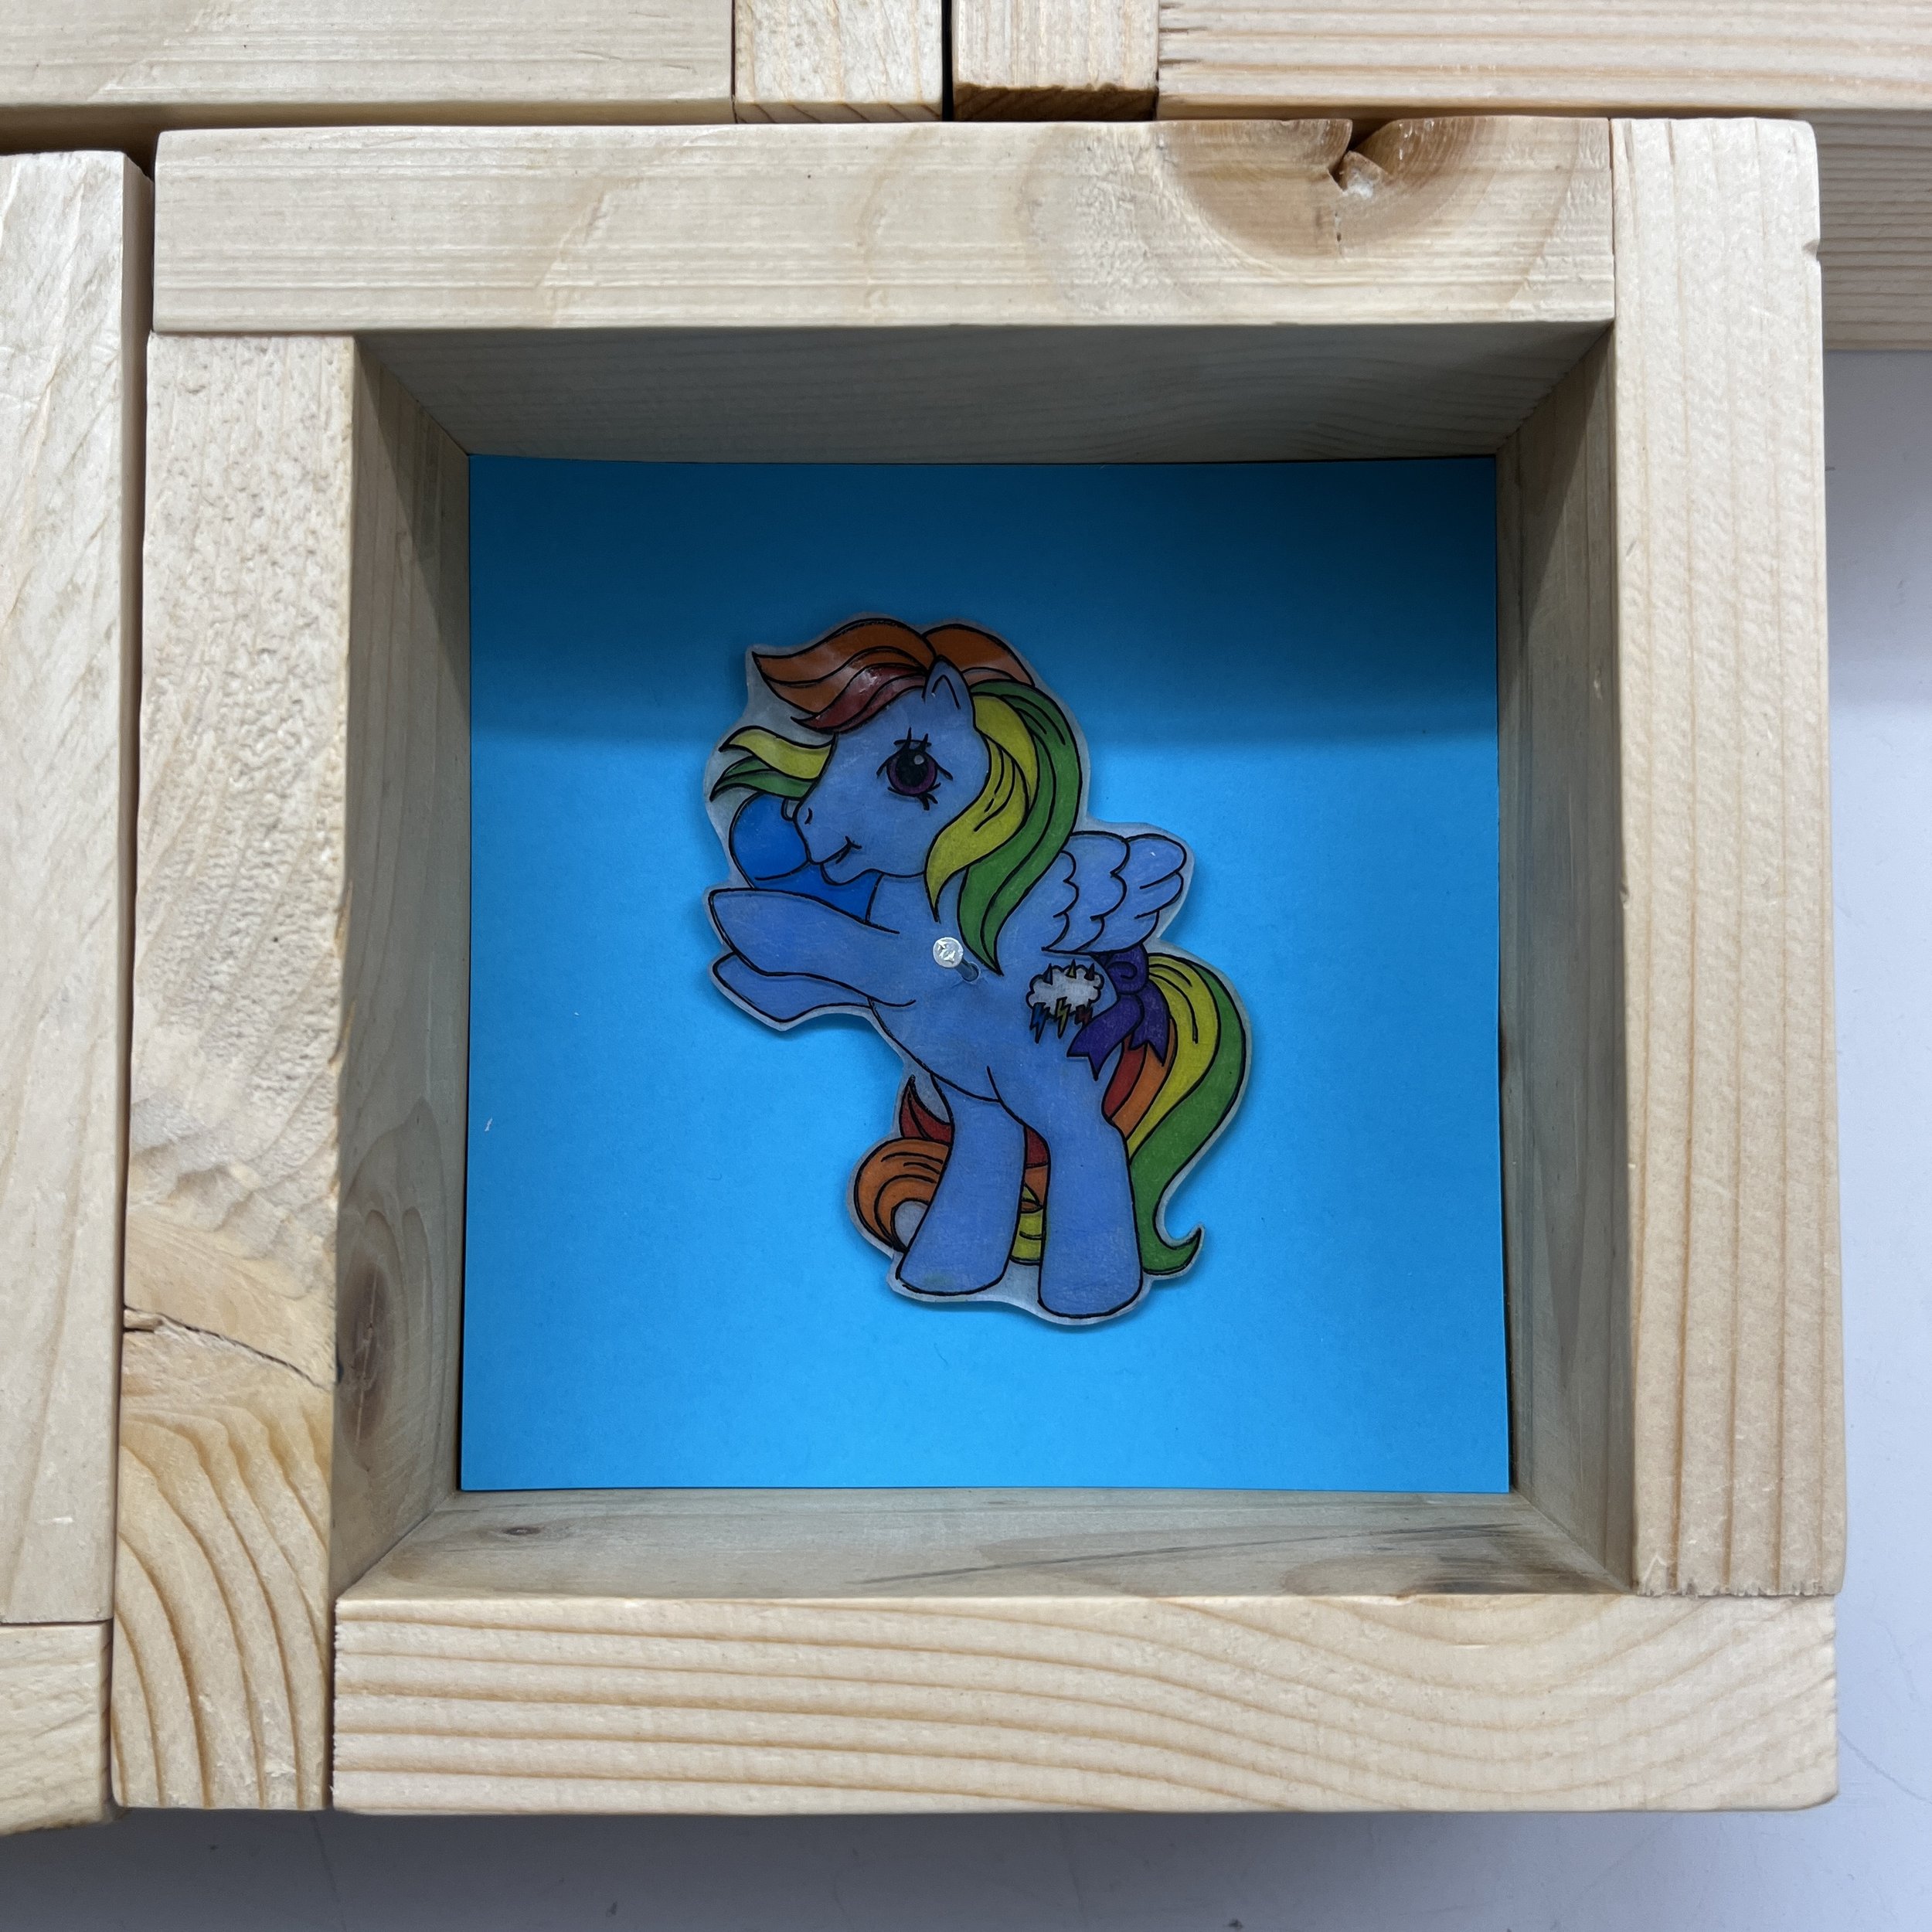
I LOVE revisiting crafts I used to do as a kid and seeing how I can repurpose them for my professional practice, so I’ve been playing around with Shrinky Dinks quite a bit recently. Honestly a perfectly (un)natural medium for my “specimens”. My “specimens” became cartoon animals I grew up with.

Process / Materials / Tools

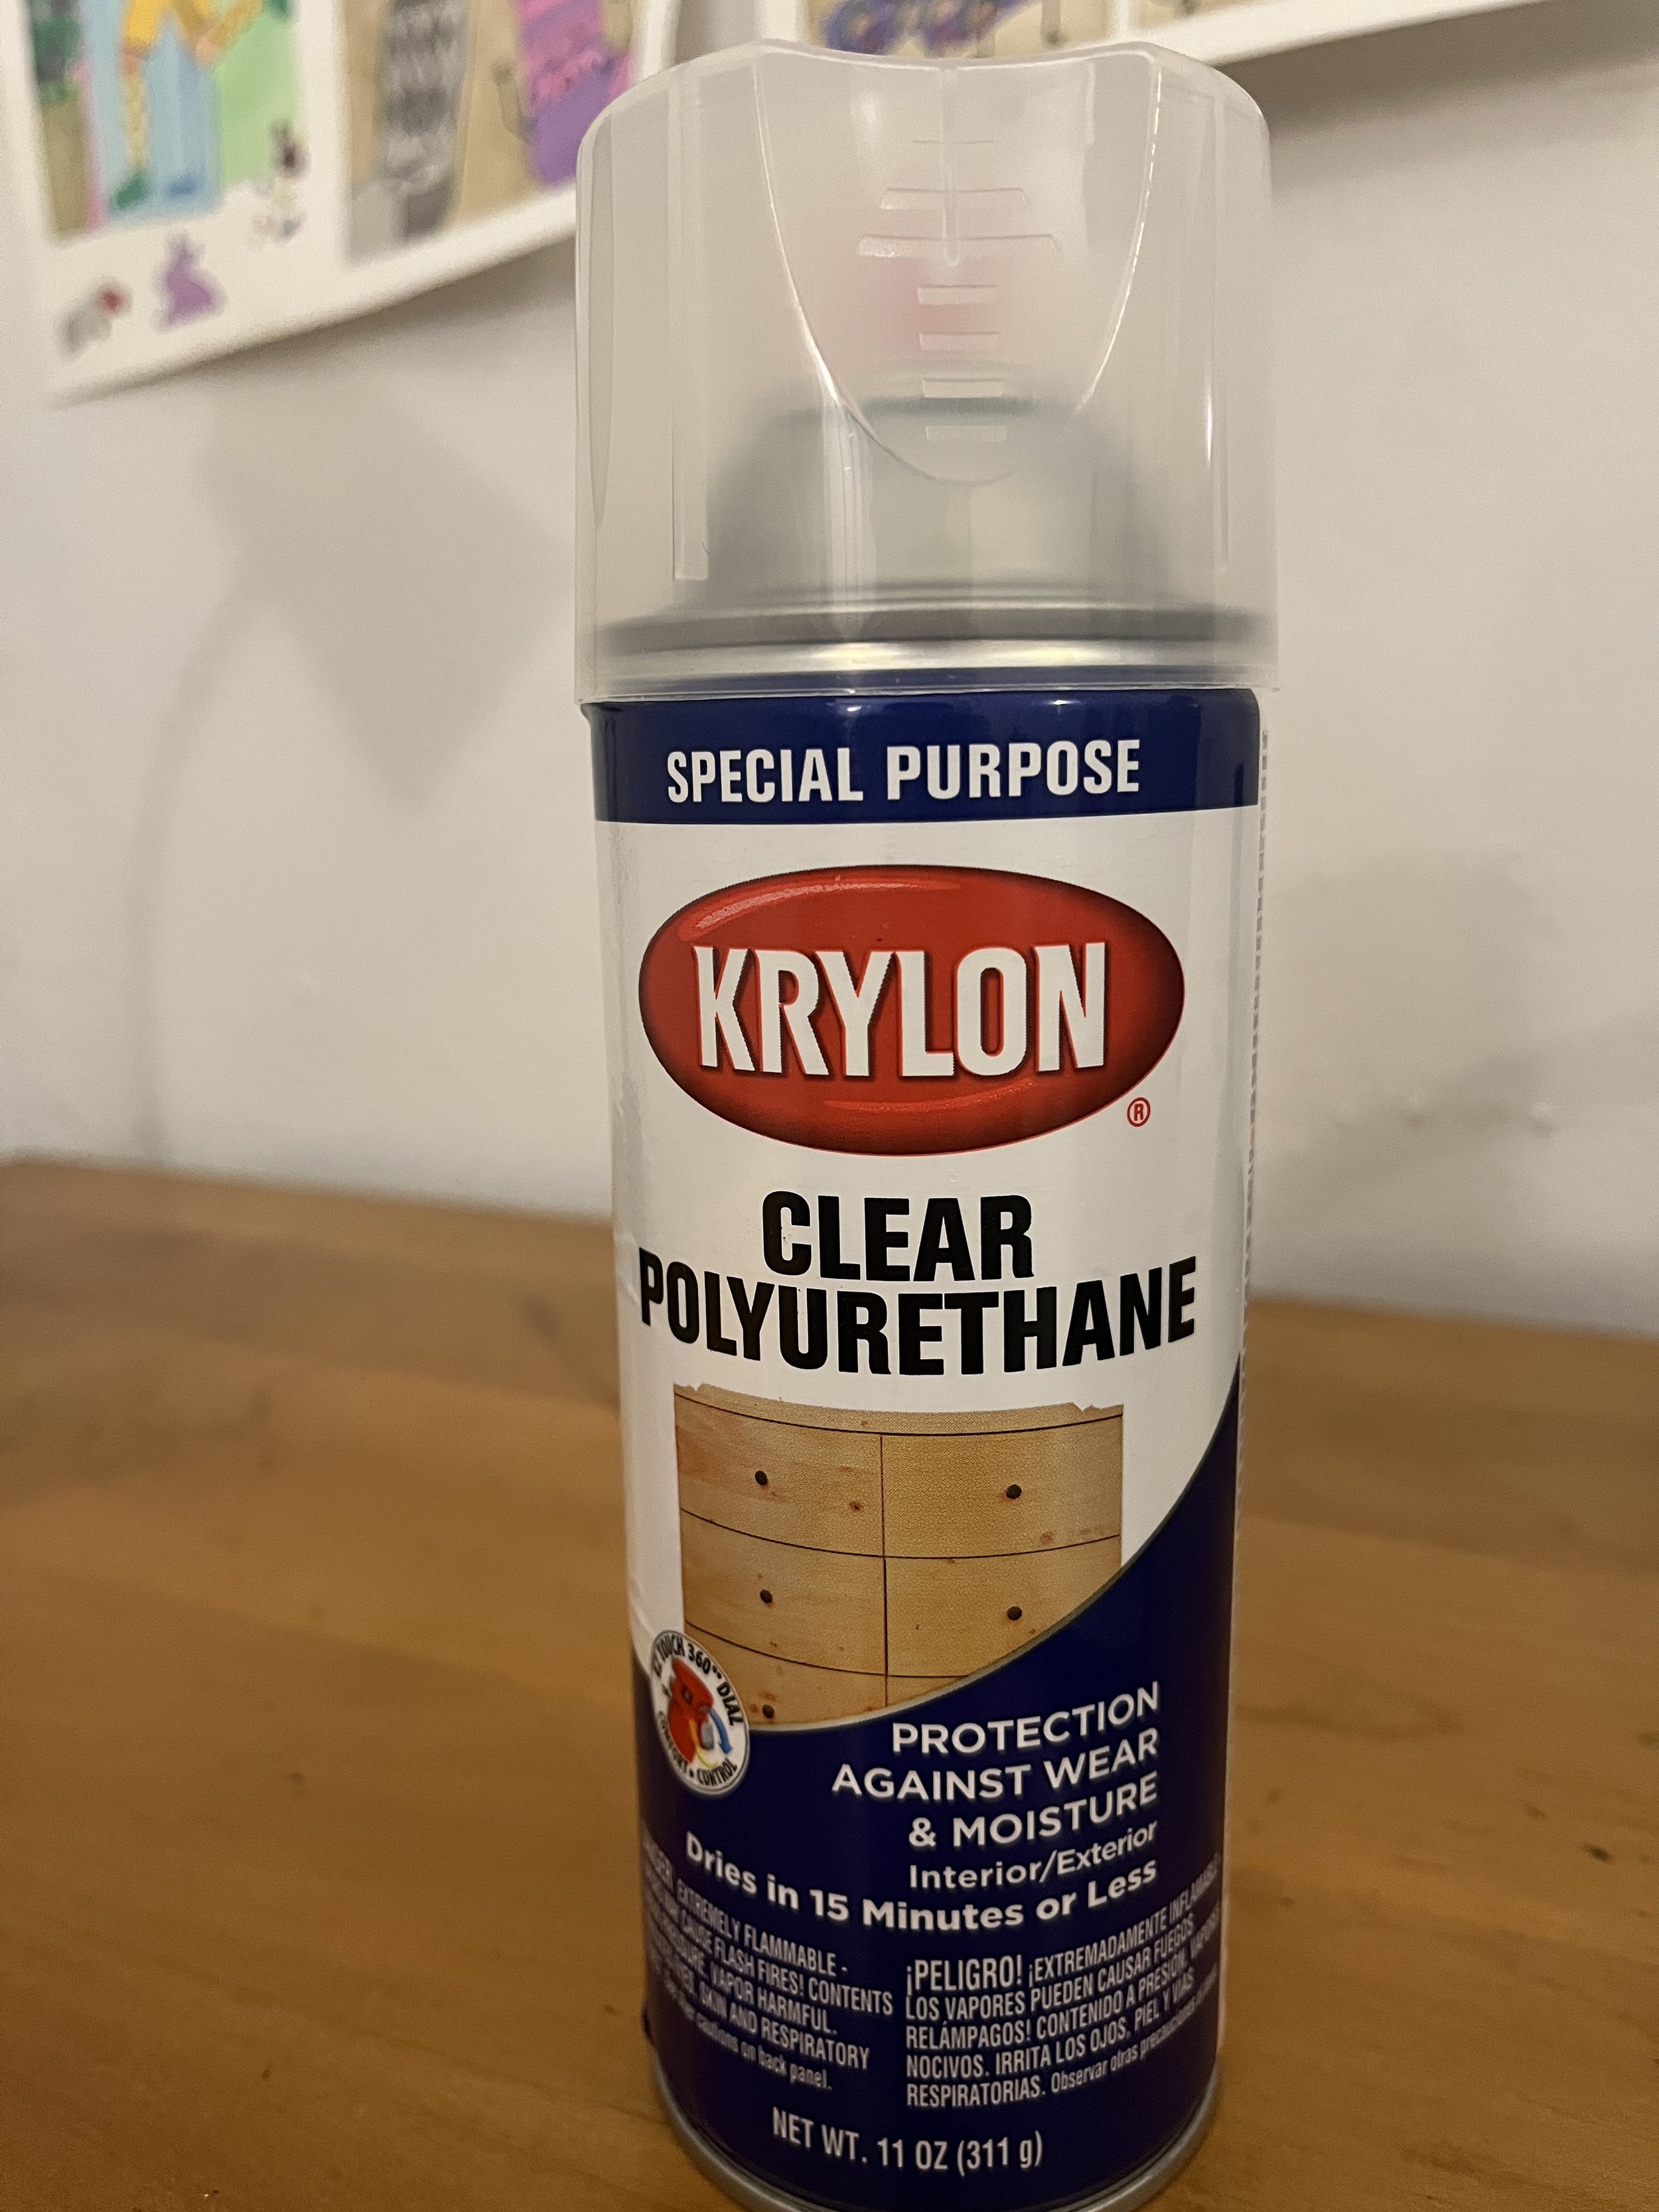
First I finished up my wood work by sanding down all my boxes using a foam block. I had a hard time finding a time when the shop was open over the weekend to varnish my boxes, so I picked up some spray polyurethane and sprayed them on my landlords fire escape. The spray takes about 4 hours to dry completely and I did two coats just to be safe. I’ve never used polyurethane in spray form before, but I am pretty happy with the result.

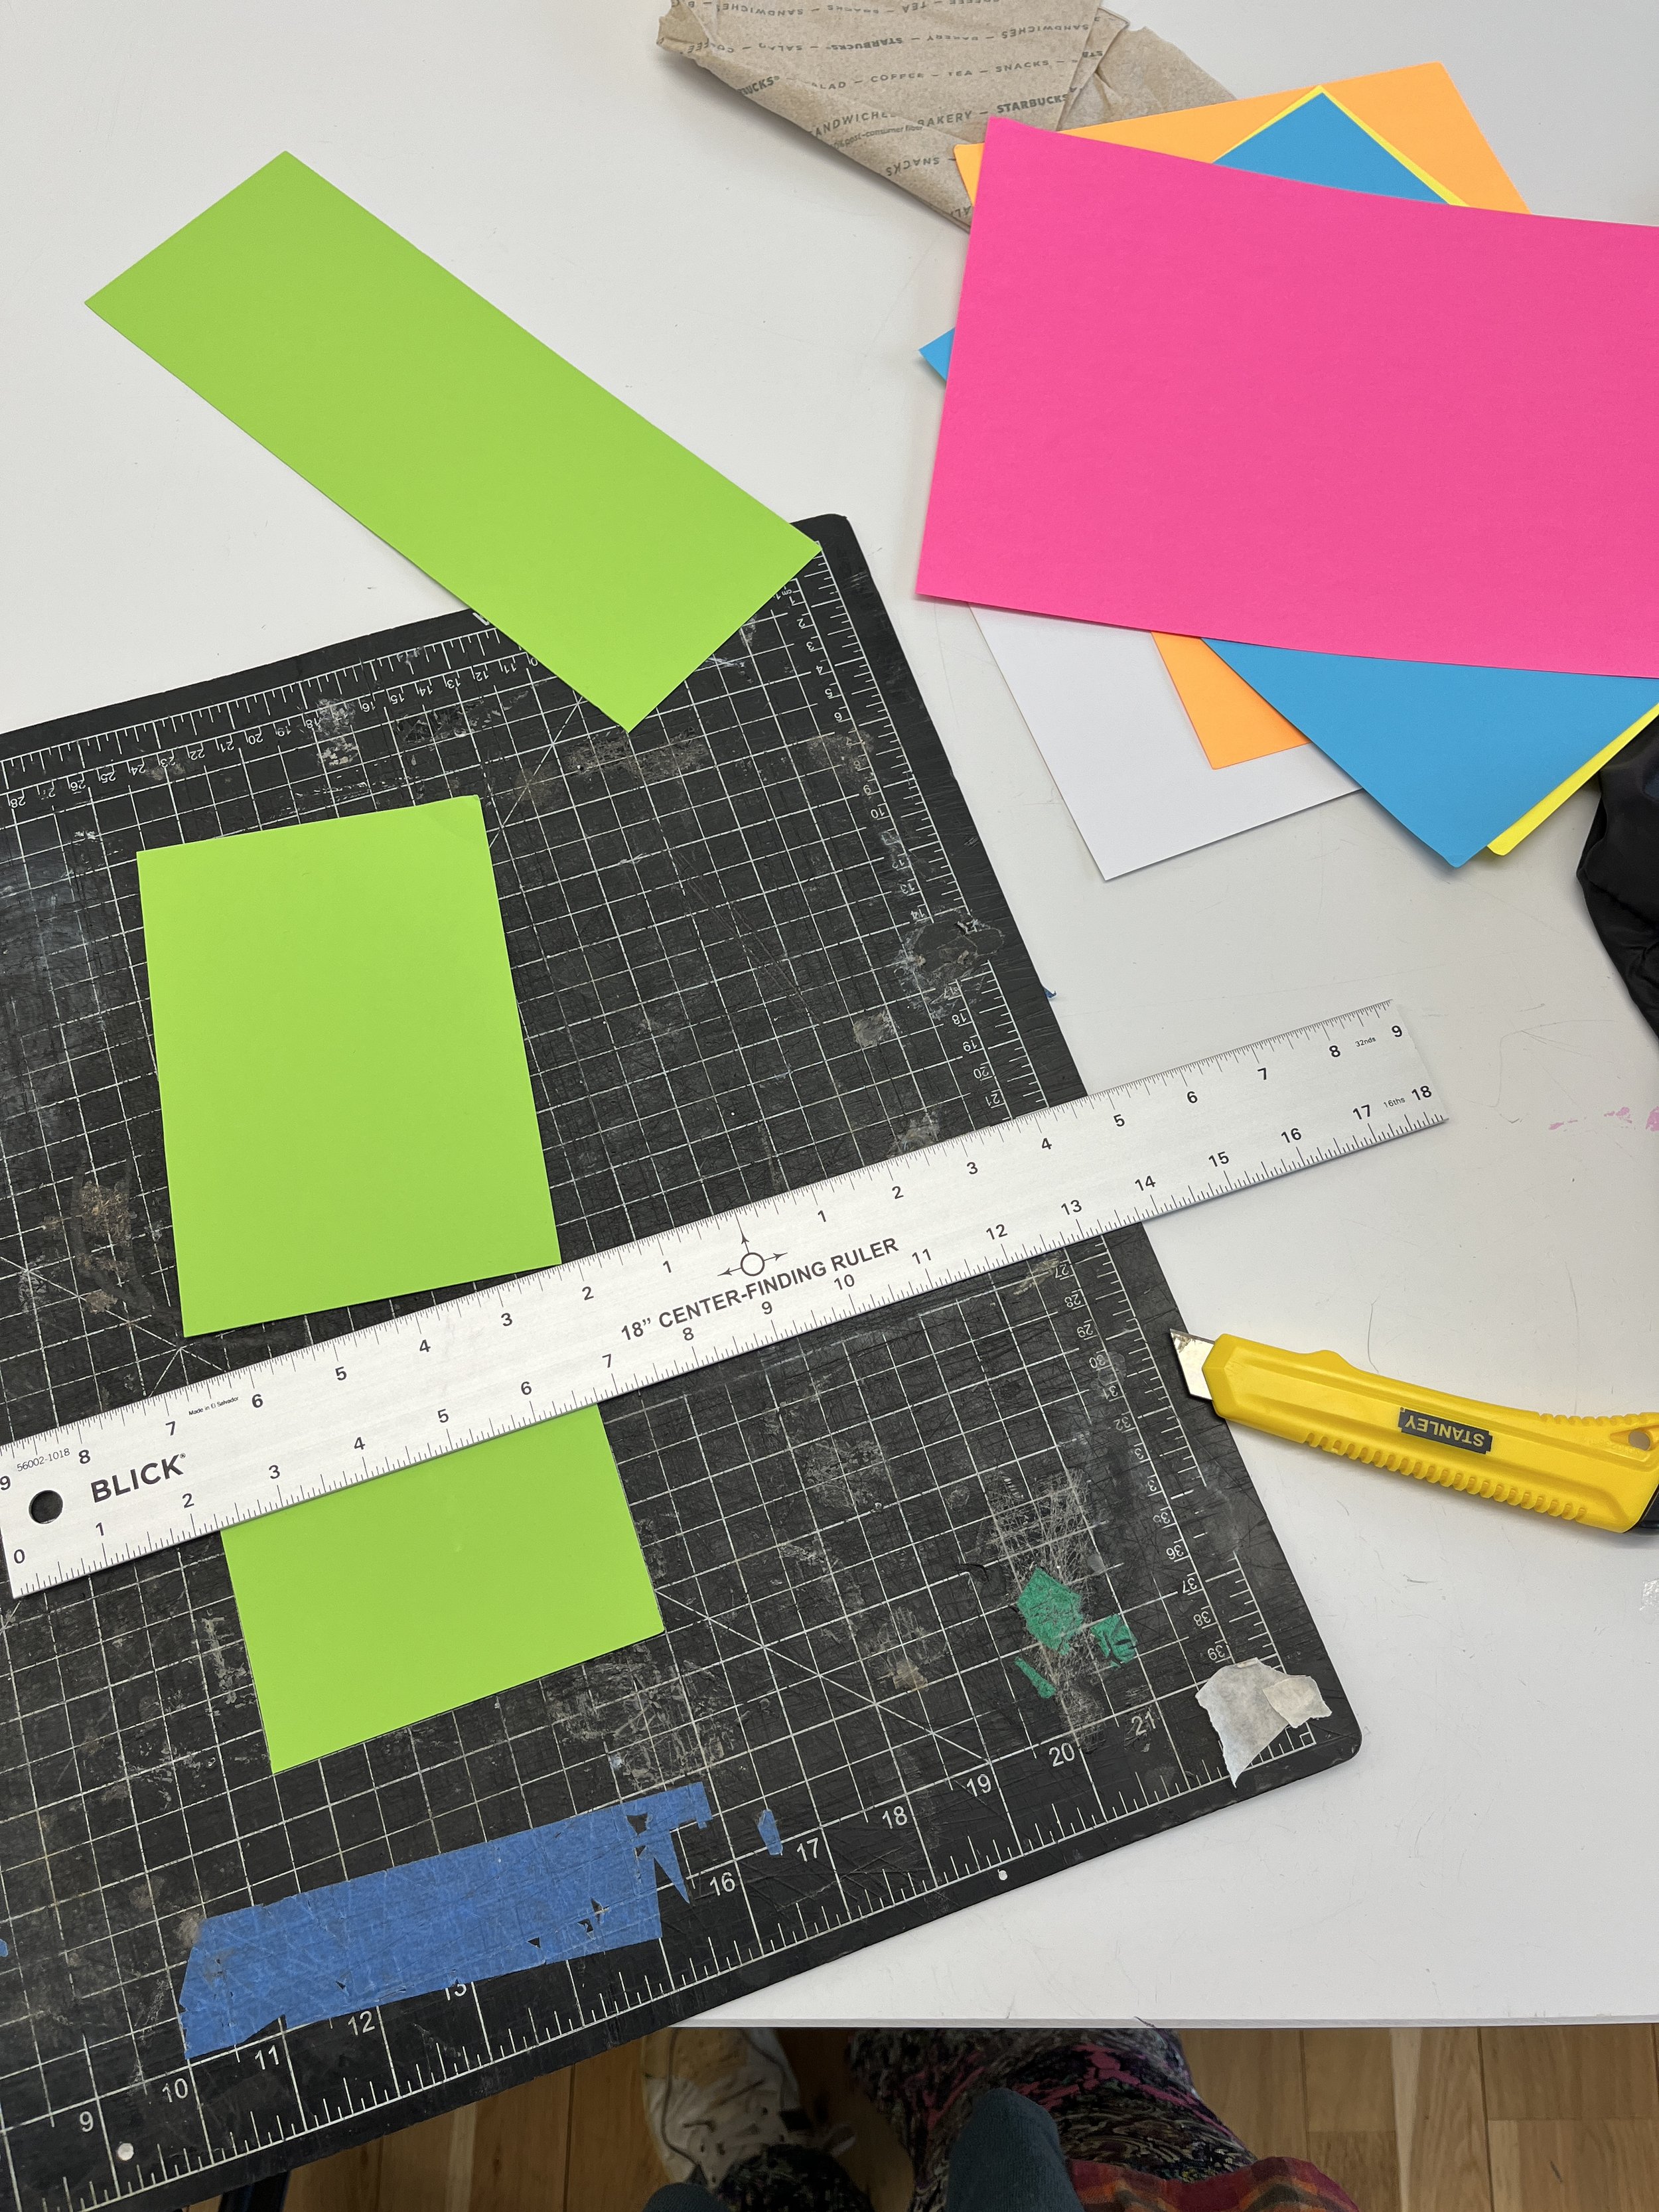
Next I cut my neon construction paper to fit the inside of my boxes using a razor blade and straight edge. I stuck them as backing into my display boxes using some craft putty. I love adding a pop of color whenever possible!

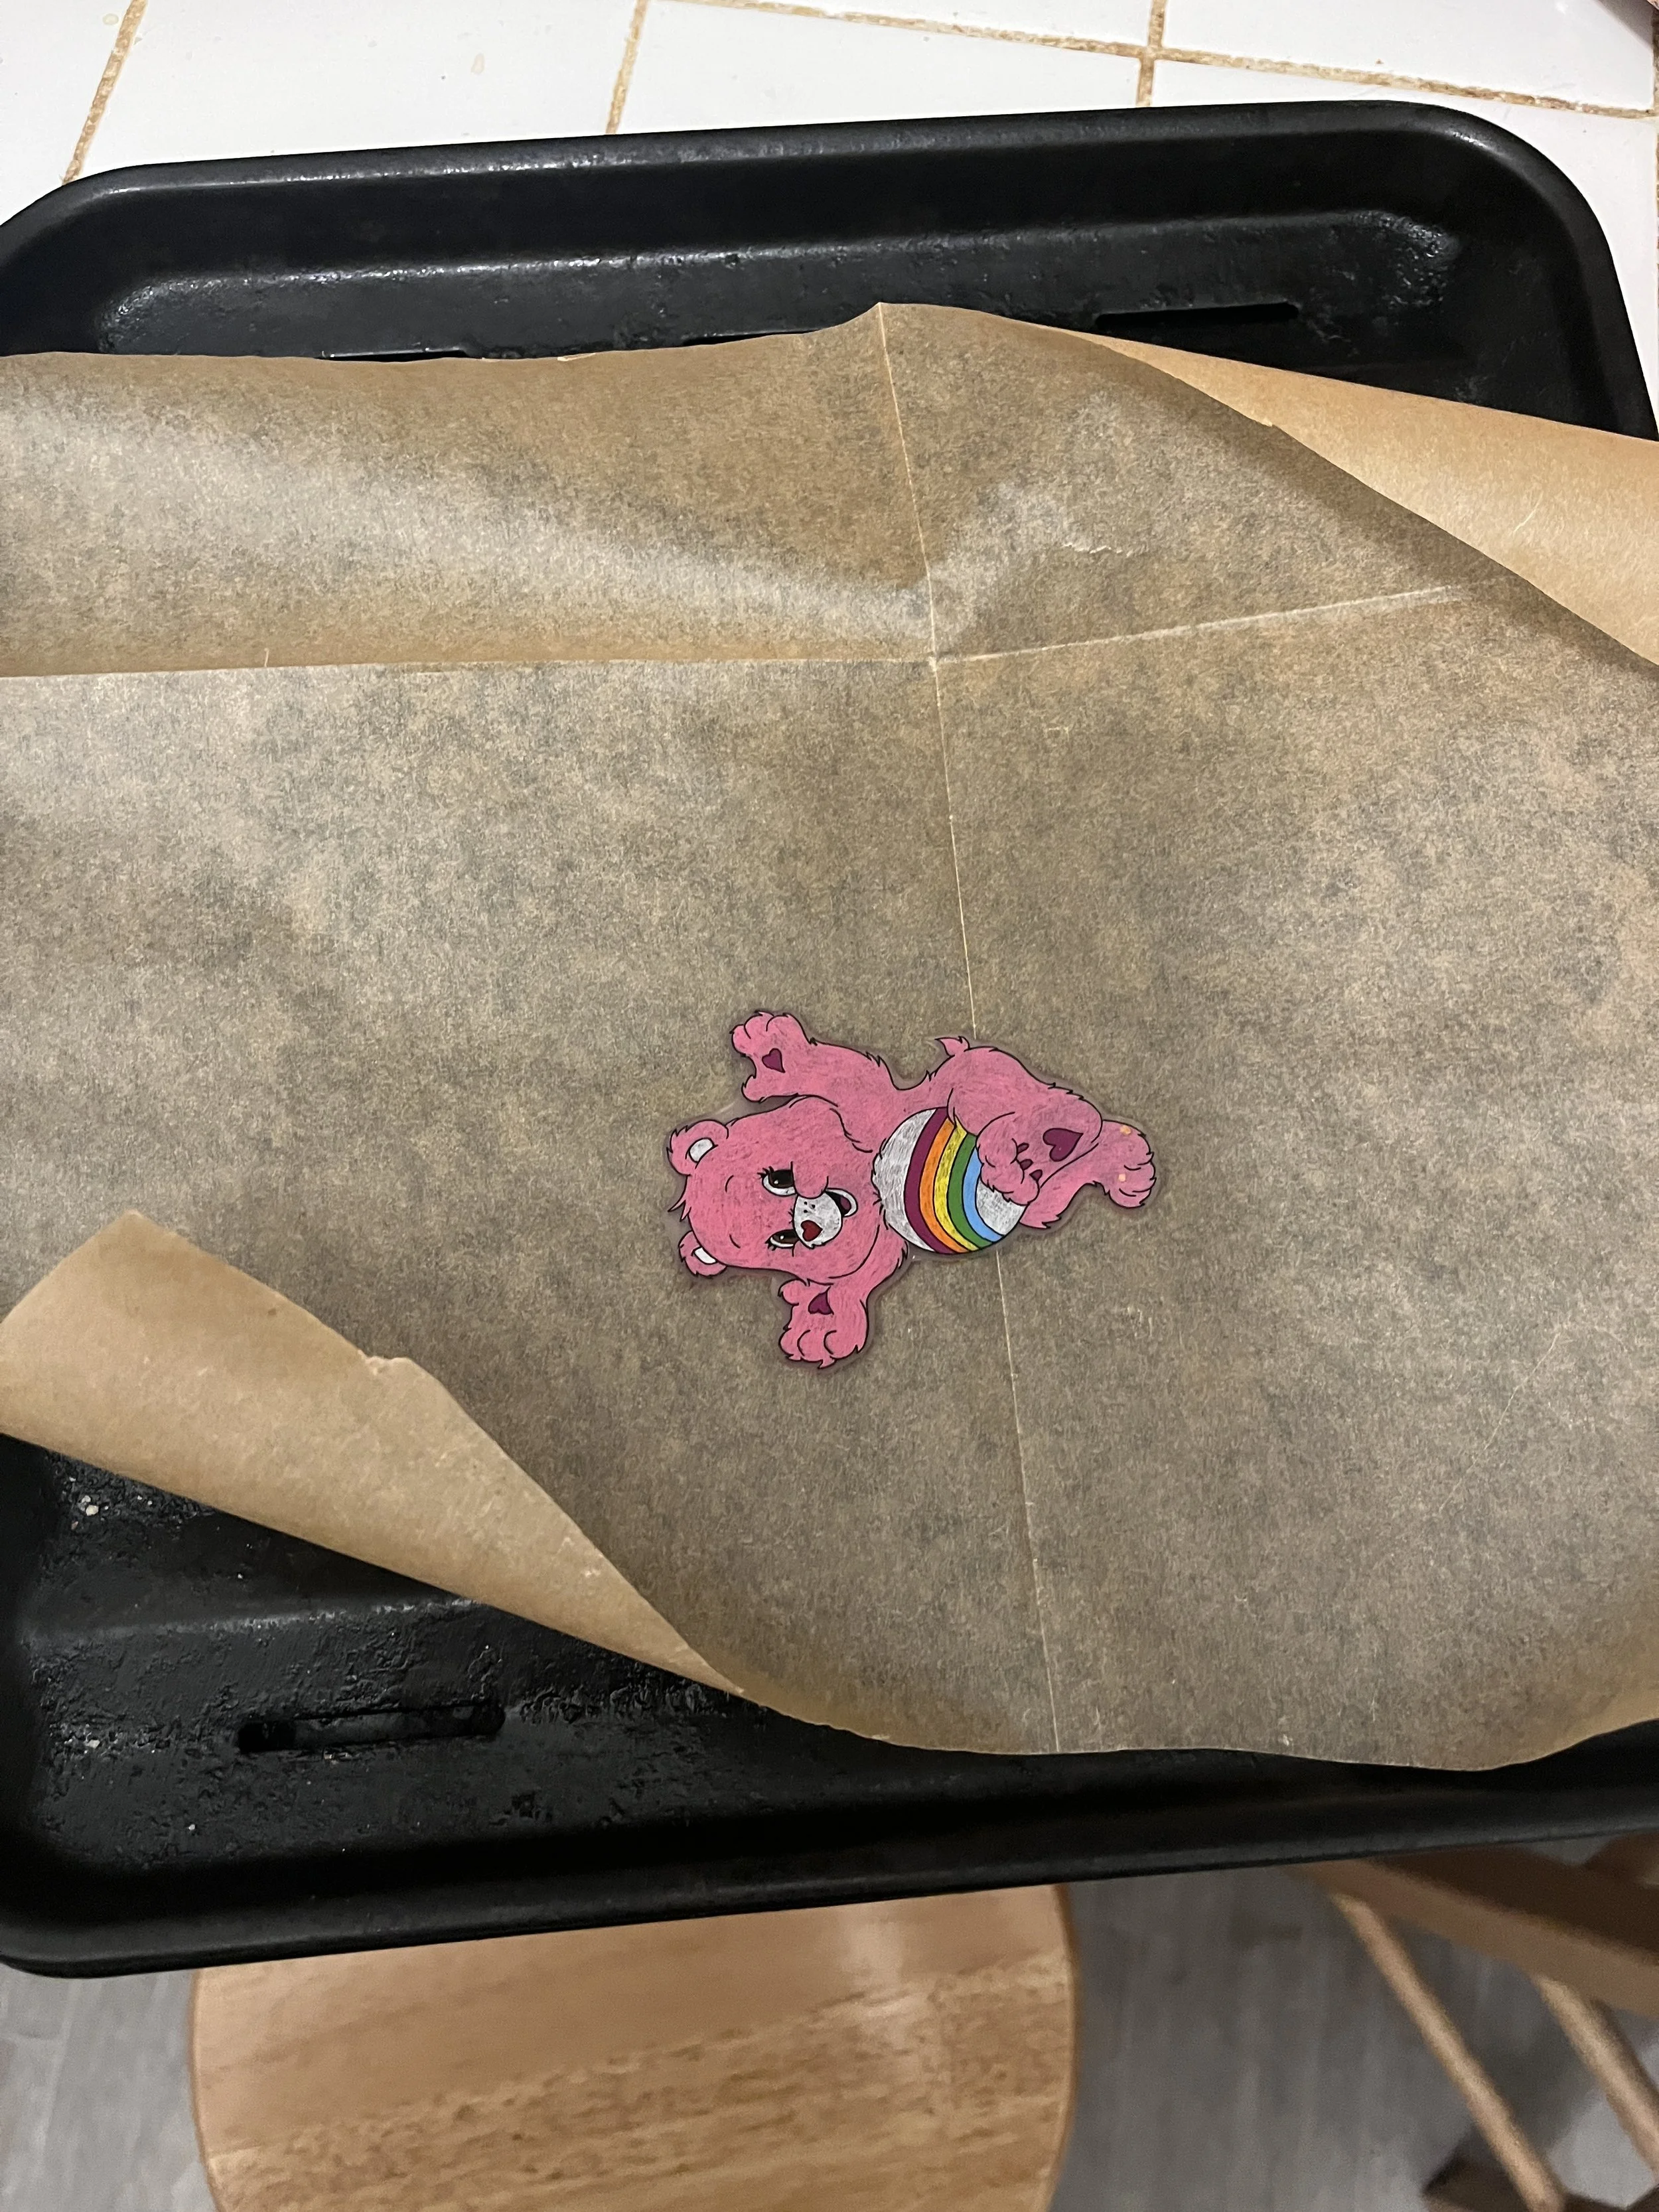
Then I created my “specimens” by drawing on Shrinky Dink paper using colored pencil and a fine liner for the outlines. The paper shrinks to 1/3 of its original size when baked in the oven, so the drawings had to be pretty big. A tray needs to be lined with parchment paper when baking so they don’t stick. The plastic also has a tendency to fold into itself (especially at this large size), so I had a knife handy to flatten them out during the baking process.

I nearly burnt the building down during my bake because my parchment paper caught on fire: don’t let it touch the heating element! That was my last bake of my Pingu “specimen”. Maybe you can notice his special effects?!

The last step was assembly. Normally I would have hole-punched the Shrinky Dinks before baking them but I couldn’t find the right hole punch. I drilled a hole in the shrinked versions using a tiny drill bit and attached them to my boxes by “pinning” them down using a nail.

Final Product

Conclusions

I learned a lot about wood working and crafting doing this project! One thing is for sure: it’ll take me some time to get used to crafting in New York. In Boulder, I had my trusty Camry and detached studio space in the backyard. I had a really safe space for making and gathering materials. I’m learning that in the city hardly anyone can afford a separate studio space so you kind of have to piece together your workspace. And don’t even get me started about surviving the Brooklyn Home Depot, lugging lumber on the subway, and getting the right materials from the store the first time. I am proud of what I made and learning to adjust to my new processes for making.

[ITP: Feeling Patterns] Pattern Observation Week 1

NYC is bustling! There are so many people, so much is going on, and so many patterns. I think all this business really highlights the use of patterns and their importance to keep systems functioning and organized. I know I was supposed to pick one pattern, but once I started looking, I couldn’t stop seeing them.

For me, the repetition and fast-paced-ness of the patterns of NYC is incredibly overwhelming. Too much to look at, too much wizzing by, and too much to process. But on the other hand there is something comforting about seeing patterns you recognize from home or have seen somewhere else.

Of the patterns I observed this week, some are perfect and 100% predictable. Others are more organic, have variance, or are man-made/man-manipulated.

Example Sketches

The code for these sketches come from my class and live on my p5 profile.

Image tiling and rotation

Frame differencing

Slit scan

[ITP: Understanding Networks] Setting Up a Linux Host

I followed Professor Igoe’s articles on how to set up a virtual host and how to configure a firewall and here’s a quick recap on the process. First off, a virtual host is just a computer system attached to the internet.

Create Droplet

Digital Ocean is a platform for virtual hosting, so I started off by creating a new account by logging into my GitHub account. One thing I haven’t been successful with yet is setting up the student credits but I think I’m using some sort of other free trial which should work for now.

Each individual host is called a “Droplet”. So, in your Digital Ocean account choose “Droplet” from the side menu. Then hit the green “Create” button > “Droplets”. Next, configure your Droplet with the parameters shown below.

  • “Ubuntu” image

  • “Basic” plan

  • Cheapest subscription plan

  • No block storage

  • Pick NYC datacenter

  • Choose hostname and password

  • Create Droplet!

Using my “Terminal” program to log into my new virtual host!

Configure Droplet

Add Users

Next, I needed to setup a user. The first user on any POSIX host is called “root” but it is not advised to operate as the “root” user. Once the new user is created, you can use the “sudo” keyword to perform tasks as the superuser. So once the new user is created it needs to be added to the superusers group.

Update the operating system

Use the “apt” keyword (Advanced Package Tool) to update the Ubuntu operating system. Then, I used the “apt” command to install the Uncomplicated Firewall. A firewall sets the rules for what you device’s network interfaces should do with incoming or outgoing data packets.
I also installed other tools such as “network tools” and node.js which is a tool for server-side programming in JavaScript.

Configure Firewall

I followed the second article to setup my firewall. The first image shows how I enabled certain ports of my firewall to receive communications. The second image shows my setup Uncomplicated Firewall. Now my virtual host is up and running and protected by a firewall!

Loose Ends

One weird thing that I ran into a couple of times was this error message that my kernel was out of date. I did reboot my host, so maybe that fixed the issue?! I’ll keep an eye out for it in the future.