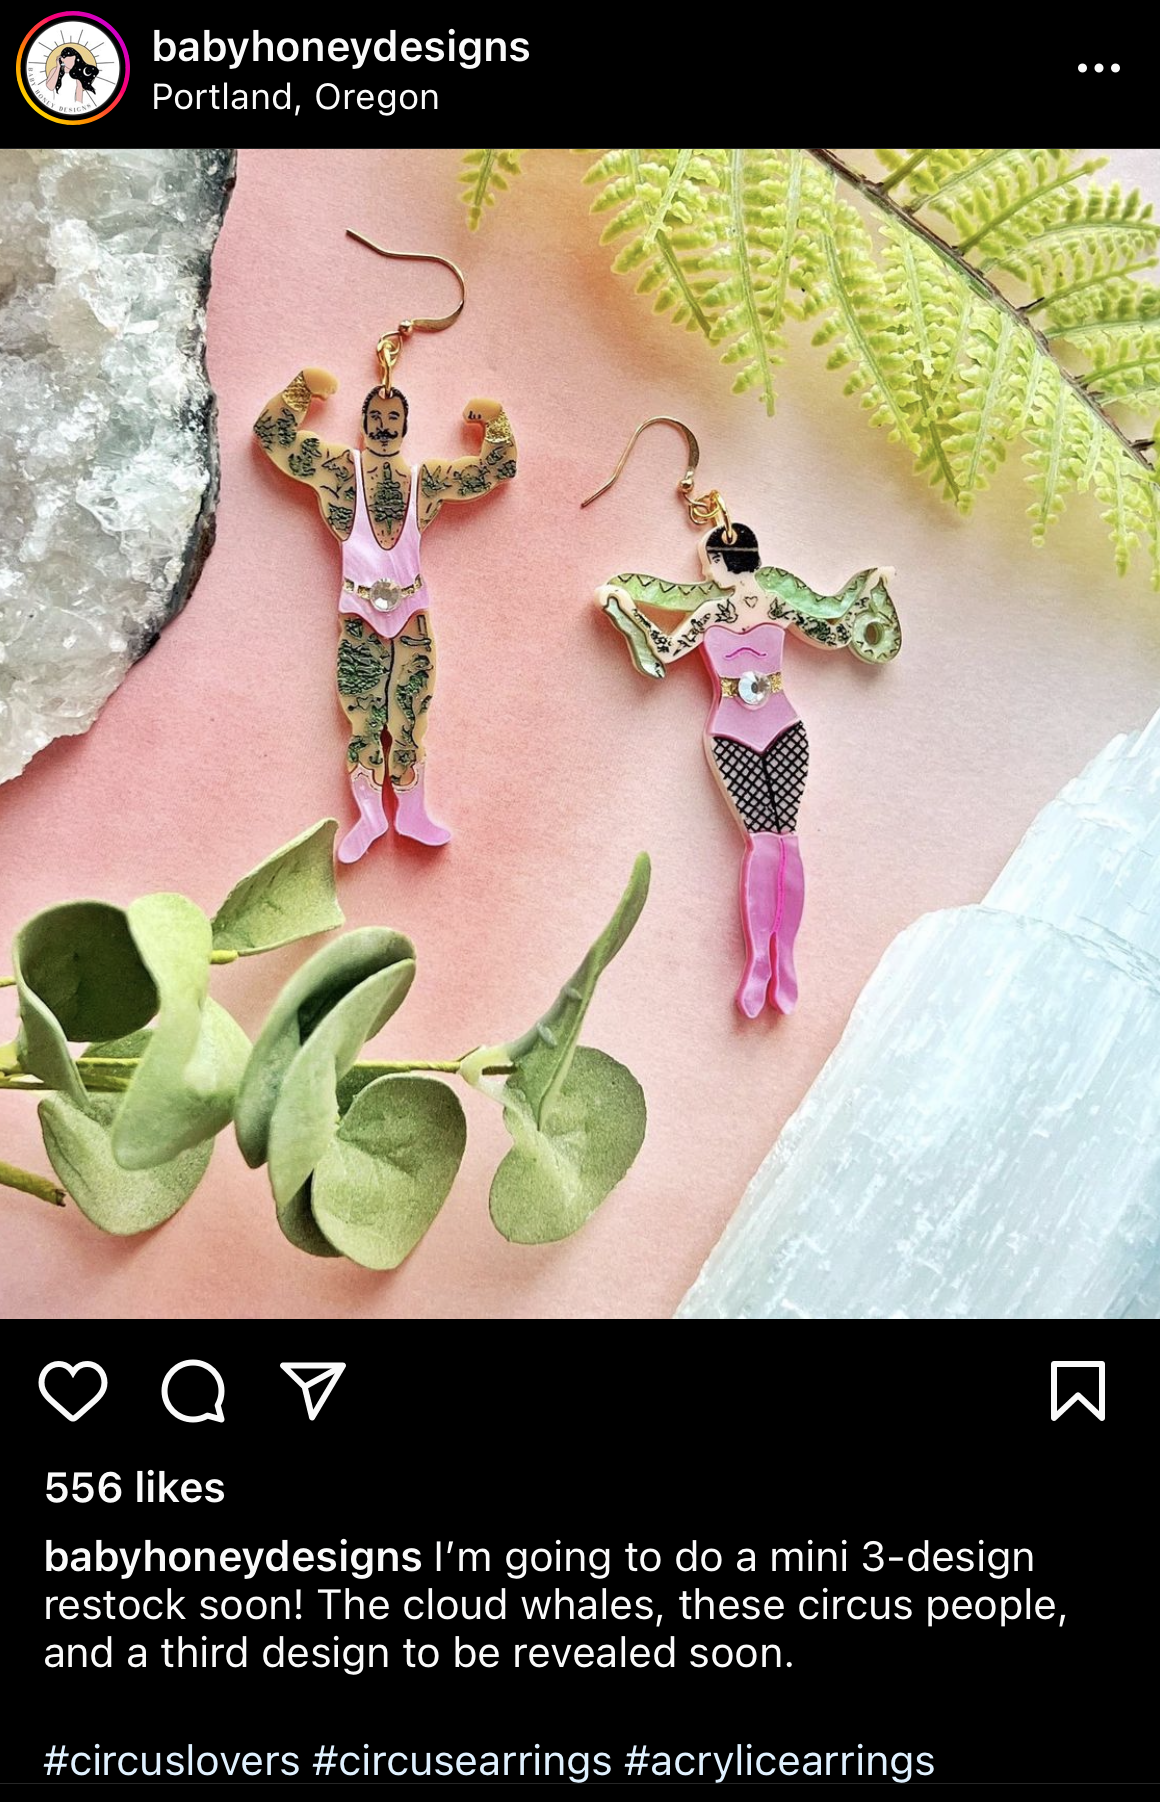
Acrylic earrings from @babyhoneydesigns, Portland, Oregon
Inspiration
Unfortunately, the laser cutter and I are already … in LOVE! I’ve used it as my trusty sidekick in some past projects.
I personally feel like using the laser cutter itself when working with acrylic is not the hard part for me. What stumps me most is drawing up what is in my head; I don’t feel Illustrator is intuitive at all and every little line takes a Google deep-dive for me. I wanted to use this assignment to finally learn the infamous pen tool.
By now you know I’m into everything kitsch and wonderful. I’ve done some experiments in jewelry making before and I’ve always been inspired by @babyhoneydesigns’s jewelry creations. I always find myself asking “How the heck did they do that?!”
Drawings
Illustrator drawings
Moully reference image (from “Bee and Puppycat”)
Dolphin reference image
Materials and Tools
Materials
Tools
So I found a pretty great 12 x 12” 1/16” piece of acrylic on the material shelf in the shop. I also was excited to have an excuse to get to Canal plastics. I picked out the prettiest plastic I could find! And as always I visited the Brooklyn Michaels to put the finishing touches on my project: earring hooks and some jump rings.
The only tools used to create my earrings were the Epilog Engraver, my computer and iPad to create the Illustrator drawings, and some pliers to attach the jewelry hardware.
Process
After I had all my materials gathered, I was ready to tackle Illustrator. I started by watching some tutorials and drawing the outlines of my reference images. I primarily used the pen tool and shape builder tool. The outlines need to be cut (vector) by the laser cutter so they need to have no fill and must be a line width 0.001.
I tried monkey-ing around with the live paint tool to get my fills correct, but in the end I couldn’t really get it to work the way I wanted it to. I moved to a process I am used to doing by drawing the fills by hand using a pen and my iPad. It’s important to use the blob brush tool (and not the paintbrush tool) to create shapes with a solid fill color. For these shapes to be engraved (rastered) by the laser cutter they need to have no line and a black fill.
Then I could jump to the laser cutter. I loaded my acrylic into the bed and then printed my image. Engrave first, then cut! One thing I’ve always wondered is if the protective film of a piece of acrylic needs to be removed before cutting. I asked Julia in the shop and she said if it’s paper you can cut with it on, but my pink and blue sheets of acrylic had a plastic film on it and that needed to be removed.
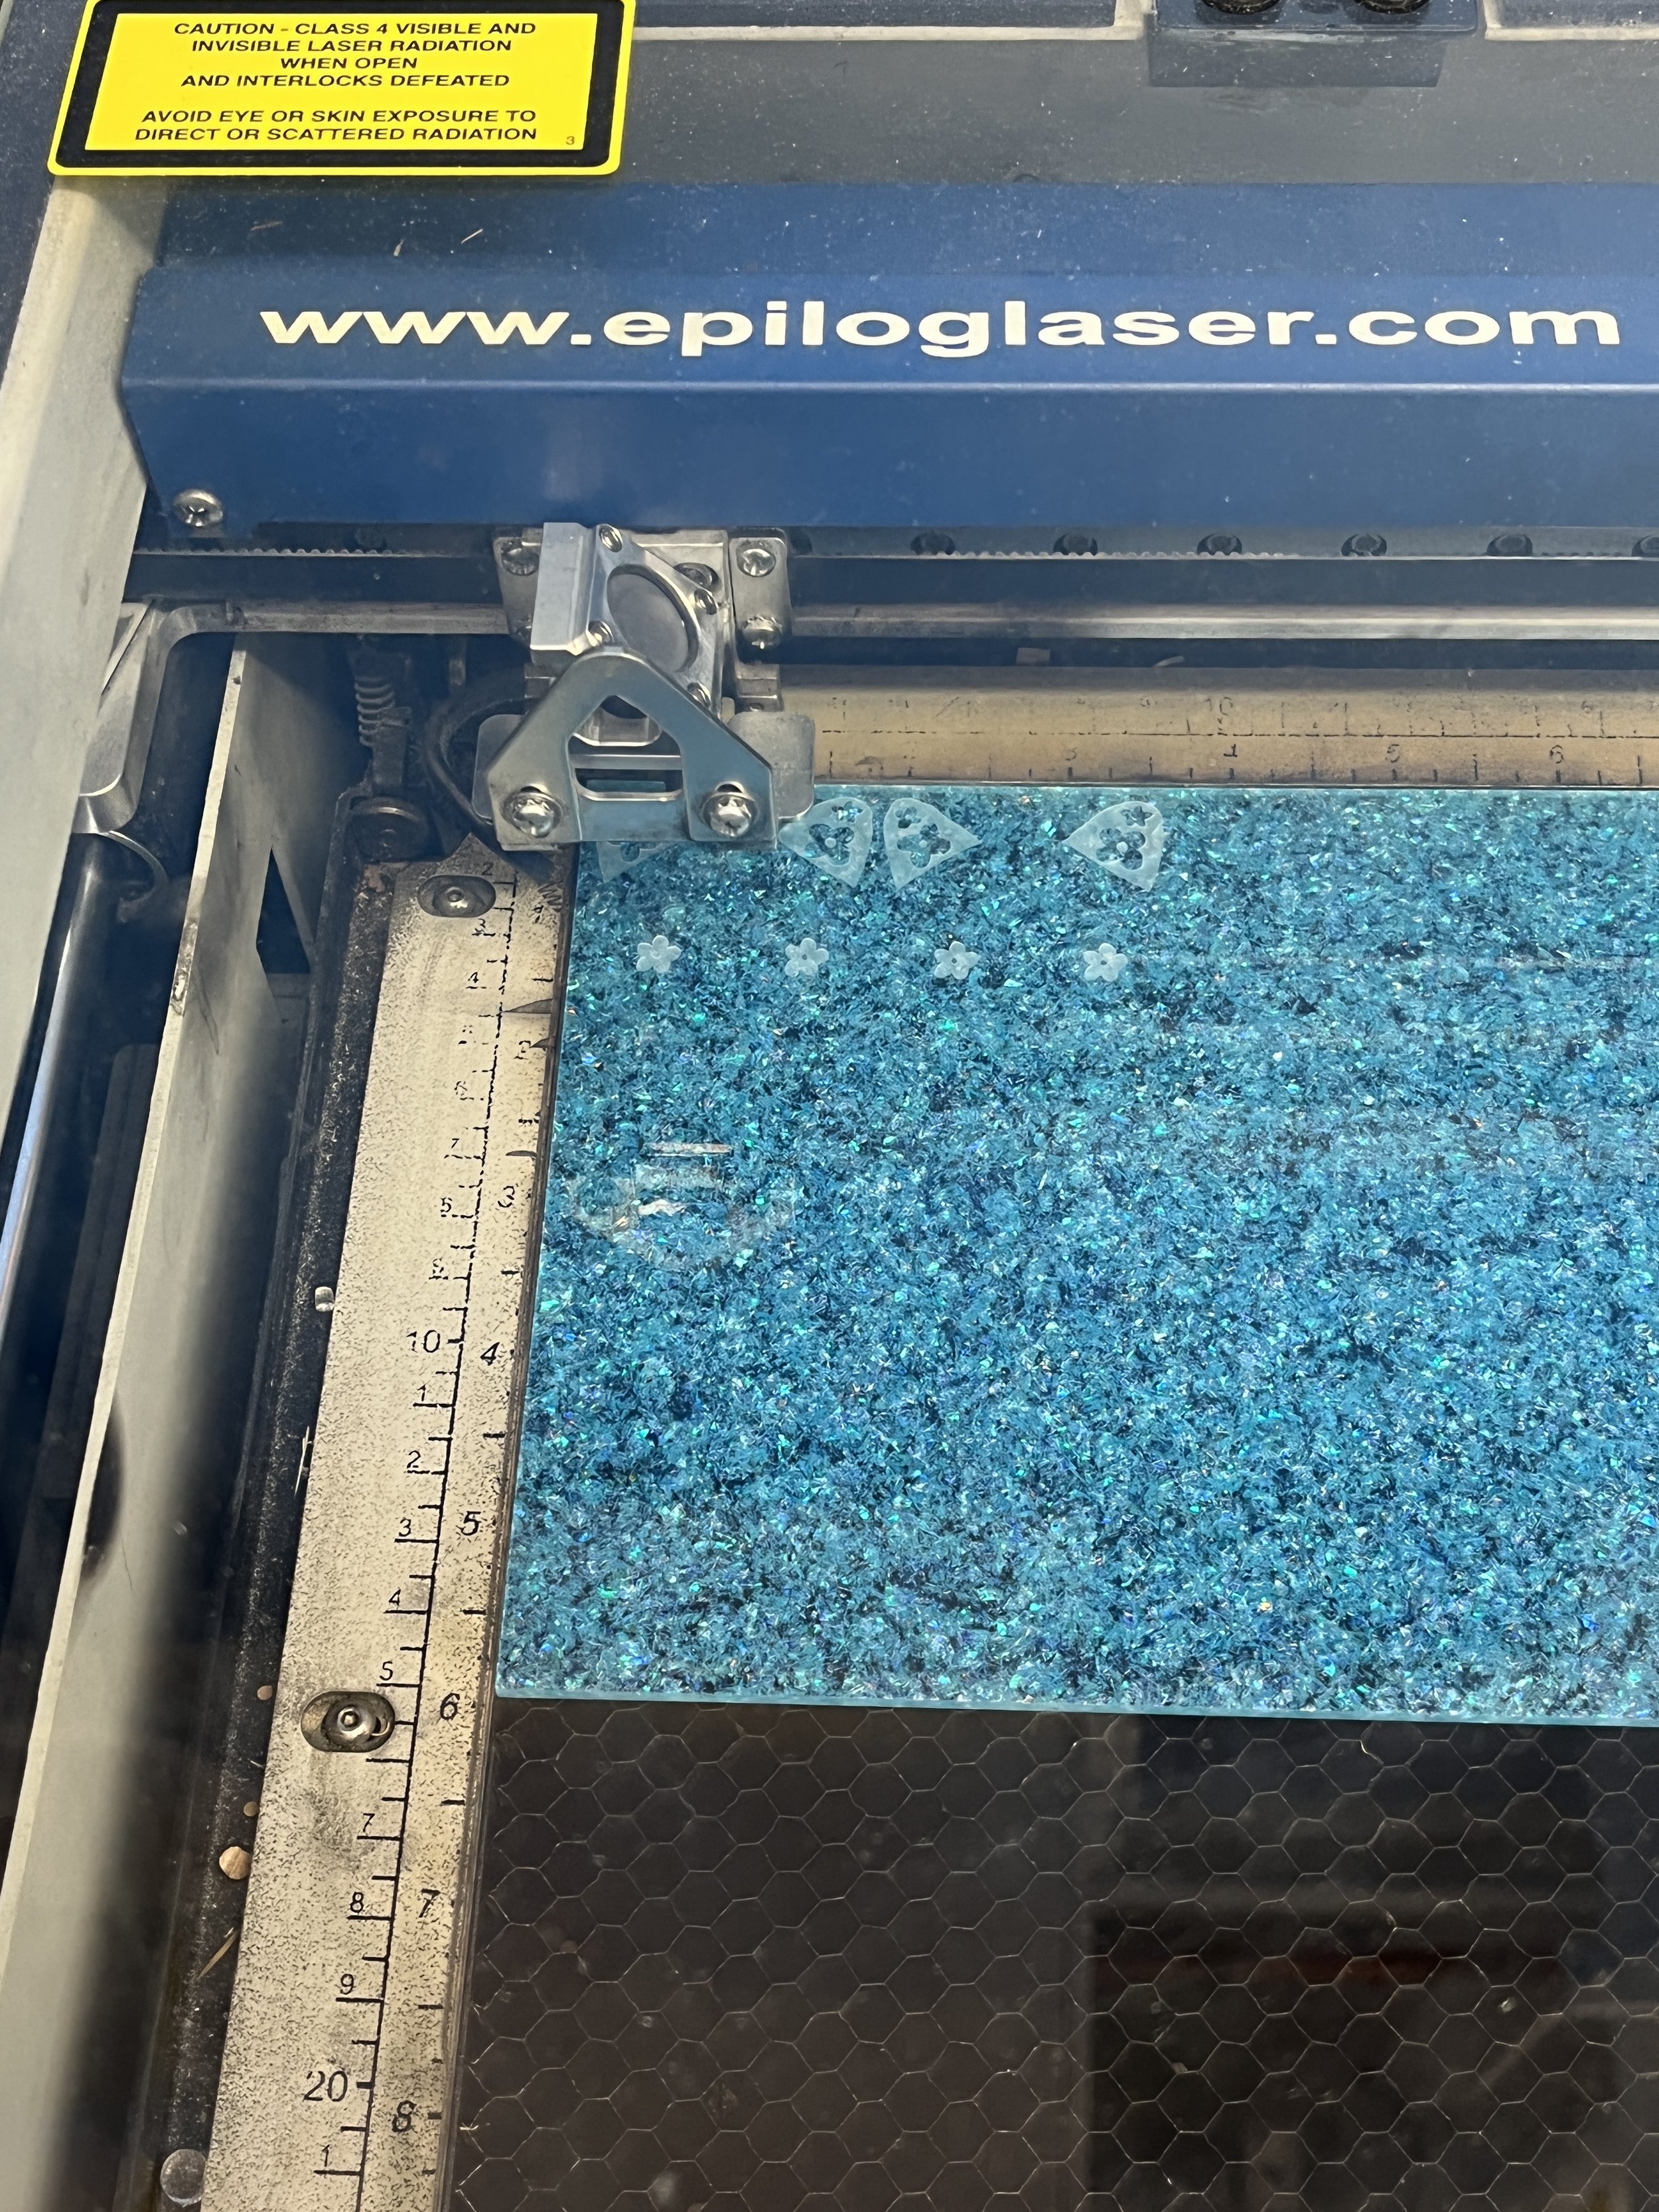
Test cutting
Laser engraving
Final Product
Moully and dolphin earrings
Conclusion
The laser cutter and I are going strong! I love that I can draw anything with a stylus and it gets engraved or cut exactly as I’ve drawn it. And I’m aware of the fact that acrylic is bad for the planet, but I just love the material! It’s colorful, shiny, glowy. It just really captures the eye.
Here are a few things I learned from this project:
The engraving does not show up as well on the blue, sparkly acrylic. Maybe that’s because the color is a bit darker?
The engraving (fill) and cutting (lines) do not need to be on separate files or even layers! The Epilog software takes care of doing one at a time if that’s what you choose.
Resources
Some tutorials I used to make my drawings in Illustrator:


