itp: fabrication

[ITP: Fabrication] Sheet Metal Portrait Update

This is a continuation of my previous blog post.

Process (cont’d)

Cut shapes out of sheet metal with tin snips. You’ll need strong forearms for this!

Sand the edges of the metal so that it’s not so sharp. I also tried flattening the pieces in hopes that they would glue better using some pliers.

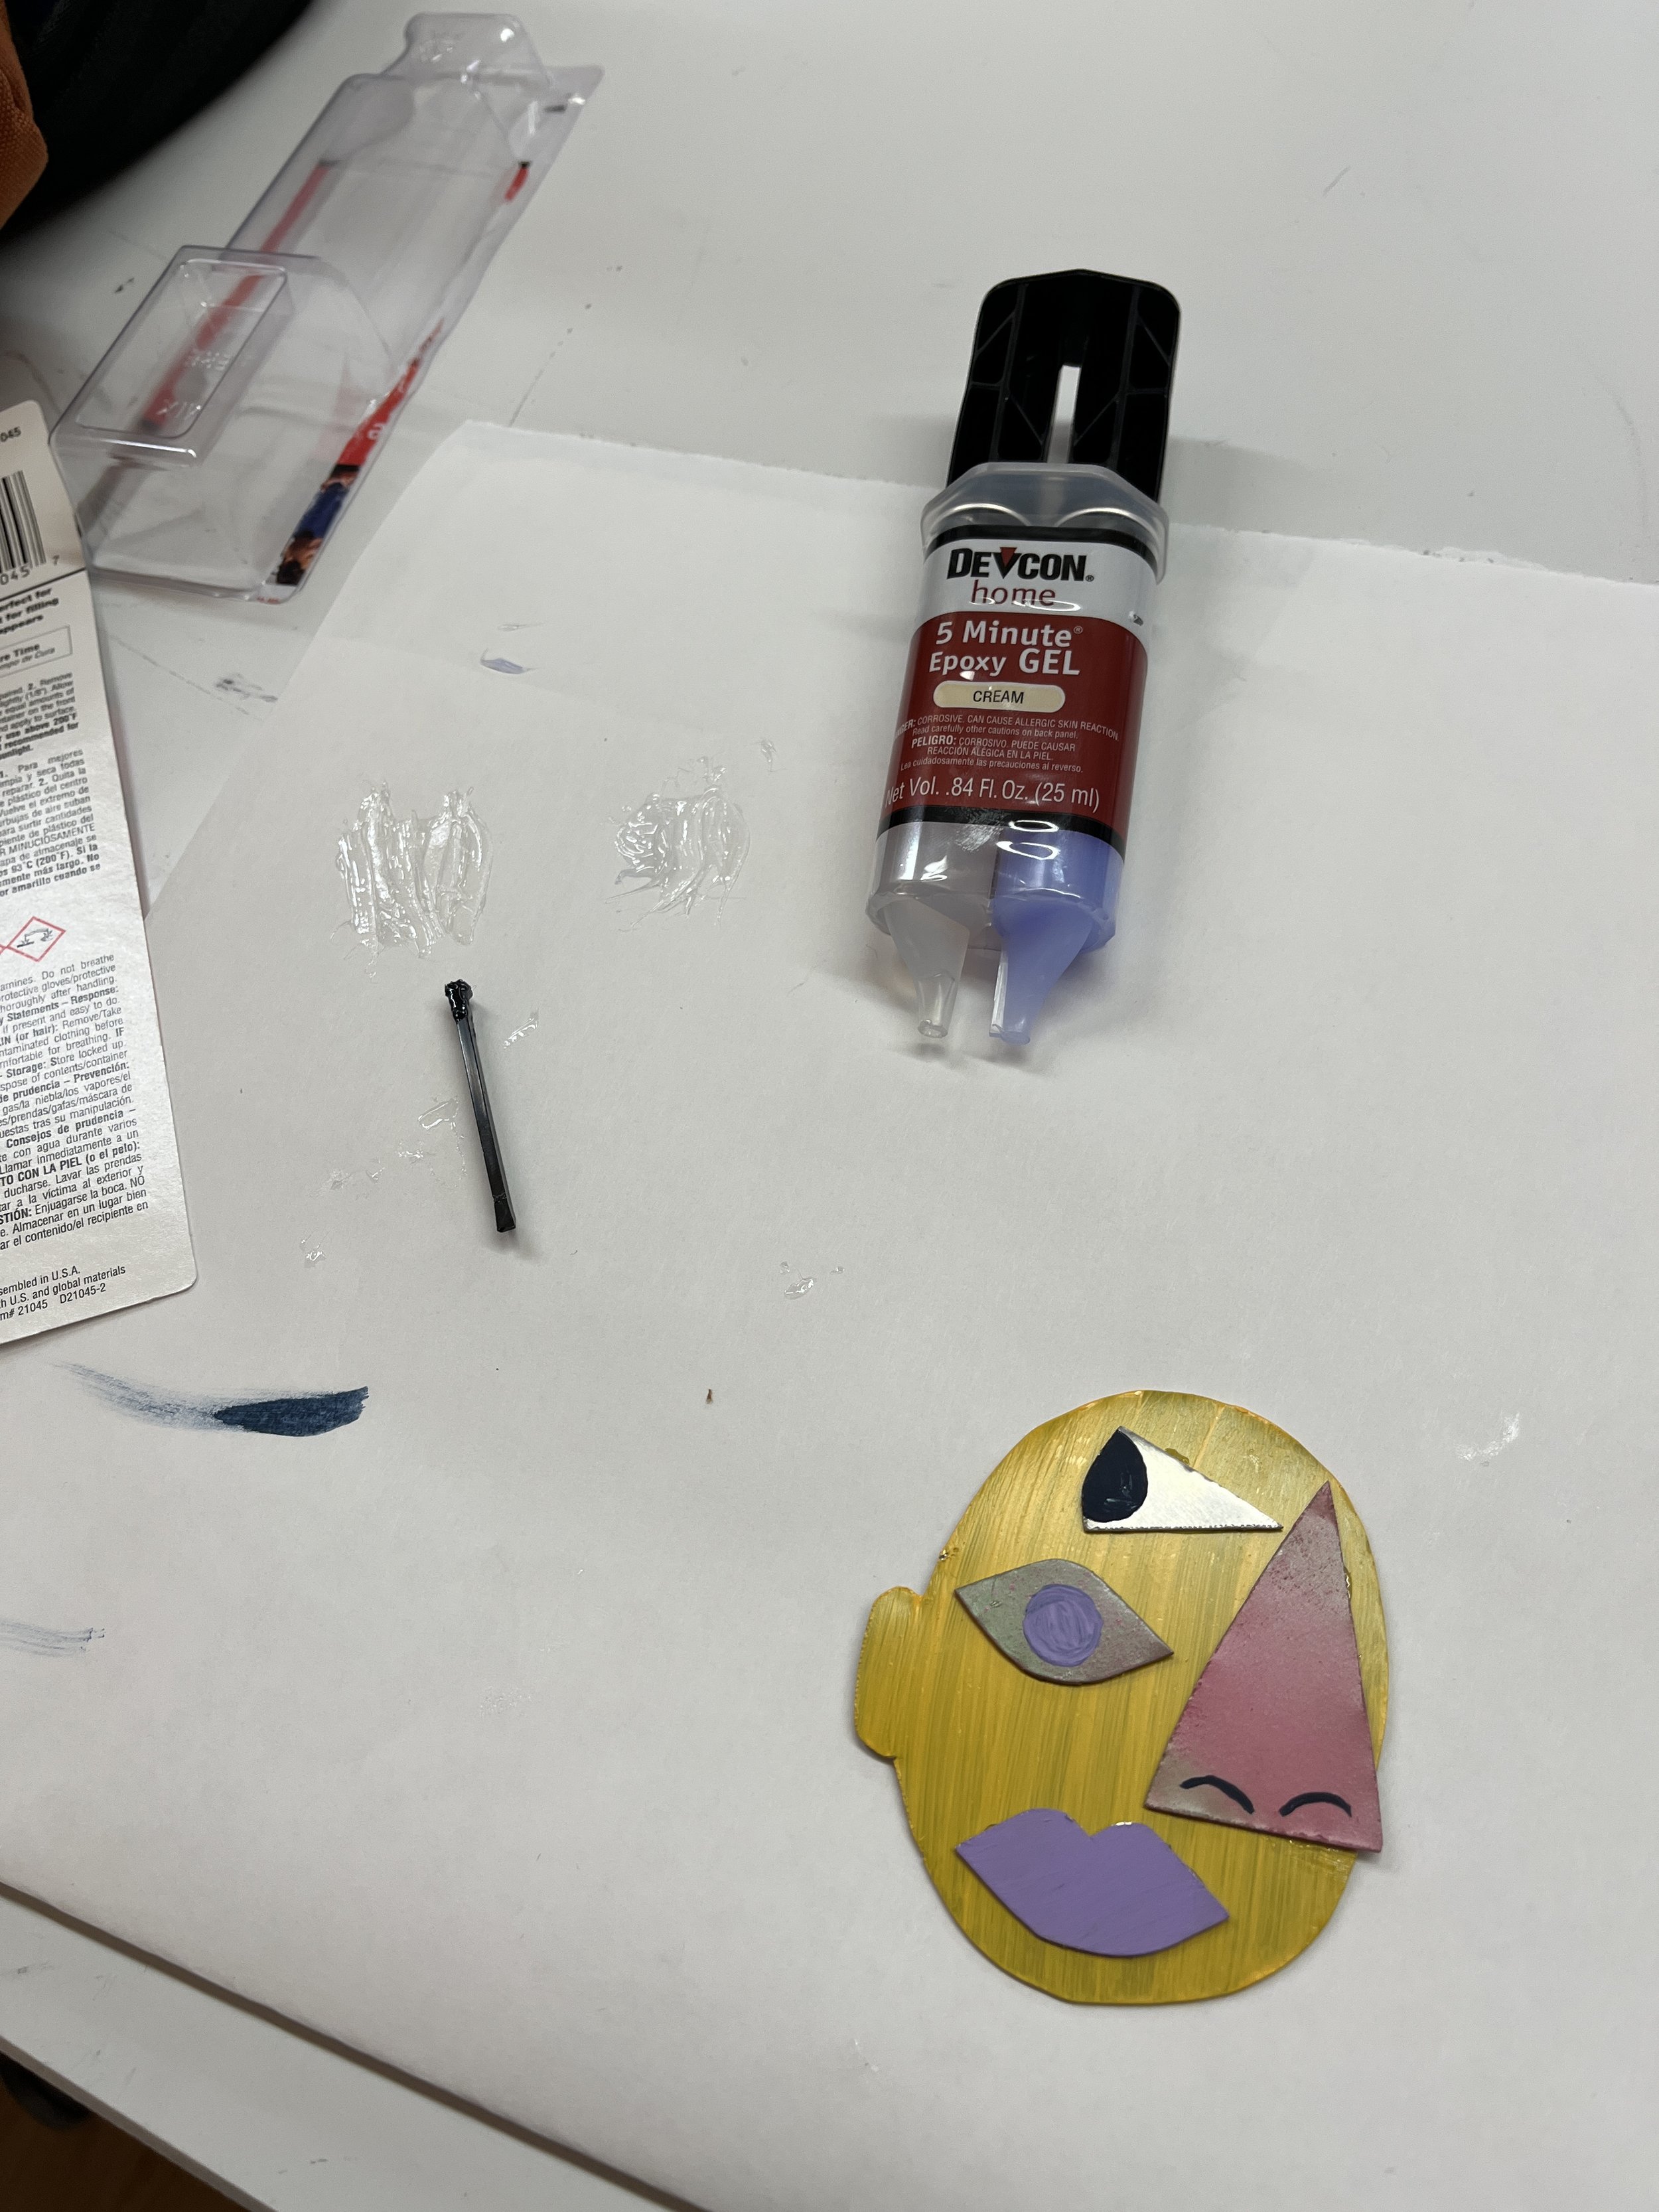
Here I am painting the individual pieces. I’ve got some others pieces waiting in the spray paint booth!

Epoxy time to glue it all together. Then I drilled a hole in the hat and nailed it to my wood backing.

Final Product

Conclusion

I am pretty stoked on how my exploration of different materials and fasteners turned out. For a while there I thought I would not be able to cut these small shapes from sheet metal with the shears; it was super hard. Also, I learned all about spray painting to finish the metal. In addition, I had never used epoxy before so it’s good that I learned how to use it. Overall, this project taught me a lot!

[ITP: Fabrication] Mounting Motors

Inspiration

In class we learned all about mounting motors. This was super exciting for me because I’ve had some experience working with motors for various projects and it generally was always a crap shoot. After some brainstorming, I decided I wanted to put my skills to the test and build a waving machine. The final iteration of this project will be make of acrylic, have a long metal arm, and interchangeable “gloves” with different hand symbols.

Drawings

To translate the rotational motion of a motor into a waving motion you need to create a four bar linkage. I used this handy tool to figure out what dimensions I needed for the movement I was looking for.

Dimension drawing

Planning and more dimension scribbles

Joint hardware stackup

Laser cutter drawing

Laser cutter drawing

Materials and Tools

  • Tape measure

  • Laser cutter

  • Utility knife

  • Screw driver

  • Wrench

  • Drill

  • Sander

  • Cardboard

  • Wood and plywood

  • Wood glue

  • 12V DC Motor, 60 RPM

  • Motor mount (comes with screws)

  • 6 mm hub coupler (ONLY comes with set screws)

  • 9V battery and barrel jack

  • x4 m3 screws for the coupler

  • x3 32 screws for the joints

  • x3 32 nylon locking nuts

  • Washers

Process

Once I had all my materials in hand I started this project by laser cutting the links for the mechanism. Following the simulation from above I made sure the screw holes were the correct distance apart. I also made a set that was scaled by half just in case I wanted a a movement that was half the size or I needed extra pieces.


Next I wanted to put together the base for my motor. I knew I needed to make sure that the motor was high up enough so that the surface it was sitting on wouldn’t interfere with link AB. I glued together some scrap wood to make a platform. Then I screwed in my motor mount. I’ve never used wood glue before but it dried quickly and the joint feels sturdy.


I also needed to get my motor ready. I soldered some leads onto the motor terminals and attached the battery to a barrel connector I got from the shop. If you’re following along, just be sure to check that the battery connector works with a DMM because the one I originally grabbed was broken.

It had been smooth sailing up until this point but this is where my build process hit some friction. I was trying to put all the parts together when I realized the motor shaft couplers didn’t come with any mounting screws. I’ve run into this issue before where I don’t know what screws or hardware I need. I was tipped off to go to the Tandon Makerspace and figured out that I needed m3’s for the hole size. And they also had the matching tiny nuts to go with them!

With the new screws and nuts sticking out of the back of link AB, my mechanism was encountering a collision. I cut out some extra spacers out of the cardboard so that link BC could clear the hardware sticking out but then the screws I got for the nylon nuts were too short. I found some longer screws of the same size (32’s) in the shop that could accommodate all my parts.

Another thing to note is that I’ve always been afraid of nylon nuts. Turns out they’re not permanent! You just need to hold down the nut with a wrench and use a screwdriver to remove or tighten the screws. Good info for future projects!

Lastly I needed to create my point D for the fourth link. I cut this simple mount on the laser cutter. I tried my best to get the height to match with the motor shaft. The wood platform ended up being a little short so my AD link is actually 4.5 inches and not 5 inches. This did change the acceleration of the wave.

Final Product

Conclusion

I’m really happy with the first iteration of this project. There is something so satisfying with the movement and the sound. I also loved learning about and implementing the four bar linkage. I feel a bit like a mechanical engineer!

Next steps:

  • Reinforce point D. Is it in the right spot?

  • Add a switch to the circuit. Where could I mount it?

  • Attach metal rod

  • Decide if the movement is correct

    • Do I need a slower motor? Do I need to revisit my link lengths?

  • Re-cut links using acrylic

  • Create different hand “gloves” using some material?!??!

Resources

Special thanks to Ben Light for fabrication guidance and sharing hardware with me. And thanks to Josh for taking me to the Tandon Makerspace to pick out my missing hardware.

https://mechanicalexpressions.com/explore/kinematics/4-bar-linkage.html

https://itp.nyu.edu/fab/cad/week-6/

https://www.youtube.com/watch?v=0MYF8YCf2jQ

[ITP: Fabrication] Materials and Fasteners

Disclaimer: I won’t have this project done by class time Friday but I wanted to be sure to publish my plan. I am waiting on some sheet metal to arrive (and possibly Luke’s spray paint tutorial!) and will finish this project up along side the next one next week.

Inspiration

The two materials I would like to explore this week are wood and sheet metal. I’ve got some left over pine from the build five things assignment and I’ve never worked with sheet metal before so I’m excited to try it out! I seriously don’t know where these ideas come from but I want to try making a cubist portrait. My thought was it would be relatively easy to make this 2D image: cut out some weird shapes, rivet them together, and nail the thing to some wood, but the more I think about it the more things I want to add to complicate the build. Typical!
Picasso, Yellow Lady

Picasso

Picasso

Drawings

Tools

  • Tin snips

  • Sand paper

  • Hammer

  • Drill

  • Metal epoxy

Materials

Process

Prepare the wood by cutting, sanding, and applying a finishing wax using a rag.


Final Product

Here’s my paper prototype. I cut out the basic shapes of my portrait from construction paper and glued them all together.

Conclusion

Though I could only finish my paper prototype by today, I still plan on making an aluminum version of this piece. Here’s what I plan to do:

  • Use paper template to cut shapes into sheet metal using tin snips (the red ones in the shop are my favorite!)

  • Sand the edges of cut metal

  • Spray paint and hand paint a few of the shapes

  • I’ve decided against rivets for this piece because I feel like the pieces are too dainty. I’m choosing to assemble the portrait using this epoxy.

  • Then I’ll nail the image to the wood backing. Voila!

Resources

https://www.youtube.com/watch?v=yFX_9UsoxWk

https://www.youtube.com/watch?v=1tIcVNrE2MM

https://www.youtube.com/watch?v=4eXnYqNkF2o

[ITP: Fabrication] Don't Press The Button Enclosure

Inspiration

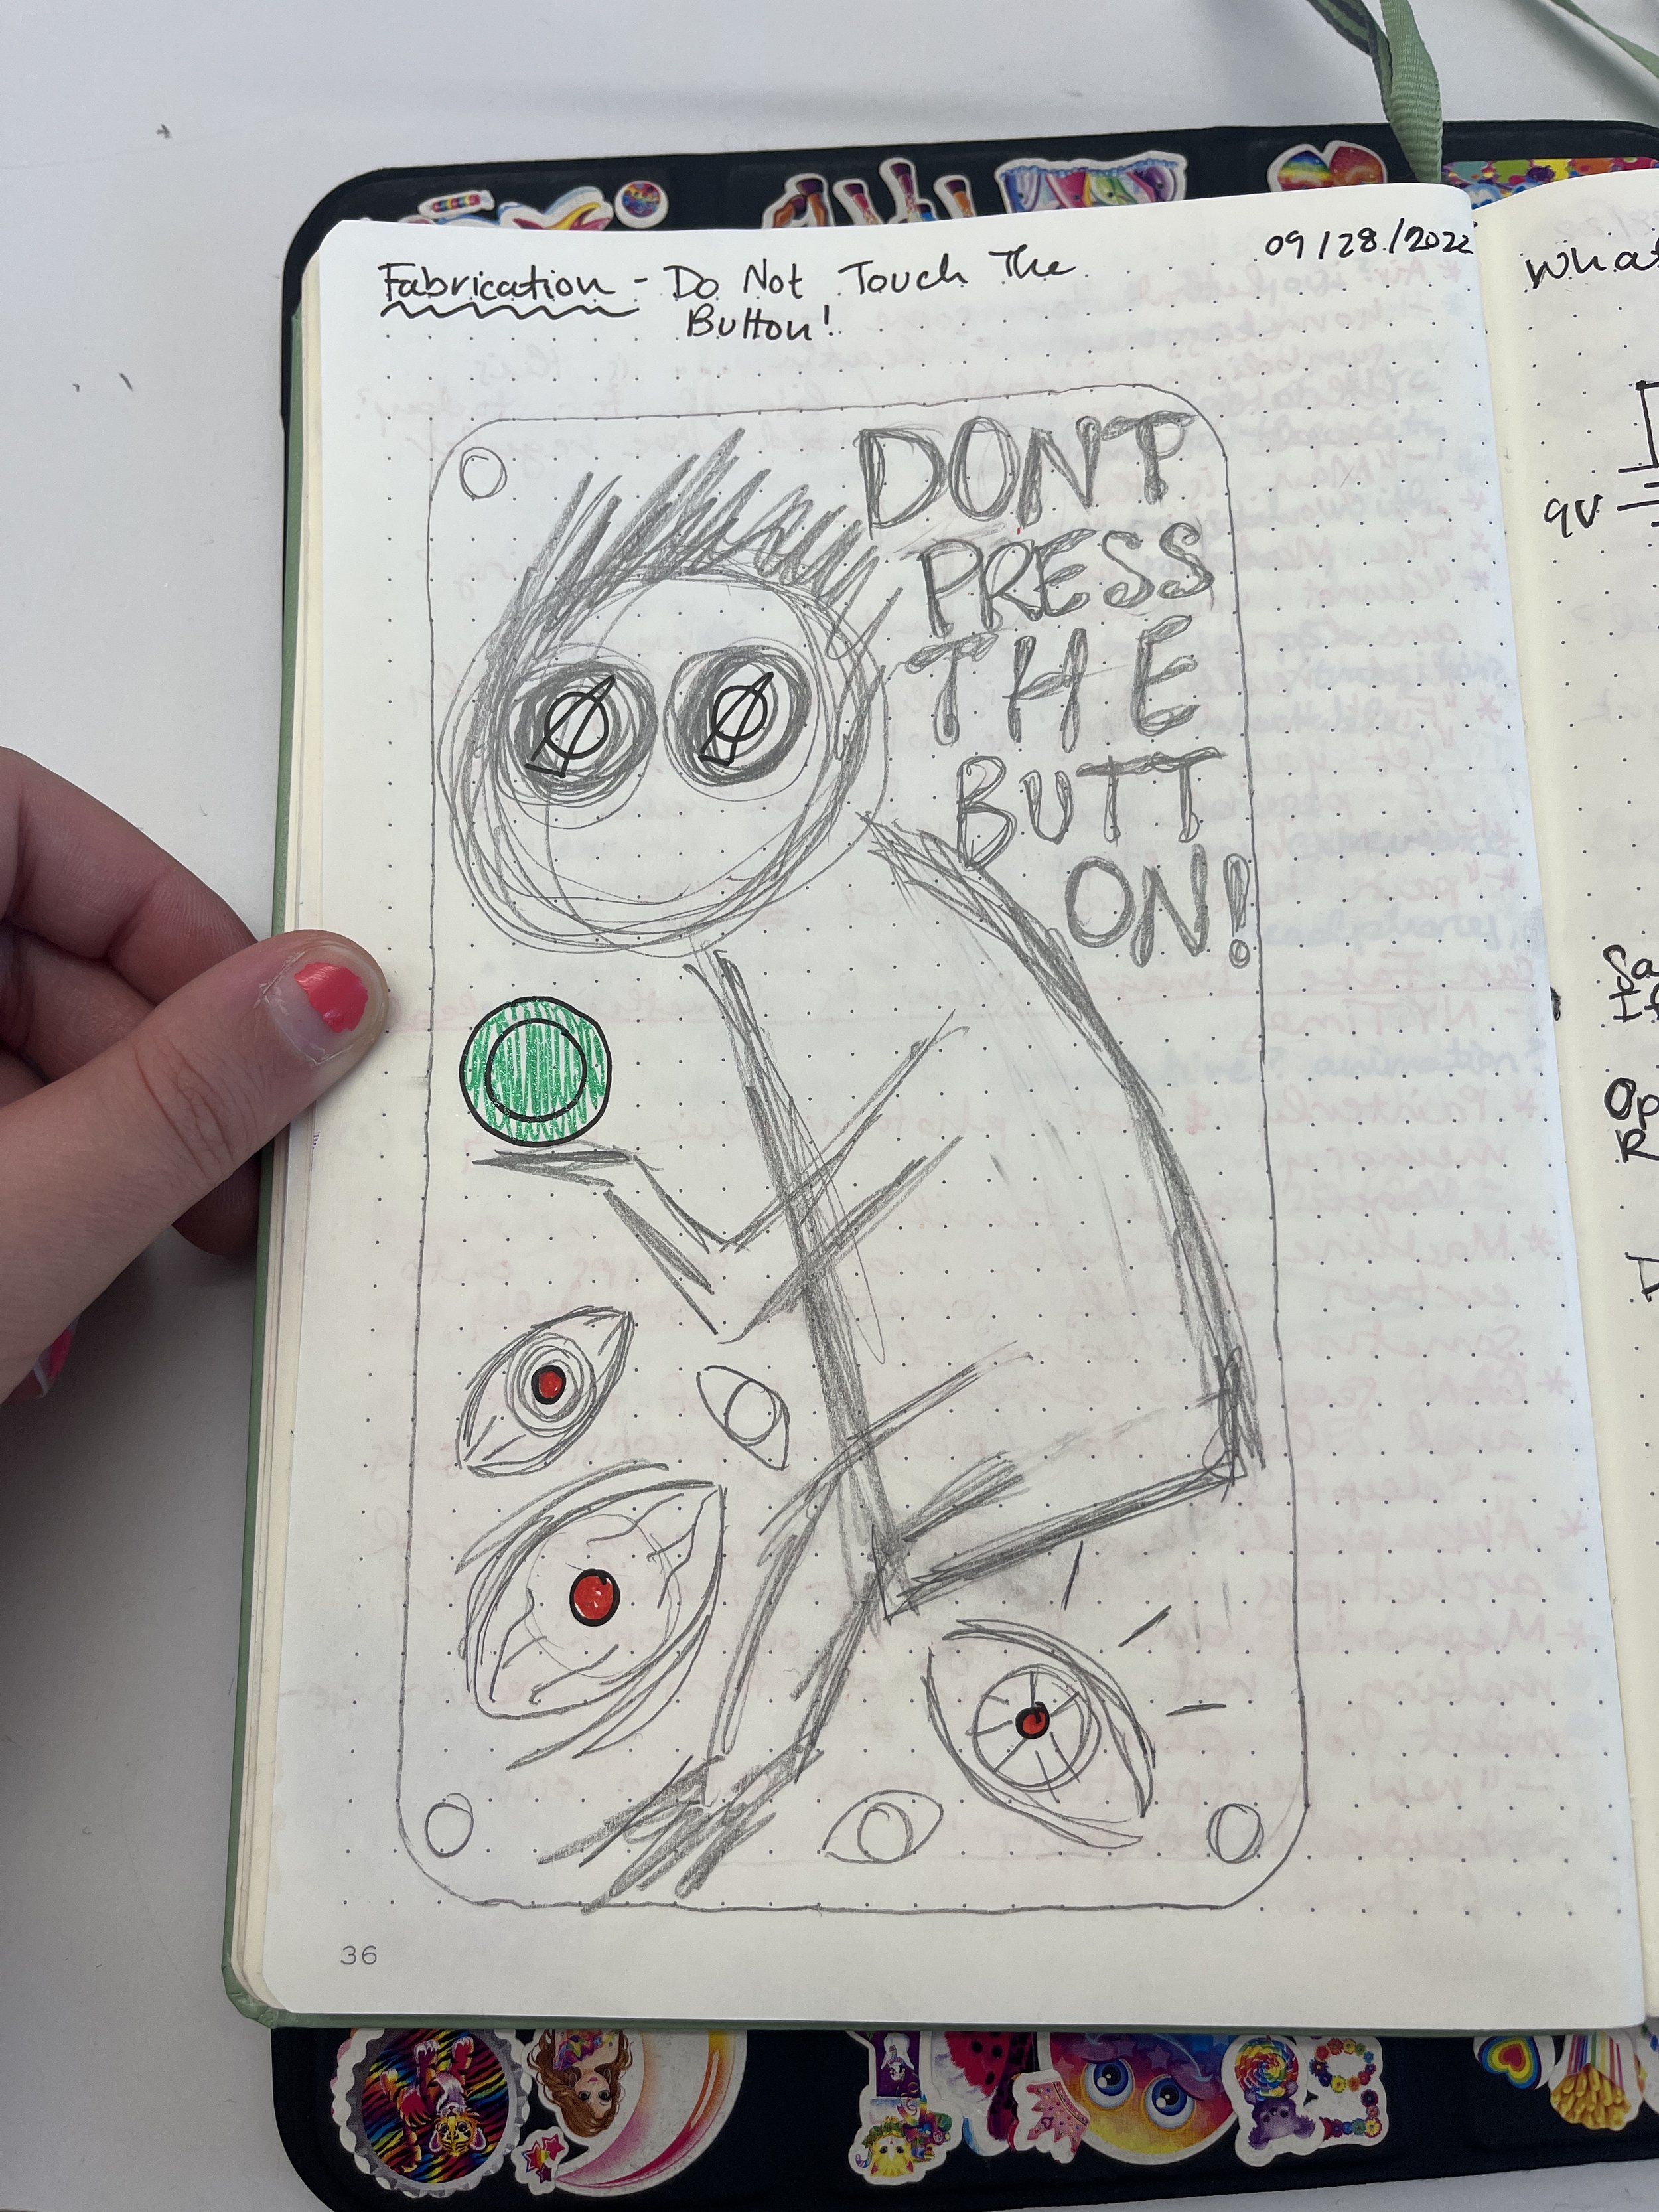
In class we looked at so many different types of project enclosures, all inviting the viewer to press, switch, open, close, whatever. I wanted my enclosure NOT to invite the viewer to press the button. Because I’m me, of course I wanted something to happen when the button was inevitably pressed, so I began spinning a story...

I like adding an illustrative element to my projects sometimes so I thought of a sad, weird, squiggly guy begging to not press the button. At first I wasn’t sure where I dug this imagery up but Olive reminded me my drawing was very Salad-Fingers-esque; a YouTube series from my childhood that apparently still haunts me.

Drawings

Materials

Circuitry:

  • Breadboard

  • 9V battery

  • Barrel jack

  • x2 2.5k ohm potentiometer

  • x2 white knobs

  • x2 100 ohm resistors

  • x3 red LEDs

  • Green push button

  • Wire

  • Heat shrink

Enclosure:

  • Wood from the free shelf

  • x4 1.5 inch stand offs

  • x8 6-32 screws

  • Tacky putty


Tools

Enclosure:

  • Laser cutter

  • Tape measure

  • Calipers

  • Dremel

  • Hex key

  • Clamp

Design:

  • iPad and Apple Pencil

  • Illustrator

Circuitry:

  • Wire cutters/strippers

  • Tweezers

  • Soldering iron

  • Hot air gun

Process

First things first, make sure my engineering background hasn’t failed me: prototype the complete circuit to go along with my drawing. Here, a 9V battery is powering my circuit. Pressing the button turns the three red LEDs on. Two potentiometers change the brightness of the LEDs.

Electronics prototype

Once the electronics sanity-check was completed, I could work on getting my drawing into Illustrator. I started with drawing two rectangles that would fit the breadboard. Then I transitioned to my iPad and the trusty blob brush tool to hand draw the engravings on the box. Then I measured my panel mount components with some calipers and added holes to place them on the surface. Ctrl+P on the Epilog <3.

Illustrator drawing

Laser cut enclosure faces

Next, I tore my electronics from my prototype and got them ready for mounting. I soldered wires to the two potentiometers and the LEDs. To mitigate bare leads touching each other, I heat shrinked the LED legs. Now I was ready to install my electronics on my enclosure! Or so I thought…

Ummmmm SO WHAT THE HECK ARE THESE?! I never noticed this little nub, but I guess panel-mount potentiometers have this indicator to identify their orientation. Not sure I really get their use, but this was getting in the way of installing the dials on the top face. Ideally I would have laser cut a hole for the nub to slot into but at this point I just went in with a Dremel and made some extra nub space. It’s not perfect, but it works!

Last but not least, I attached the retro white knobs to the potentiometer dials. I needed a super small hex key to tighten the set screw. I fixed the breadboard and battery onto the bottom plate with some tacky putty. Then I plugged all my wires back into my bread board circuit and screwed the top plate into place. Voila!

Final Product

Conclusion

In class last week we learned that project enclosures should be 1. easy to open 2. easy to modify 3. easy to make multiples 4. cheap. I think I hit basically all of those requirements. I only spent like $12 on the batteries, but I am very privileged to have access to the ITP shop where it’s stocked with all the supplies and tools I could ever need.

In the future, I’d like to add rubber feet to the bottom of this enclosure. I’d also like to take a good quality video showing how my project works (or shouldn’t?! Don’t press the button!). I also feel like I should revisit my circuit. Ideally, I’d like the knobs to dim the LEDs even more but my brain hurts too much right now to figure out why my circuit doesn’t work right.

Resources

https://learn.adafruit.com/all-about-leds/adjusting-brightness

[ITP: Fabrication] Don't Fall in Love with the Laser Cutter

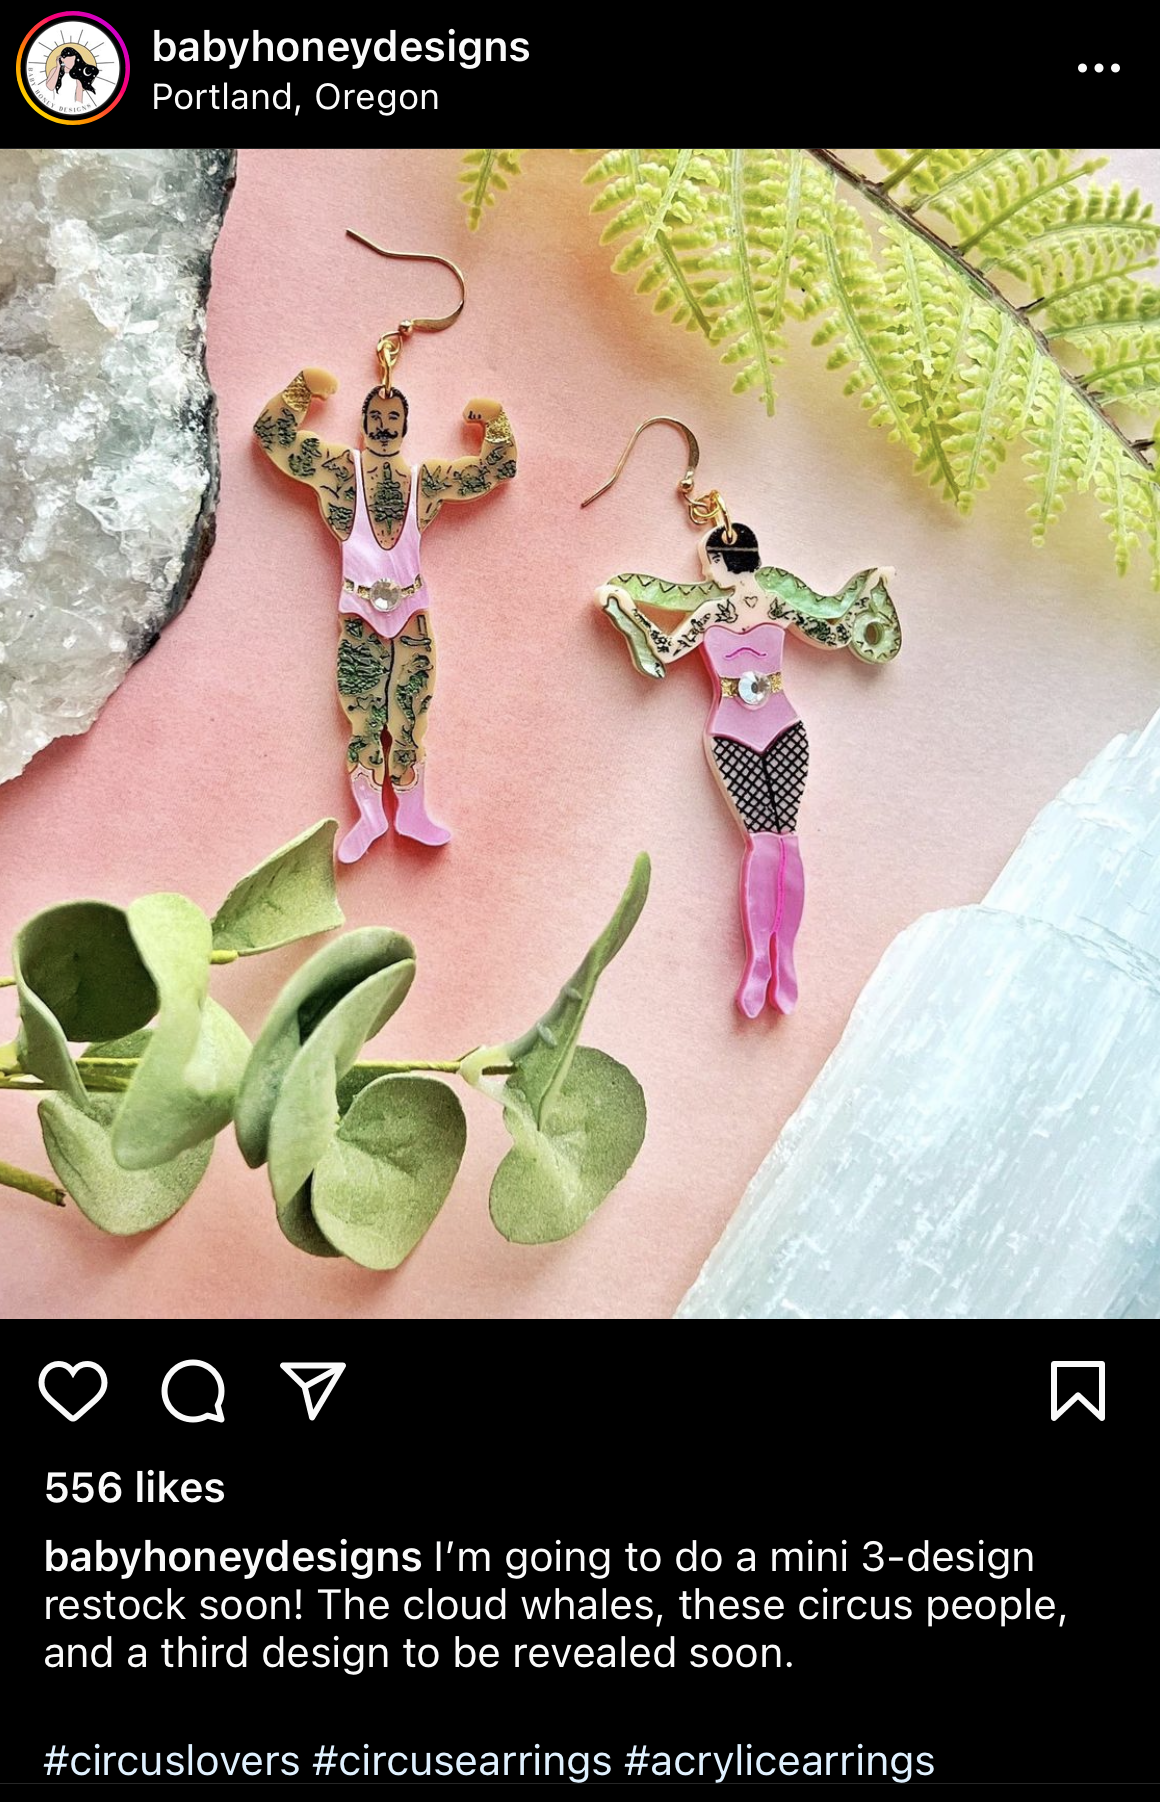
Acrylic earrings from @babyhoneydesigns, Portland, Oregon

Inspiration

Unfortunately, the laser cutter and I are already … in LOVE! I’ve used it as my trusty sidekick in some past projects.

I personally feel like using the laser cutter itself when working with acrylic is not the hard part for me. What stumps me most is drawing up what is in my head; I don’t feel Illustrator is intuitive at all and every little line takes a Google deep-dive for me. I wanted to use this assignment to finally learn the infamous pen tool.

By now you know I’m into everything kitsch and wonderful. I’ve done some experiments in jewelry making before and I’ve always been inspired by @babyhoneydesigns’s jewelry creations. I always find myself asking “How the heck did they do that?!”

Drawings

Illustrator drawings

Moully reference image (from “Bee and Puppycat”)

Dolphin reference image

Materials and Tools

Materials

Tools

So I found a pretty great 12 x 12” 1/16” piece of acrylic on the material shelf in the shop. I also was excited to have an excuse to get to Canal plastics. I picked out the prettiest plastic I could find! And as always I visited the Brooklyn Michaels to put the finishing touches on my project: earring hooks and some jump rings.

The only tools used to create my earrings were the Epilog Engraver, my computer and iPad to create the Illustrator drawings, and some pliers to attach the jewelry hardware.

Process

After I had all my materials gathered, I was ready to tackle Illustrator. I started by watching some tutorials and drawing the outlines of my reference images. I primarily used the pen tool and shape builder tool. The outlines need to be cut (vector) by the laser cutter so they need to have no fill and must be a line width 0.001.

I tried monkey-ing around with the live paint tool to get my fills correct, but in the end I couldn’t really get it to work the way I wanted it to. I moved to a process I am used to doing by drawing the fills by hand using a pen and my iPad. It’s important to use the blob brush tool (and not the paintbrush tool) to create shapes with a solid fill color. For these shapes to be engraved (rastered) by the laser cutter they need to have no line and a black fill.

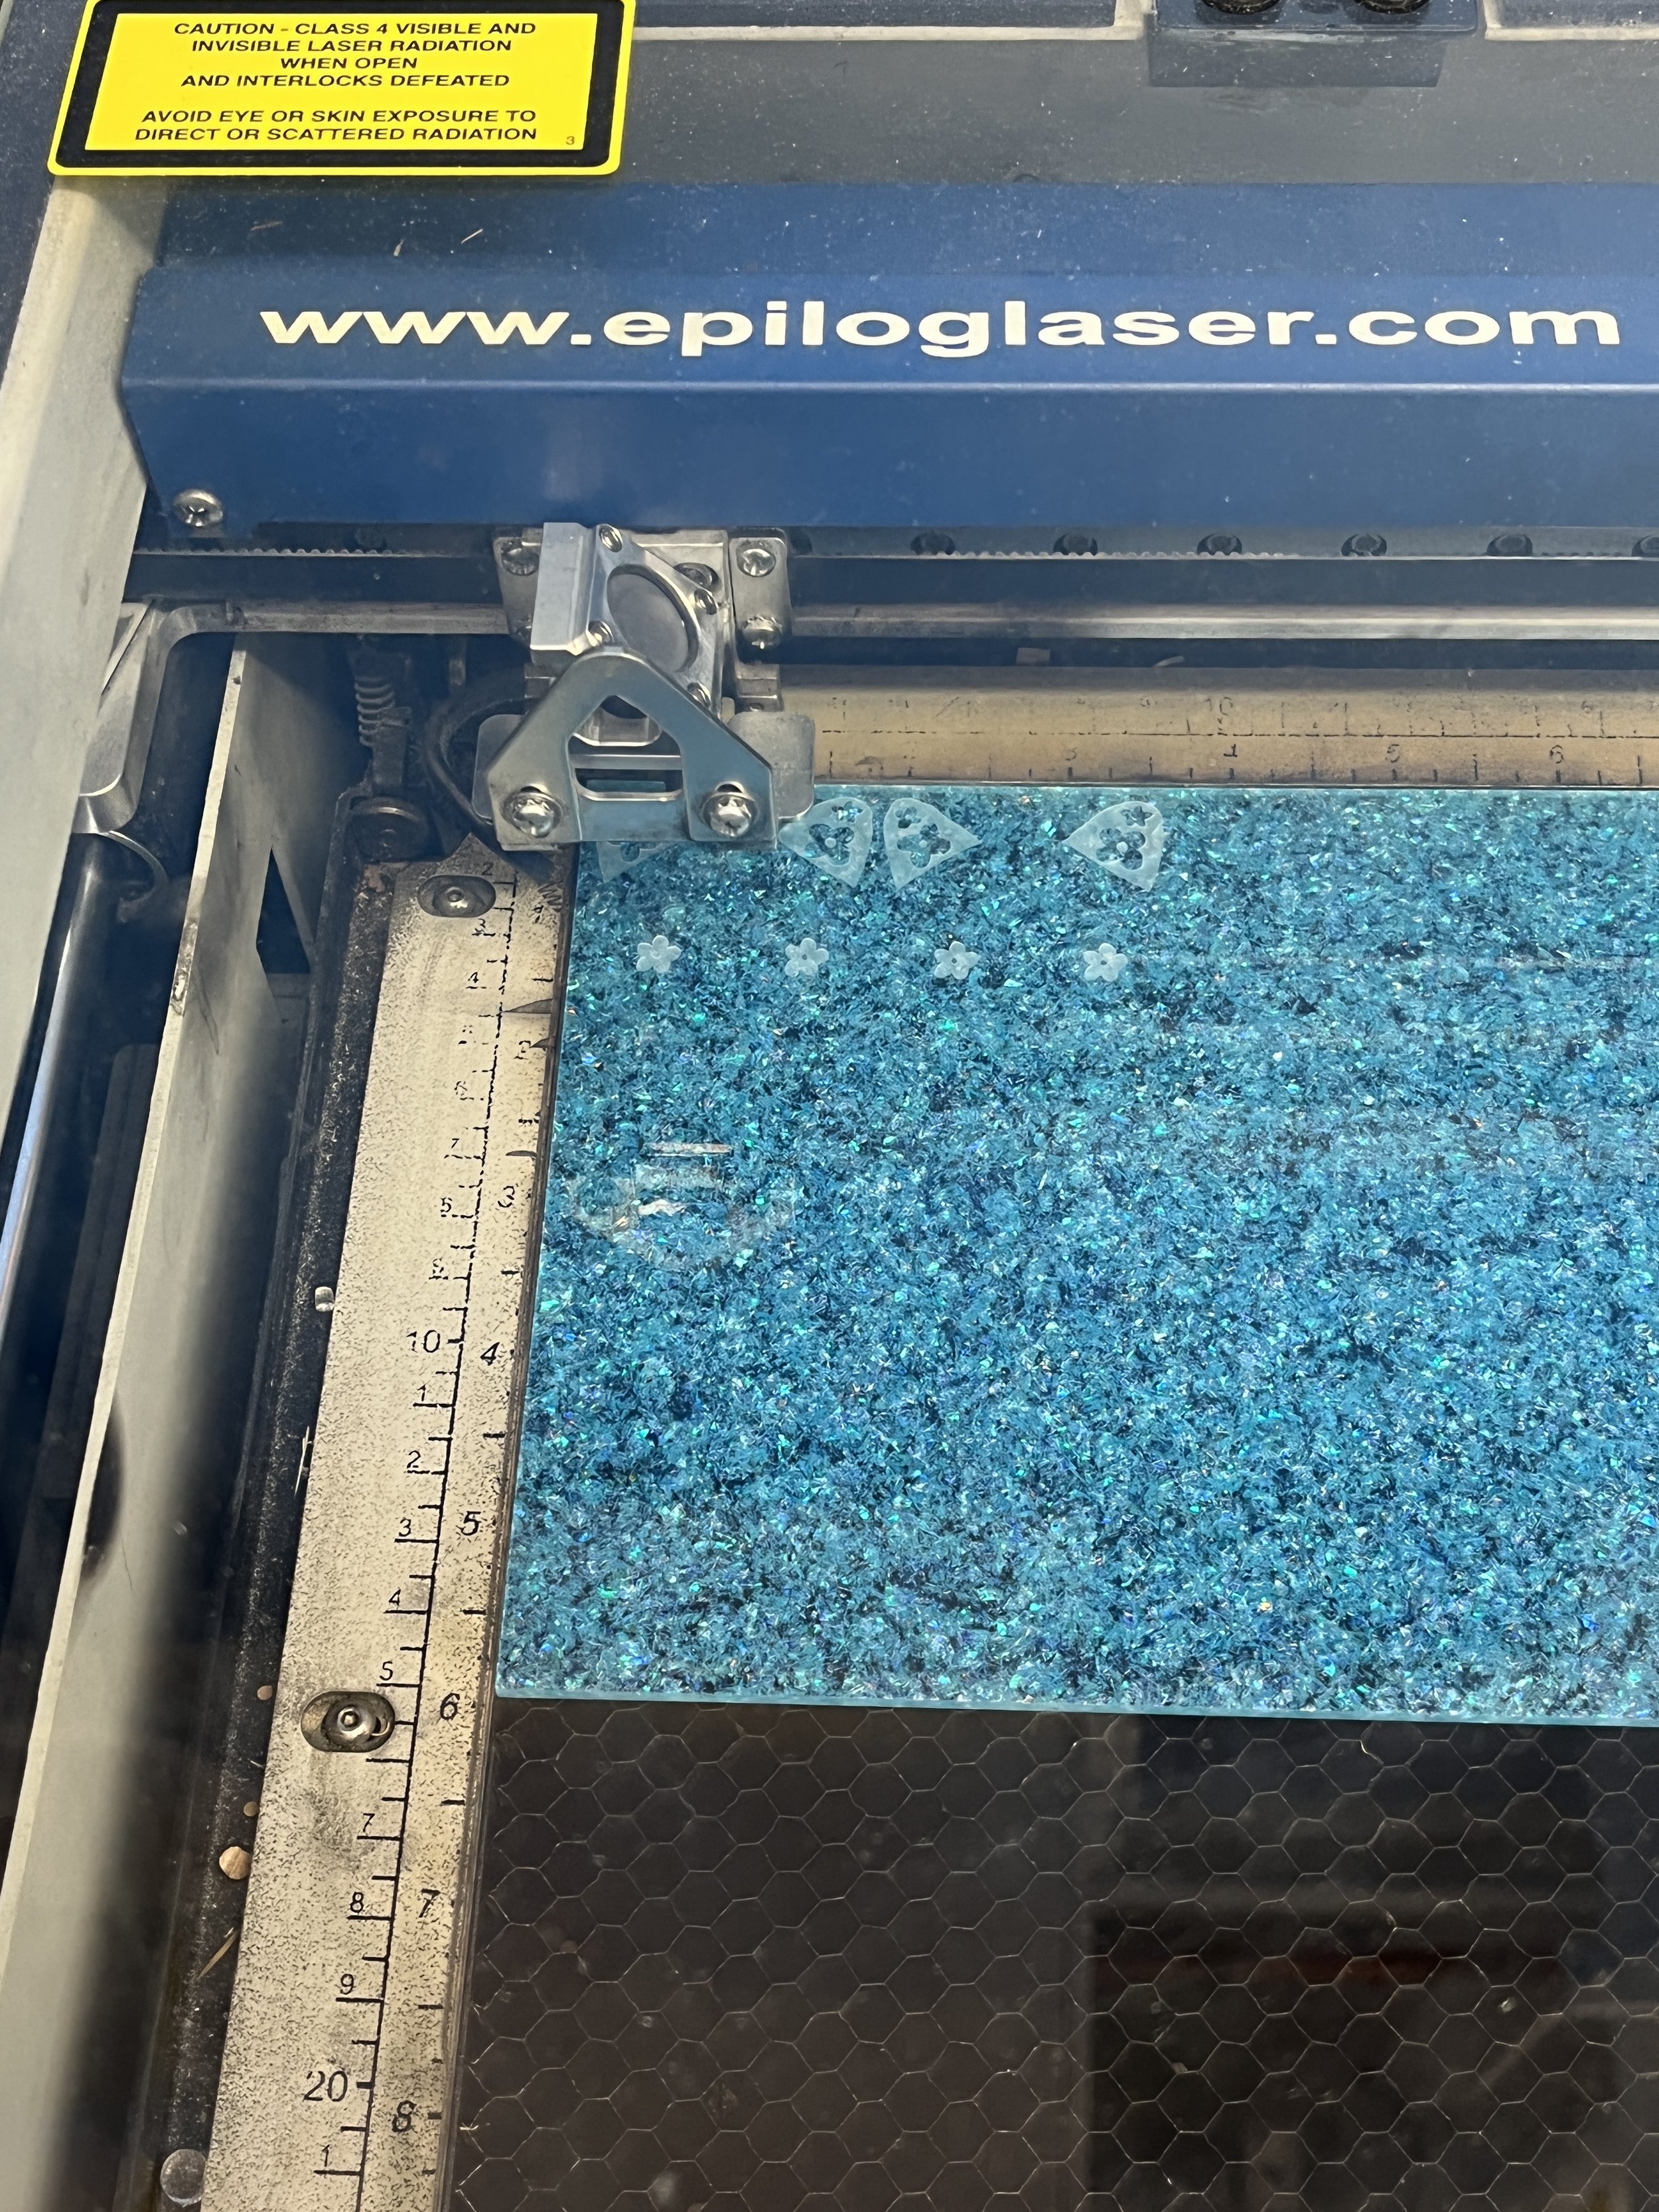
Then I could jump to the laser cutter. I loaded my acrylic into the bed and then printed my image. Engrave first, then cut! One thing I’ve always wondered is if the protective film of a piece of acrylic needs to be removed before cutting. I asked Julia in the shop and she said if it’s paper you can cut with it on, but my pink and blue sheets of acrylic had a plastic film on it and that needed to be removed.

Test cutting

Laser engraving

Final Product

Moully and dolphin earrings

Conclusion

The laser cutter and I are going strong! I love that I can draw anything with a stylus and it gets engraved or cut exactly as I’ve drawn it. And I’m aware of the fact that acrylic is bad for the planet, but I just love the material! It’s colorful, shiny, glowy. It just really captures the eye.

Here are a few things I learned from this project:

  • The engraving does not show up as well on the blue, sparkly acrylic. Maybe that’s because the color is a bit darker?

  • The engraving (fill) and cutting (lines) do not need to be on separate files or even layers! The Epilog software takes care of doing one at a time if that’s what you choose.

Resources

Some tutorials I used to make my drawings in Illustrator:

https://www.youtube.com/watch?v=cik1Ed9gzLE&t=460s

https://www.youtube.com/watch?v=_q2QsS1cUwU

[ITP: Fabrication] Boxes update!

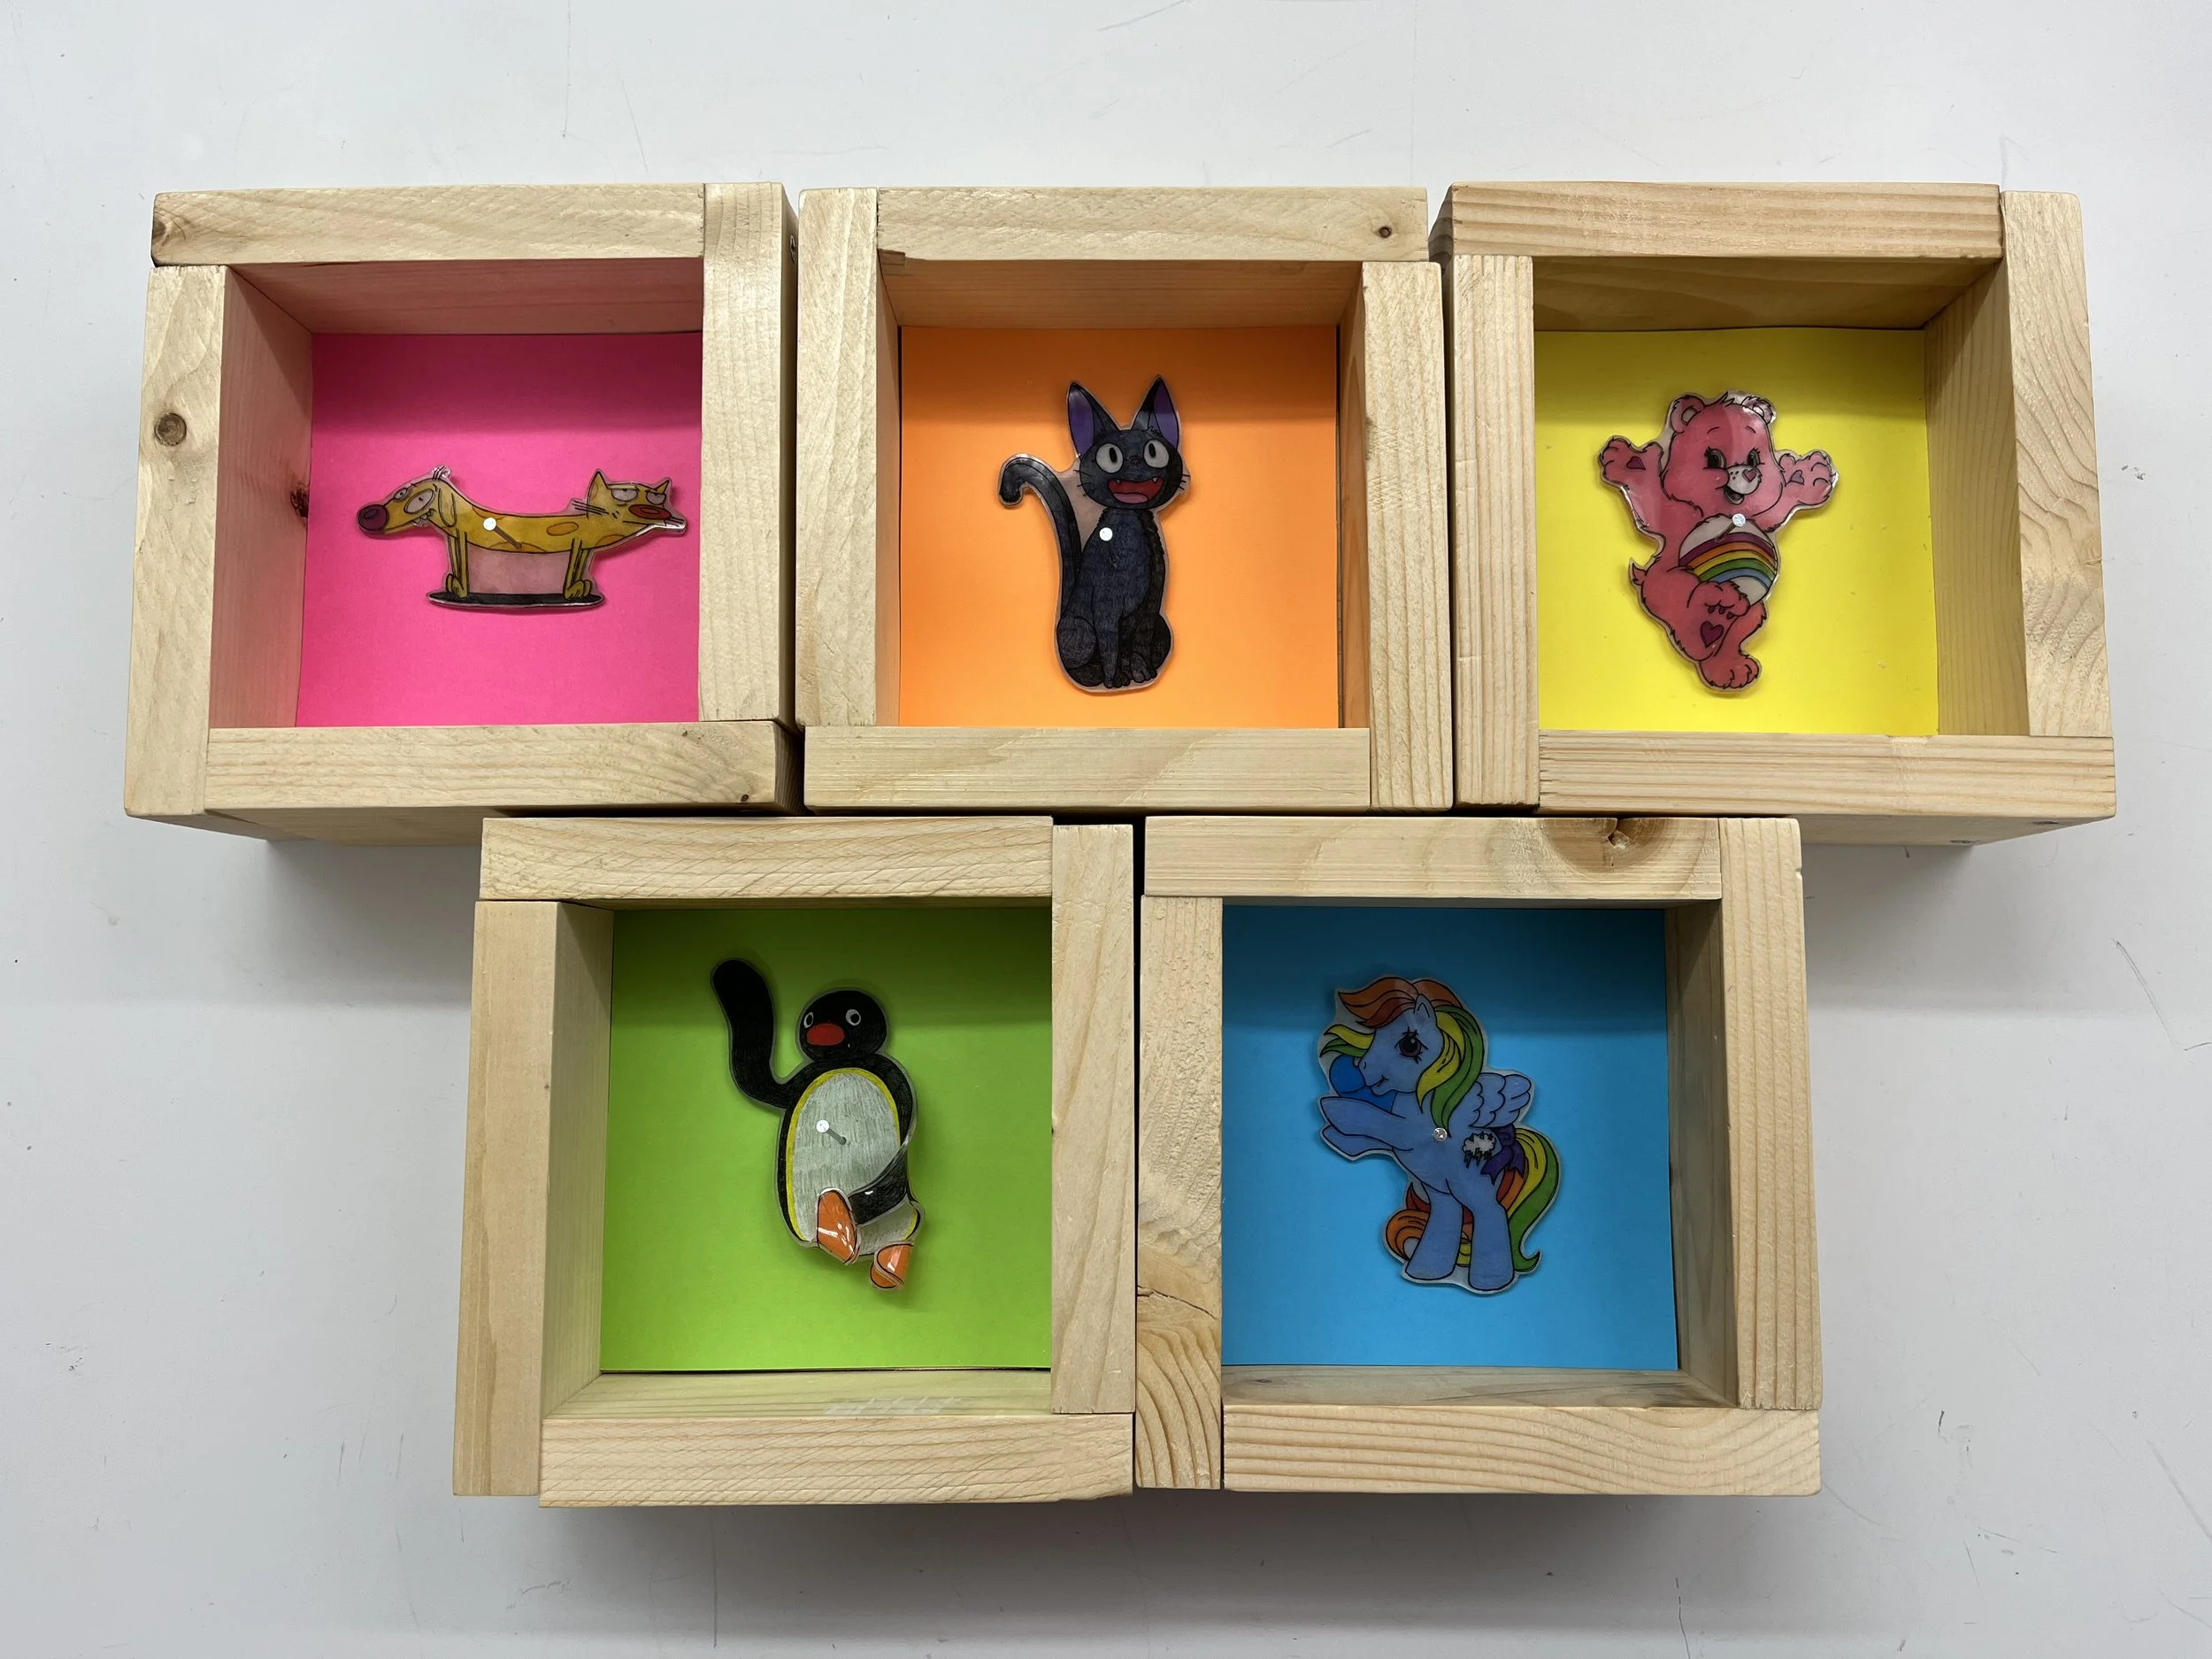
I LOVE revisiting crafts I used to do as a kid and seeing how I can repurpose them for my professional practice, so I’ve been playing around with Shrinky Dinks quite a bit recently. Honestly a perfectly (un)natural medium for my “specimens”. My “specimens” became cartoon animals I grew up with.

Process / Materials / Tools

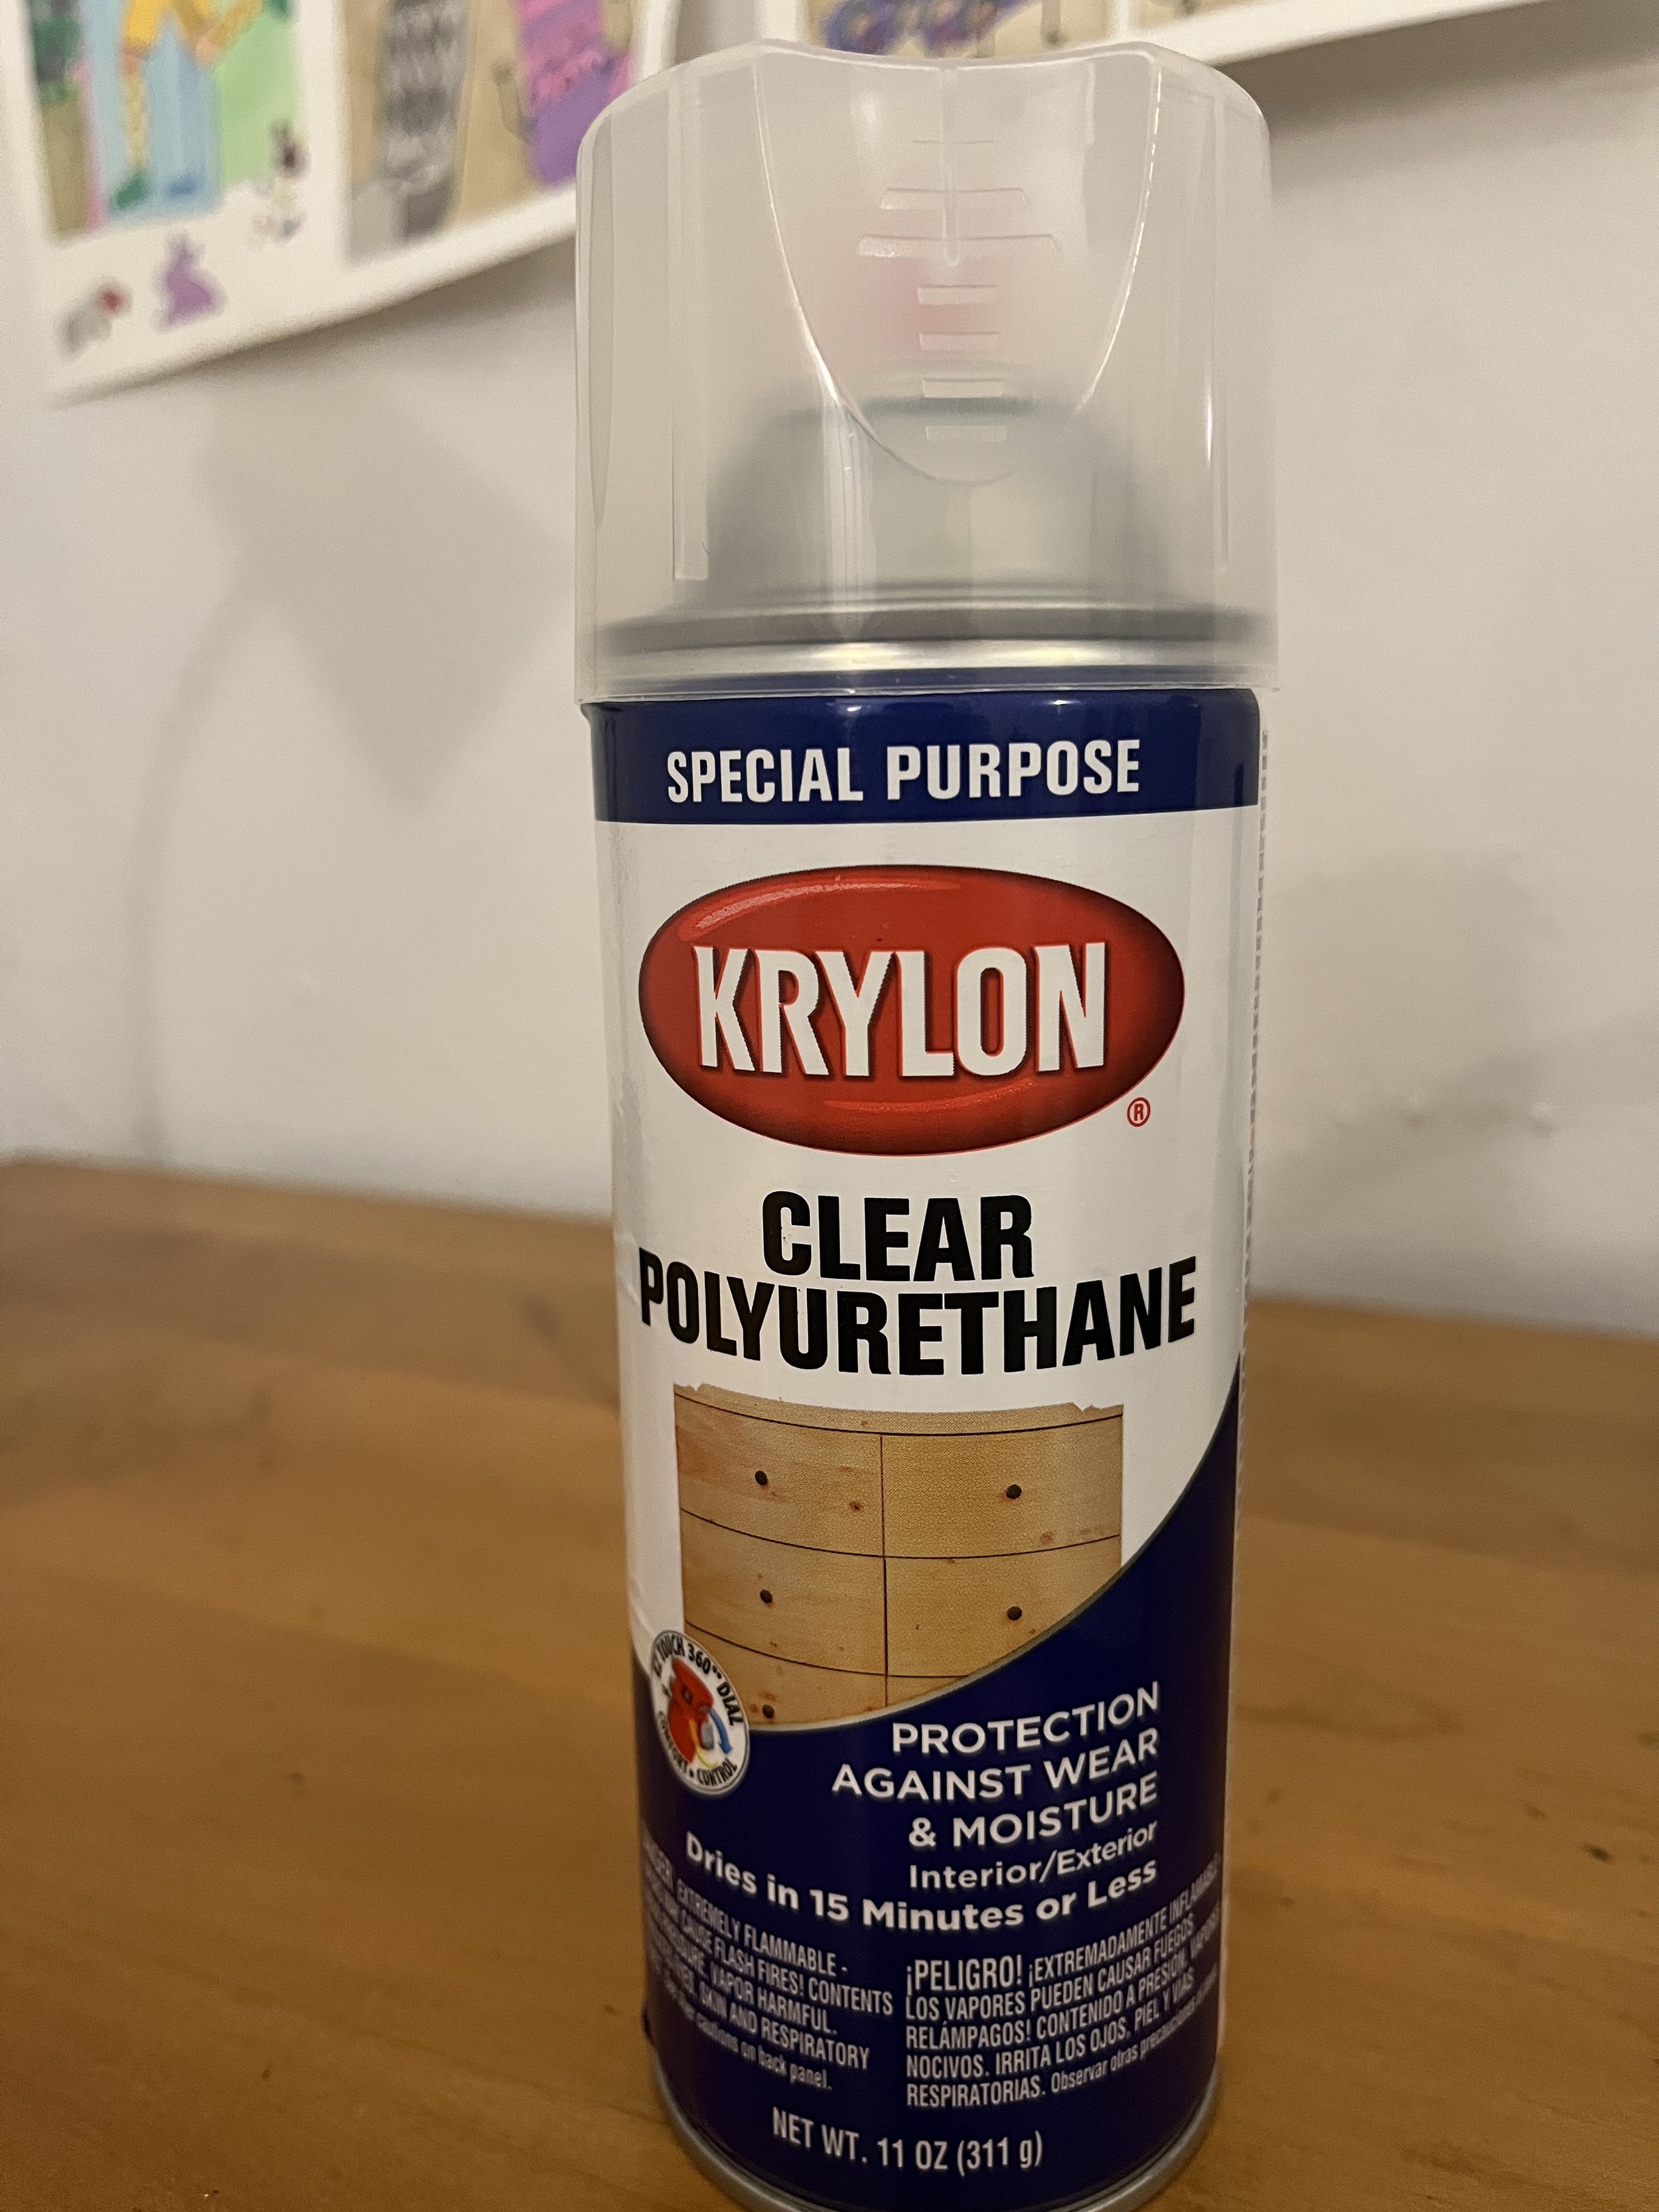
First I finished up my wood work by sanding down all my boxes using a foam block. I had a hard time finding a time when the shop was open over the weekend to varnish my boxes, so I picked up some spray polyurethane and sprayed them on my landlords fire escape. The spray takes about 4 hours to dry completely and I did two coats just to be safe. I’ve never used polyurethane in spray form before, but I am pretty happy with the result.

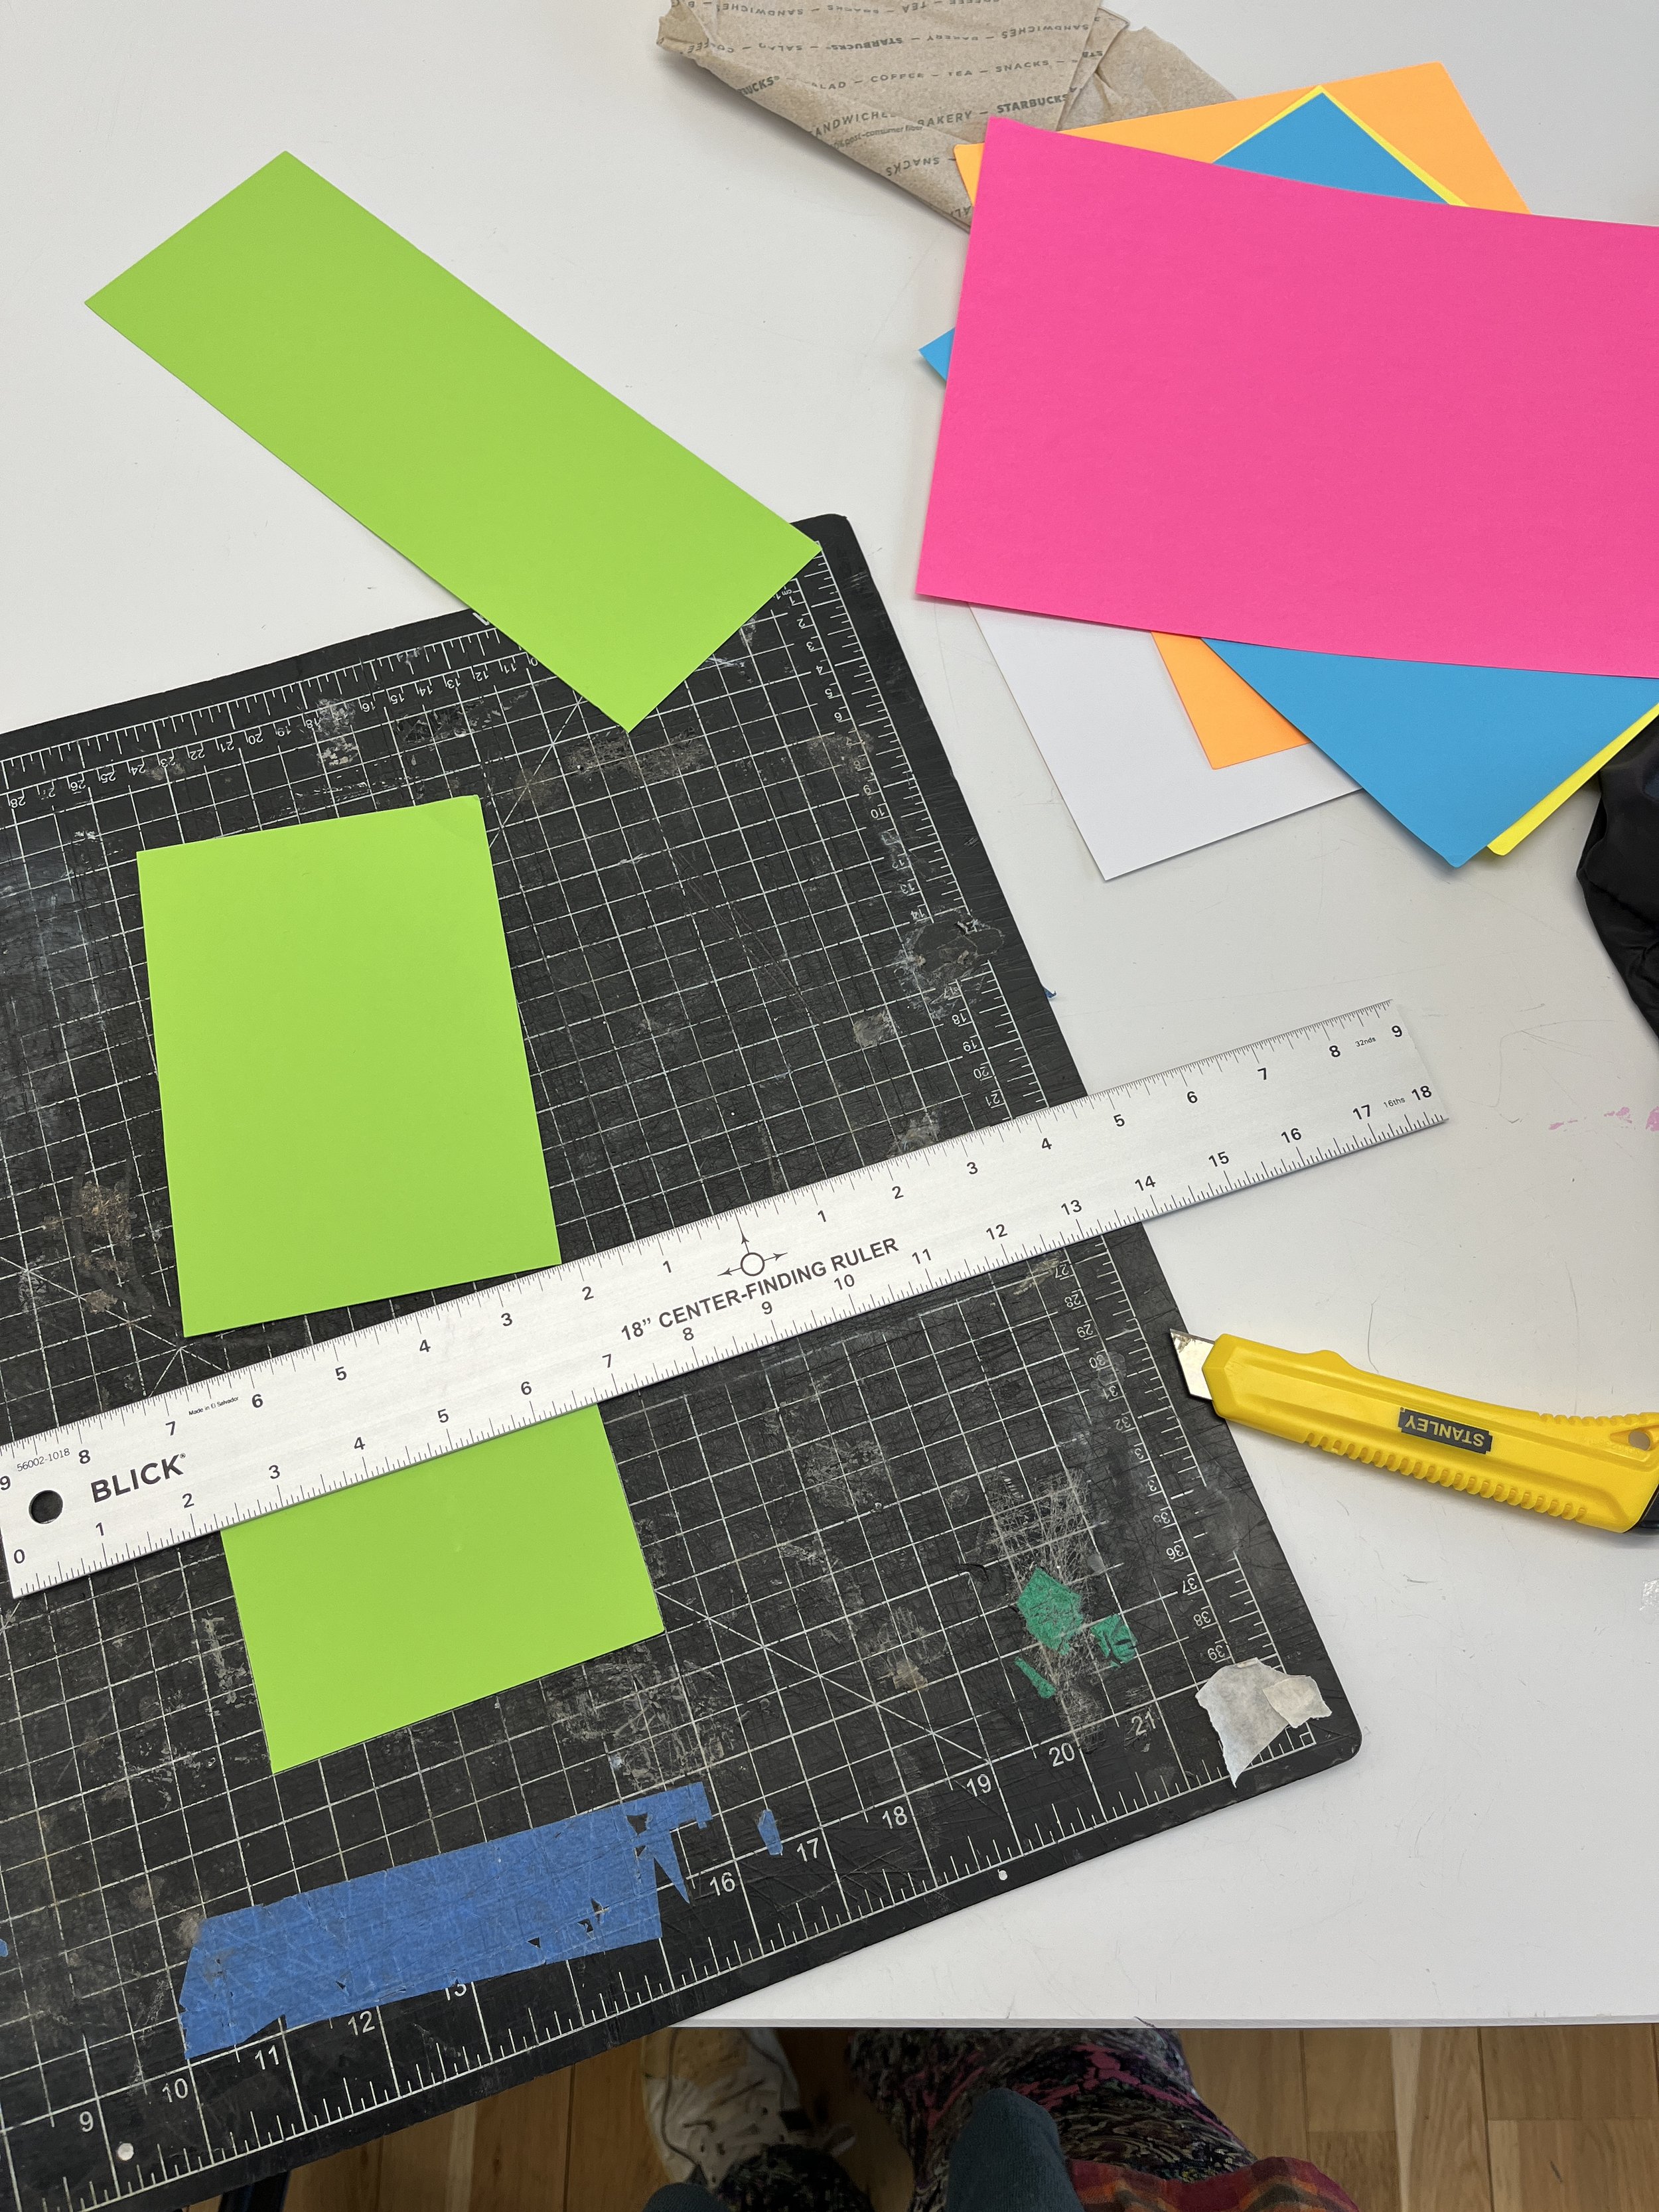
Next I cut my neon construction paper to fit the inside of my boxes using a razor blade and straight edge. I stuck them as backing into my display boxes using some craft putty. I love adding a pop of color whenever possible!

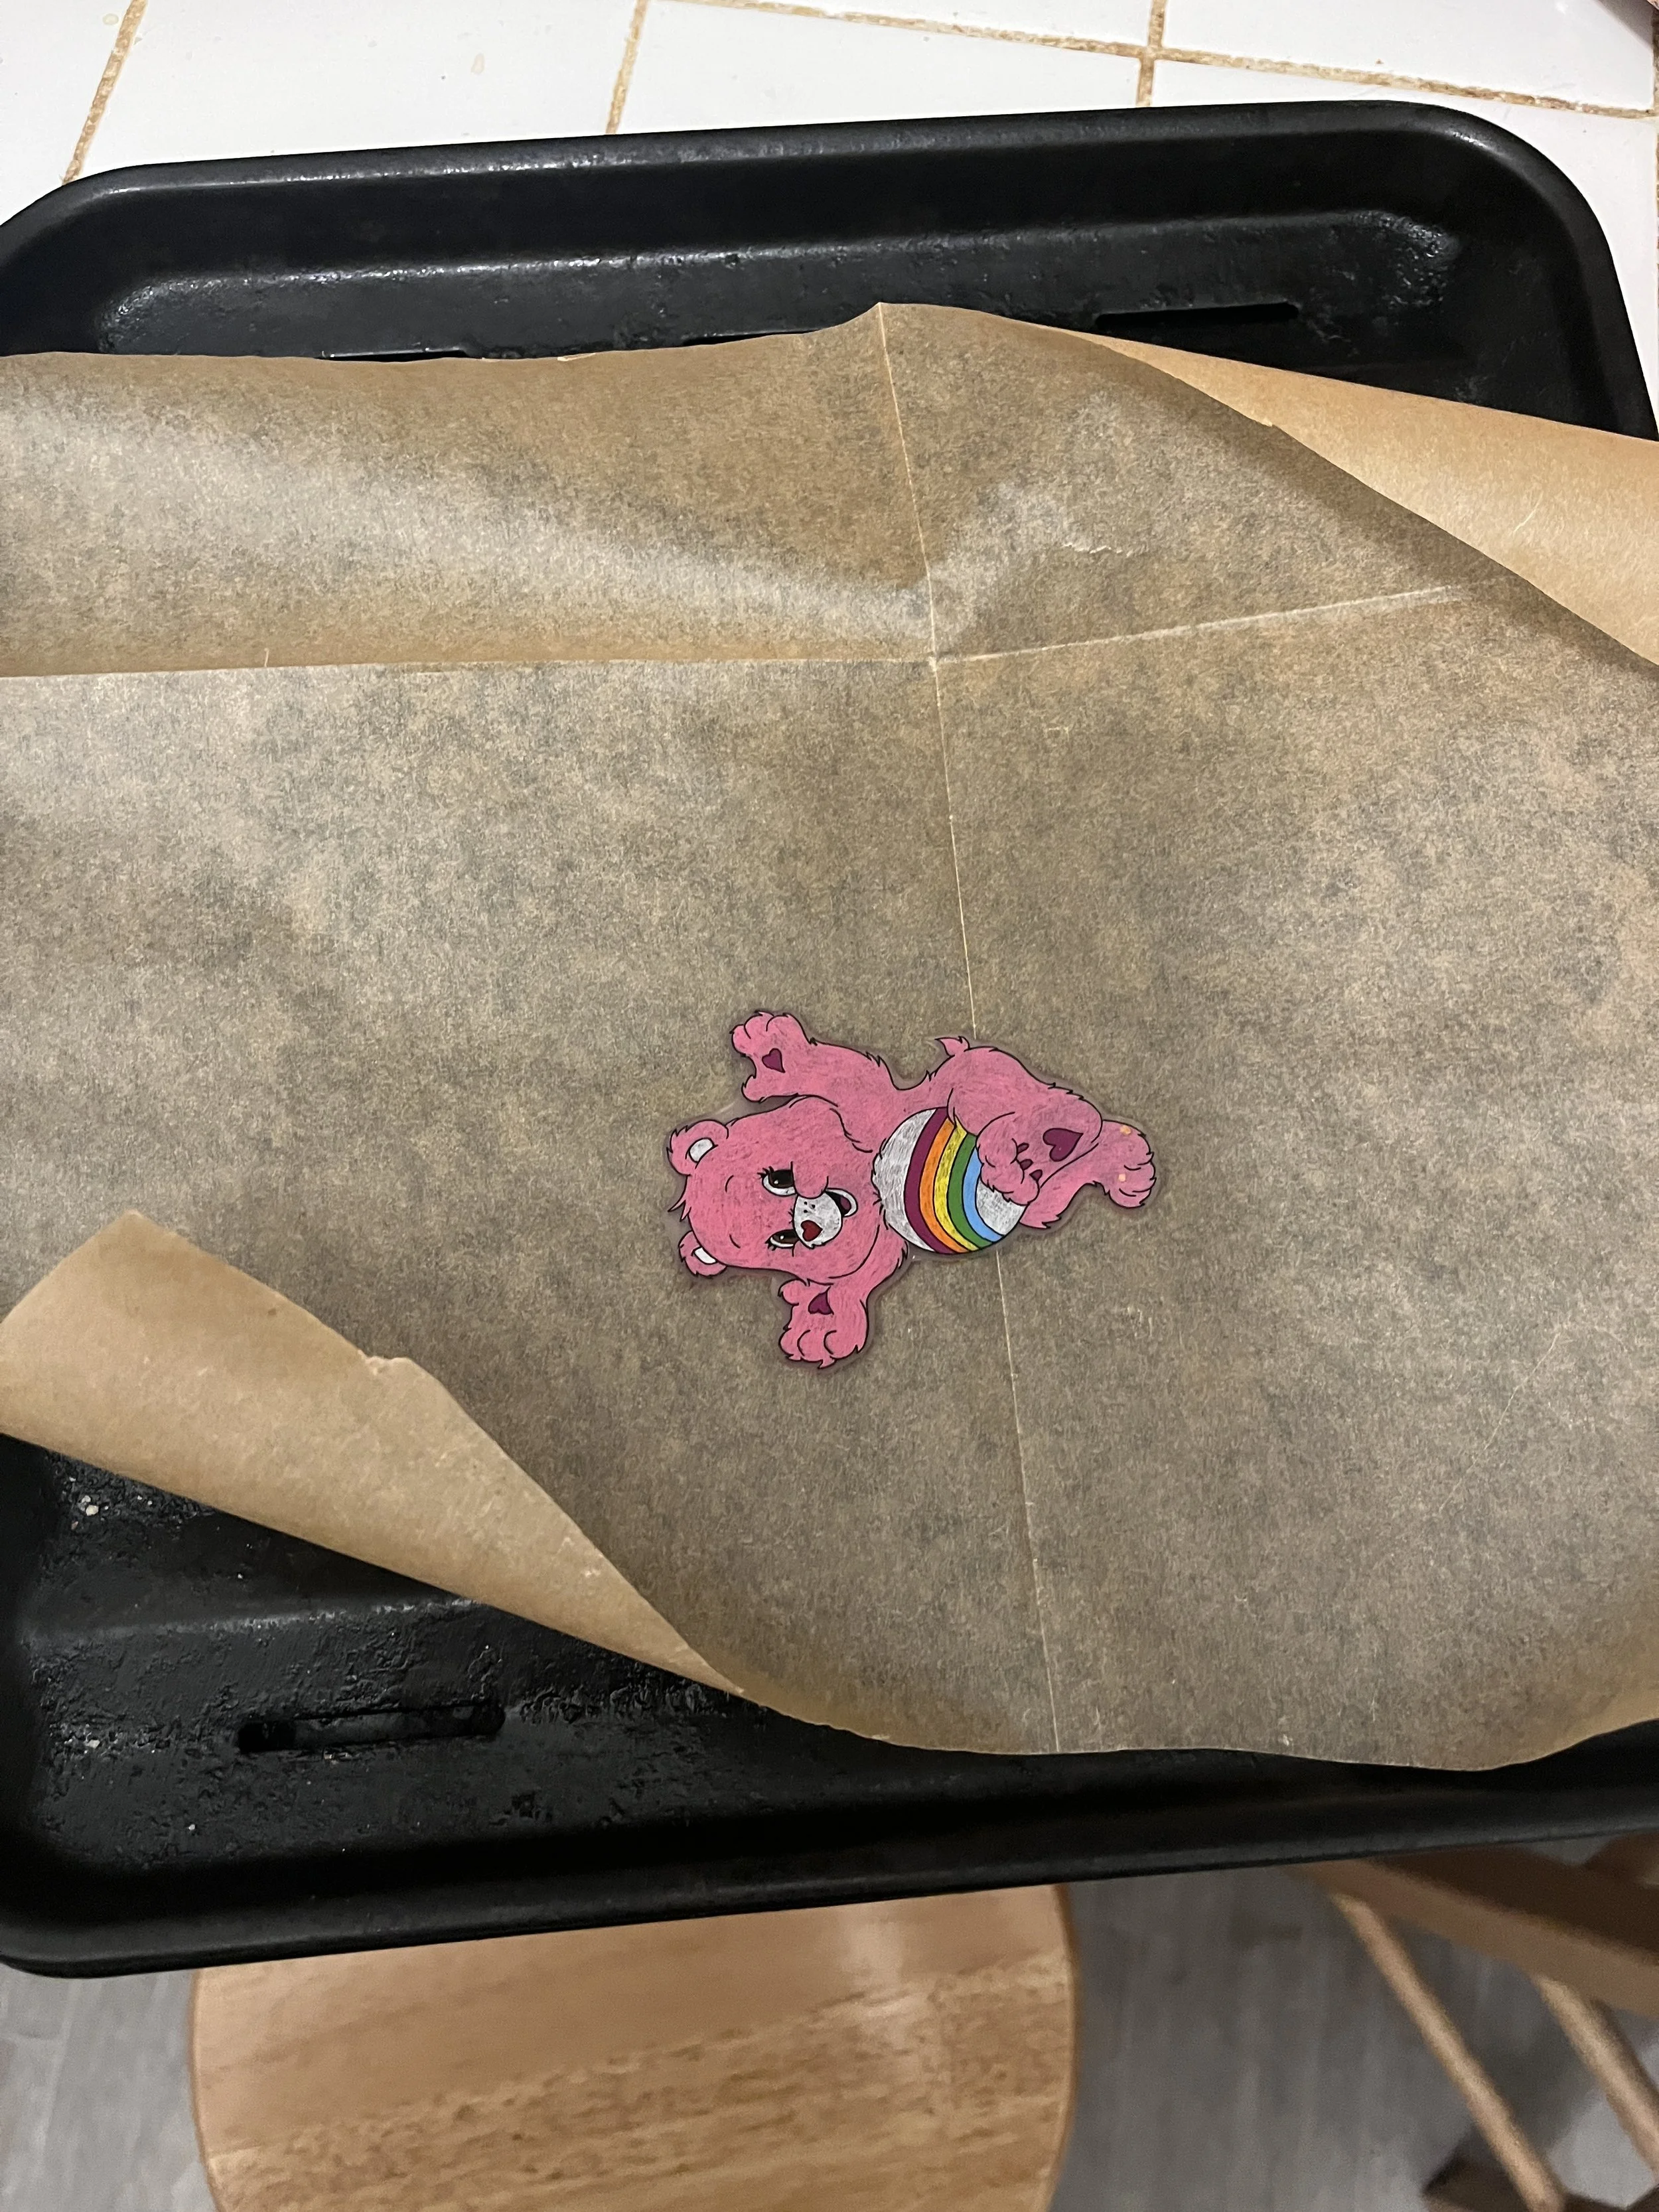
Then I created my “specimens” by drawing on Shrinky Dink paper using colored pencil and a fine liner for the outlines. The paper shrinks to 1/3 of its original size when baked in the oven, so the drawings had to be pretty big. A tray needs to be lined with parchment paper when baking so they don’t stick. The plastic also has a tendency to fold into itself (especially at this large size), so I had a knife handy to flatten them out during the baking process.

I nearly burnt the building down during my bake because my parchment paper caught on fire: don’t let it touch the heating element! That was my last bake of my Pingu “specimen”. Maybe you can notice his special effects?!

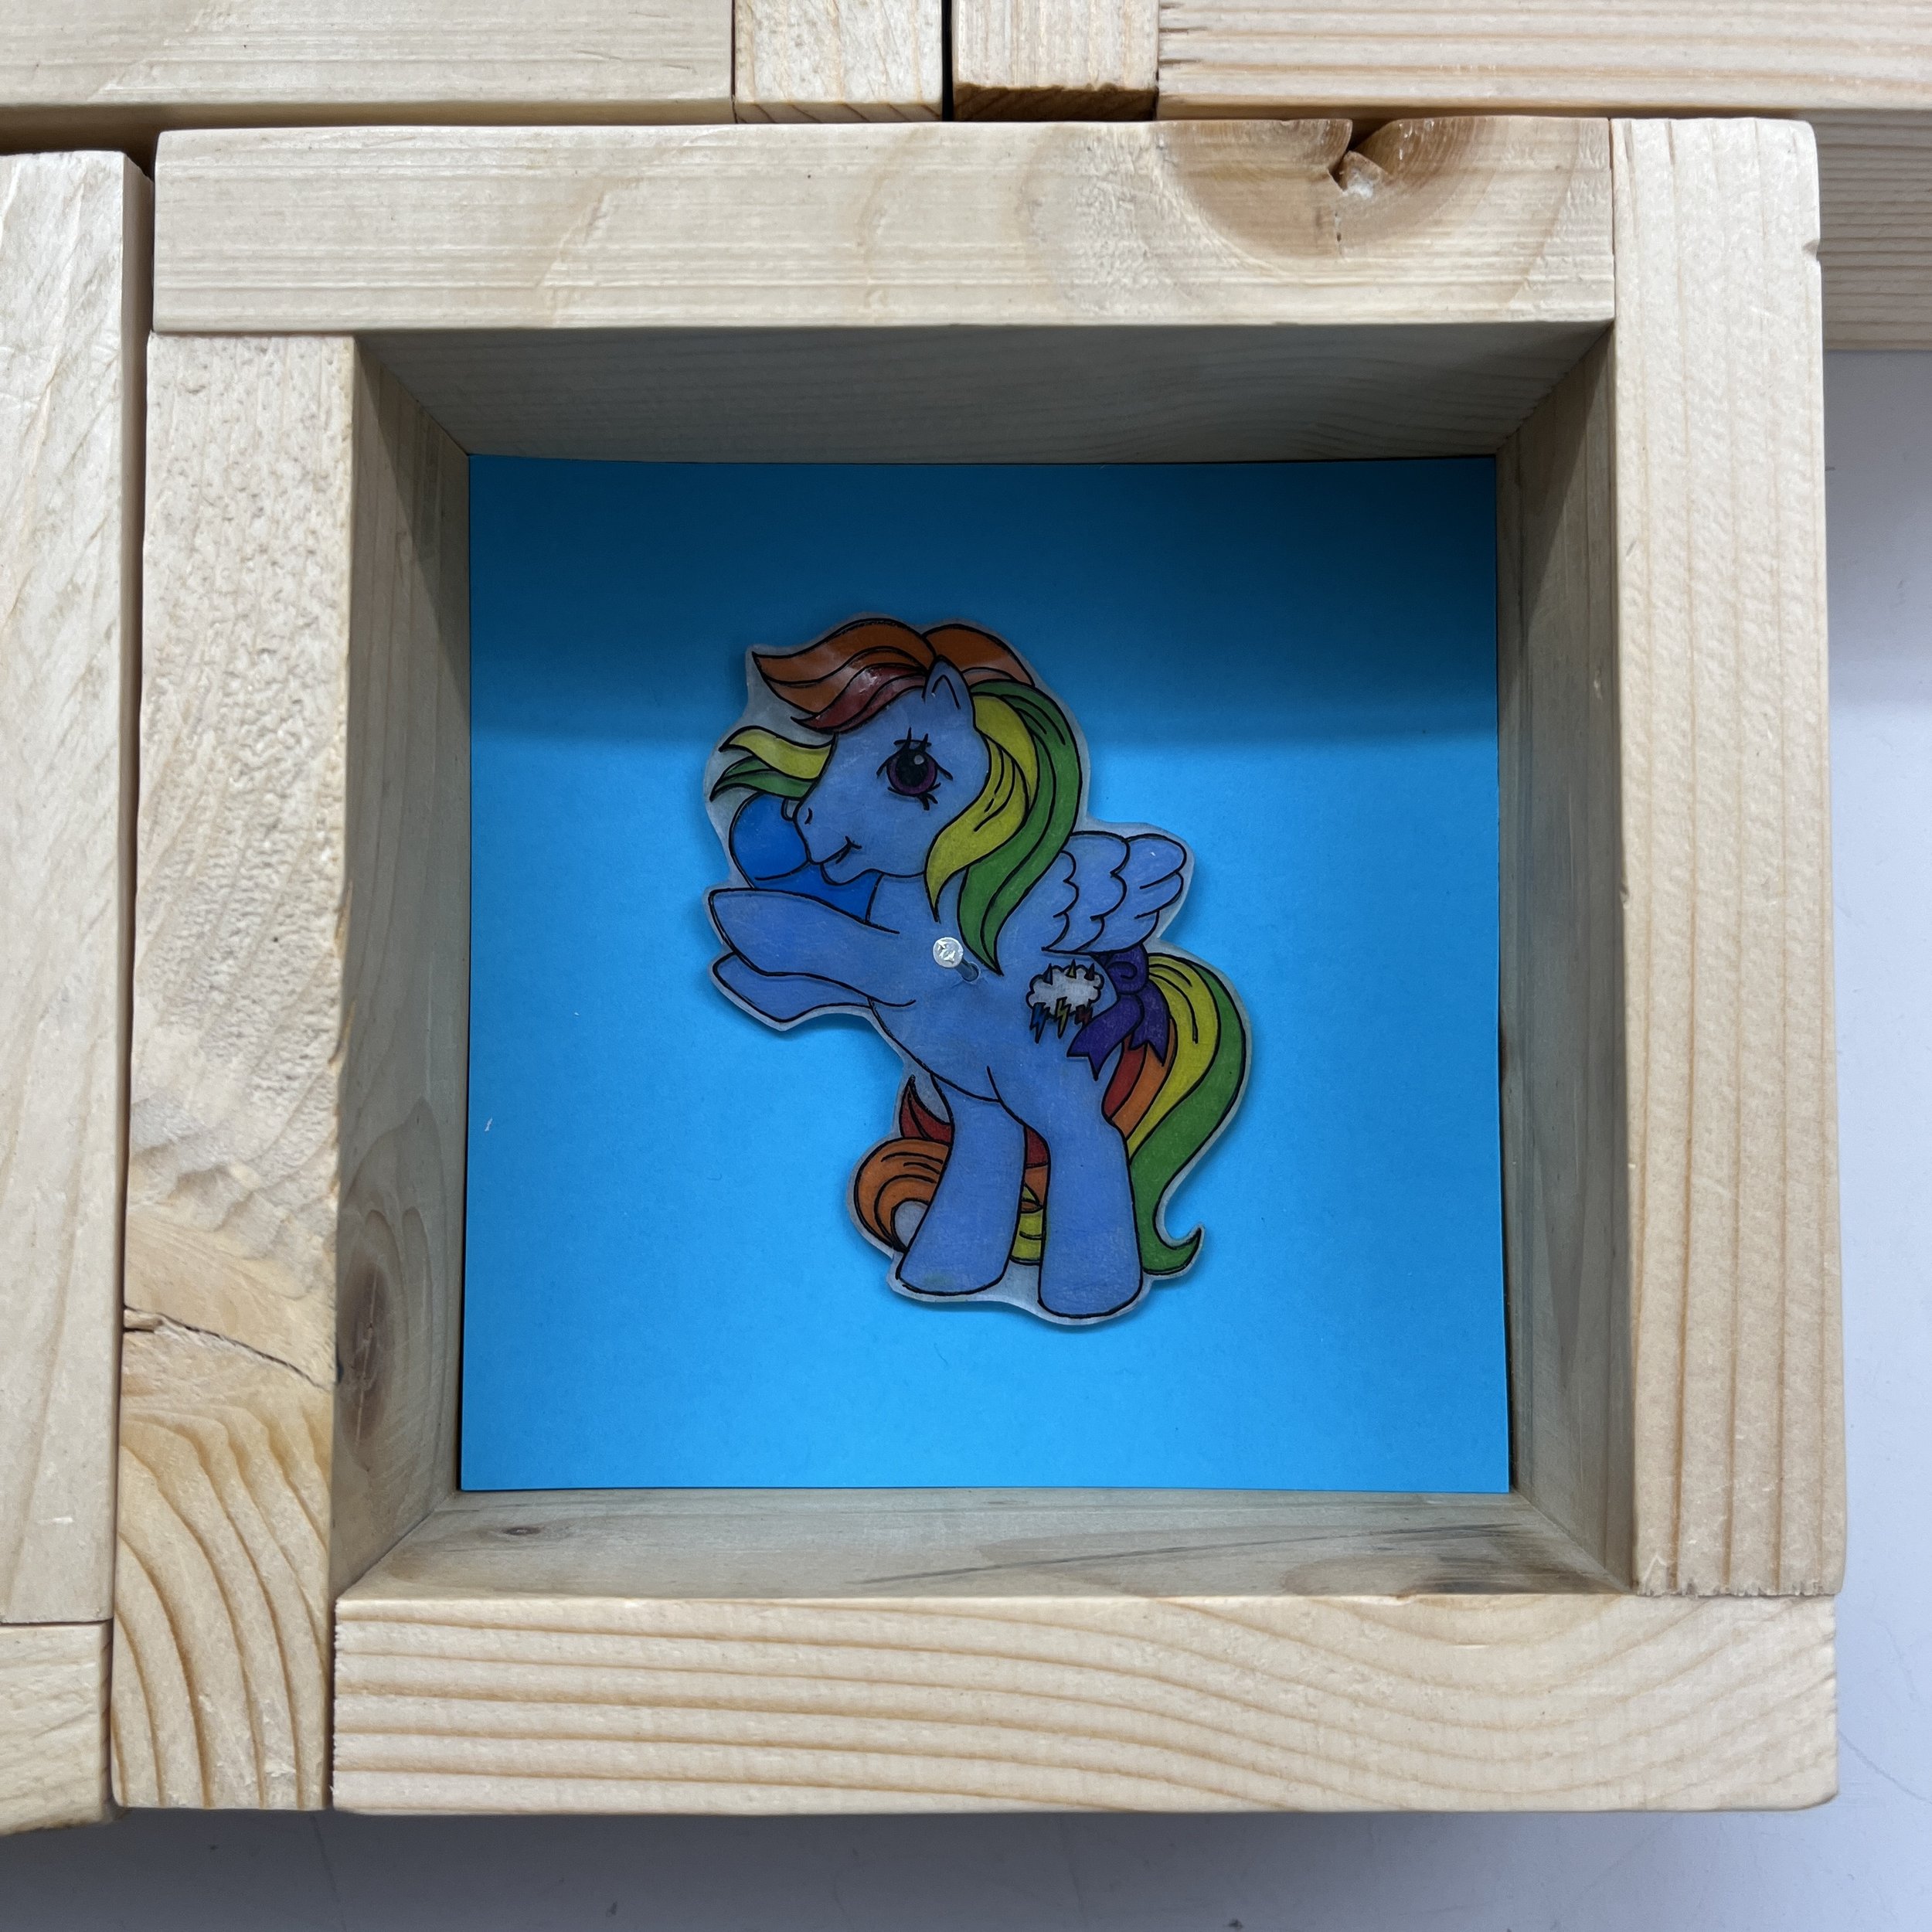
The last step was assembly. Normally I would have hole-punched the Shrinky Dinks before baking them but I couldn’t find the right hole punch. I drilled a hole in the shrinked versions using a tiny drill bit and attached them to my boxes by “pinning” them down using a nail.

Final Product

Conclusions

I learned a lot about wood working and crafting doing this project! One thing is for sure: it’ll take me some time to get used to crafting in New York. In Boulder, I had my trusty Camry and detached studio space in the backyard. I had a really safe space for making and gathering materials. I’m learning that in the city hardly anyone can afford a separate studio space so you kind of have to piece together your workspace. And don’t even get me started about surviving the Brooklyn Home Depot, lugging lumber on the subway, and getting the right materials from the store the first time. I am proud of what I made and learning to adjust to my new processes for making.

[ITP: Fabrication] Repeatability - Build 5 Things

Inspiration

This week’s concept in my fabrication class is repeatability and how the build process and design of an object might change from making one to making many. The assignment is to build multiples (at least 5) of something. Since we’ve been learning a lot about wood working tools and I’ve never made anything out of wood I thought the most straight-forward beginner project would be to make boxes.

Of course I didn’t want to make just plain boxes and I started to think about what could go inside them. One of the first things that came to mind were those display cases for taxidermied butterfly and bug specimens. How could I simulate something like that, add a pop of color (which I love to do), and what could my “specimens” be?

Drawings

Here I’m working out my design and calculations for the wood cuts. With a display box like this, there is generally a see through face so that the viewer can look inside. I salvaged a 12x12 1/16 inch of acrylic from the shop for the “glass” face. I also wanted to be able to access my “specimens”. I didn’t want to seal them up completely so that I had the option to remove them or switch them out. That meant that I needed a lid or a hinged door. I decided to simplify my box design by making it open-faced (only 5 sides). This way the contents are still visible and my “specimens” were accessible.

Also, I learned that the amount of material needed really starts adding up once you need to make multiples of something. All of a sudden I needed to cut 25 pieces of wood!

Materials

Originally I stole some scrap wood and a piece of acrylic from the shop but I got some help from Phil and we discussed that the shop doesn’t have a table saw for rip cuts. Also, it would be better for the process to buy new wood that was already the right dimension in one direction so that I could just chop down the line. Here’s the updated list of materials I used:

  • Pine wood

    • 4.5 x 72 x 0.75 in - x1

    • 3 x 48 x. 0.75 in - x3

  • 1.5 #6 wood screws

Design wise, I was looking to build a bit of a lighter box, but I was limited to the lumber stock in the Brooklyn Home Depot. Also, I changed my box construction to a running joint which means that each side piece could be exactly the same length.

Tools

The tools I ended up using to build my boxes was:

  • Circular saw

  • Tape measure

  • 90 degree clamp

  • Drill

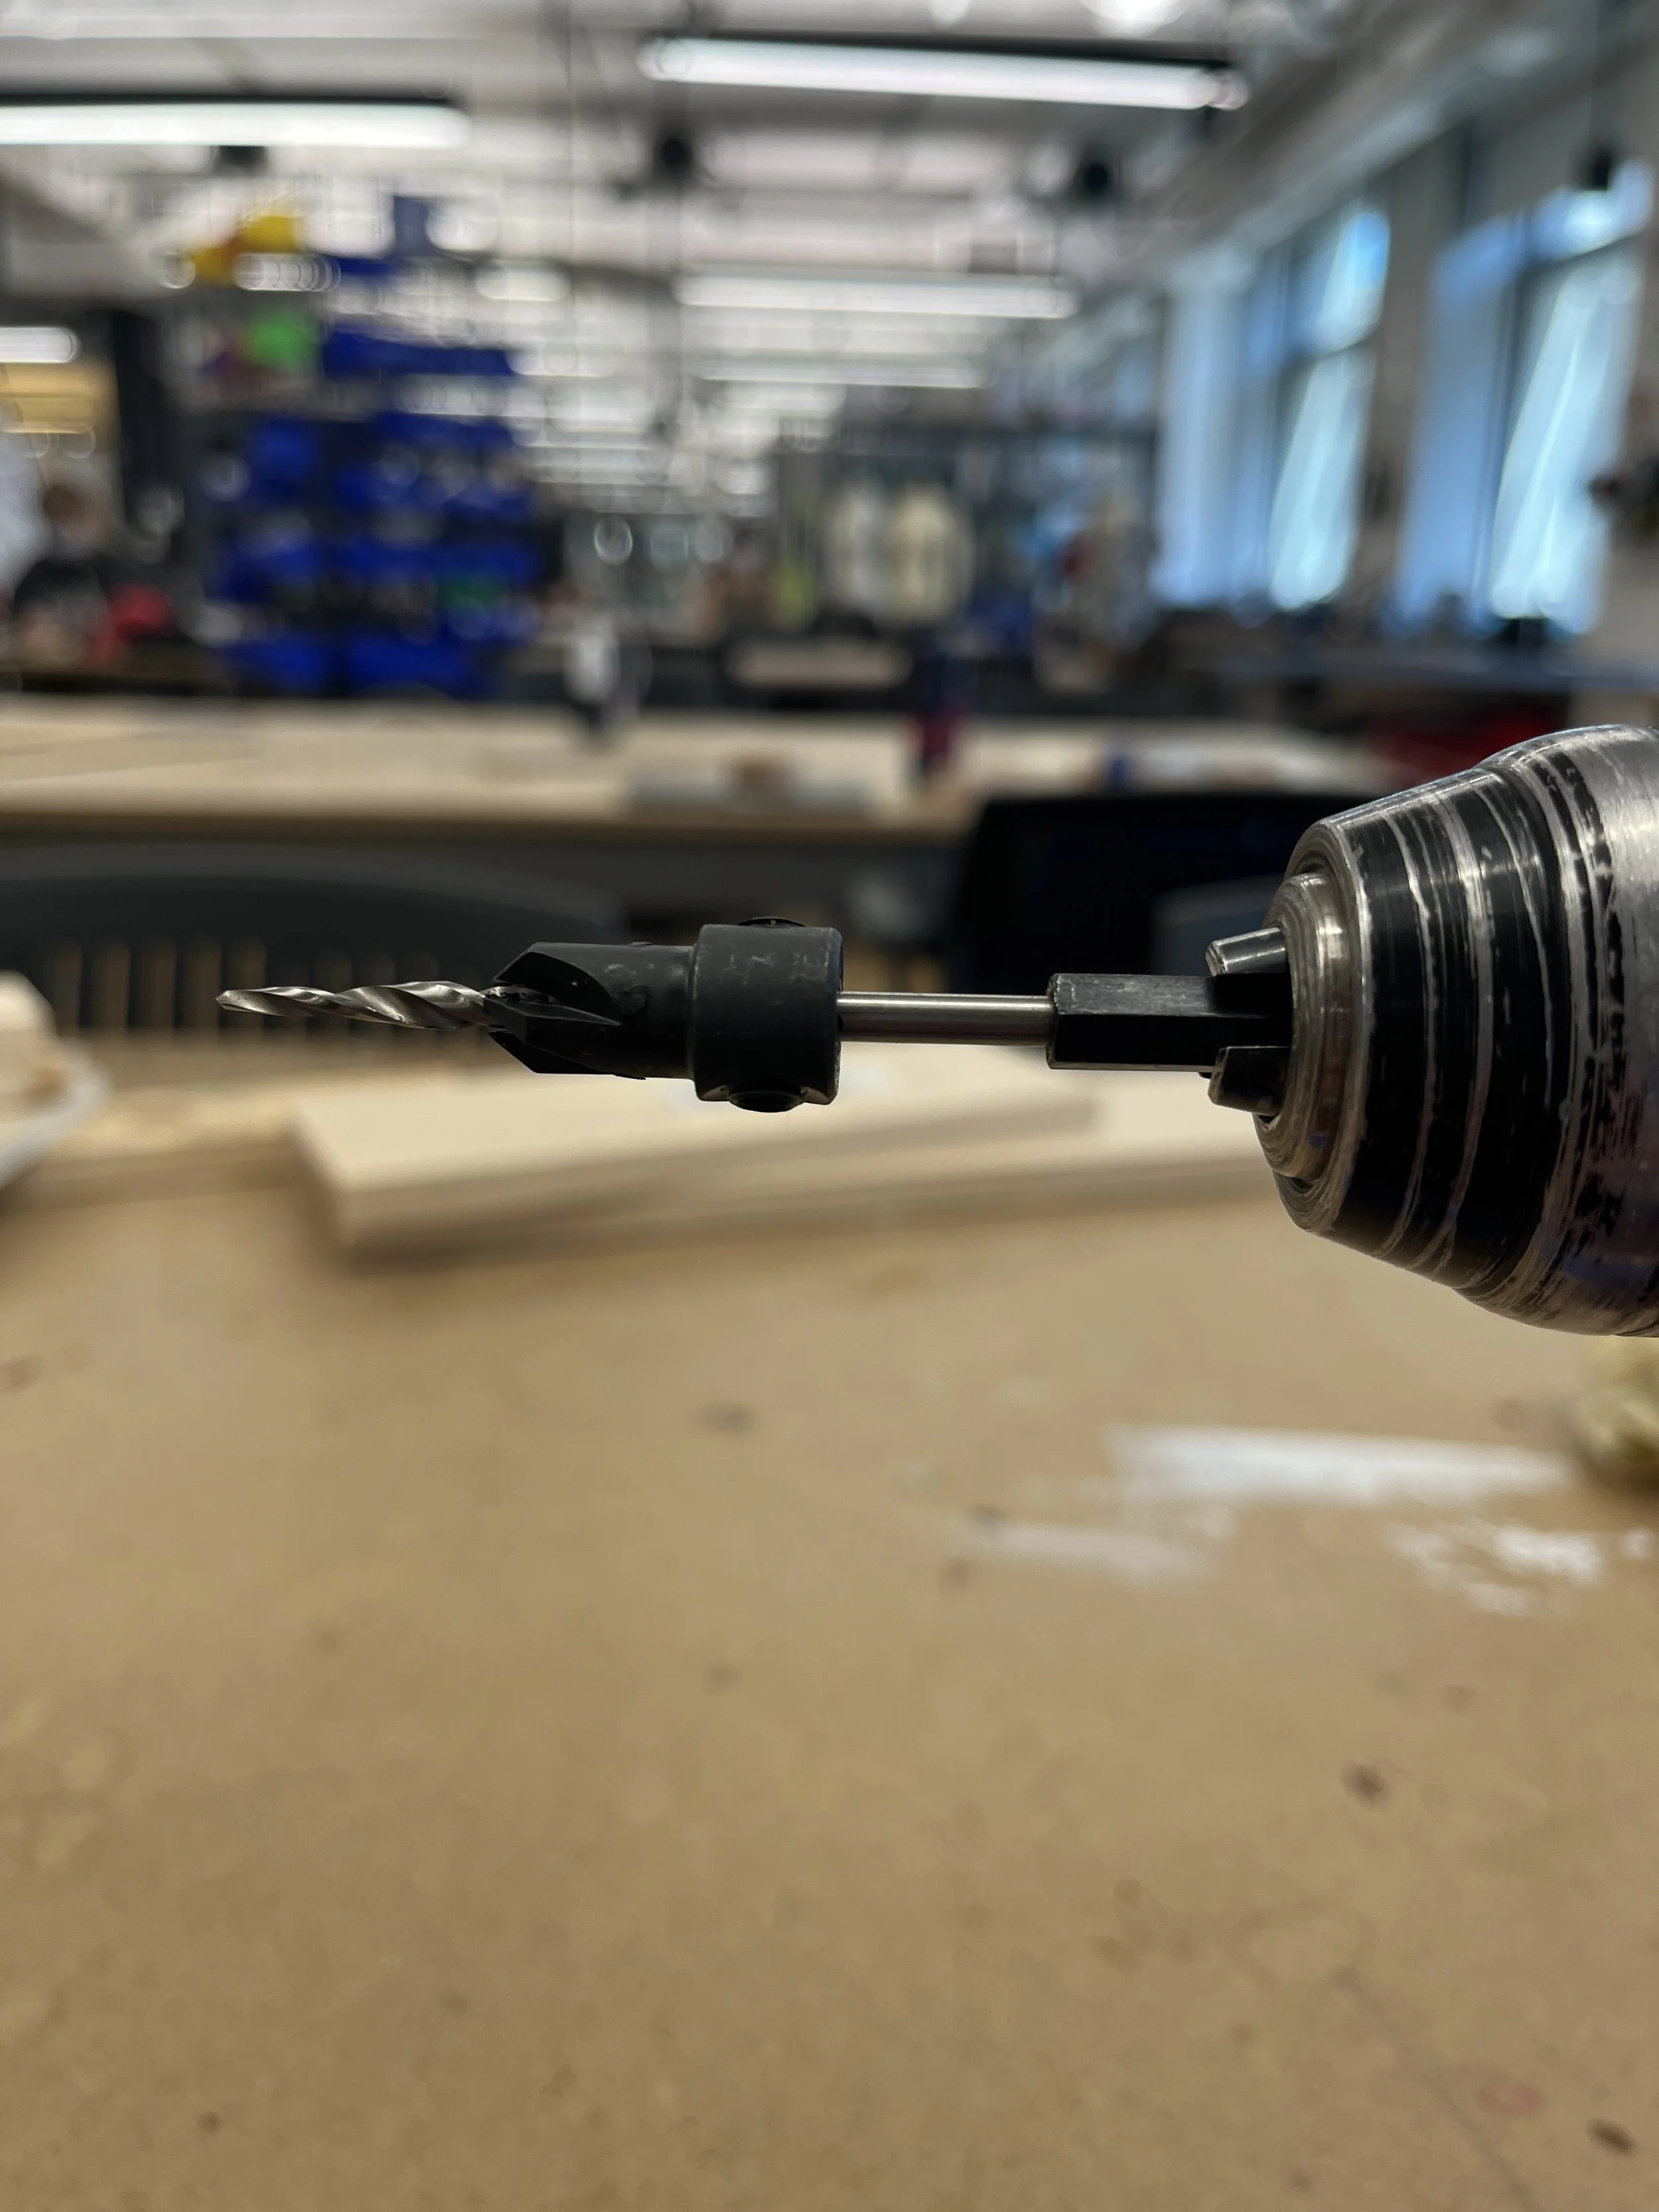
  • Counter sink with pilot hole bit (#6)

  • Phillips head drill bit

  • C-clamps

Process

Stop block set up to cut bottom pieces (4.5 x 4.5 in - x5)

Stop block set up to cut side pieces (3 x 5.25 in - x20)

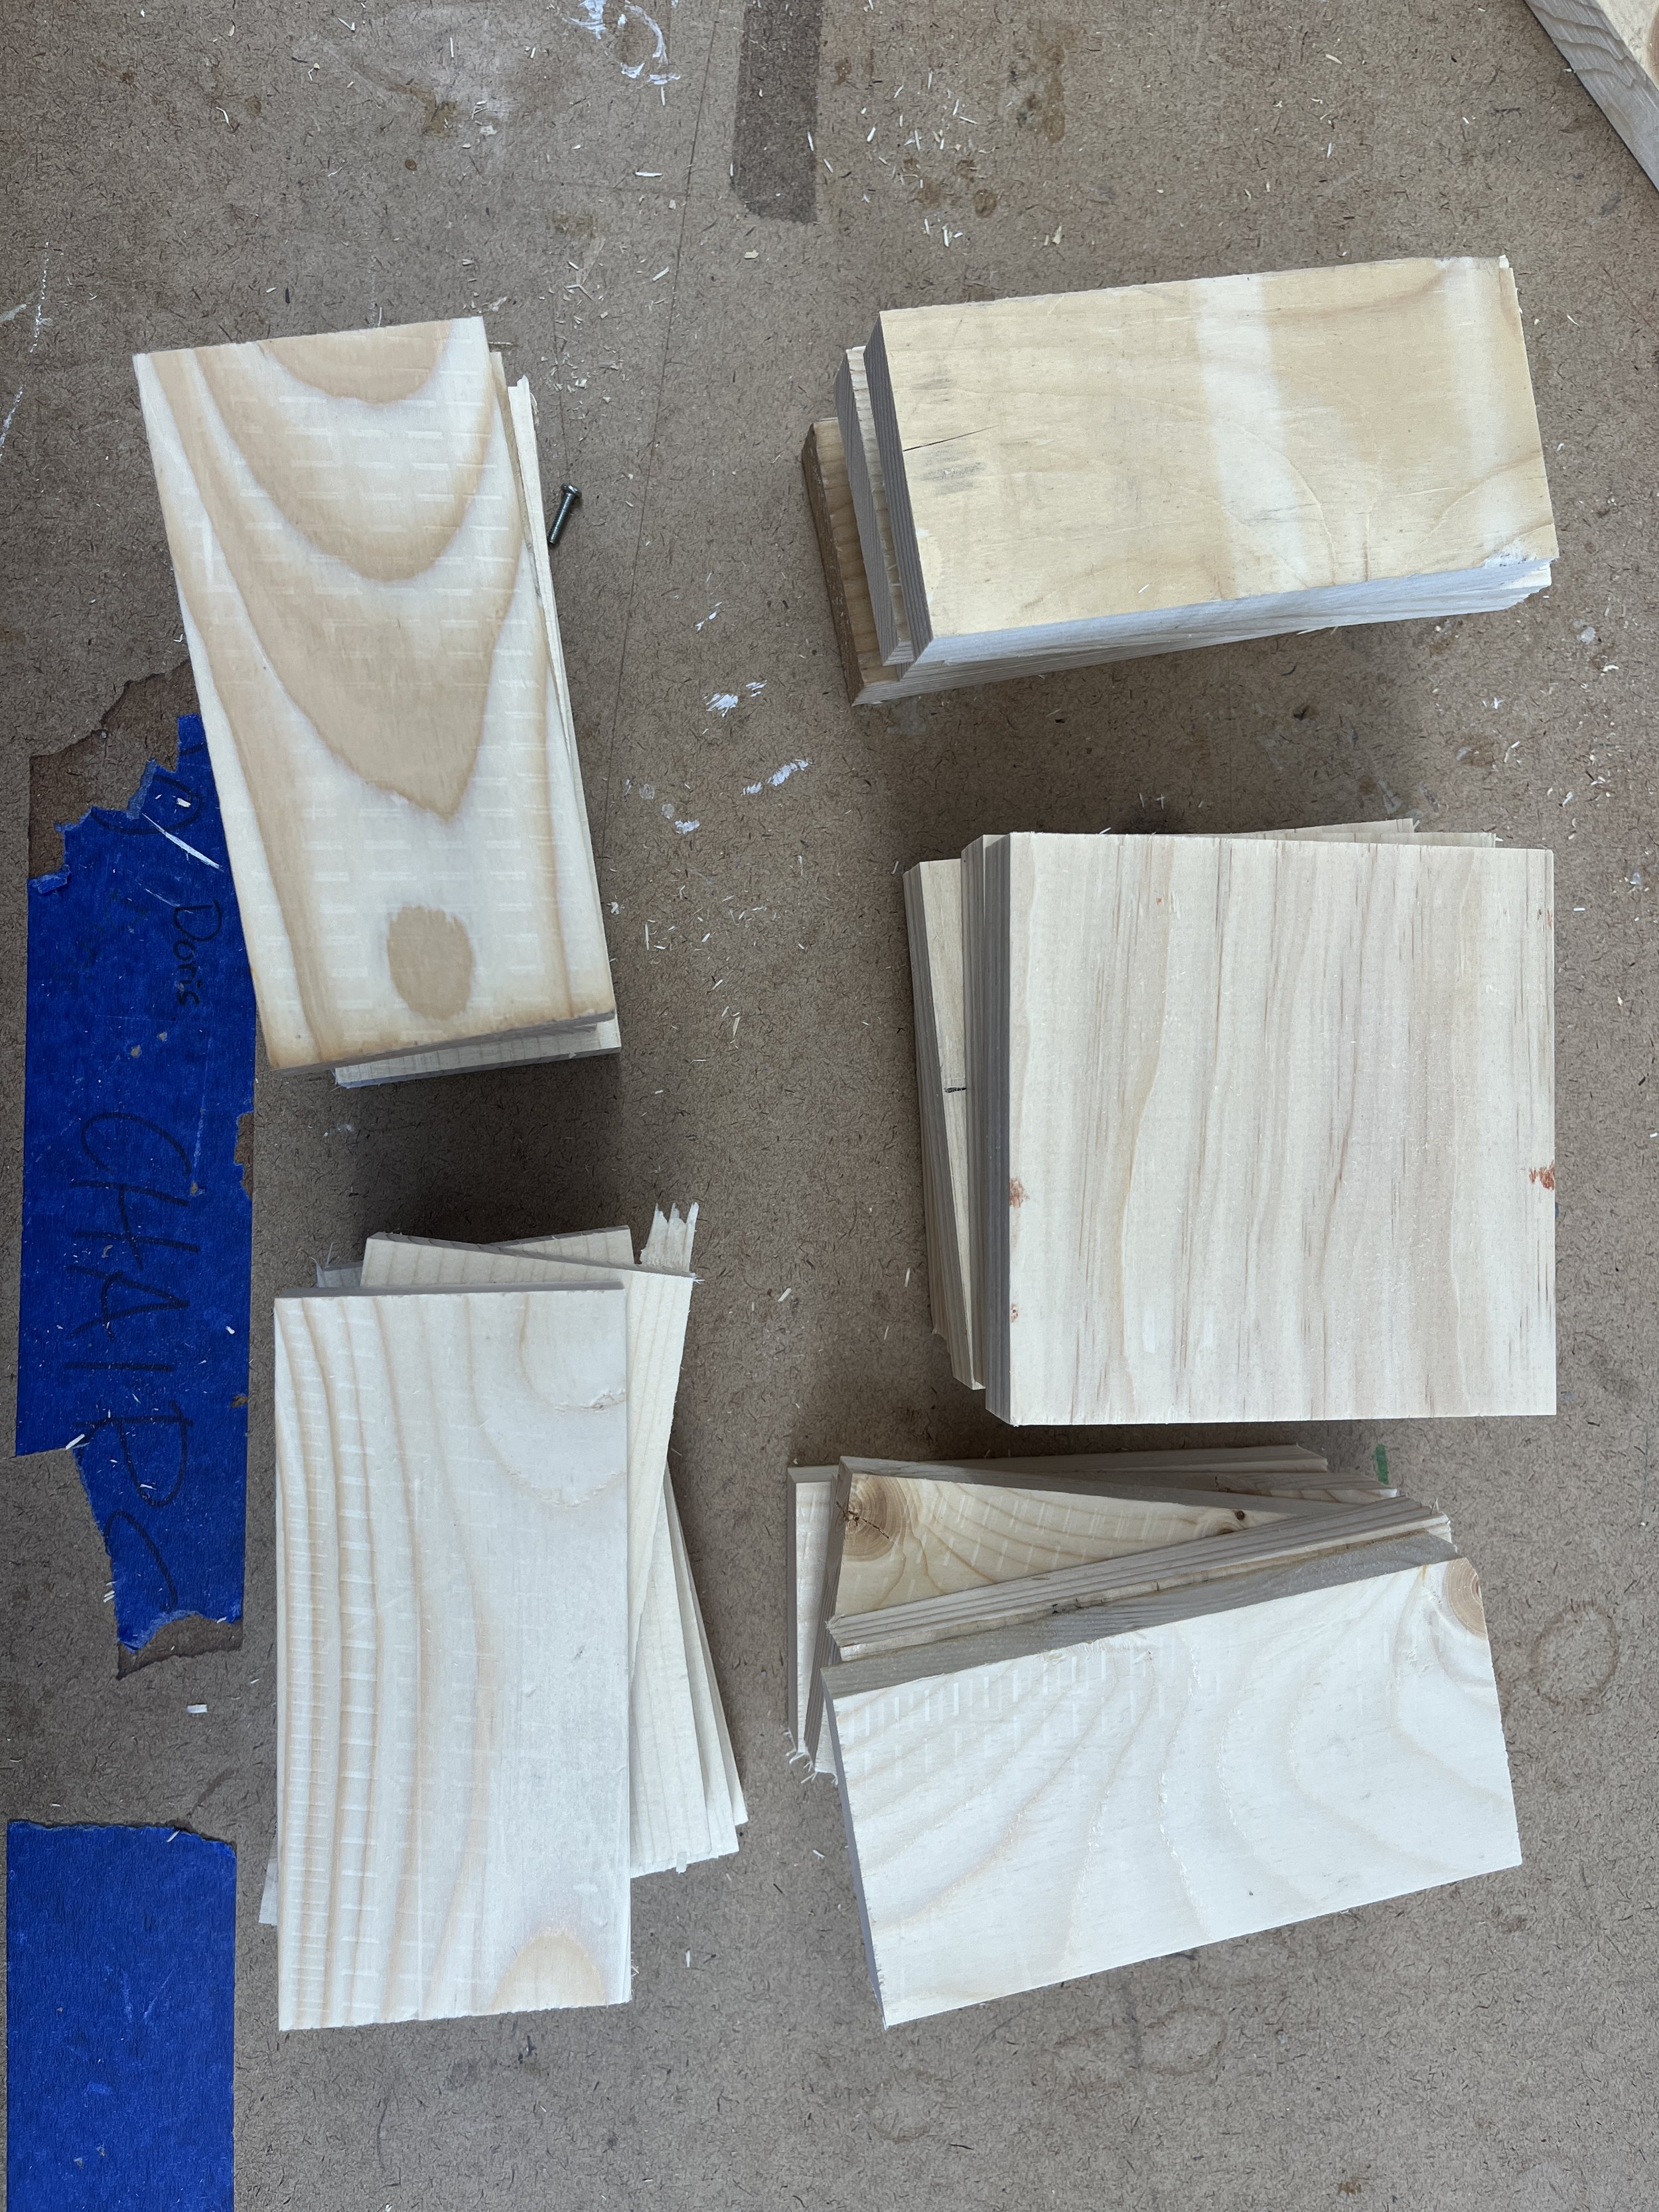
Cut pieces and scraps in the shop

Here are all the wood pieces I cut

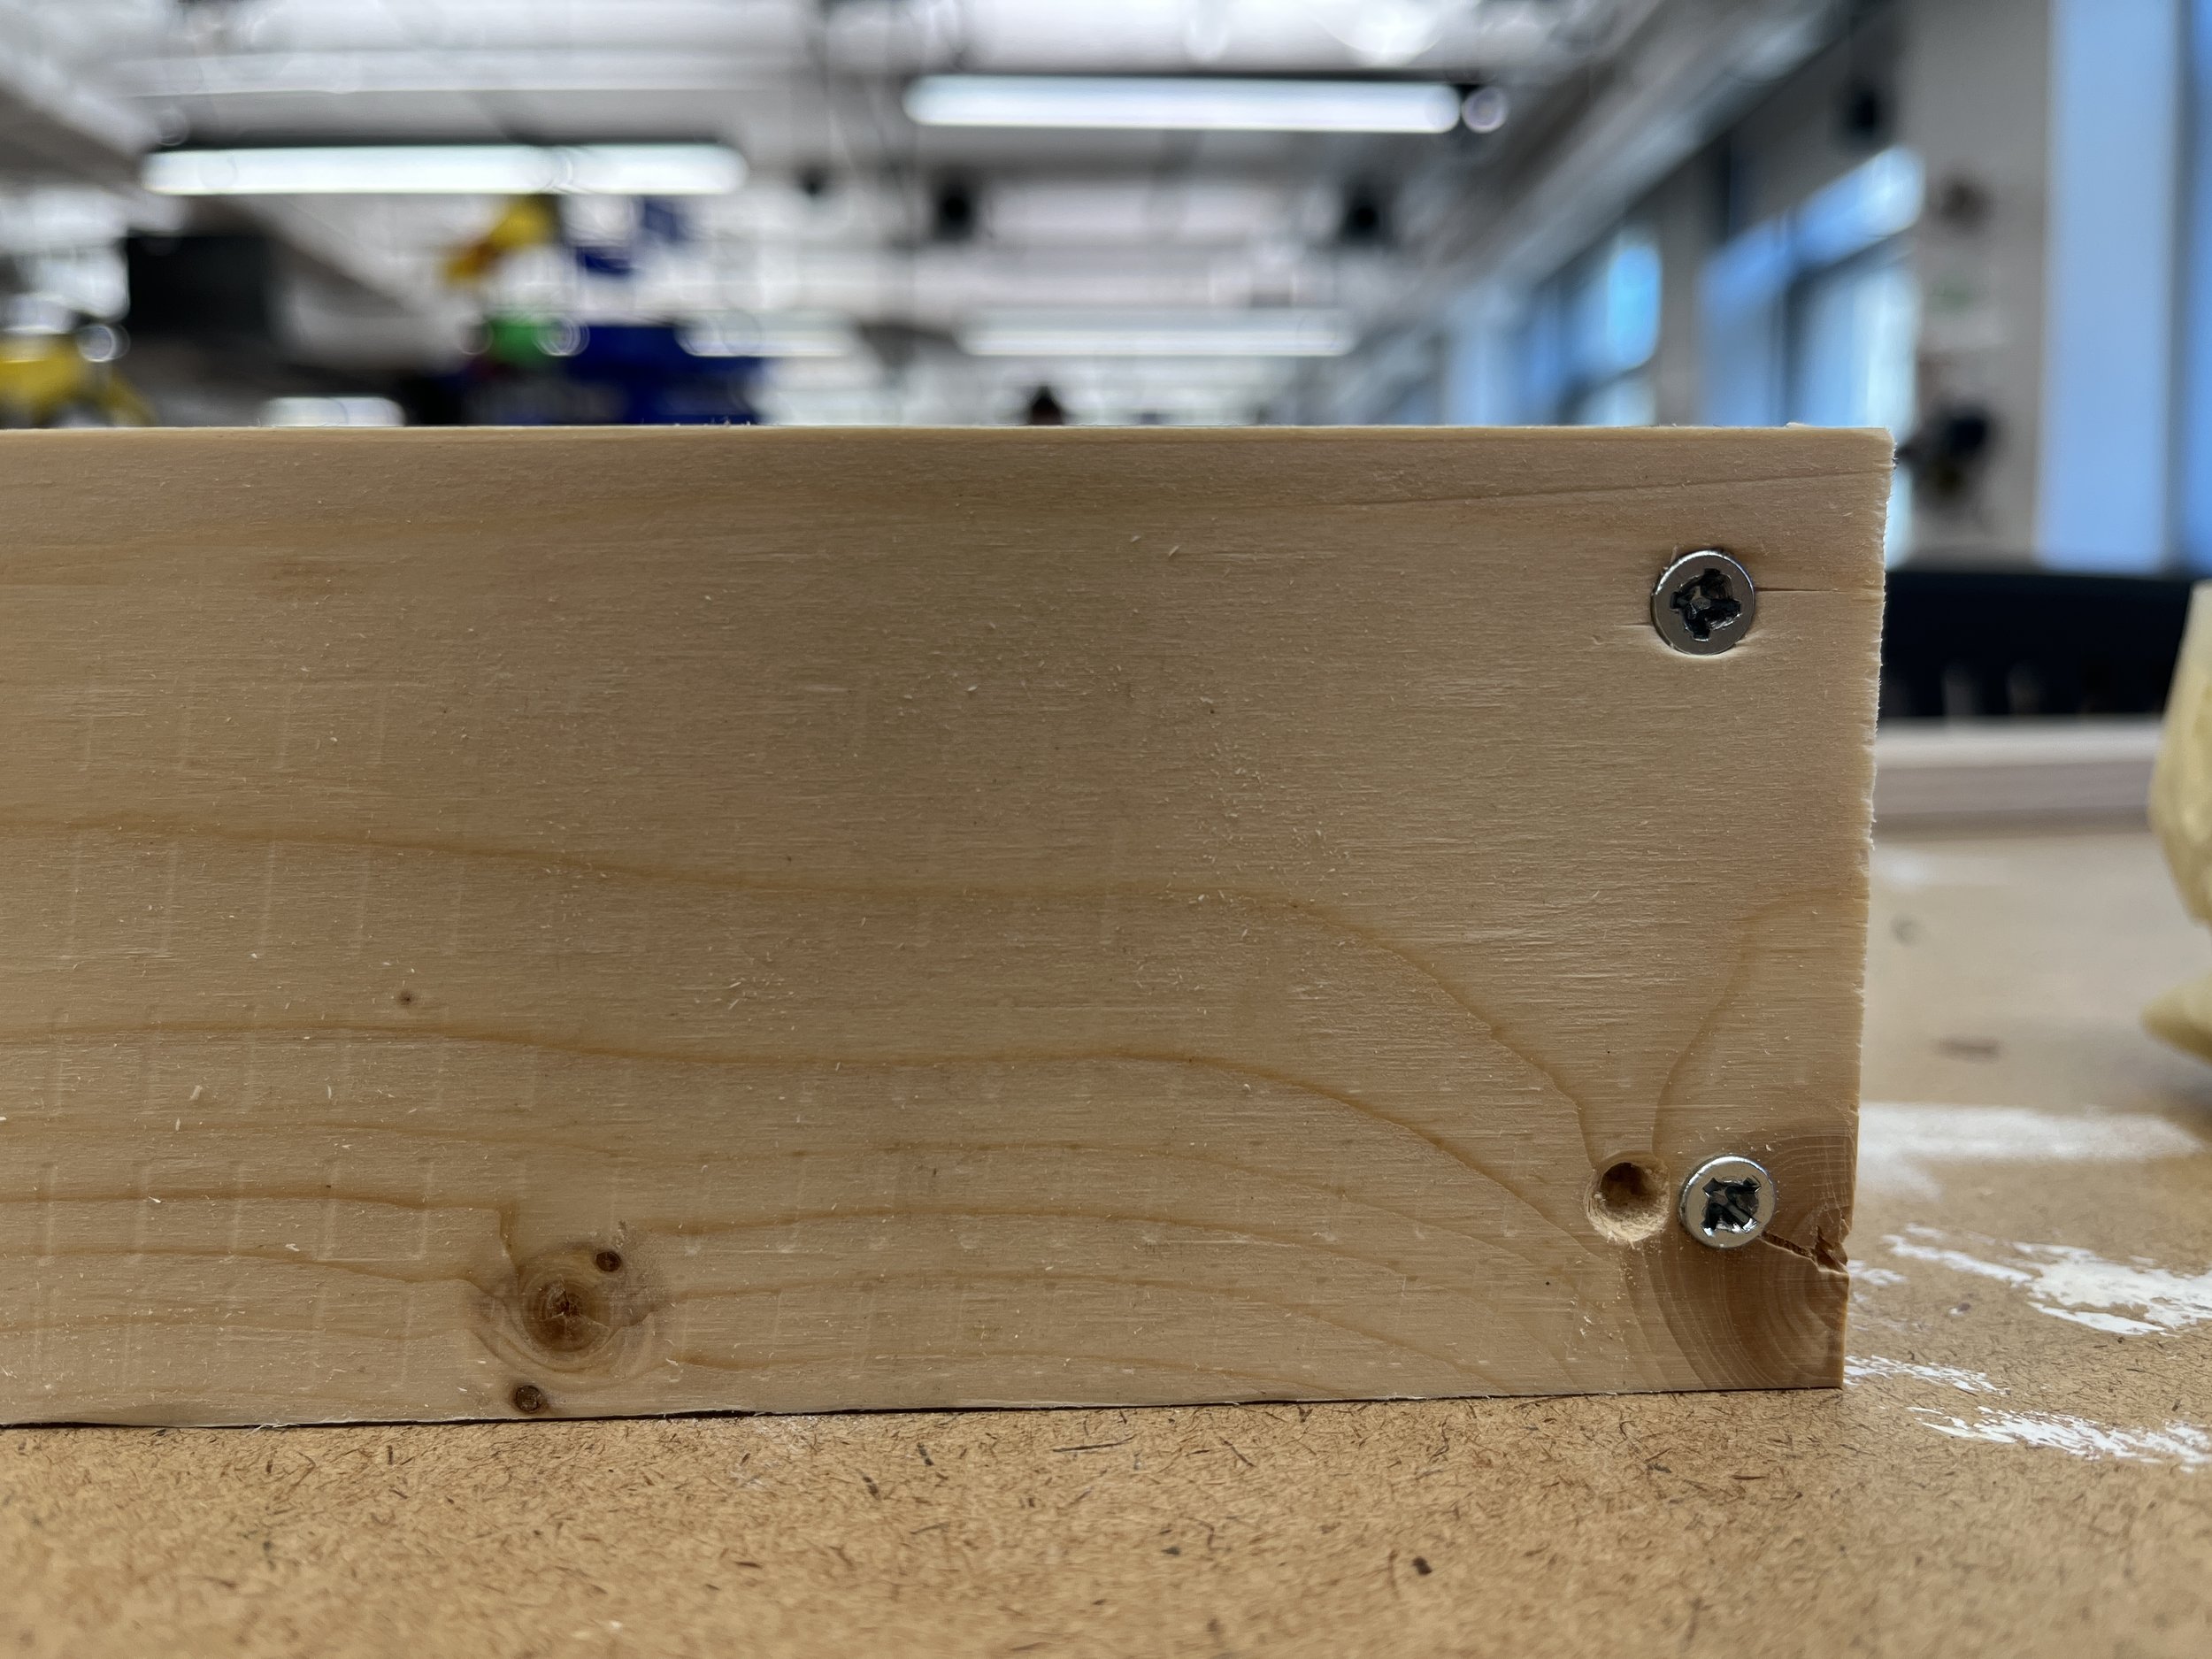
Practice drilling. I stripped quite a few screw heads…

Screw together sides and bottom

First pancake

Drill in screws with phillips head bit. I drilled a couple “on the edge” holes that I had to redo.

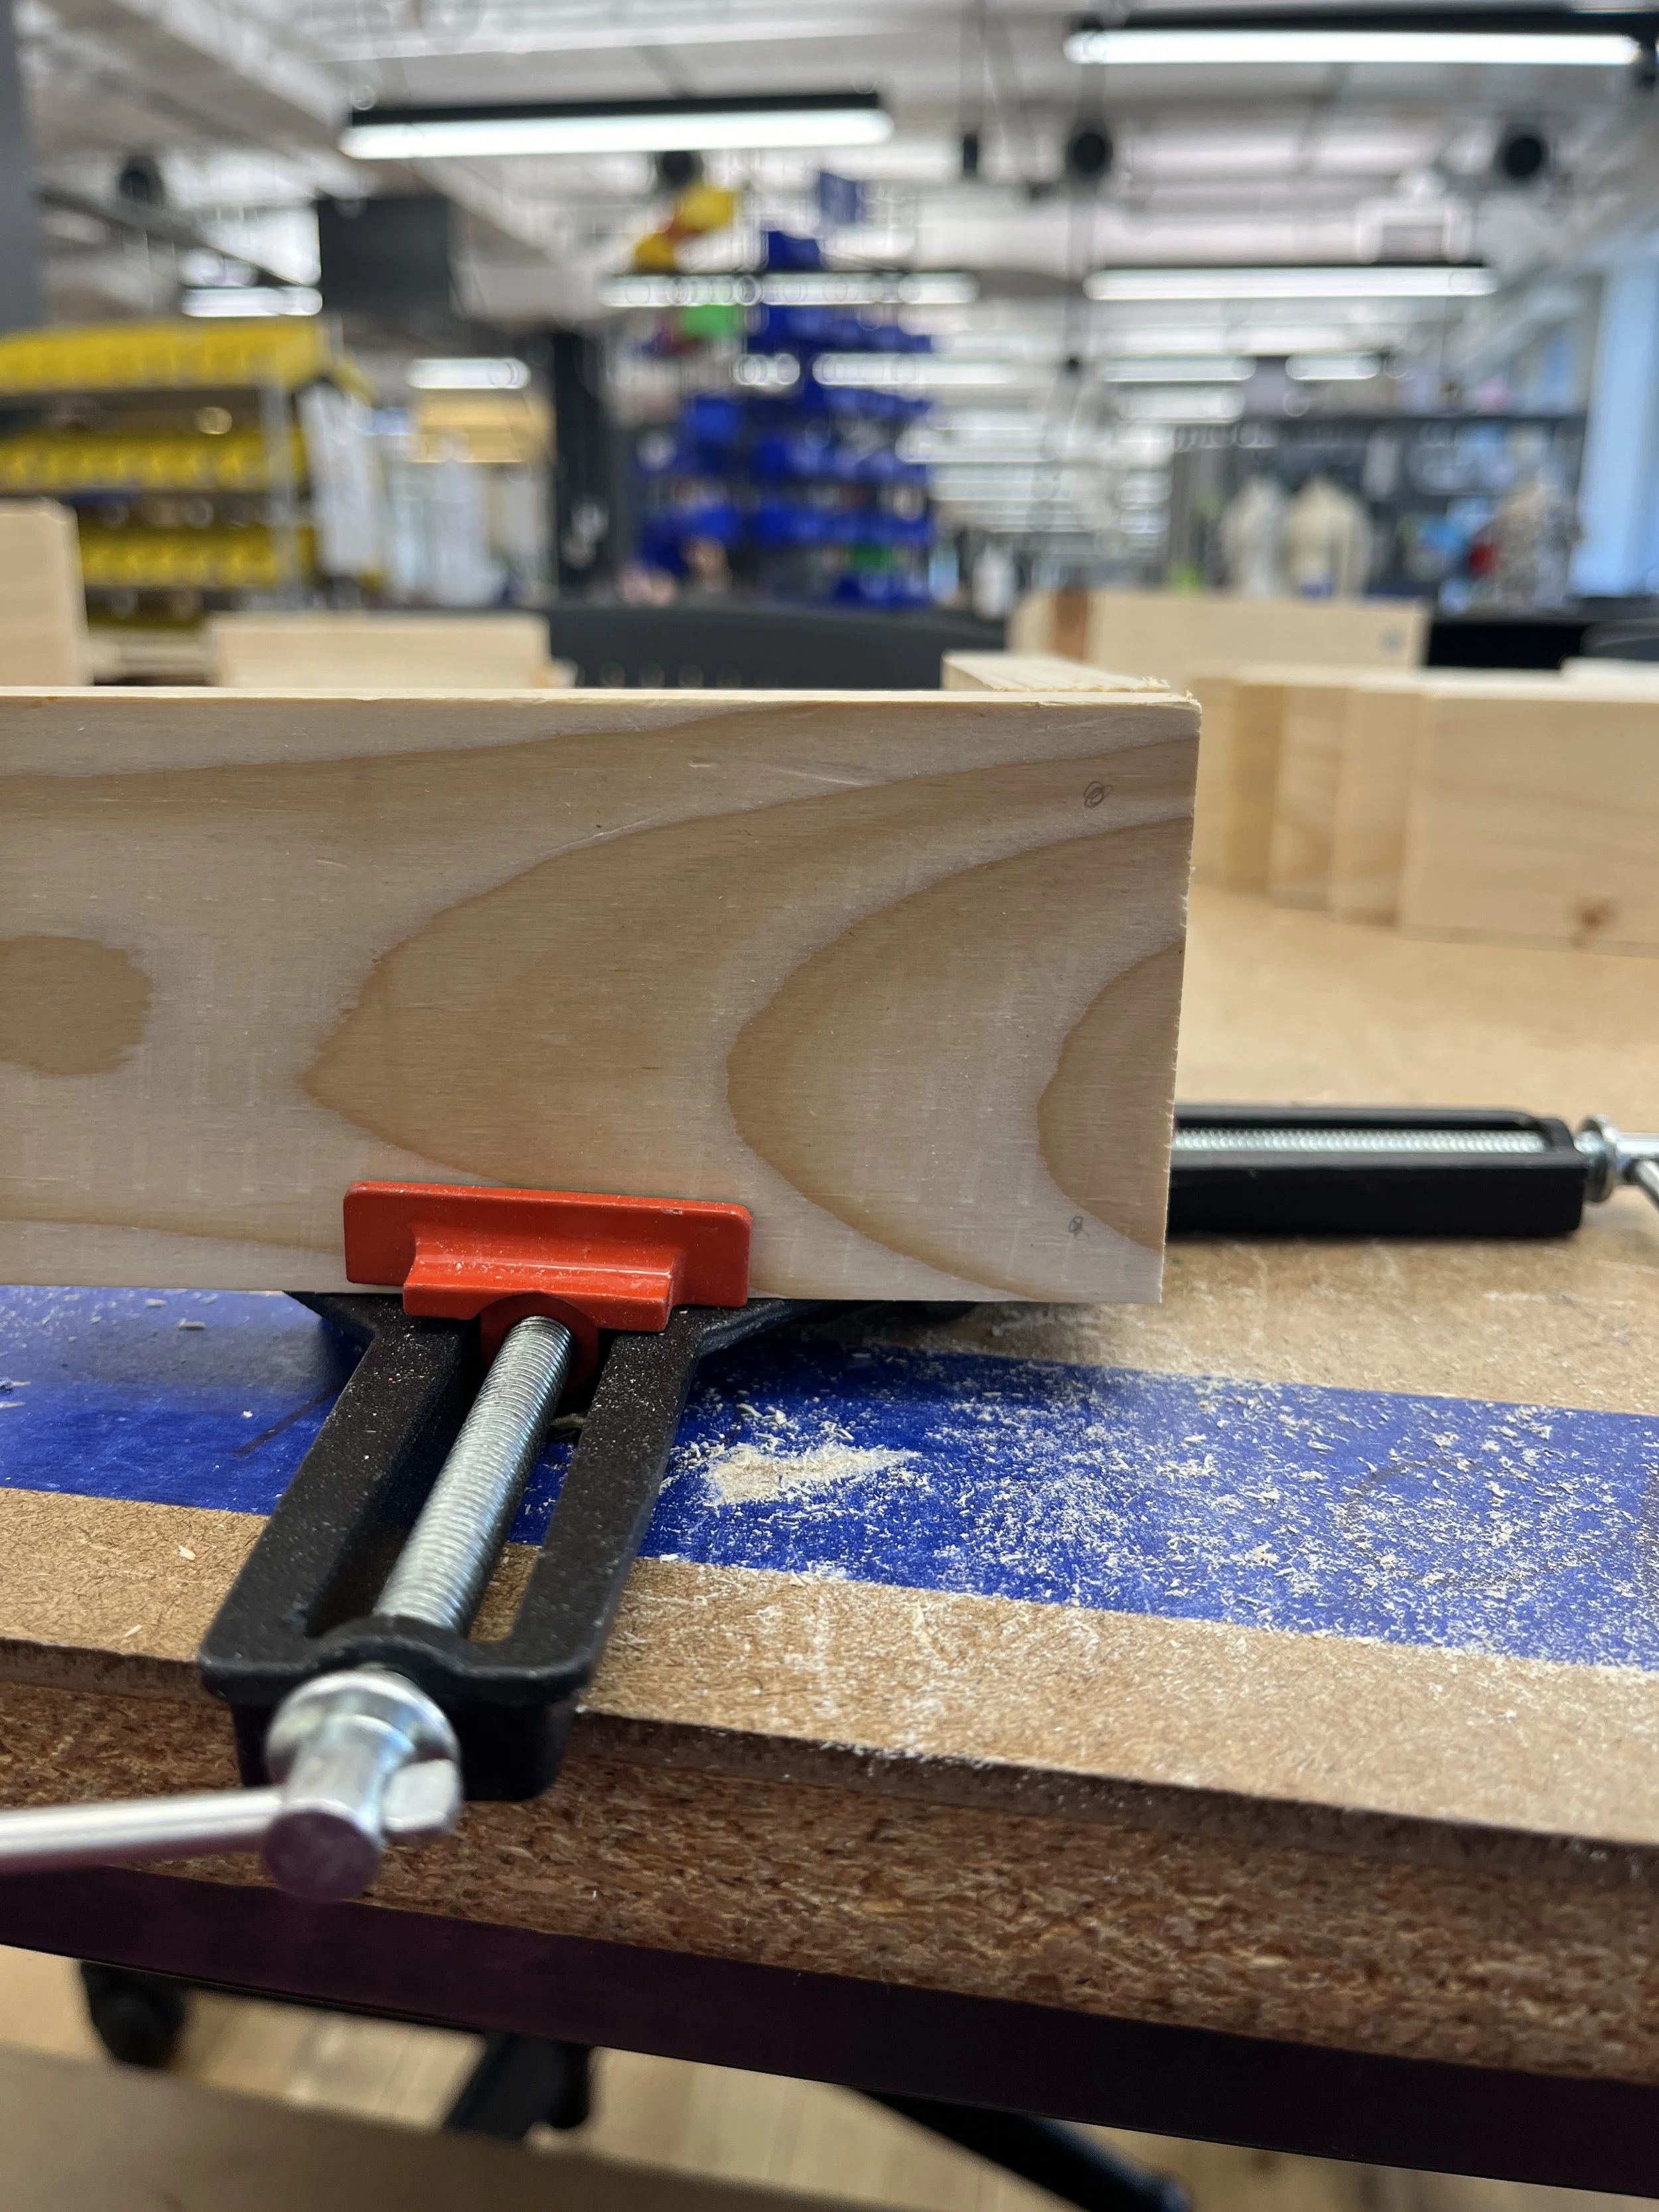
Clamp and mark where screws should go

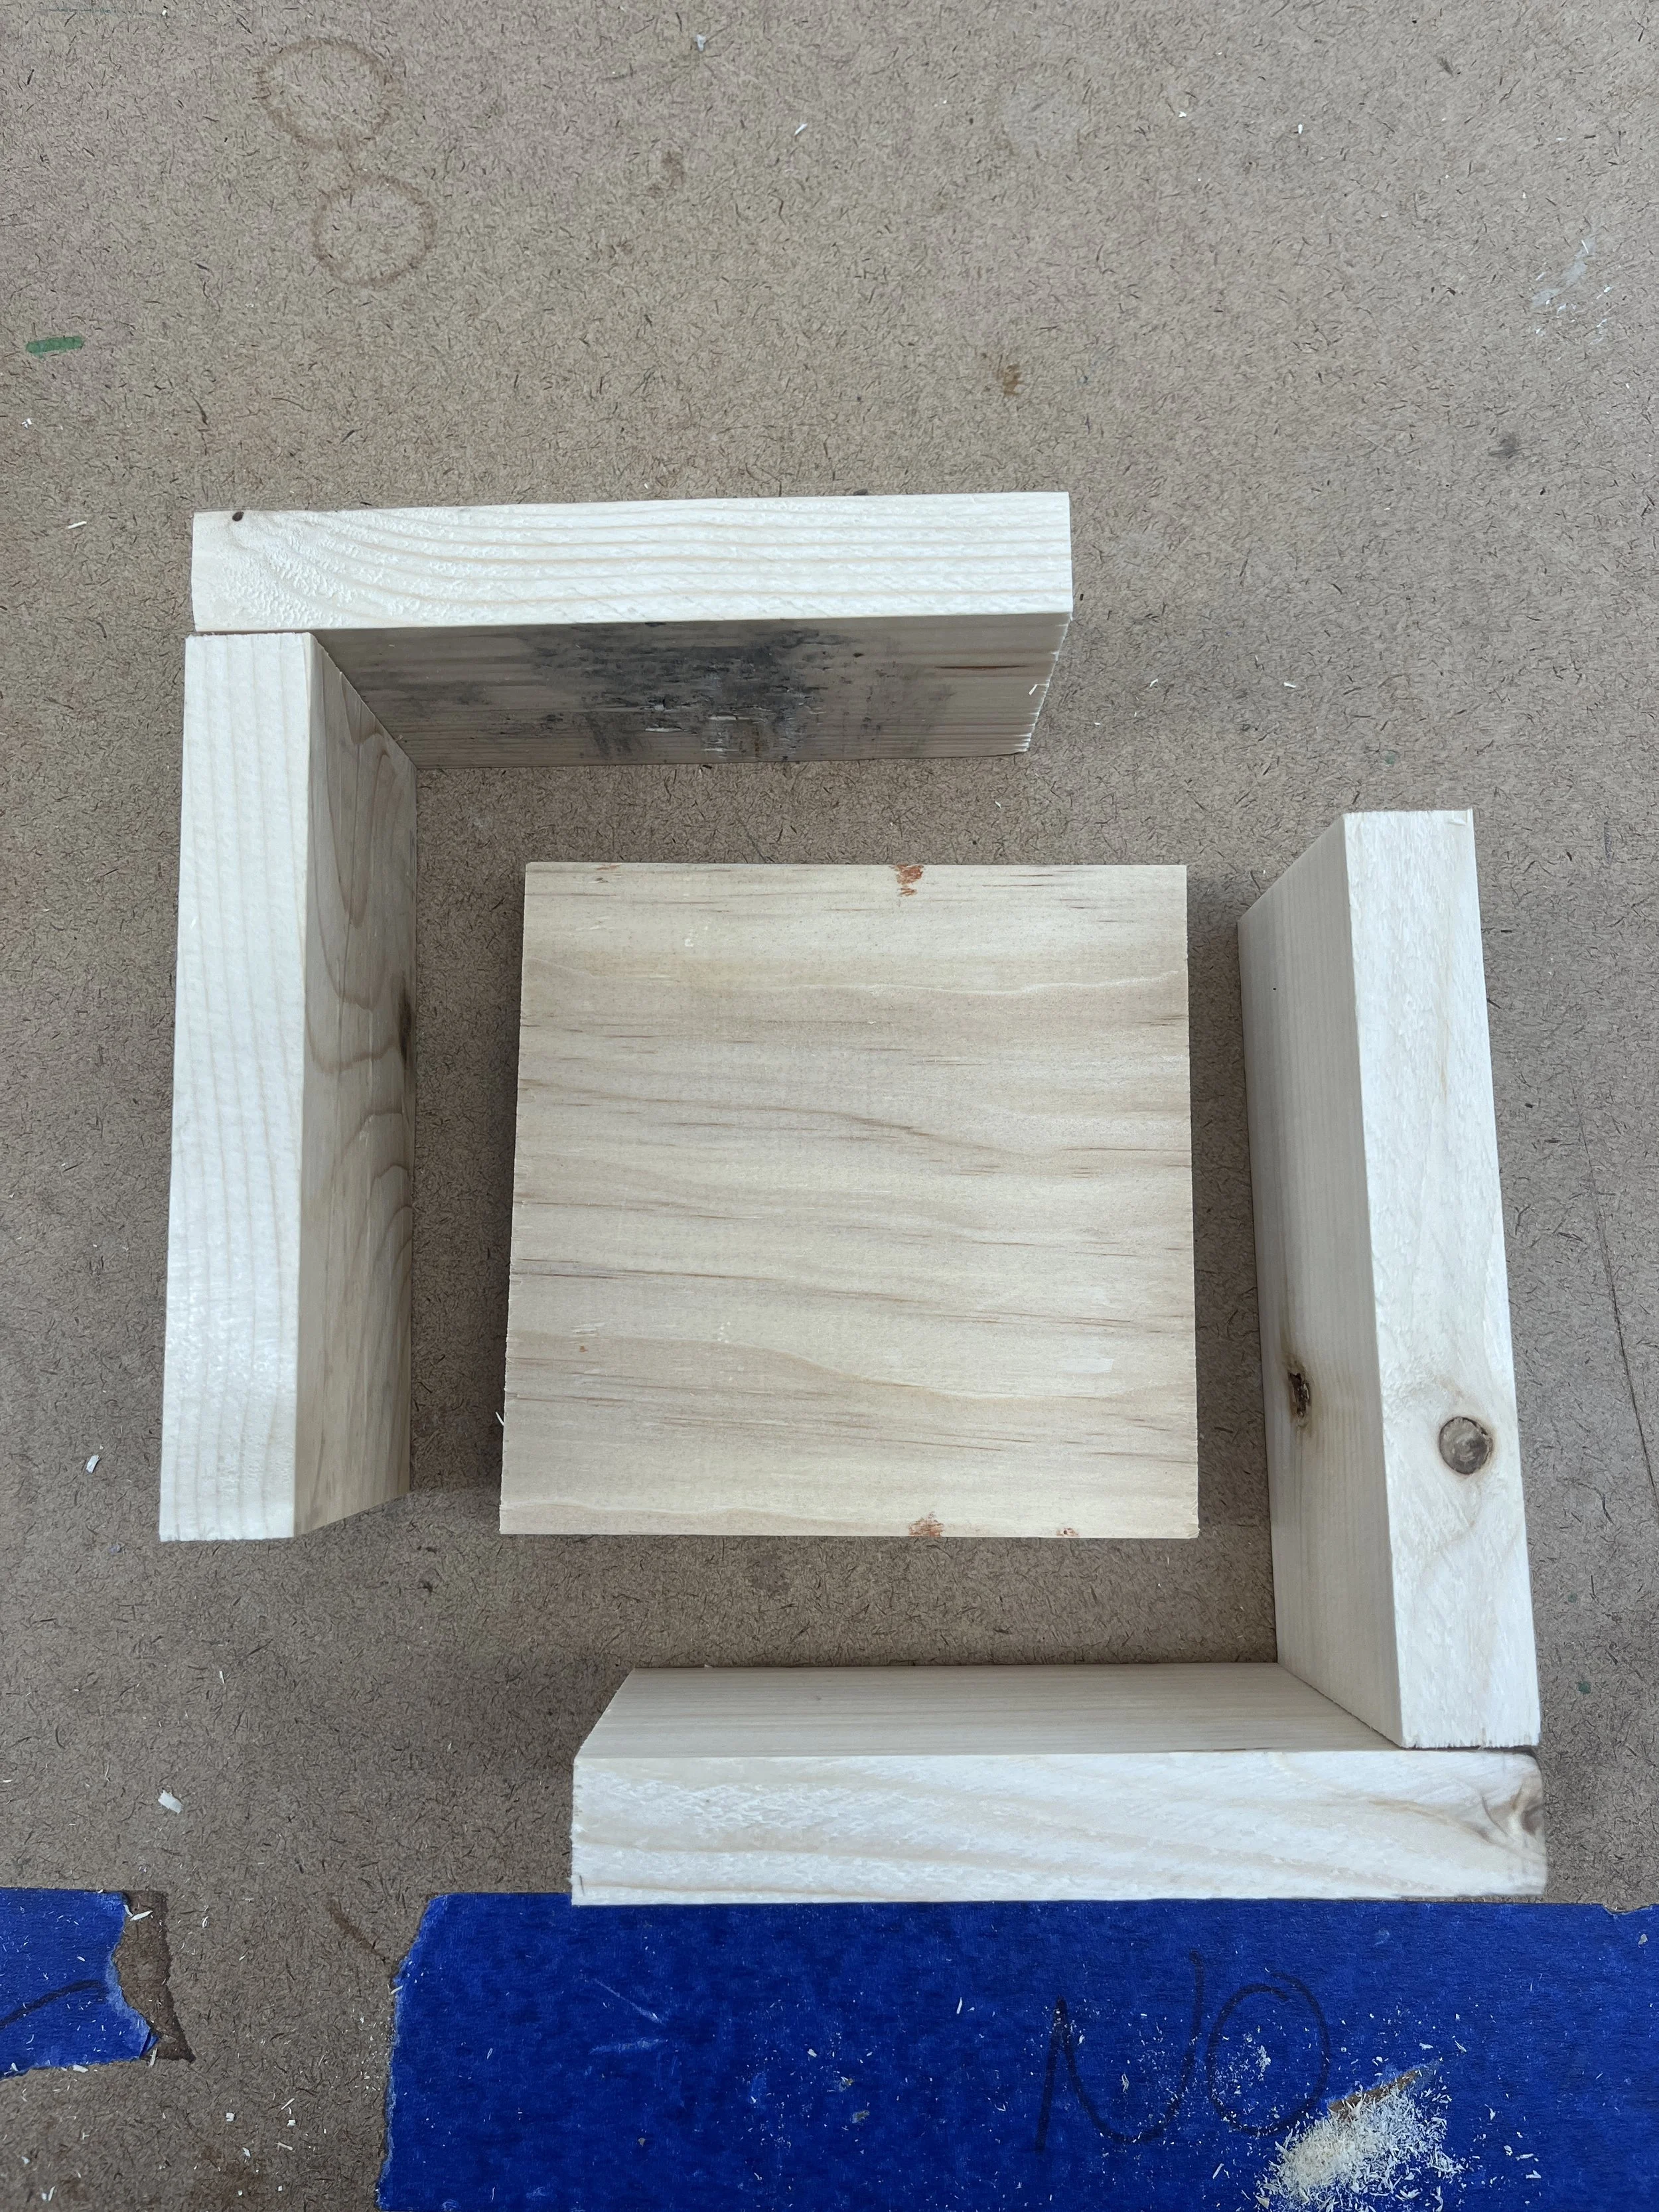
All the sides joined into “L”’s

Drill out pilot holes with counter sink drill bit

Construct the box. Screw the L-pieces together around the bottom. Then screw the frame onto the bottom piece. Use a clamp to hold wood into place and try to close the gaps.

Final Product

Conclusion

My assembled boxes have a lot of … personality! Once I had all my materials together the process I had planned for ran pretty smoothly (cut all pieces, assemble side-L’s, attach bottom).

Admittedly, I didn’t get everything done by today that I wanted to for this project. I had some supply issues, but I did want to add a colorful backing to my boxes and create and install my “specimens”. I think I’ll finish up this weekend and I’ll update my blog when I do. I also learned more about wood working techniques as I was working in the shop with other students, so I think I might want to go through and sand down and varnish/seal my boxes before moving forward with anything else.

Resources

I attended Phil Caridi’s office hours, who is an ITP research resident, to get some guidance on where to begin with wood working and box building.

Here are some box making tutorials I started with:

https://www.bobvila.com/articles/diy-shadow-box/

https://www.youtube.com/watch?v=nZeEyS4k25A

https://www.youtube.com/watch?v=VZXq9dy1E00

https://www.youtube.com/watch?v=8vFGrNjT4P4

https://www.youtube.com/watch?v=MJxKKb_Dn_g

[ITP: Fabrication] Flashlight

Inspiration

This week’s assignment was to create a flashlight. A flashlight was defined as an object that (a) creates light and (b) is portable. Here’s a list of things that first came to mind when thinking about things that light up:

  • bioluminescent algae

  • lightning bugs

  • lite-brite

  • lightning

  • moon/cloud lamps

  • the stars (and glow-in-the-dark)

  • fire

  • angler fish

I really wanted to think outside of the box and get as far away from the traditional flashlight as possible. I have this memory of being with my family watching lightning bugs fly around in my childhood backyard. Natural objects (such as flowers) have always inspired my work and I’m intrigued by the contrast of the natural world and man-made things.

Drawings

My first thought was lightning bugs in a jar as a flashlight. I obviously couldn’t collect live bugs or algae to create my flashlight so I had to come up with a substitute. String lights could serve as my lightning bugs but putting lights in a jar seemed too easy. I really love looking at flowers and wanted to make something beautiful to potentially decorate my new NYC bedroom so I liked the imagery of lightning bugs landing on a flower bush.

Concept sketches

Materials

Pot, artificial flowers, glue sticks, scissors, floral foam, glue gun, string lights all collected from Michaels

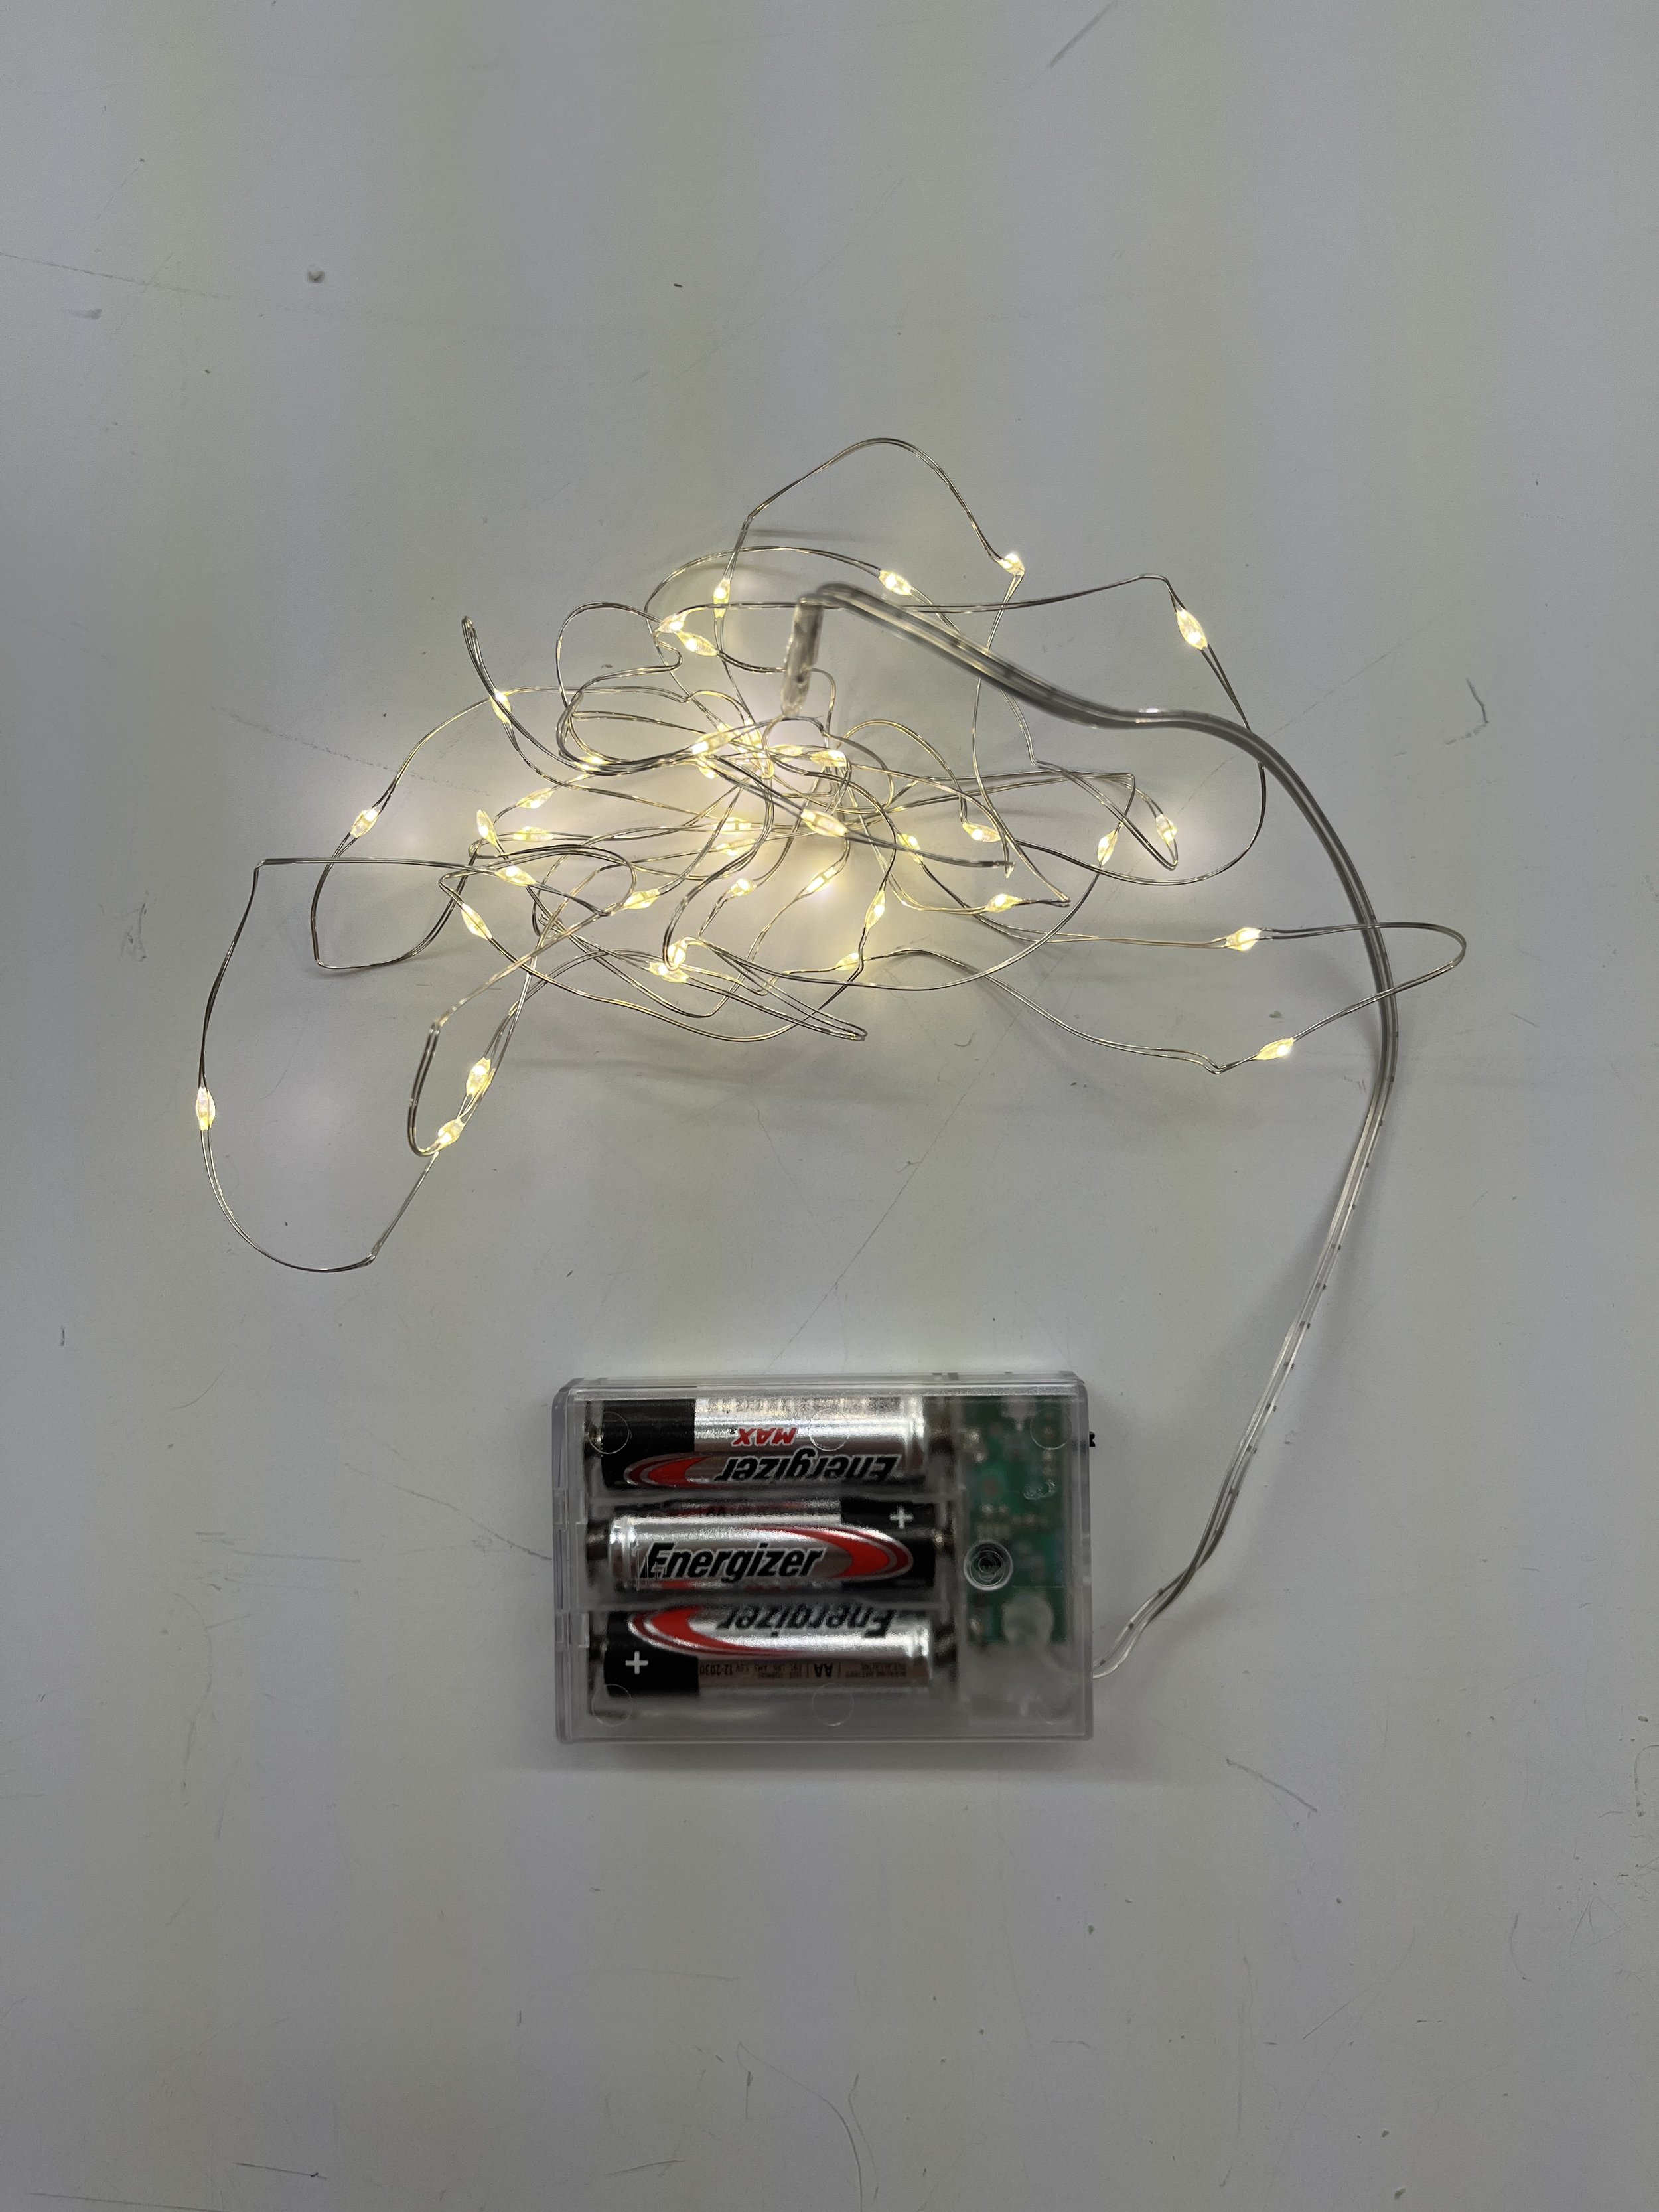
“Lightning bug” - battery powered string of lights

Tools

There weren’t too many tools needed for this build. I used a hot glue gun to keep the string lights in place. Originally I used scissors to trim down my flower stems. They didn’t quite get through the wire in the plastic stems but the wire cutters worked much better.

Process

My flashlight wasn’t a terribly complicated build. I first started with trimming down the flower stems. I have no experience arranging flowers, but I tried my best to get them into a pretty arrangement by poking them through the floral foam. A bit more stem trimming.

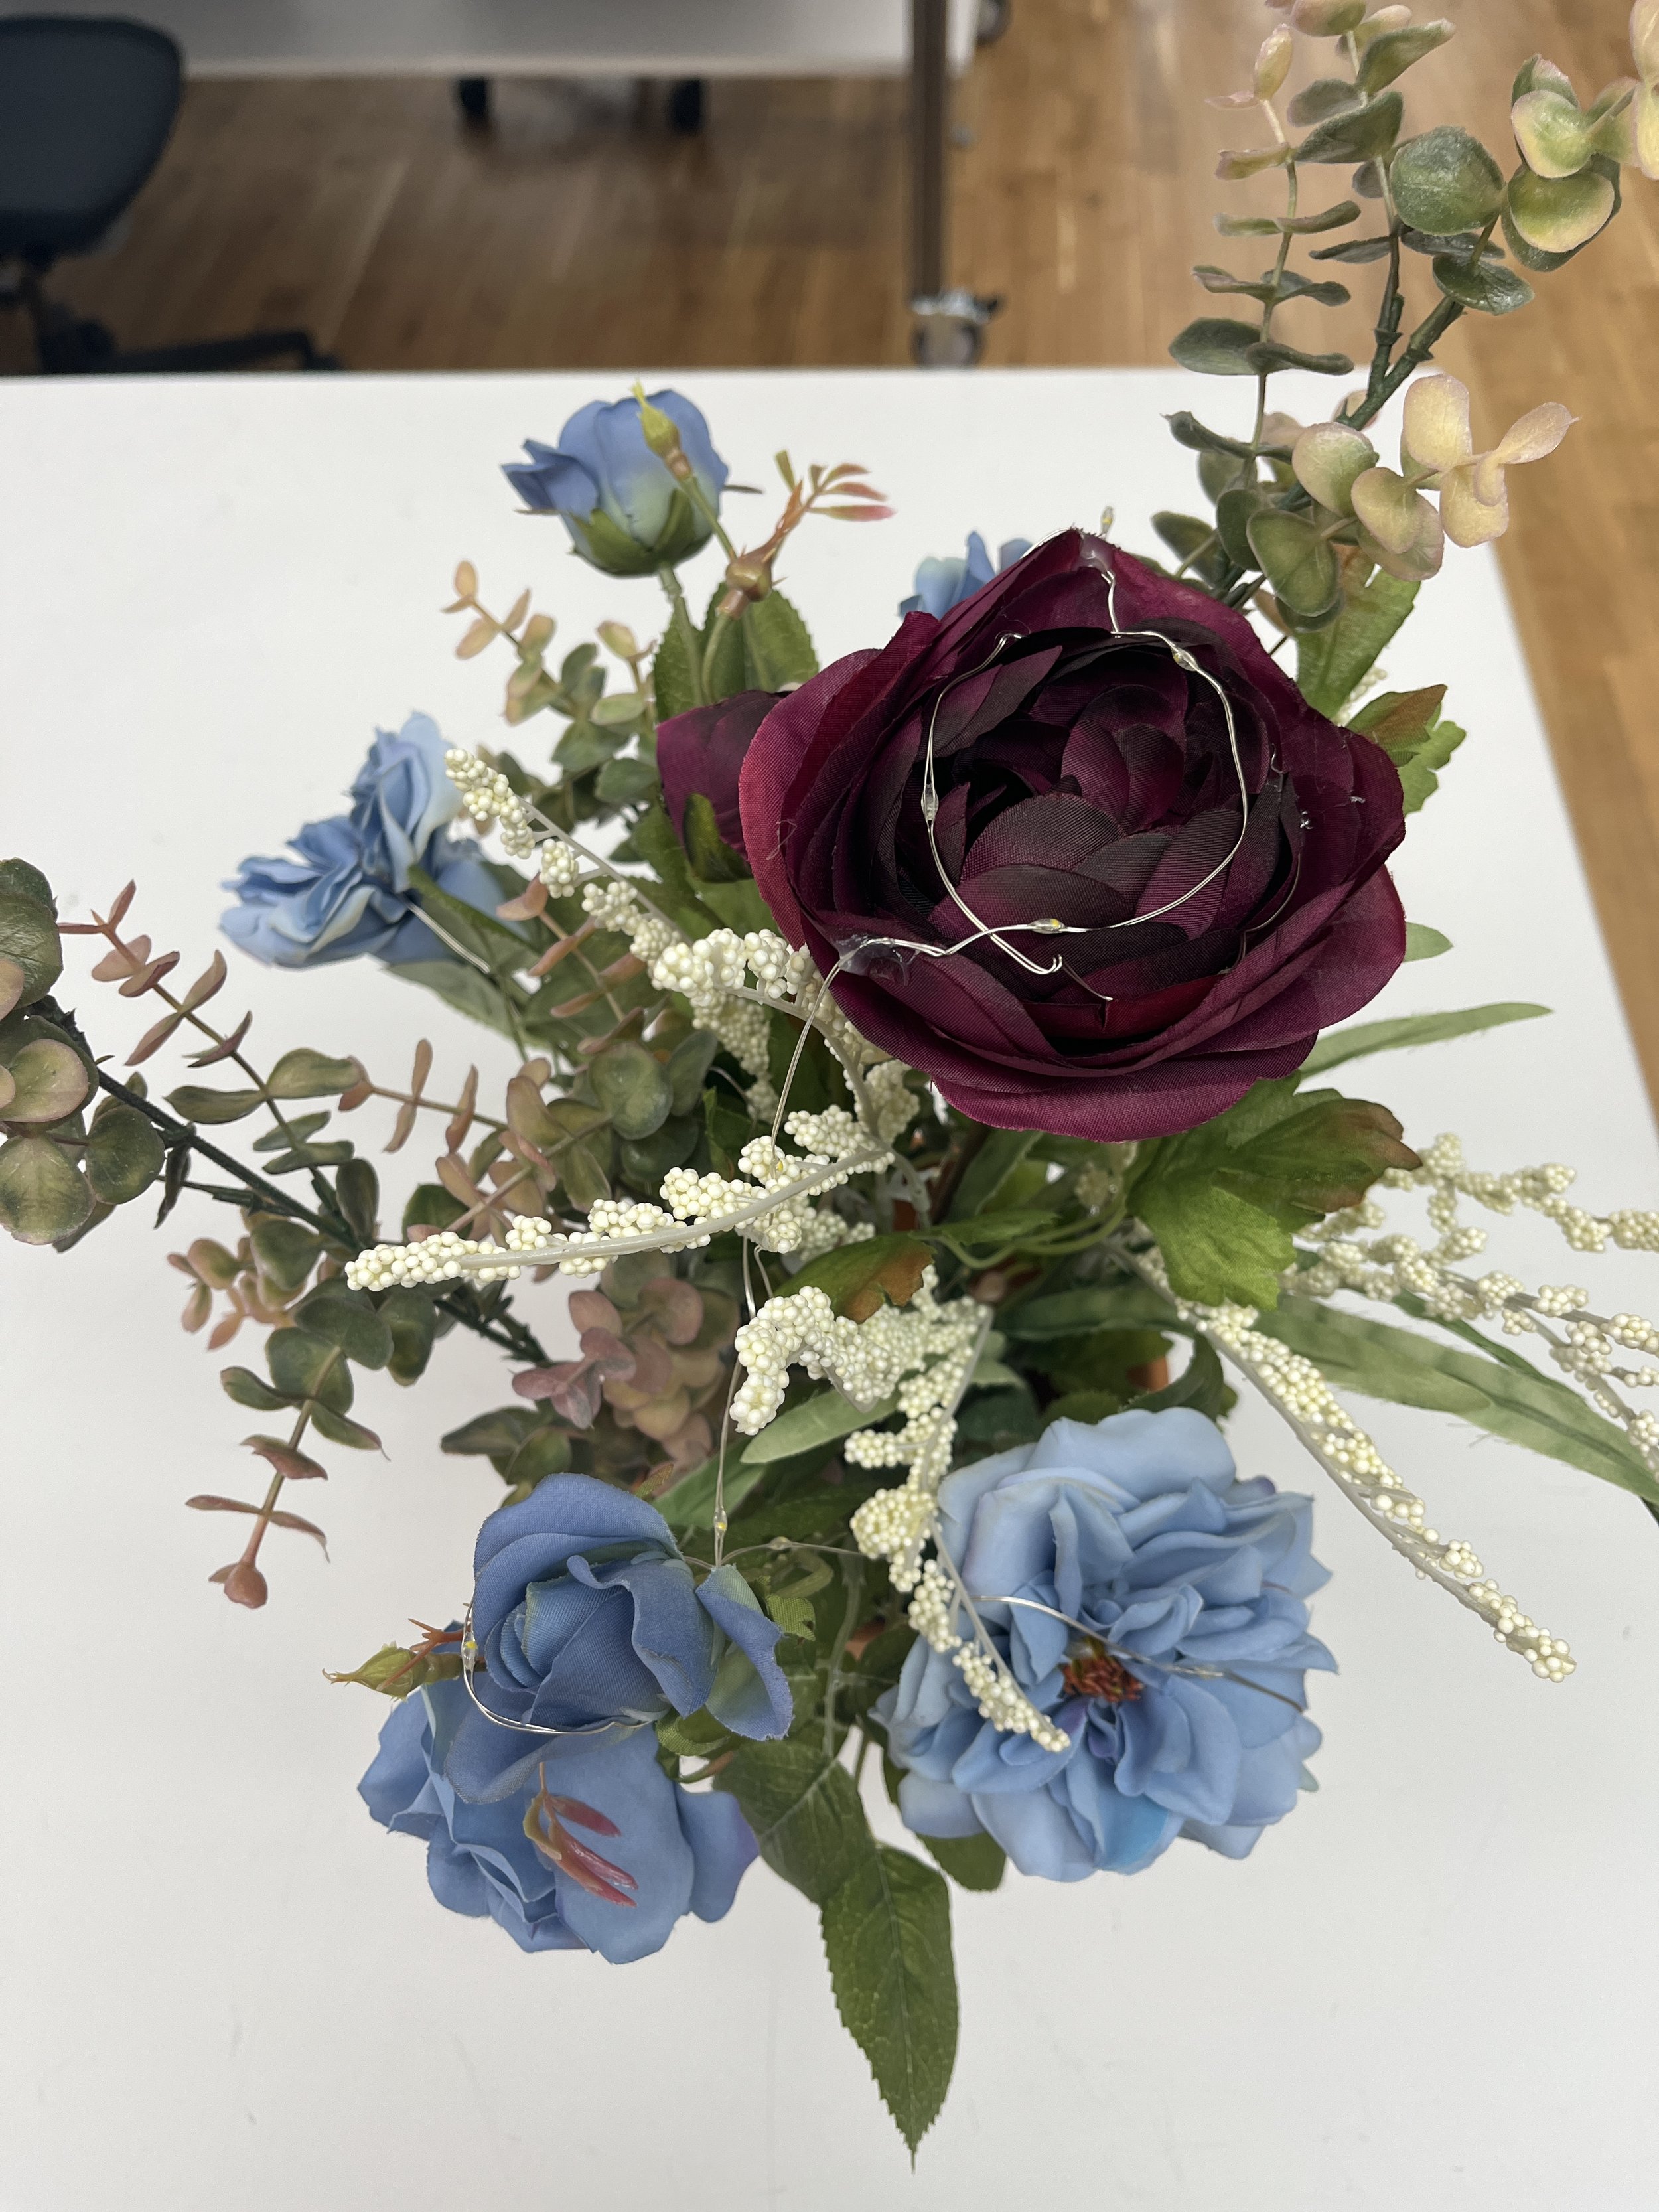
Next I installed my “lightning bugs”. I hid the battery pack in the flower pot and weaved the string of lights through the flowers. The string was wire itself, so I could bend it into place and glue down the lights where I wanted them. Lastly, I tried sprucing up my bouquet a bit more by bending the flowers and leaves into place.

Final Product

Conclusion

I do kind of feel like buying a string of lights for this assignment might be a bit of a cop out (especially with my electrical background) but I did not see the point of re-inventing the wheel to make my “lightning bugs”. I feel like this is a kind of fun, cheesy, whimsical, (un)natural solution to a flashlight. I would like to get some pictures of my flashlight illuminated in the dark at some point as well.

In the future, I could see myself expanding on this project. I could switch out the string of lights for and Arduino and some addressable LEDs. It could be fun to make my flash light interactive. Like, maybe the “lightning bugs” “fly” around or pulse. Or maybe they get scared and “hide” when someone gets too close. Maybe there’s a sound associated with them?