Inspiration
This week’s concept in my fabrication class is repeatability and how the build process and design of an object might change from making one to making many. The assignment is to build multiples (at least 5) of something. Since we’ve been learning a lot about wood working tools and I’ve never made anything out of wood I thought the most straight-forward beginner project would be to make boxes.
Of course I didn’t want to make just plain boxes and I started to think about what could go inside them. One of the first things that came to mind were those display cases for taxidermied butterfly and bug specimens. How could I simulate something like that, add a pop of color (which I love to do), and what could my “specimens” be?
Drawings
Here I’m working out my design and calculations for the wood cuts. With a display box like this, there is generally a see through face so that the viewer can look inside. I salvaged a 12x12 1/16 inch of acrylic from the shop for the “glass” face. I also wanted to be able to access my “specimens”. I didn’t want to seal them up completely so that I had the option to remove them or switch them out. That meant that I needed a lid or a hinged door. I decided to simplify my box design by making it open-faced (only 5 sides). This way the contents are still visible and my “specimens” were accessible.
Also, I learned that the amount of material needed really starts adding up once you need to make multiples of something. All of a sudden I needed to cut 25 pieces of wood!
Materials
Originally I stole some scrap wood and a piece of acrylic from the shop but I got some help from Phil and we discussed that the shop doesn’t have a table saw for rip cuts. Also, it would be better for the process to buy new wood that was already the right dimension in one direction so that I could just chop down the line. Here’s the updated list of materials I used:
Pine wood
4.5 x 72 x 0.75 in - x1
3 x 48 x. 0.75 in - x3
1.5 #6 wood screws
Design wise, I was looking to build a bit of a lighter box, but I was limited to the lumber stock in the Brooklyn Home Depot. Also, I changed my box construction to a running joint which means that each side piece could be exactly the same length.
Tools
The tools I ended up using to build my boxes was:
Circular saw
Tape measure
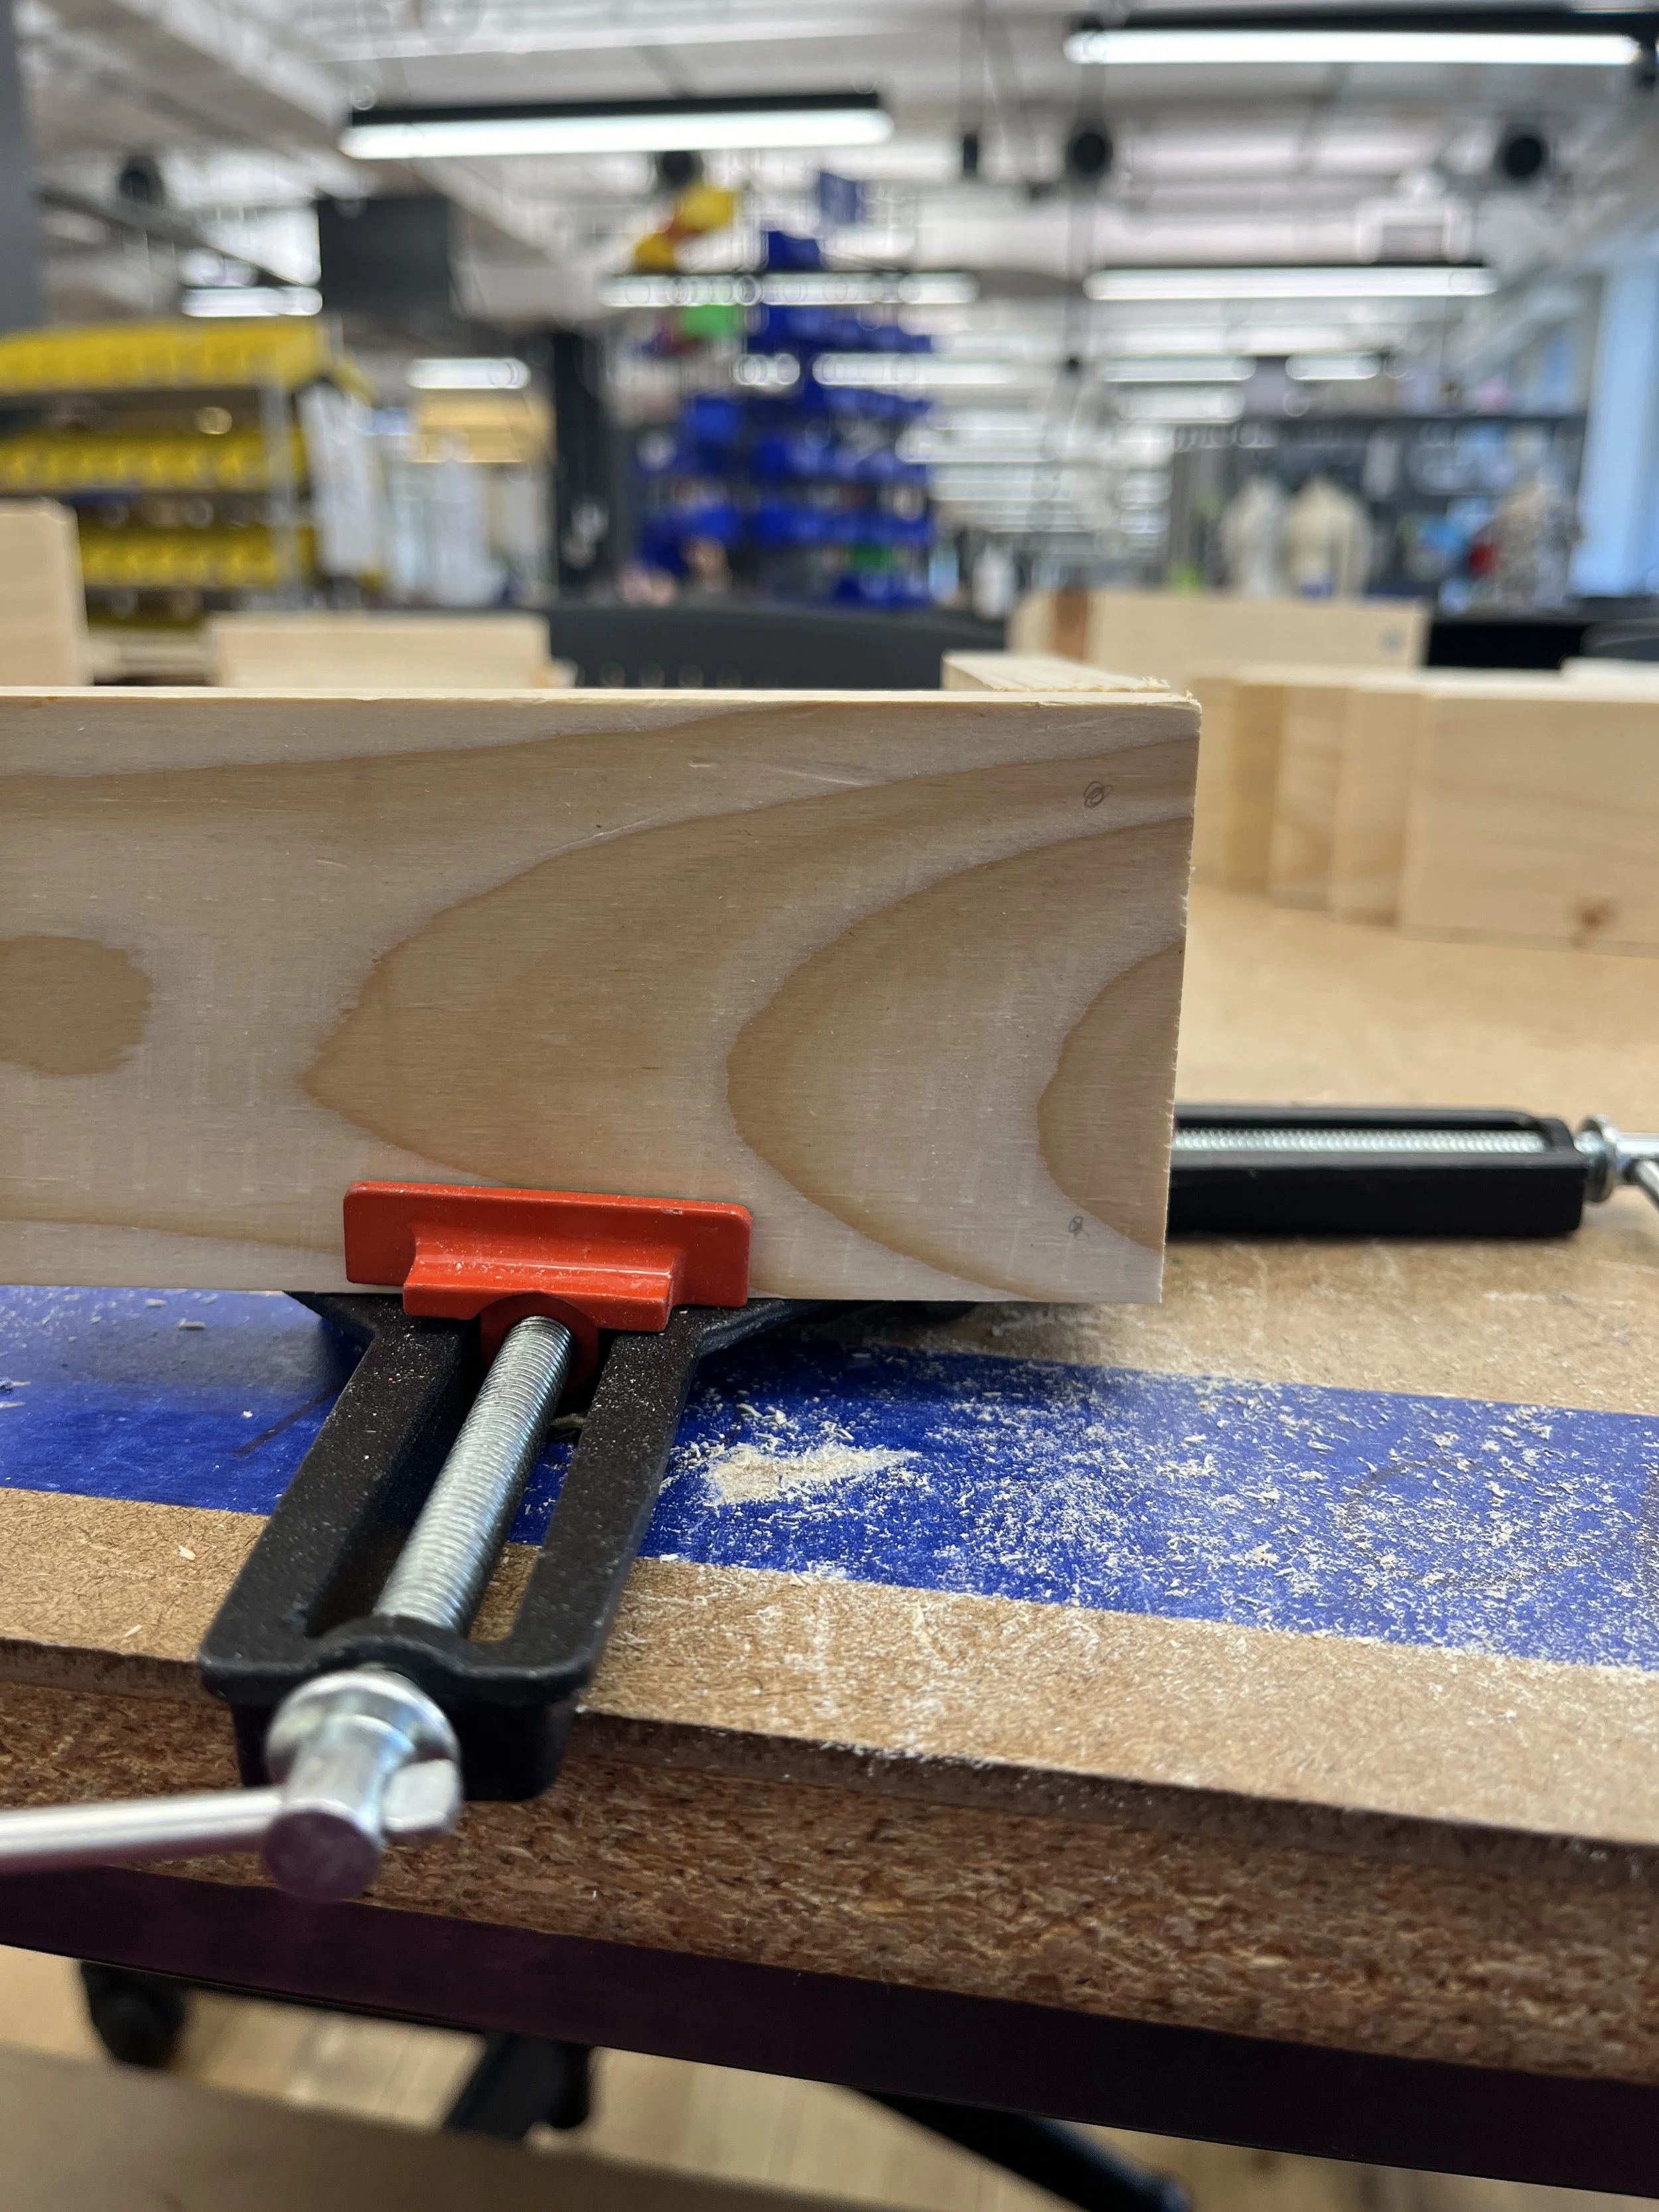
90 degree clamp
Drill
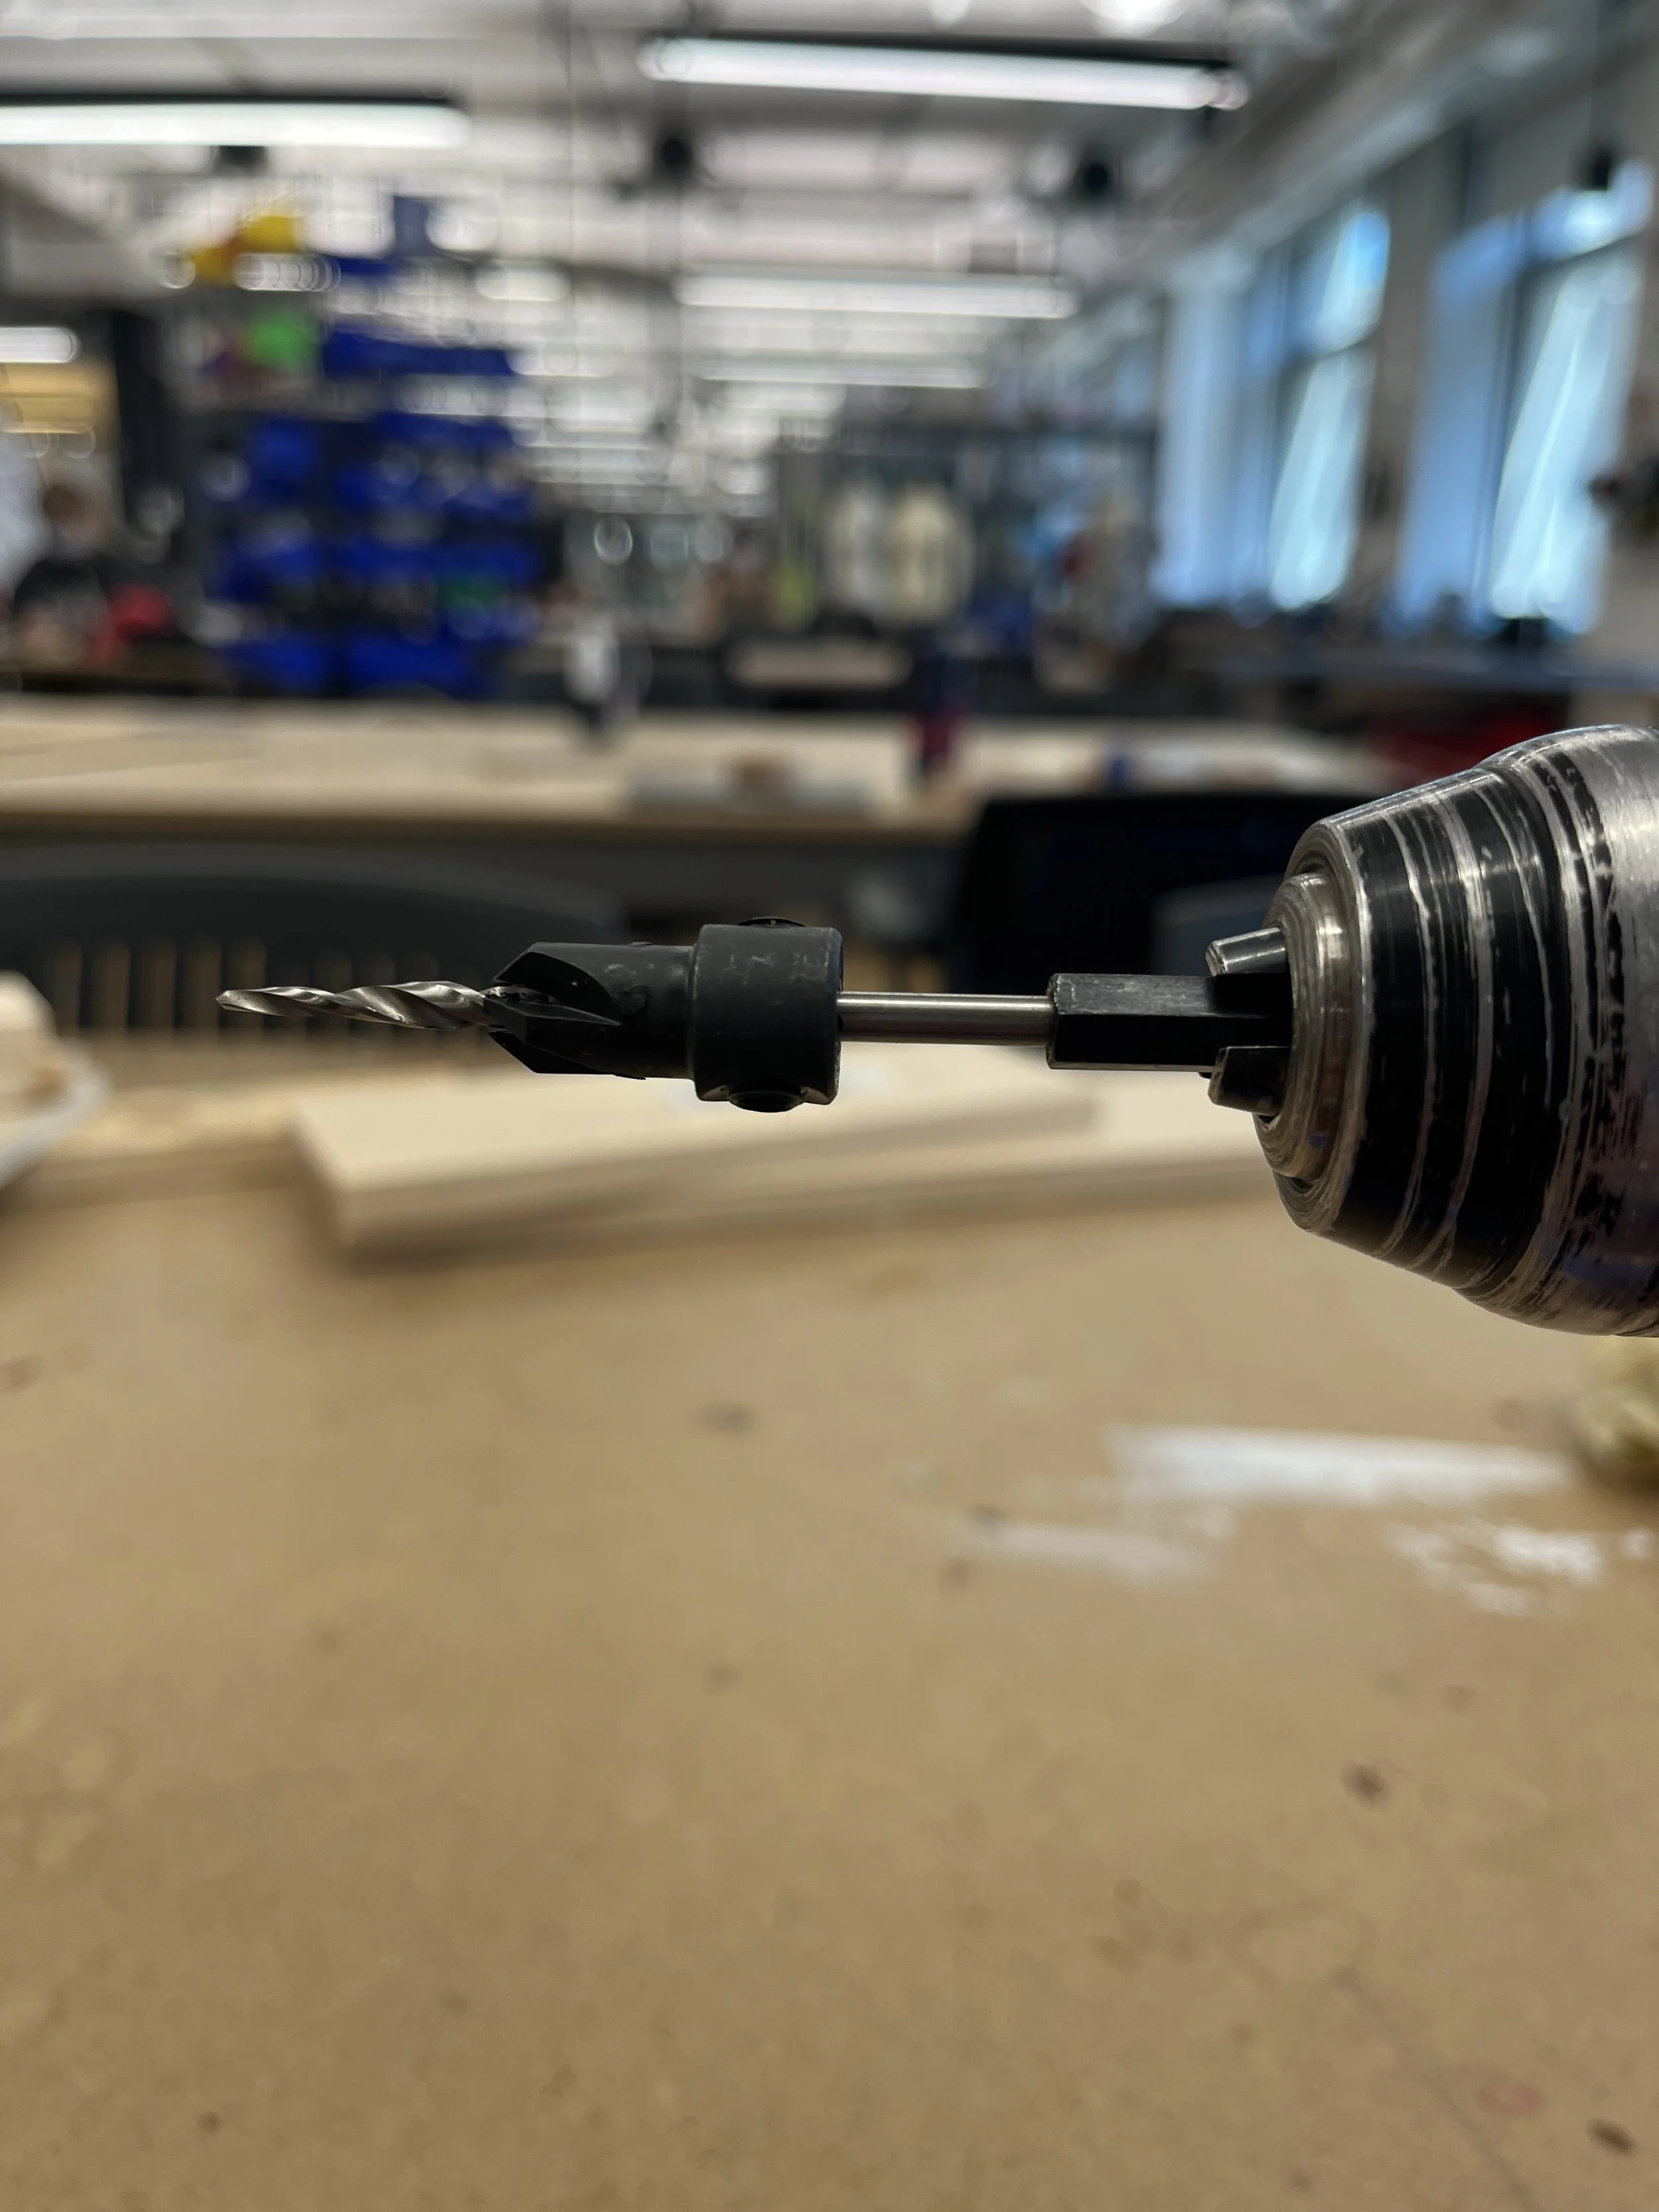
Counter sink with pilot hole bit (#6)
Phillips head drill bit
C-clamps
Process
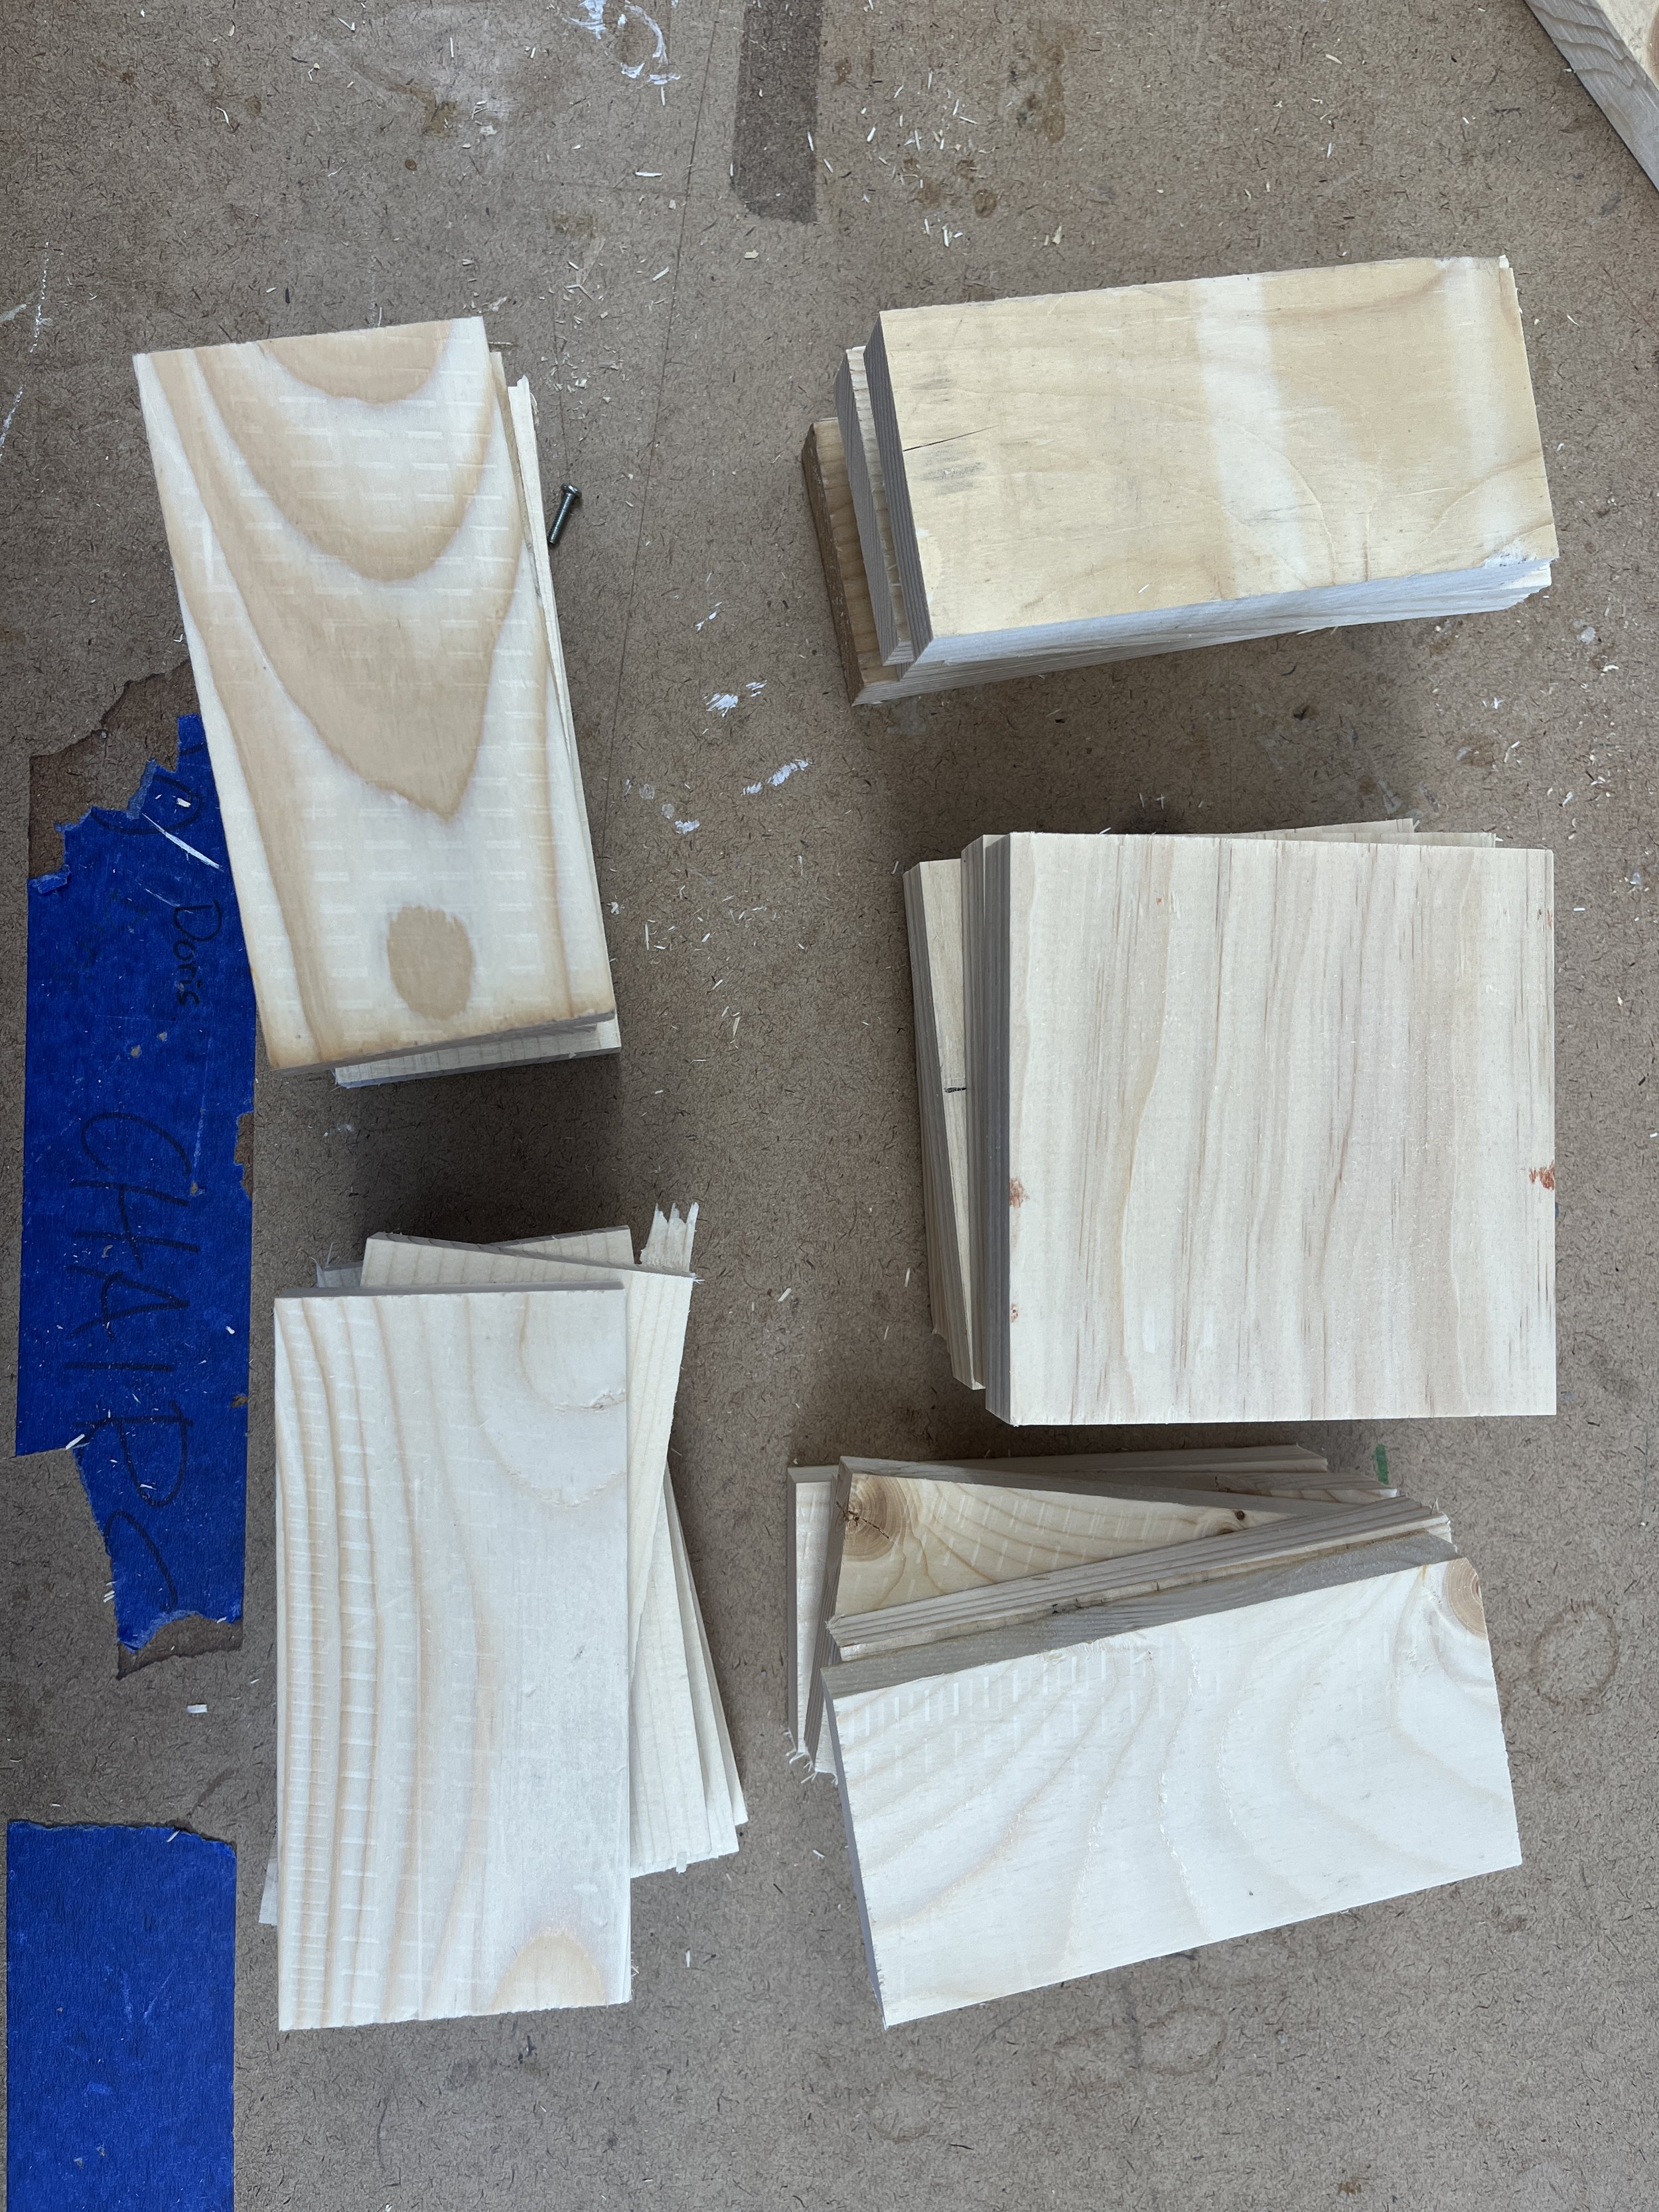
Stop block set up to cut bottom pieces (4.5 x 4.5 in - x5)
Stop block set up to cut side pieces (3 x 5.25 in - x20)
Cut pieces and scraps in the shop
Here are all the wood pieces I cut
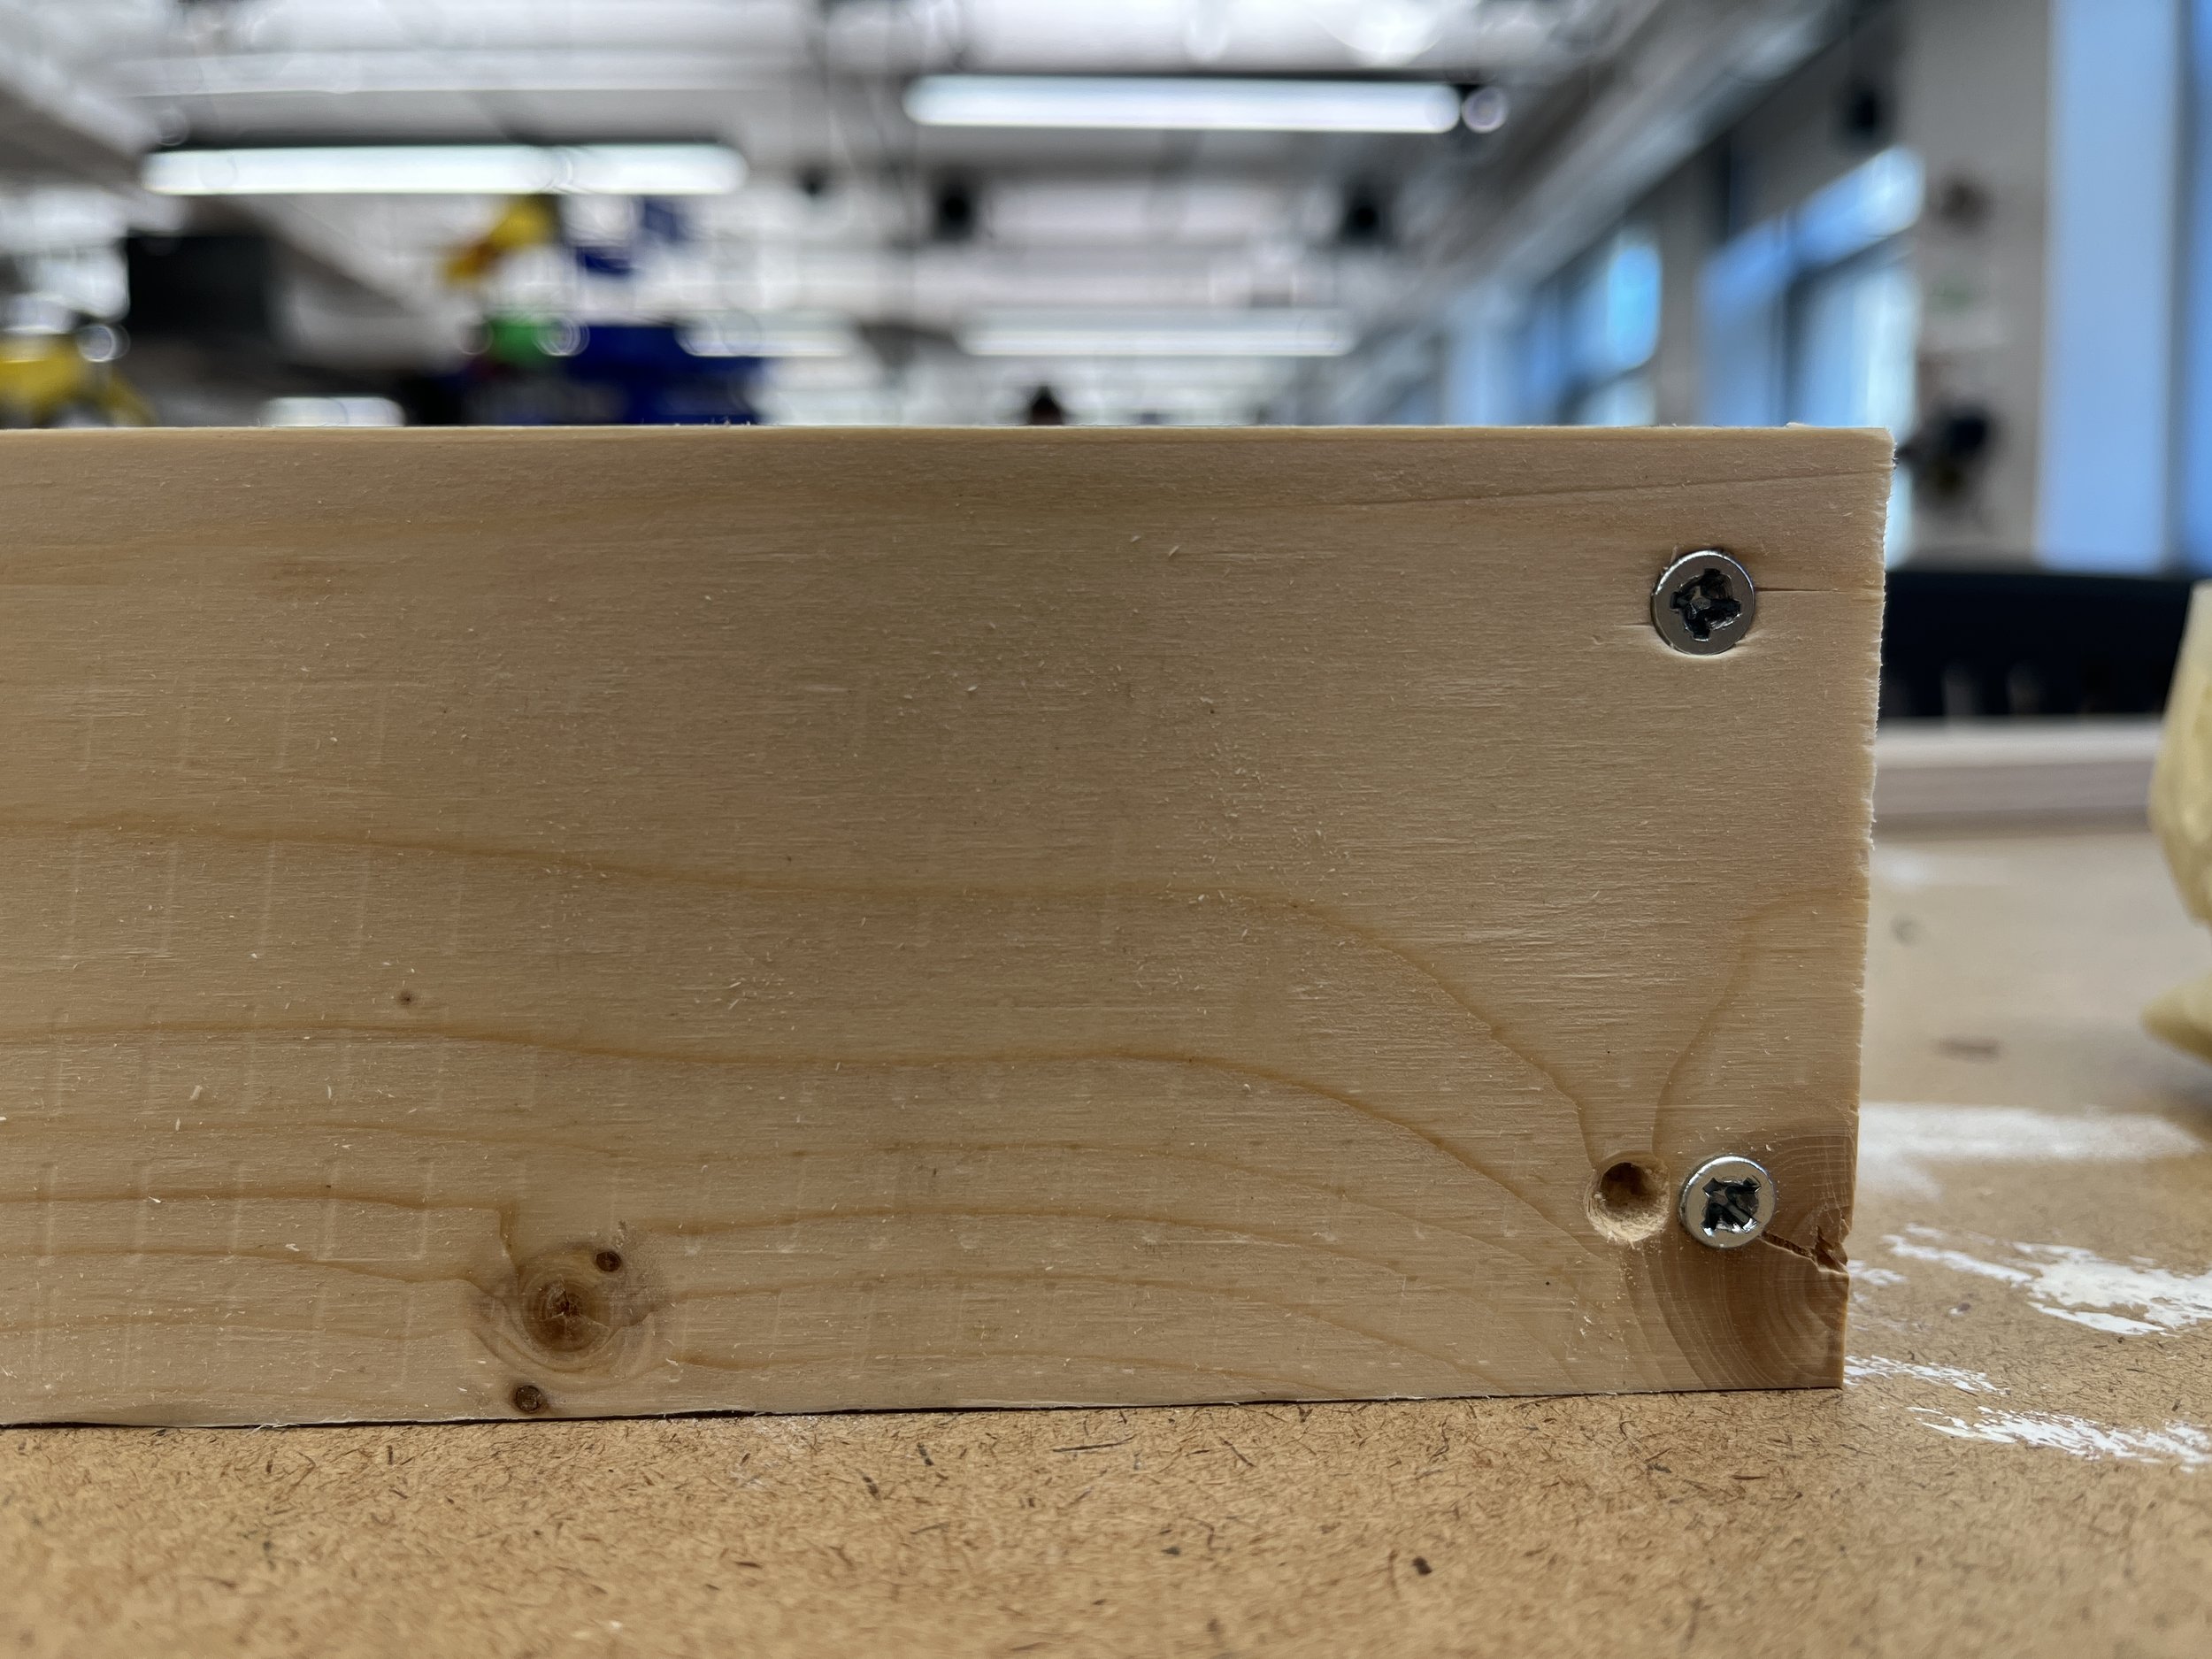
Practice drilling. I stripped quite a few screw heads…
Screw together sides and bottom
First pancake
Drill in screws with phillips head bit. I drilled a couple “on the edge” holes that I had to redo.
Clamp and mark where screws should go
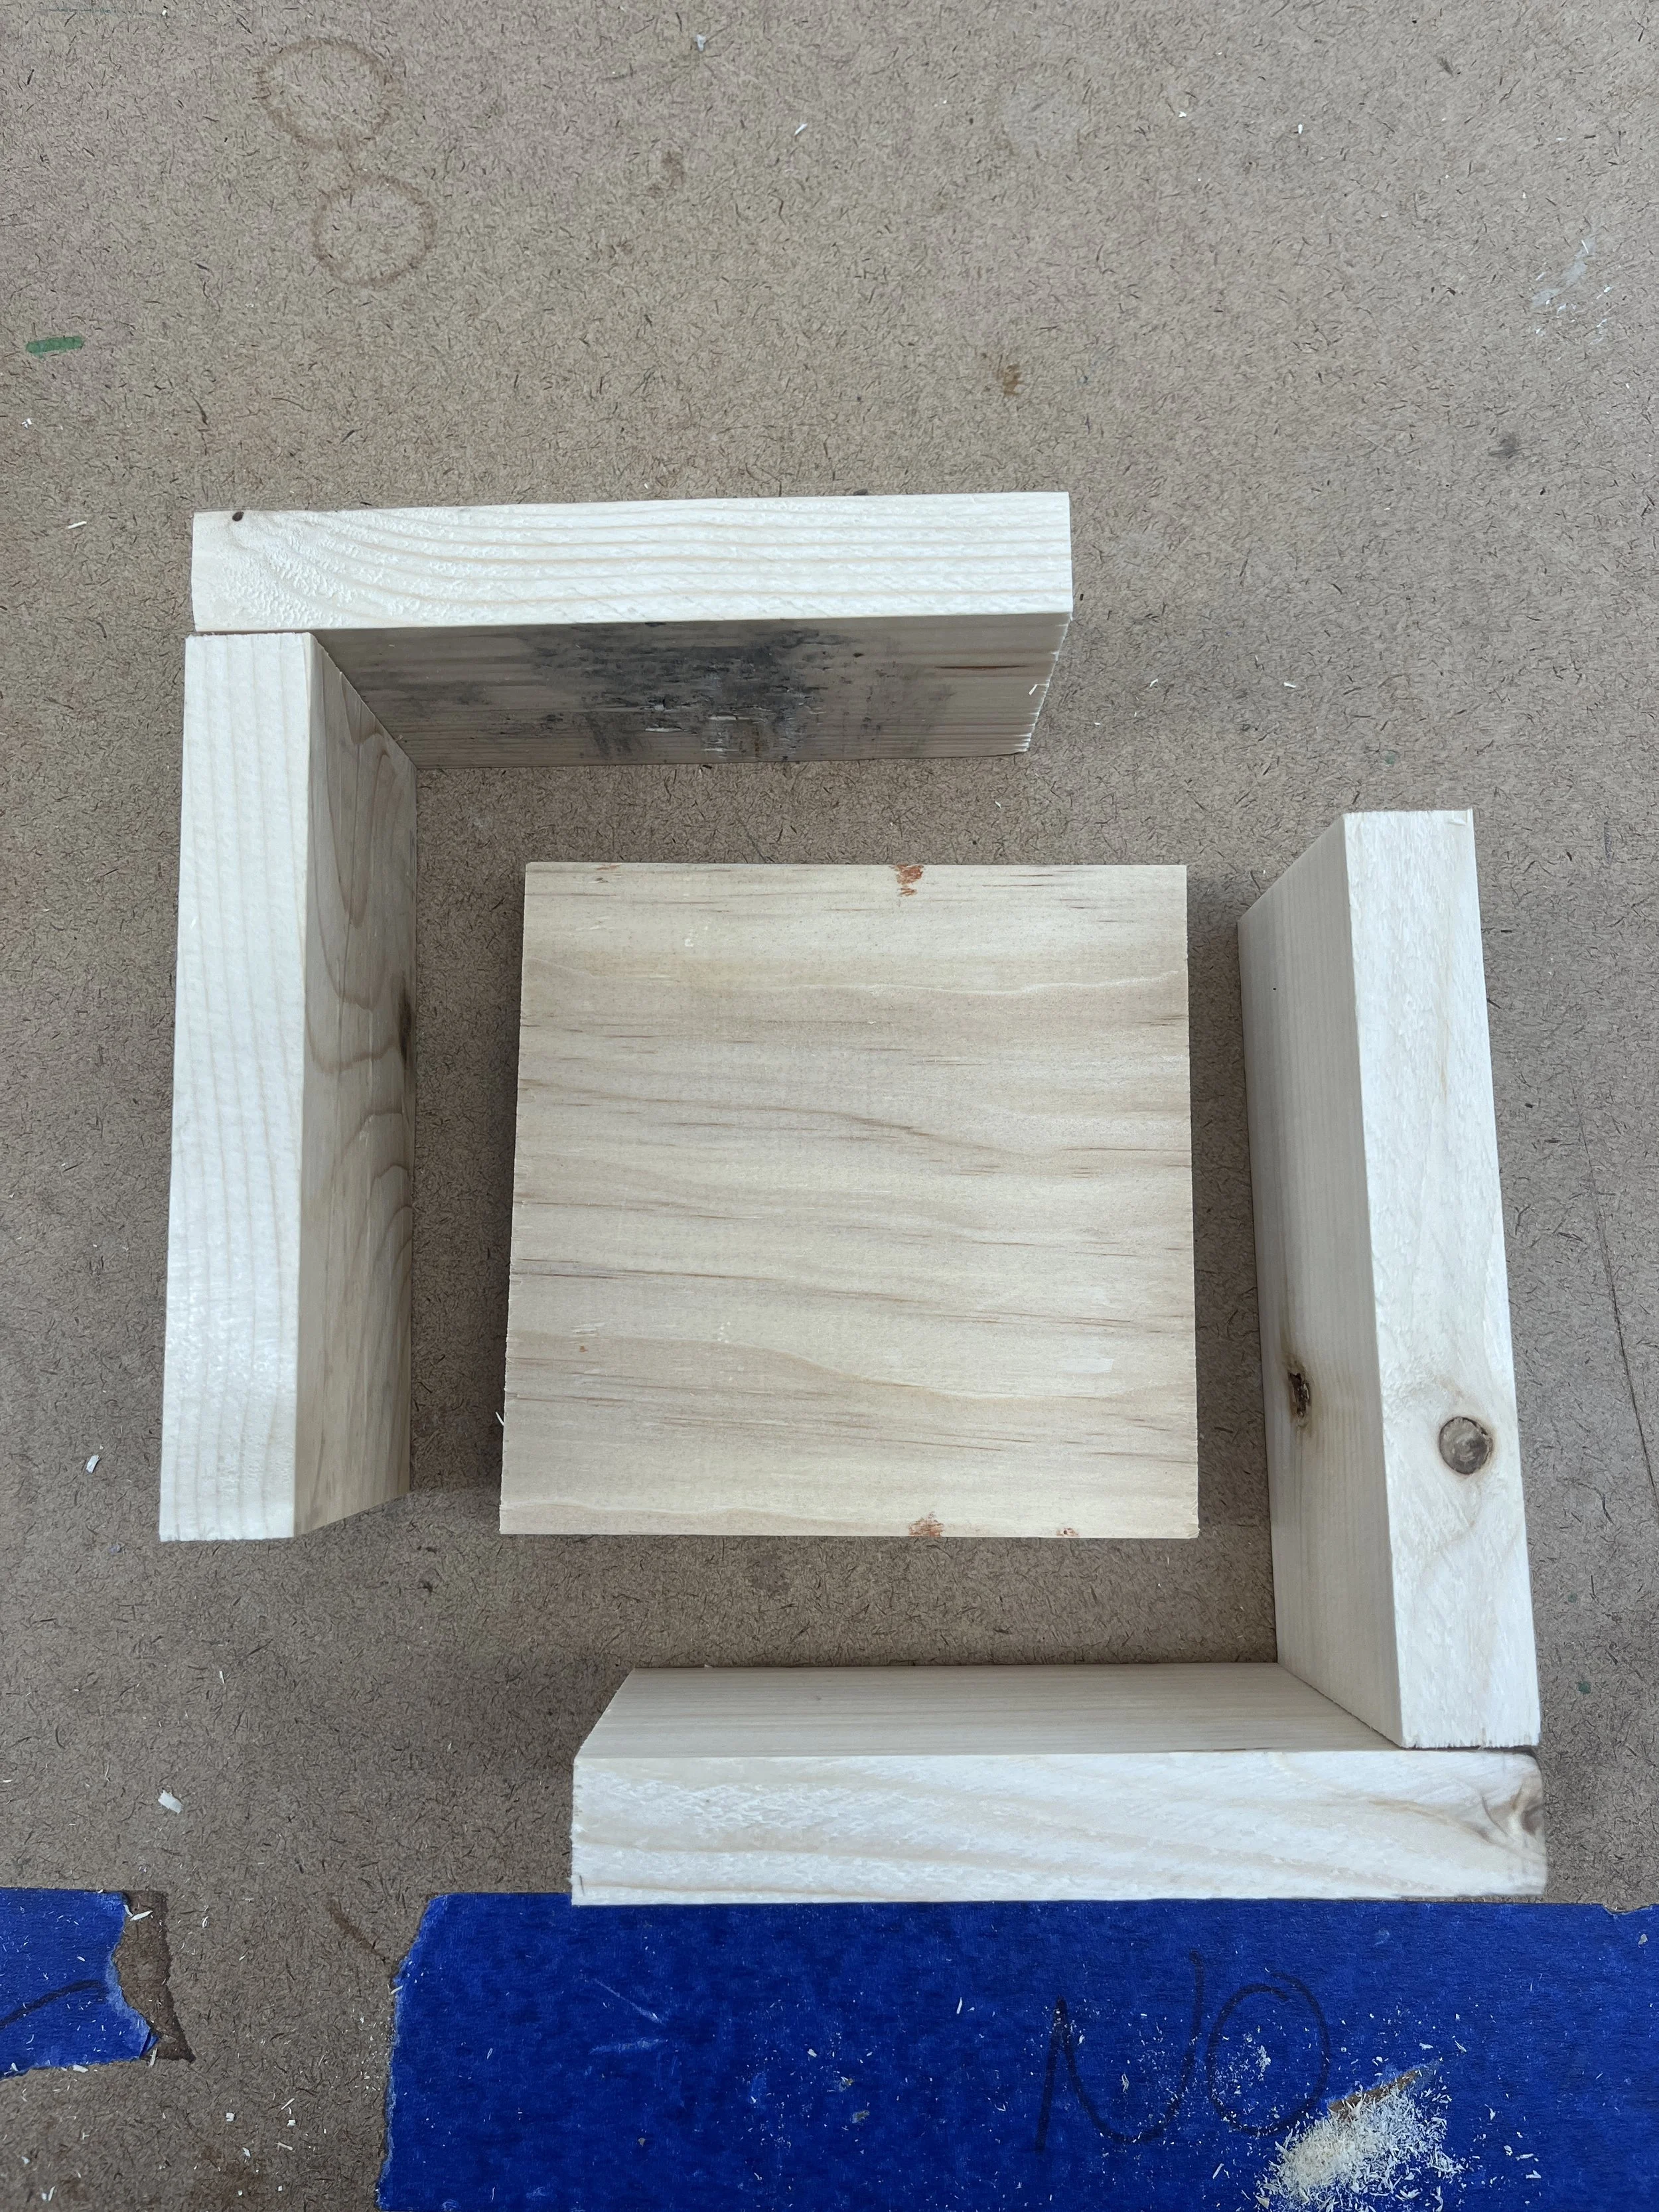
All the sides joined into “L”’s
Drill out pilot holes with counter sink drill bit
Construct the box. Screw the L-pieces together around the bottom. Then screw the frame onto the bottom piece. Use a clamp to hold wood into place and try to close the gaps.
Final Product
Conclusion
My assembled boxes have a lot of … personality! Once I had all my materials together the process I had planned for ran pretty smoothly (cut all pieces, assemble side-L’s, attach bottom).
Admittedly, I didn’t get everything done by today that I wanted to for this project. I had some supply issues, but I did want to add a colorful backing to my boxes and create and install my “specimens”. I think I’ll finish up this weekend and I’ll update my blog when I do. I also learned more about wood working techniques as I was working in the shop with other students, so I think I might want to go through and sand down and varnish/seal my boxes before moving forward with anything else.
Resources
I attended Phil Caridi’s office hours, who is an ITP research resident, to get some guidance on where to begin with wood working and box building.
Here are some box making tutorials I started with:
https://www.bobvila.com/articles/diy-shadow-box/
https://www.youtube.com/watch?v=nZeEyS4k25A
https://www.youtube.com/watch?v=VZXq9dy1E00


