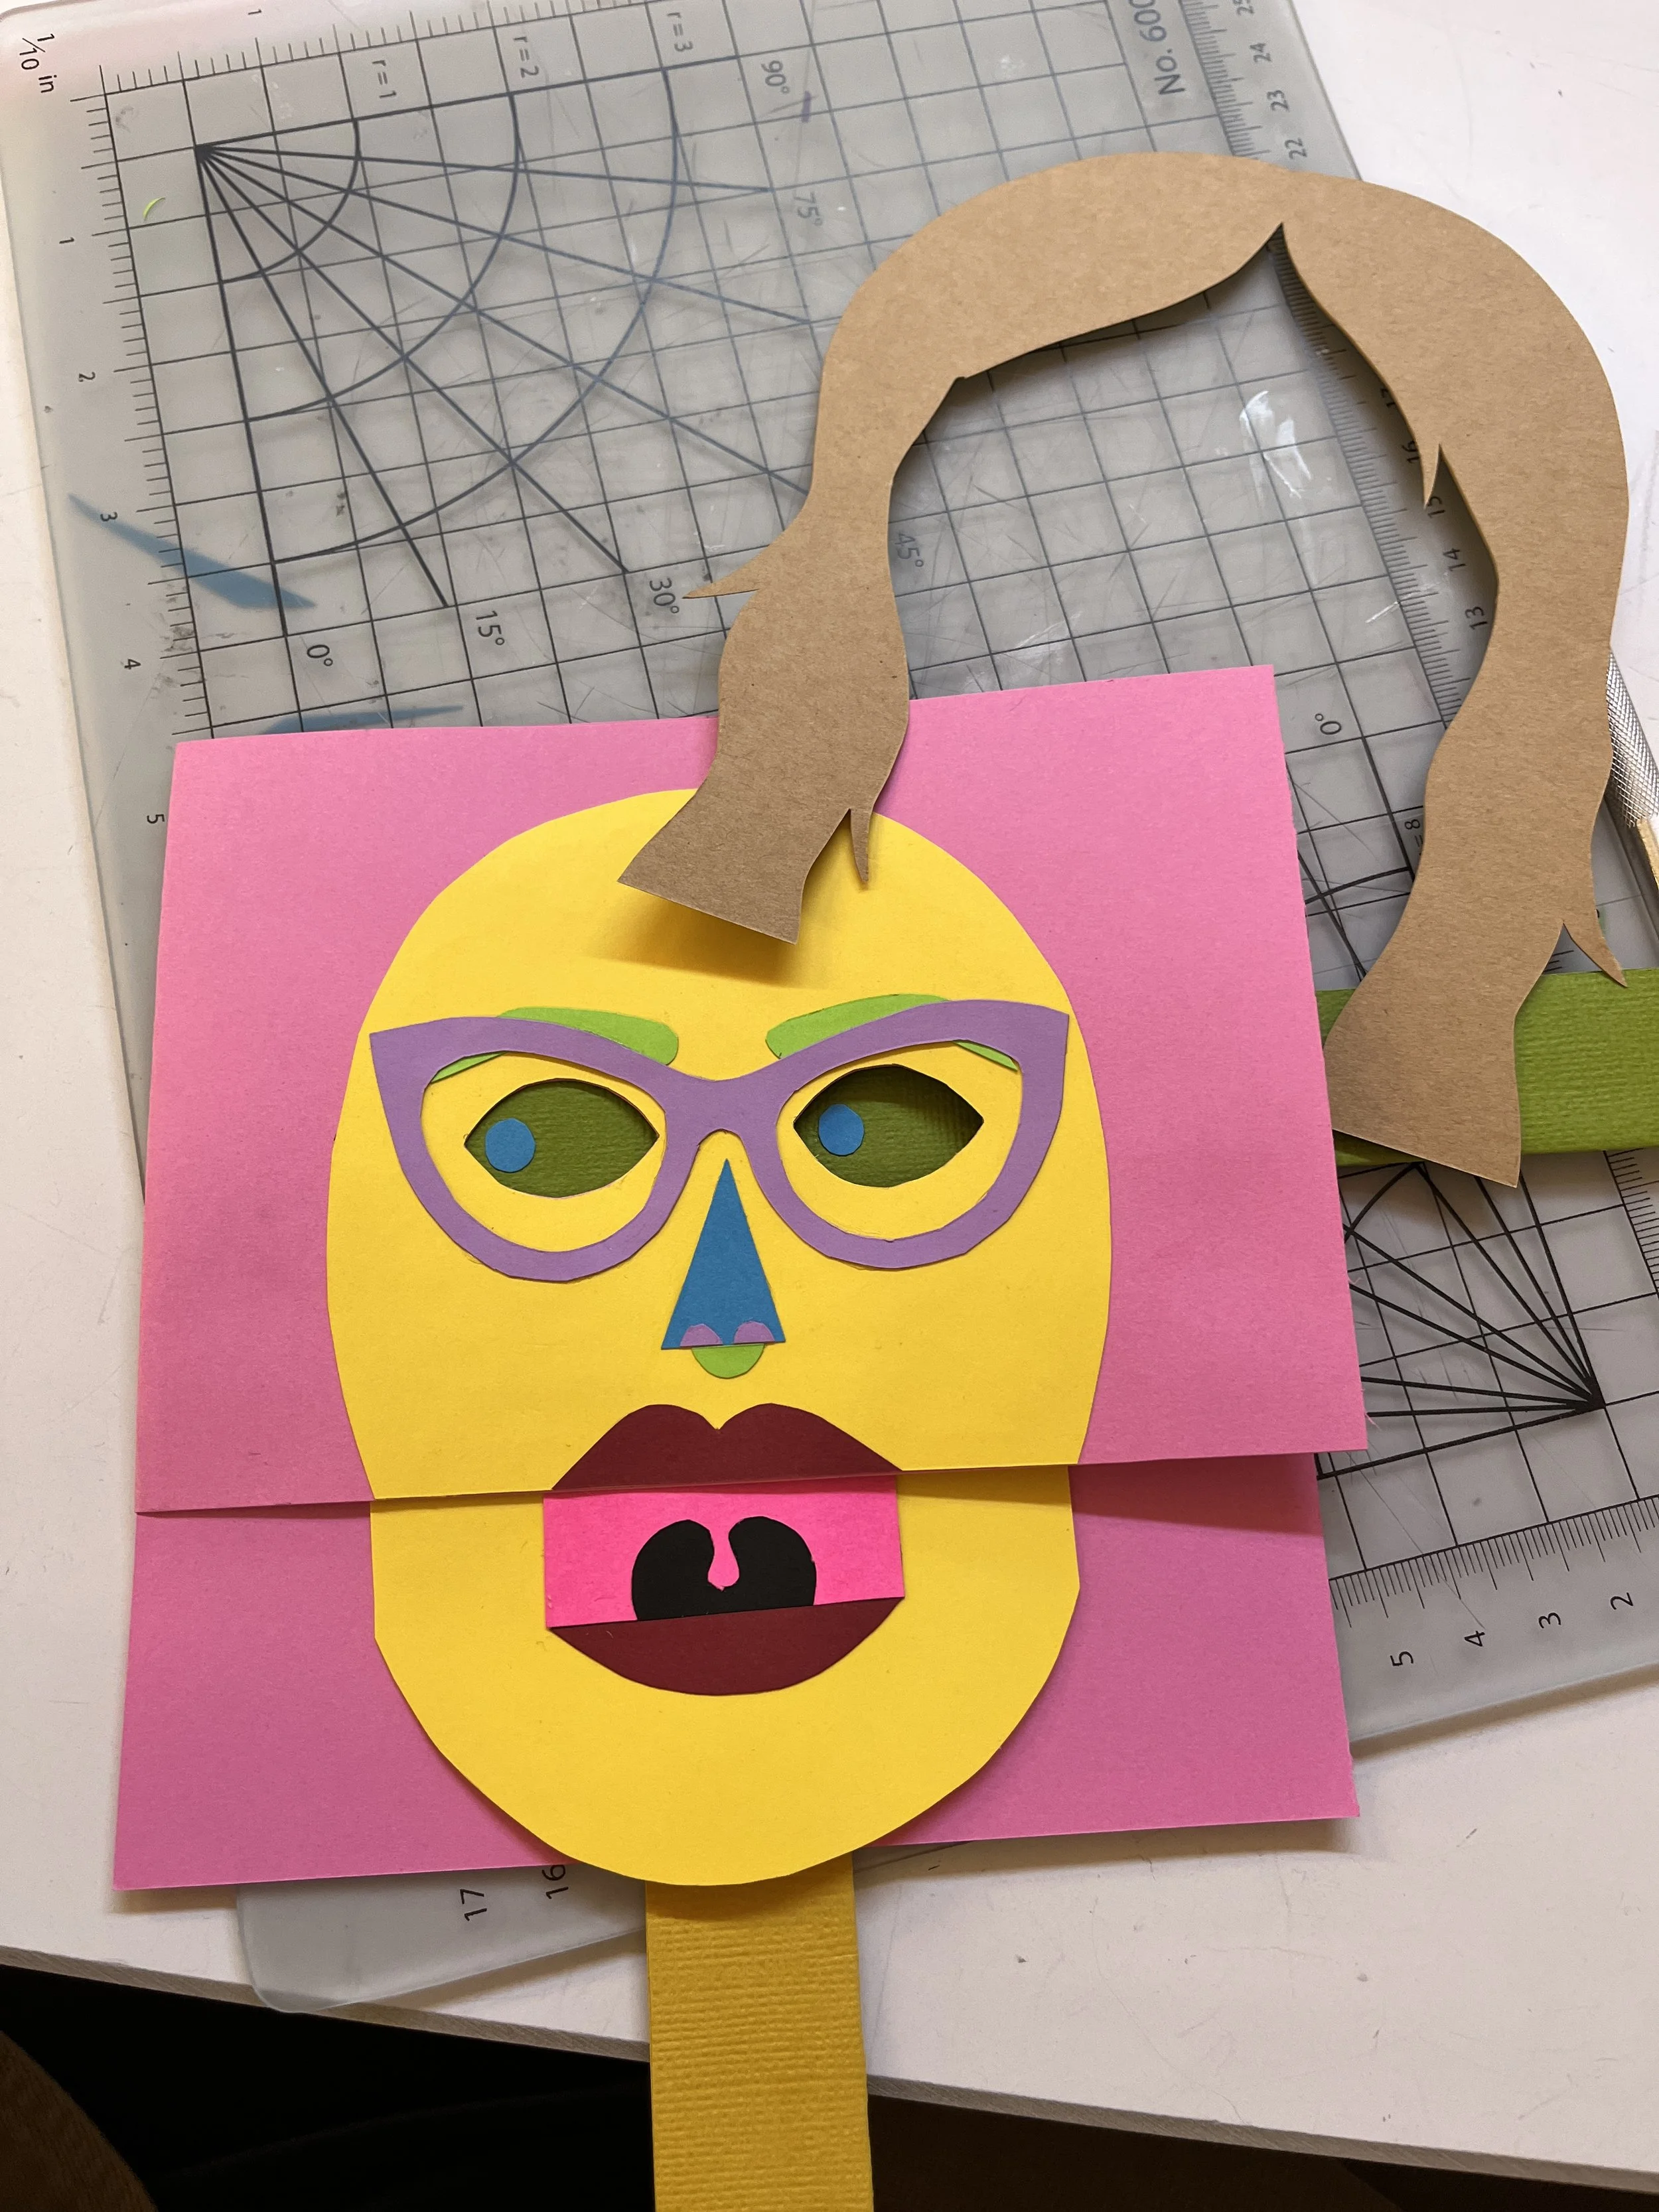
For my final project for my paper engineering class I wanted to create something that could be a piece of my thesis. I’m basically constructing pieces of my own body to make a full self-portrait. I set out to make a pop up book exploring how I experience my stomach: what it eats, what it feels, how it exists. This post describes the process of creating Thoughts for Food, a illustrated journey to my stomach.
Sketch
Here is my quick story board sketch for my pop up book and some random notes. These ideas and sketches were evolving through the whole process of creating this book. One thing I learned is to take my time in the sketching and writing stage because incomplete thoughts and ideas became road blocks in the future.


Prototyping
When it came to executing, I tried my best to follow the method Sam taught us in class to not think too much but just start cutting and gluing paper together. I bought myself a whole stack of white card stock and prototyped with that only so I wouldn’t be so precious about it.
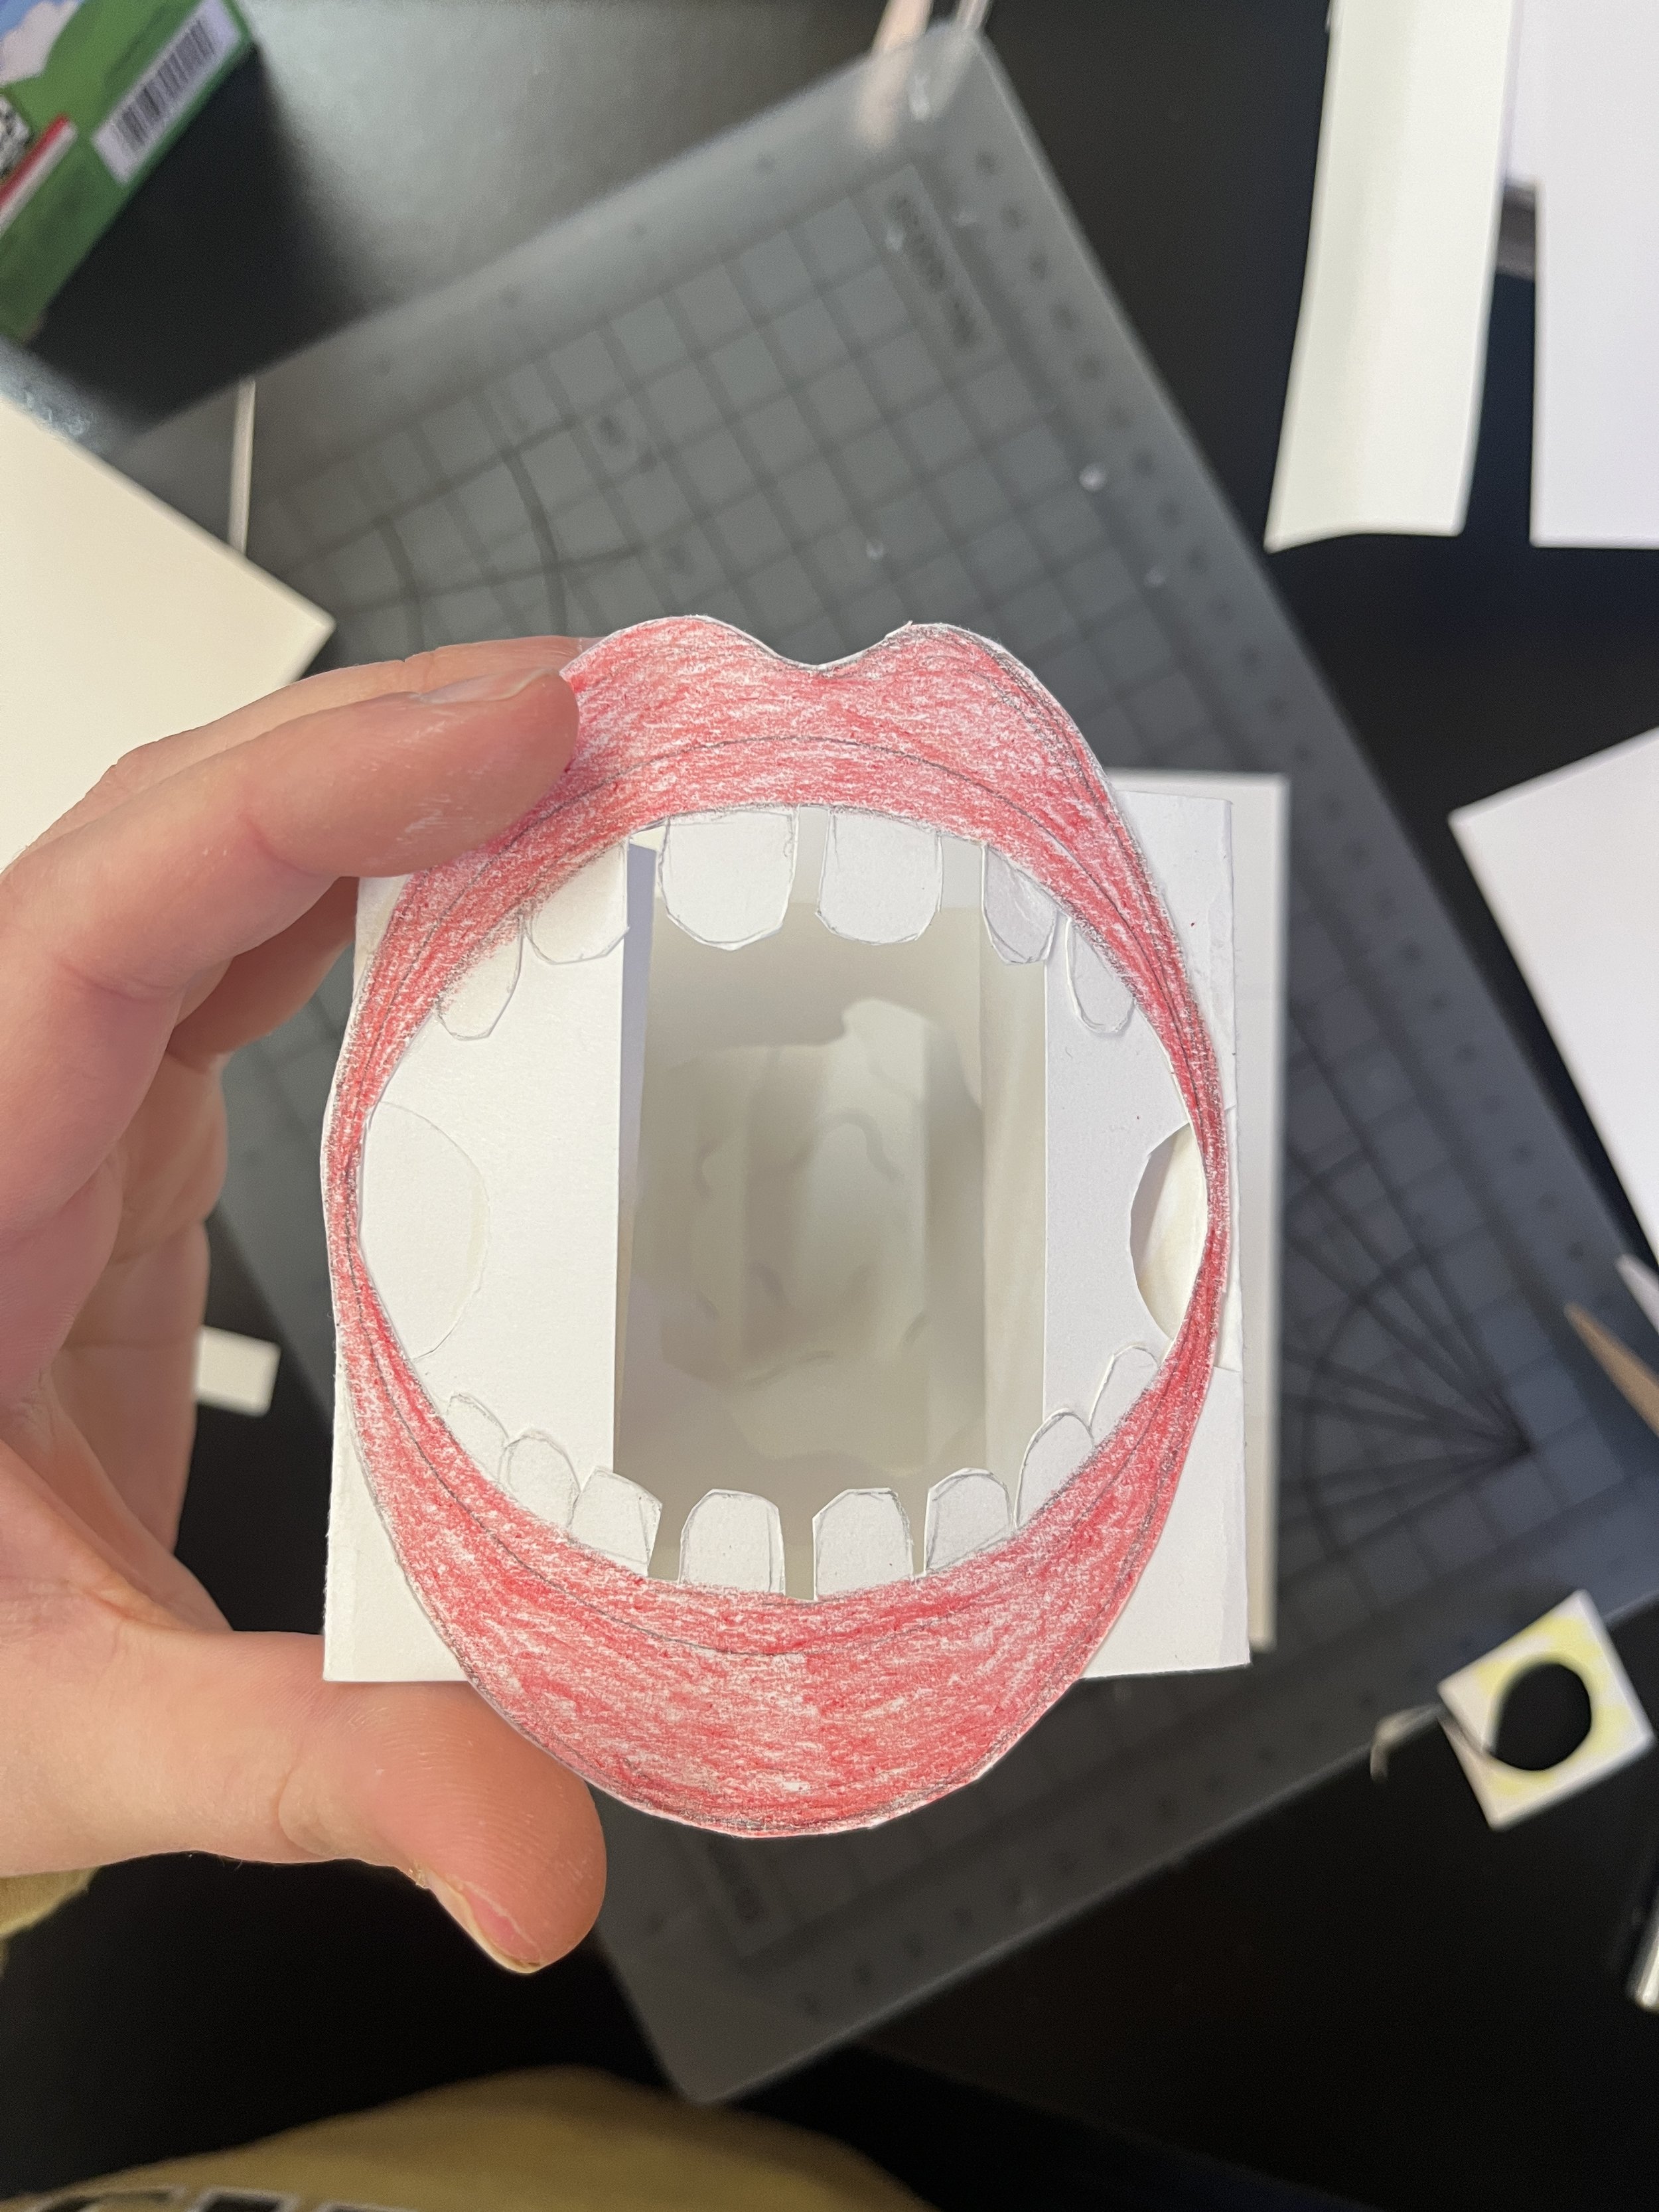
Accordion mouth mechanism
This design was inspired by an Instagram post by @paperjulia. I took a couple of screen shots of the video and was able to replicate the accordion mechanism to create a throat.


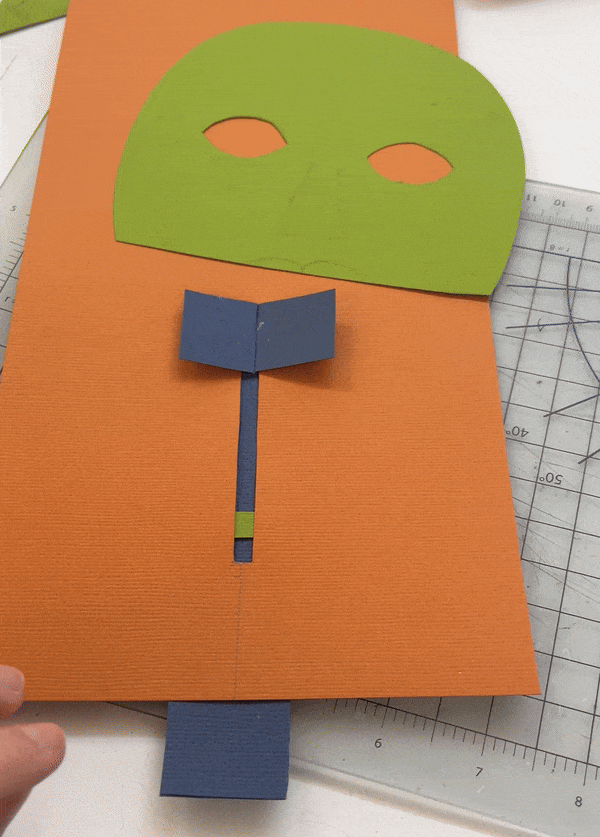
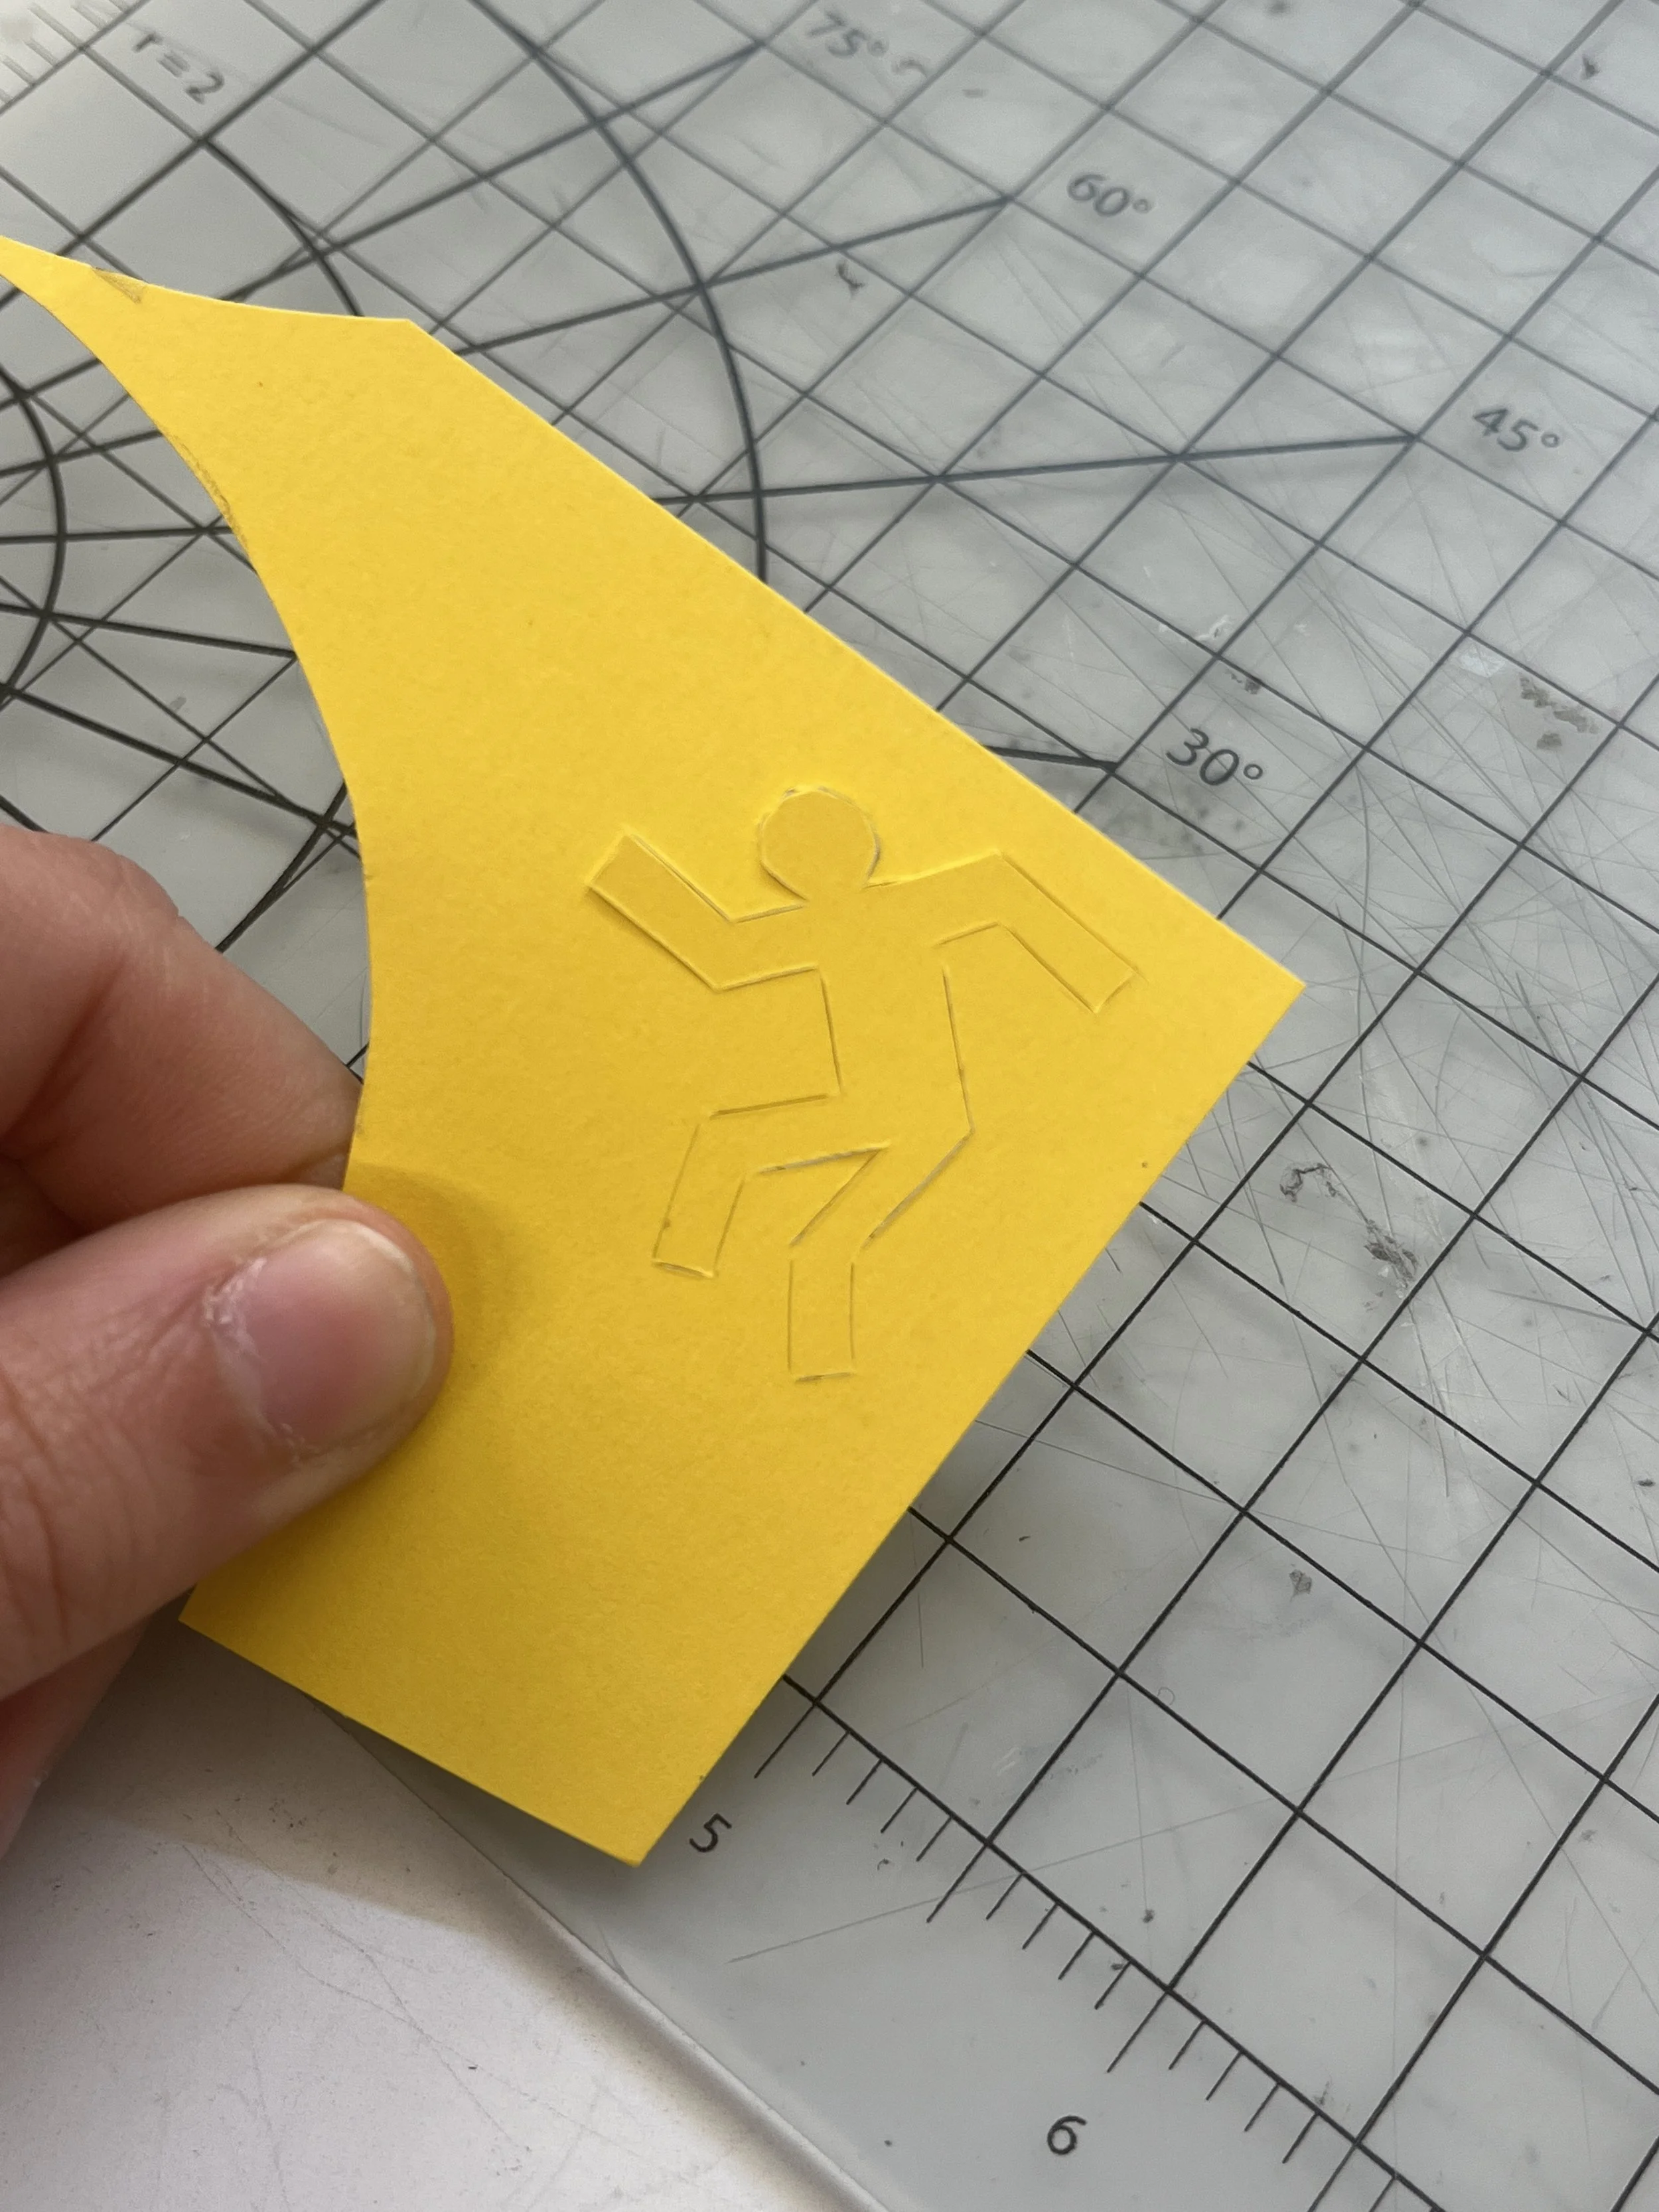
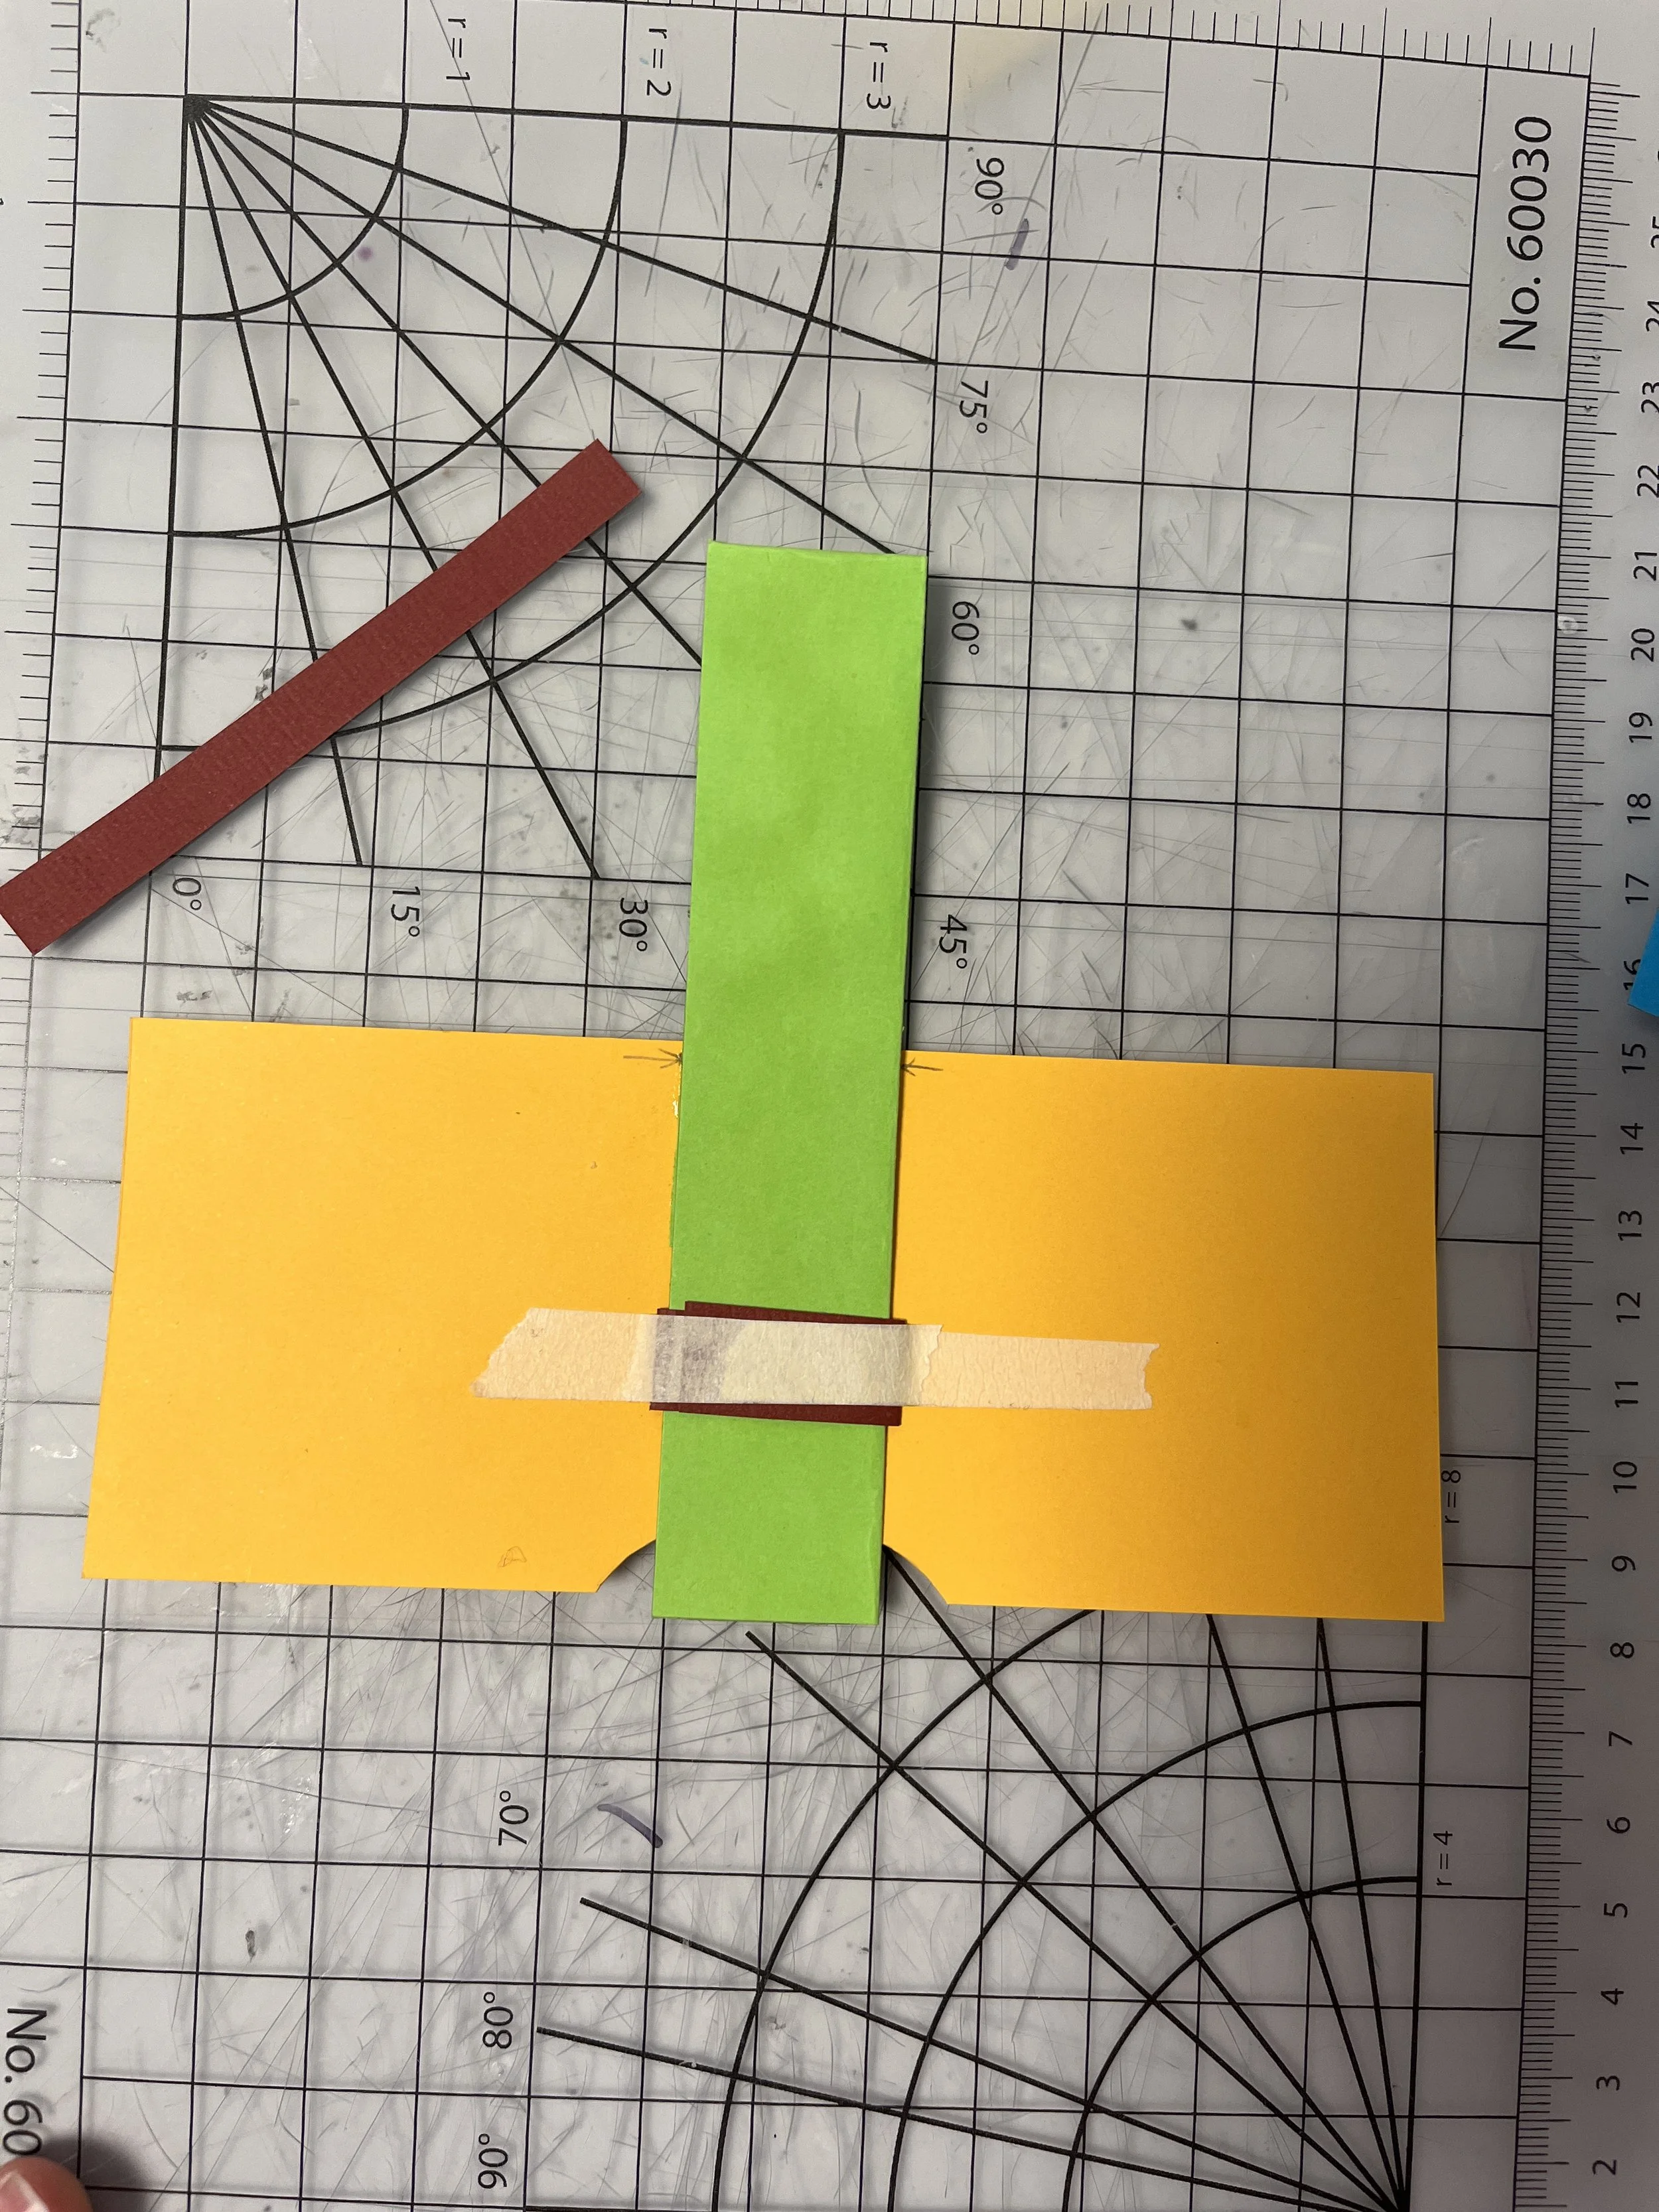
Basic tab mechanism


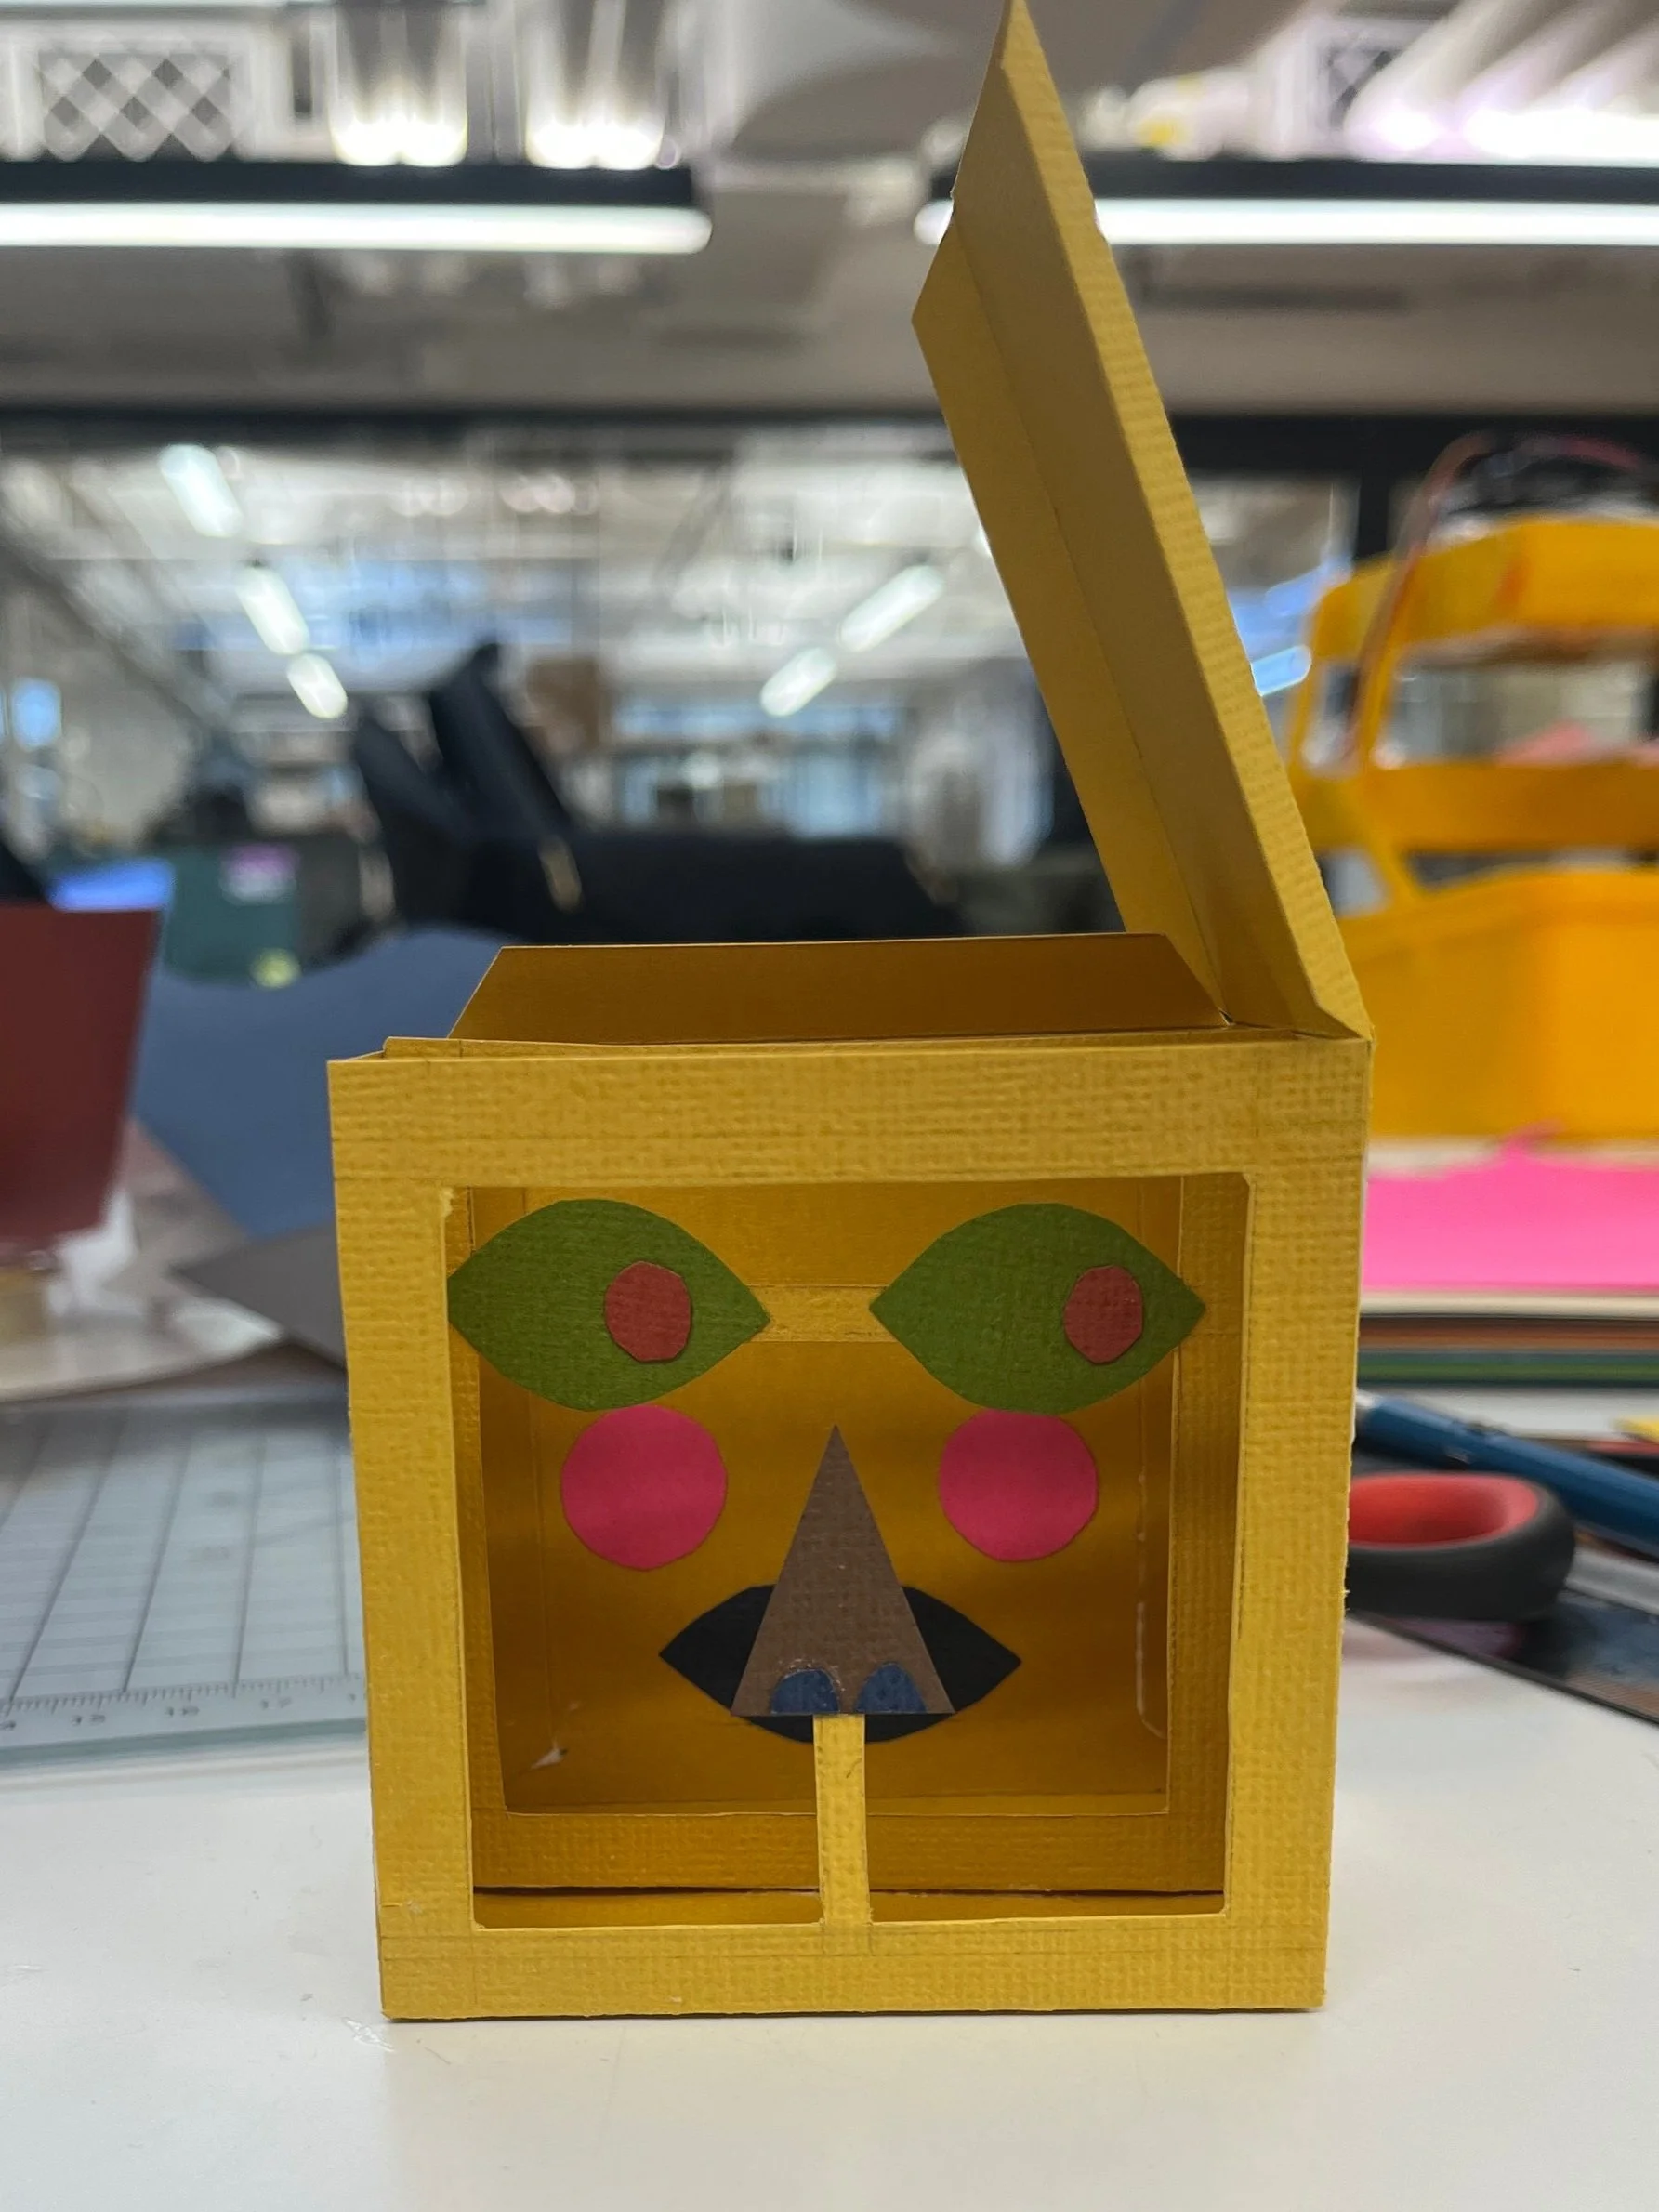
Spiral stomach
I really wanted to visualize the feeling I get in my stomach when I’m anxious. My stomach gets really tense, feels like it has dropped, or there’s a deep pit in there. It sometimes feels tingly and churning. I tried embodying this feeling through a few paper iterations.


winner!


Flip tabs and spinning wheel
These next two mechanisms were inspired by @paperjulia too. This project and this one is so great! All my anxieties swirling around in my stomach, what else could you want?!


Process
Here are some of my process shots making the pop up spreads.


Once I had all the pages constructed, I needed to glue them into spreads. Then I glued all the spreads together so I could flip through them like a book. This process required a lot of holding, smushing, and paper massaging to get everything glued down all the way. The paper sometimes became kind of wavy from the glue. Getting stuff lined up wasn’t as easy as it seemed, but I ended up letting go of perfection and leaning into the hand-made. In the off-time, my work was being pressed by two large books on my table.
Binding nightmare
Let me just say … I thought binding would be hard and it was!!!! Silly me left it for the day of my documentation appointment. Being in a rush didn’t help the situation.
First off, I found out that you could buy scrap mat board at Michaels which is pretty cool. It was super hard to cut through with my tiny little knife. I made the covers the same width as my content and an inch taller. I cut this puny little strip of board for the spine of the book using the height of my book content to figure out the width. I used duck tape, like Sam demoed in class, to create this beautiful cover.


I found out this cover I made did not work at all when I tried gluing my content in.
Here’s the golden rule: ✨When the spine is too wide the book can’t open all the way. When the spine is too small the book doesn’t close all the way.✨
I ended up getting some advice from Ian and Phil in the shop and I decided to remove the small strip of mat altogether. I ended up sandwiching the content between the covers, squishing it, and then taping the spine to get the correct spacing. I ended up re-doing this 2 more times because I got greedy, wanting the book to open all the way. I eventually reached a happy medium but my pop up book does not open up the full 180 degrees.


To finish up, I wrapped the cover in paper and glued on the cover image. Another thing I found was that the more I glued the pages together, the more fragile the mechanisms became and harder they were to operate in bound format. So, kind of a bummer.
Final Product
I got these amazing images taken by the ITP Documentation Lab.


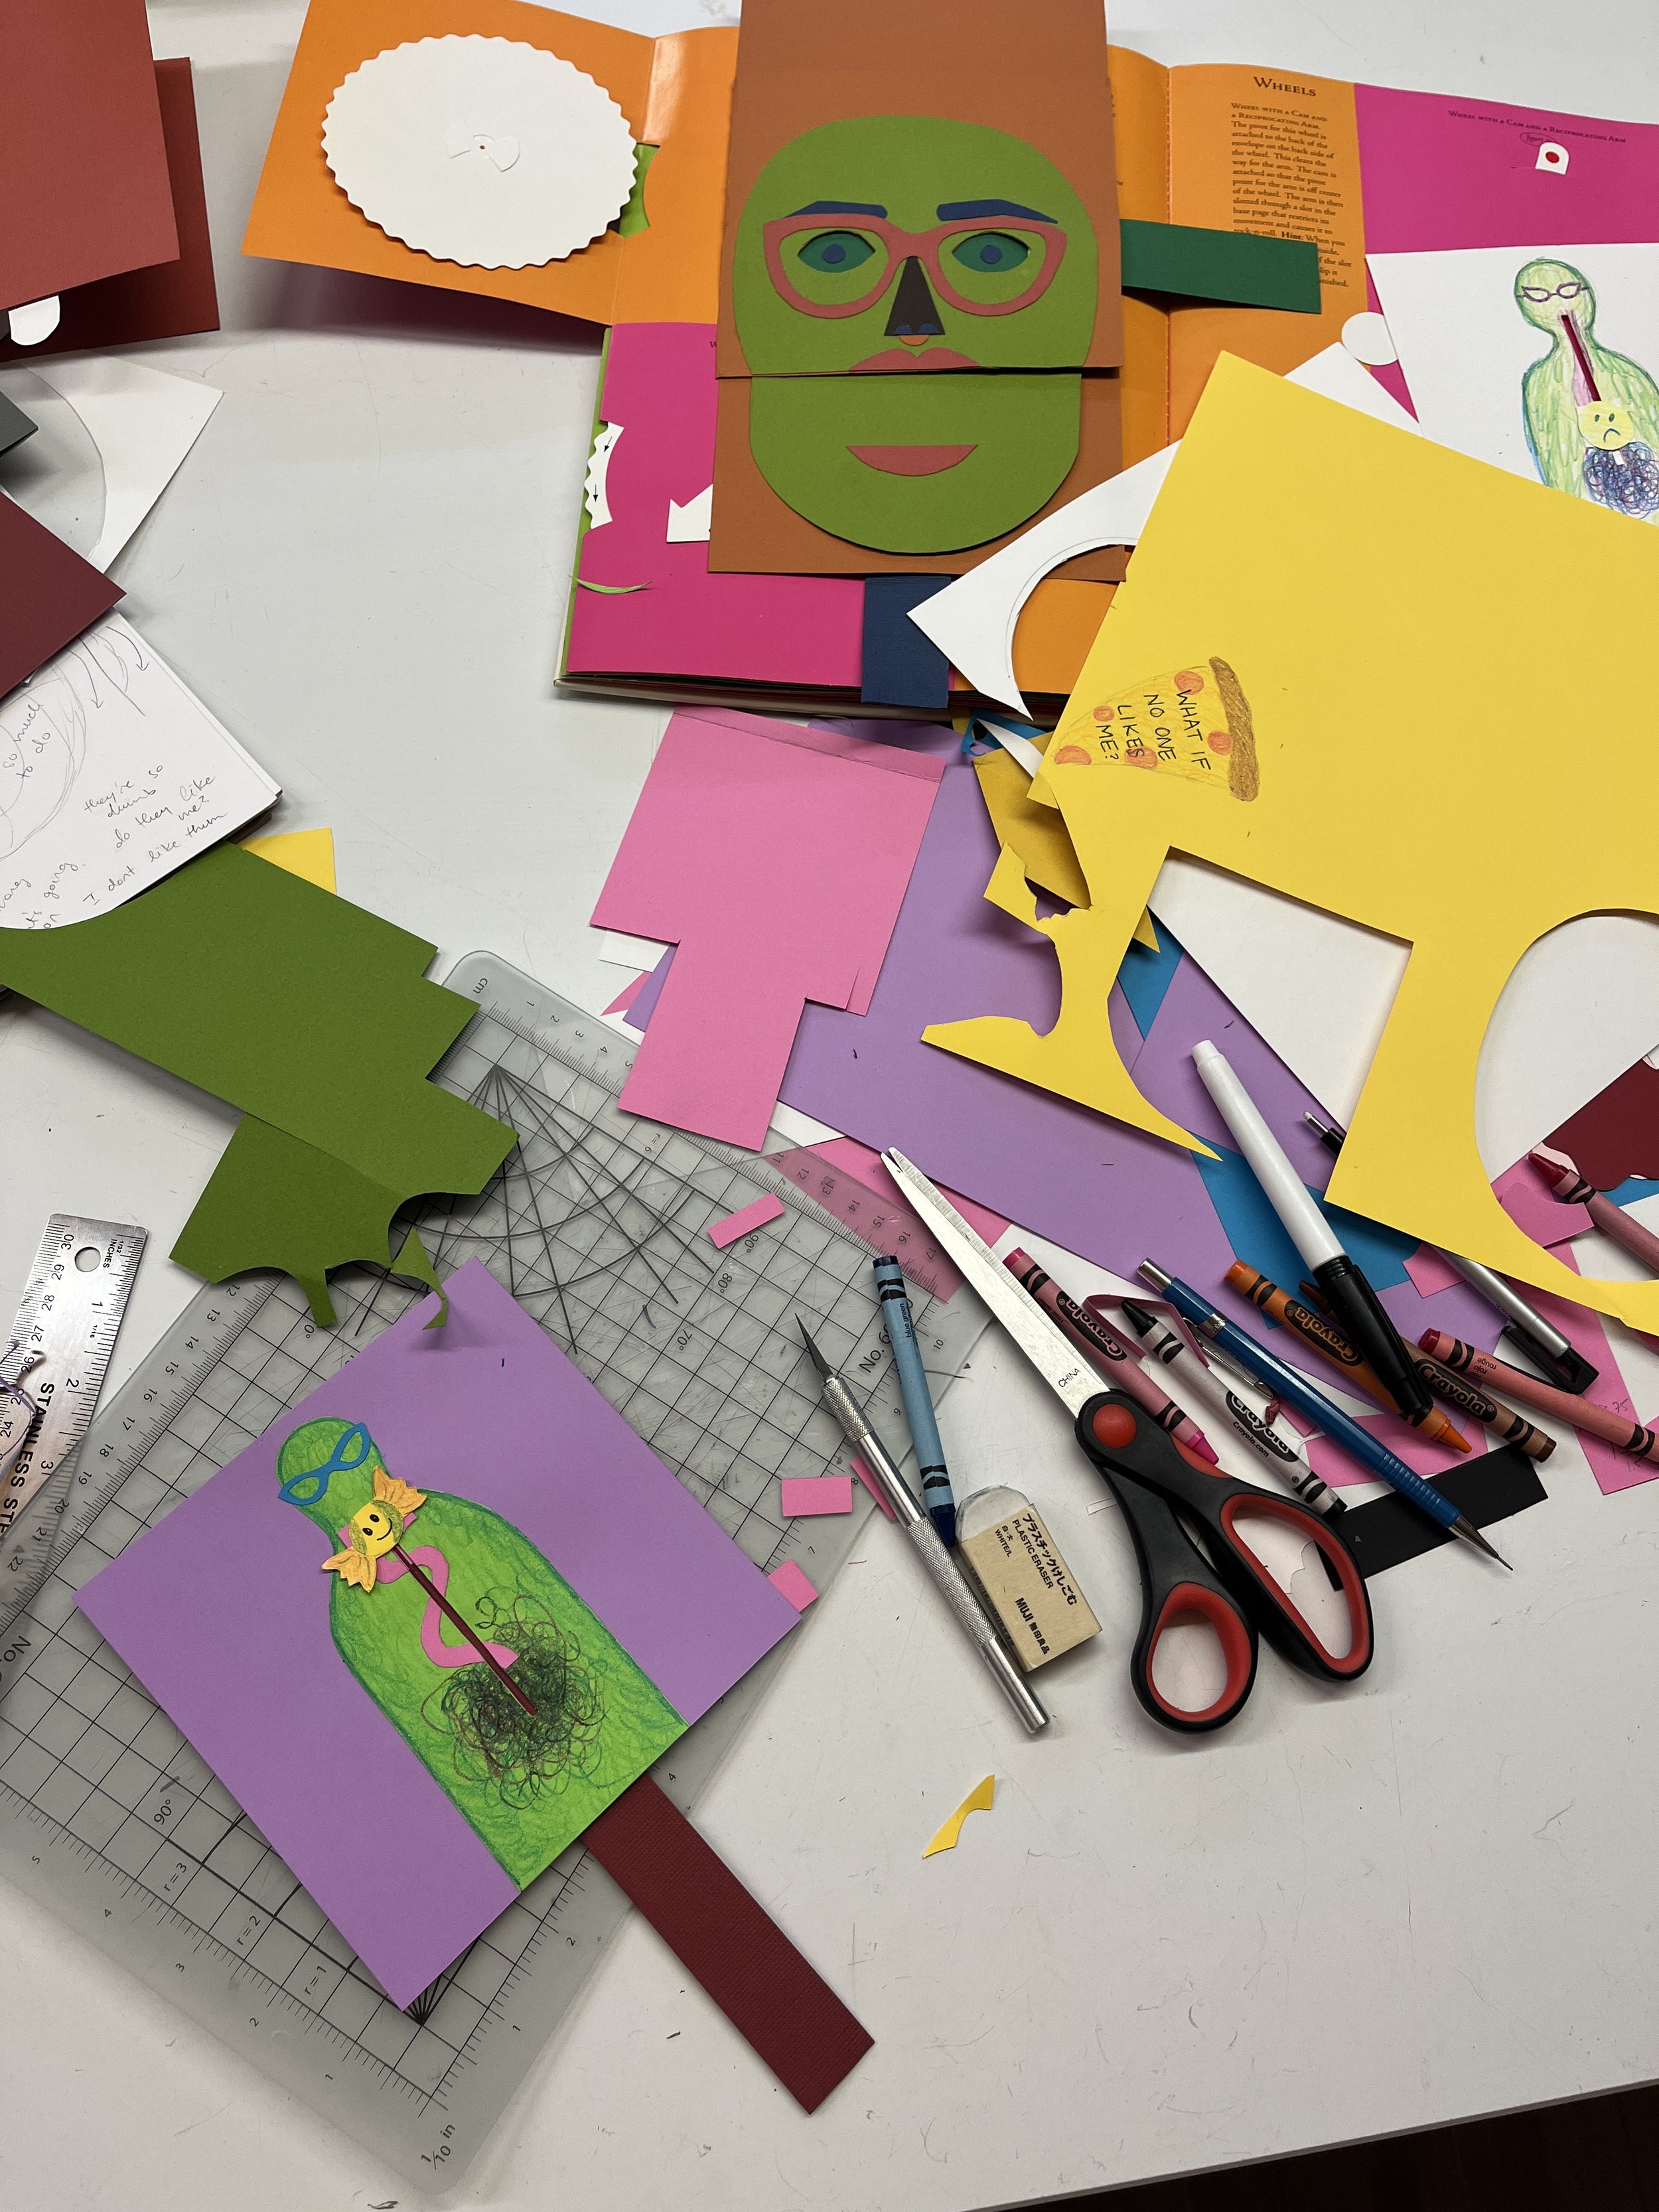
Messes
Paper projects are a lot of work and take a lot of set up / clean up / shuffling of materials.